Web Wow Factor: How to Design Professional Website Hero Banners & Landing Page Graphics in Photoshop
The Digital Front Door to Your Brand
But here’s the challenge: designing website hero banners in Photoshop from scratch can feel overwhelming. It requires a keen sense of design, understanding of UX principles, responsiveness, and mastery of visual hierarchy — not to mention performance optimization and brand consistency.
Without these, the result is often generic banners, low-performing visuals, or an overall diluted brand identity.
The cost? High bounce rates. Weak conversions. Missed opportunities.
The good news? In this guide, you’ll discover how to create professional, conversion-ready hero banners and landing page graphics in Photoshop — easily and efficiently — using Pixflow’s Adobe Photoshop Templates. Even without deep design experience, you can launch stunning graphics with real business impact.
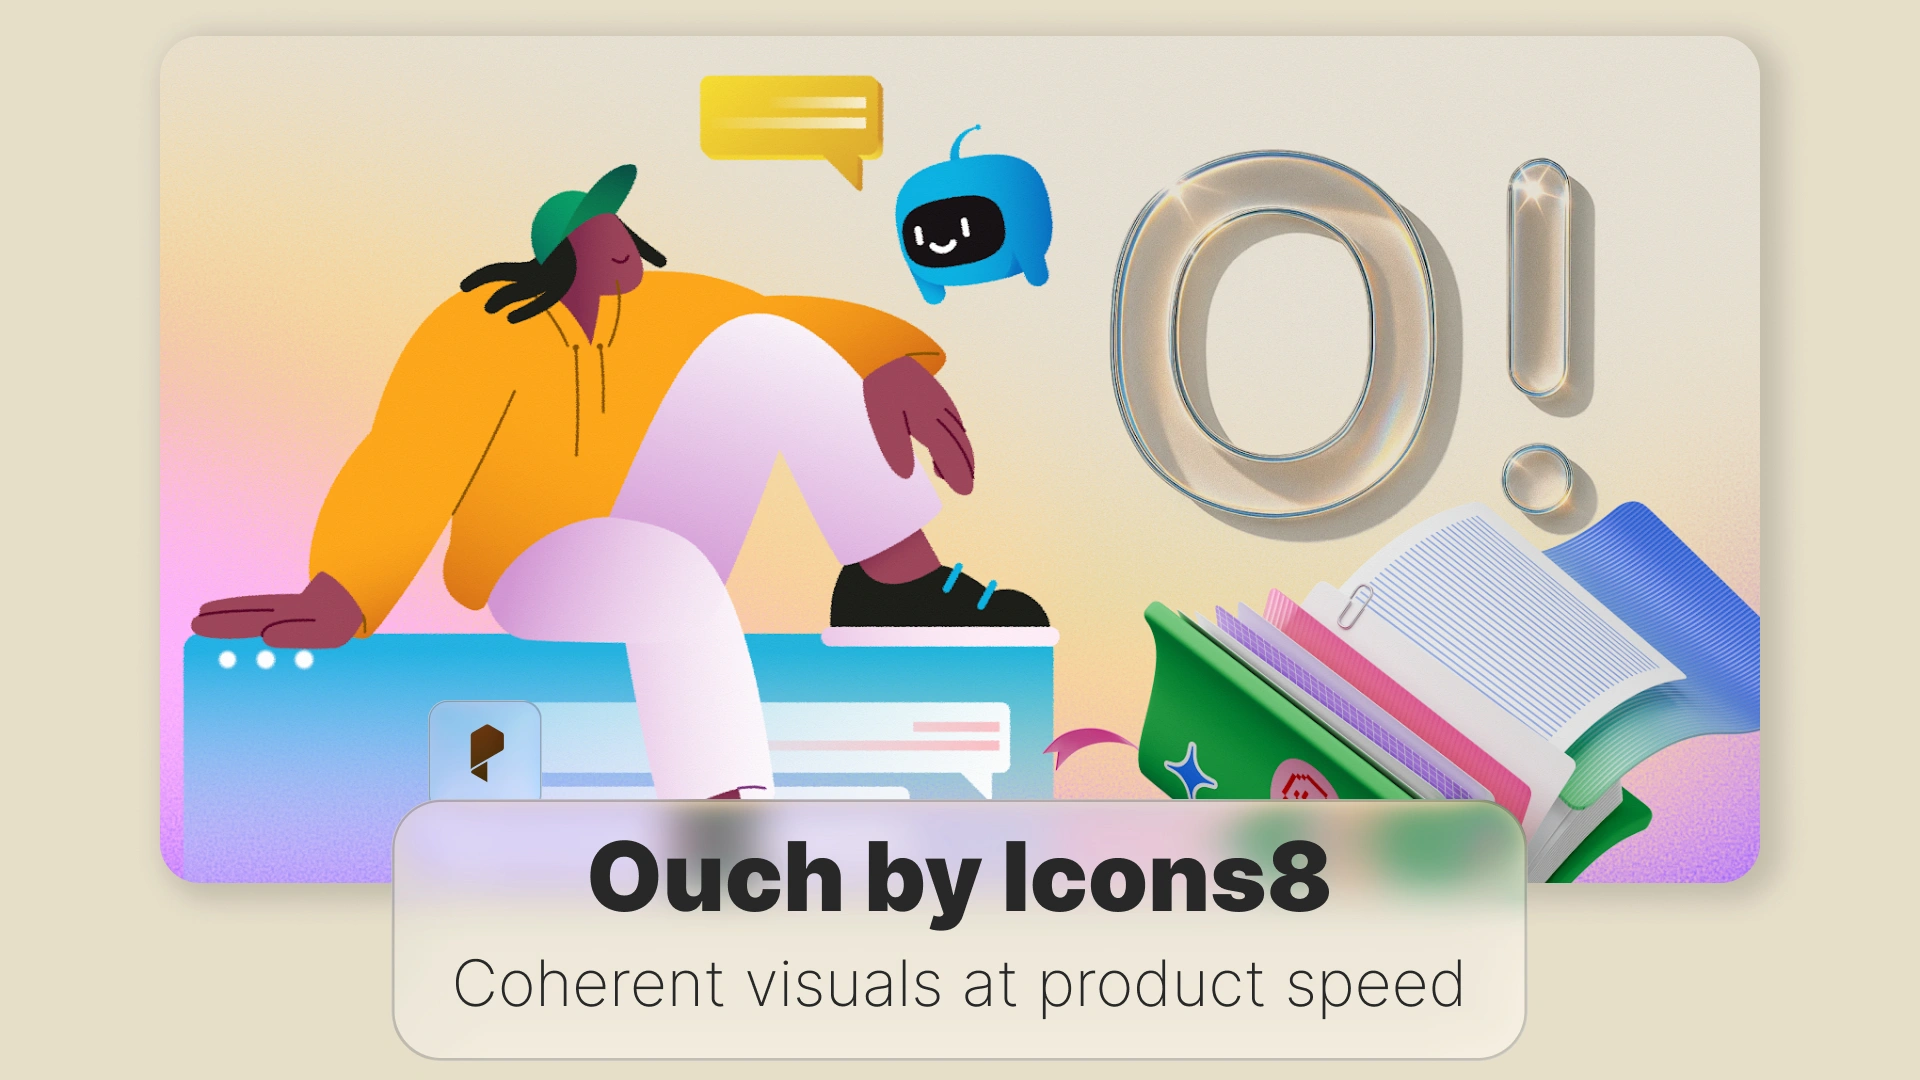
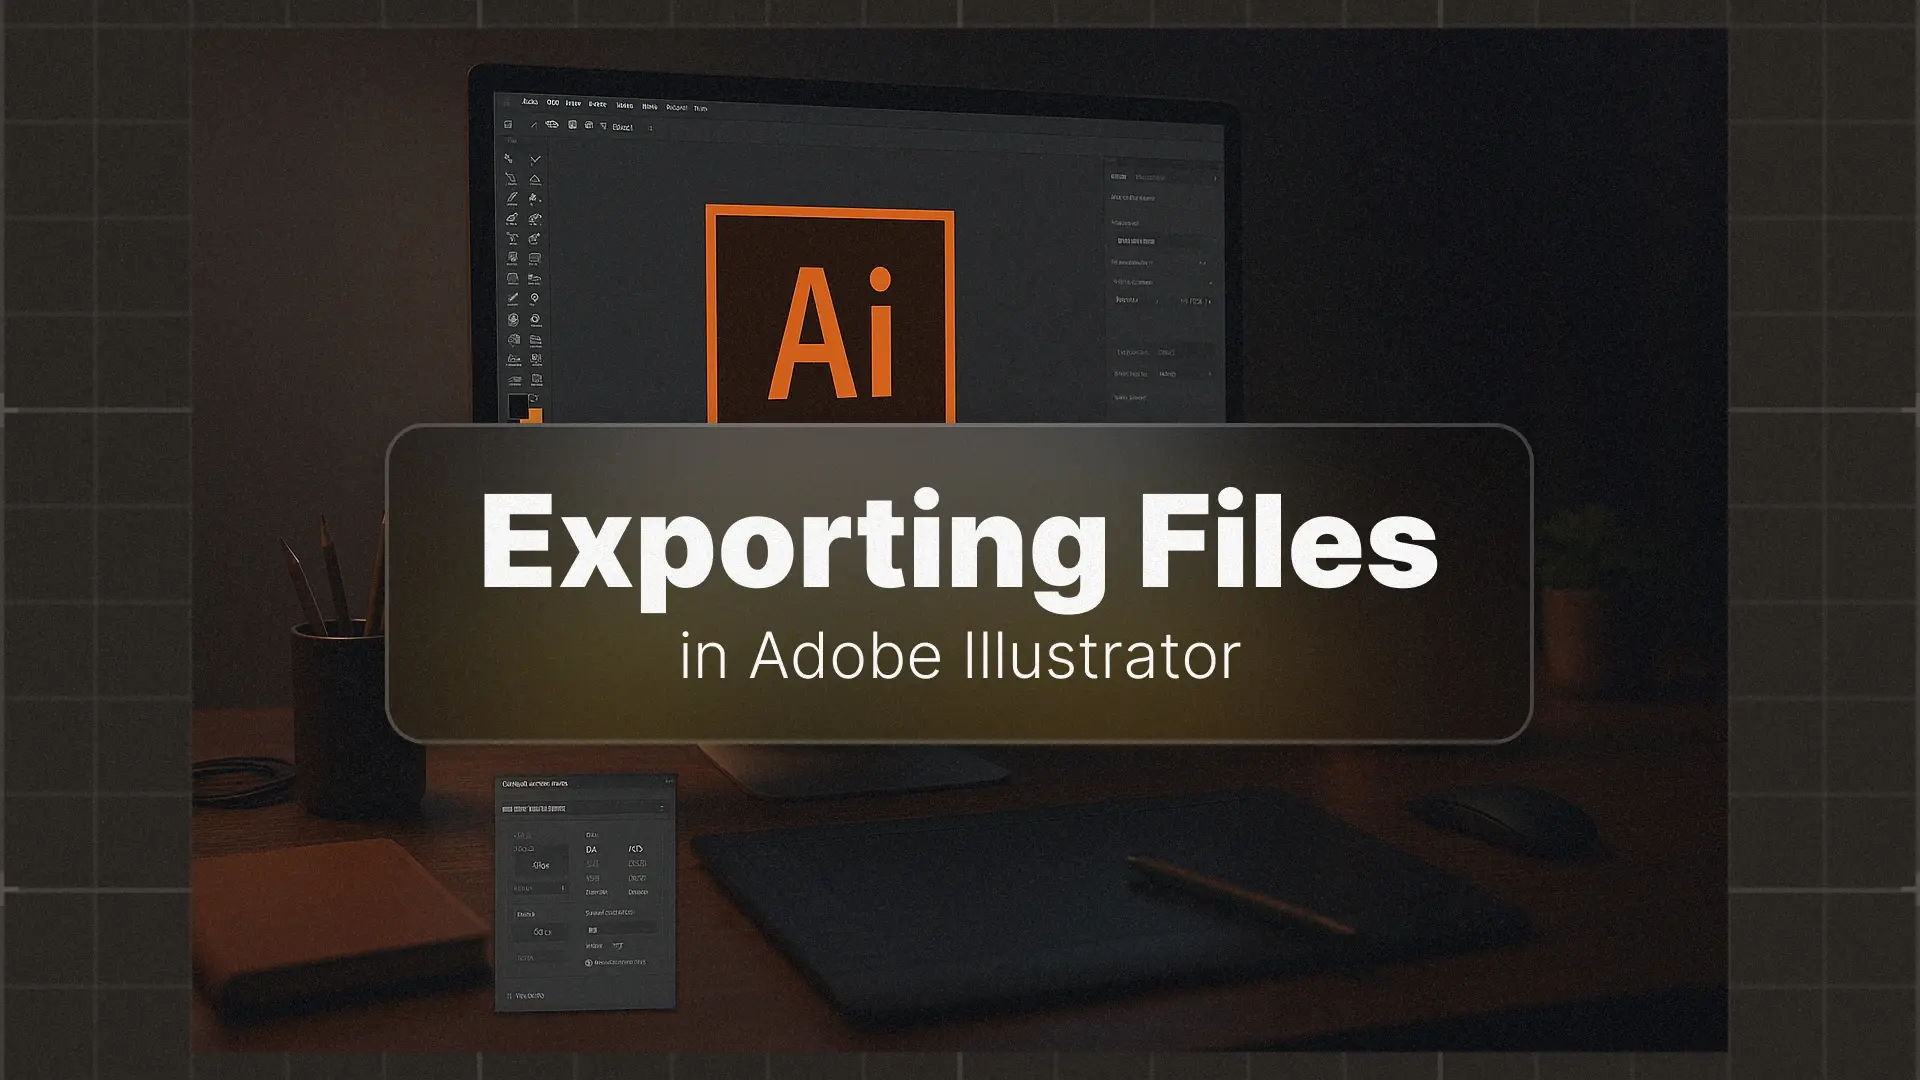
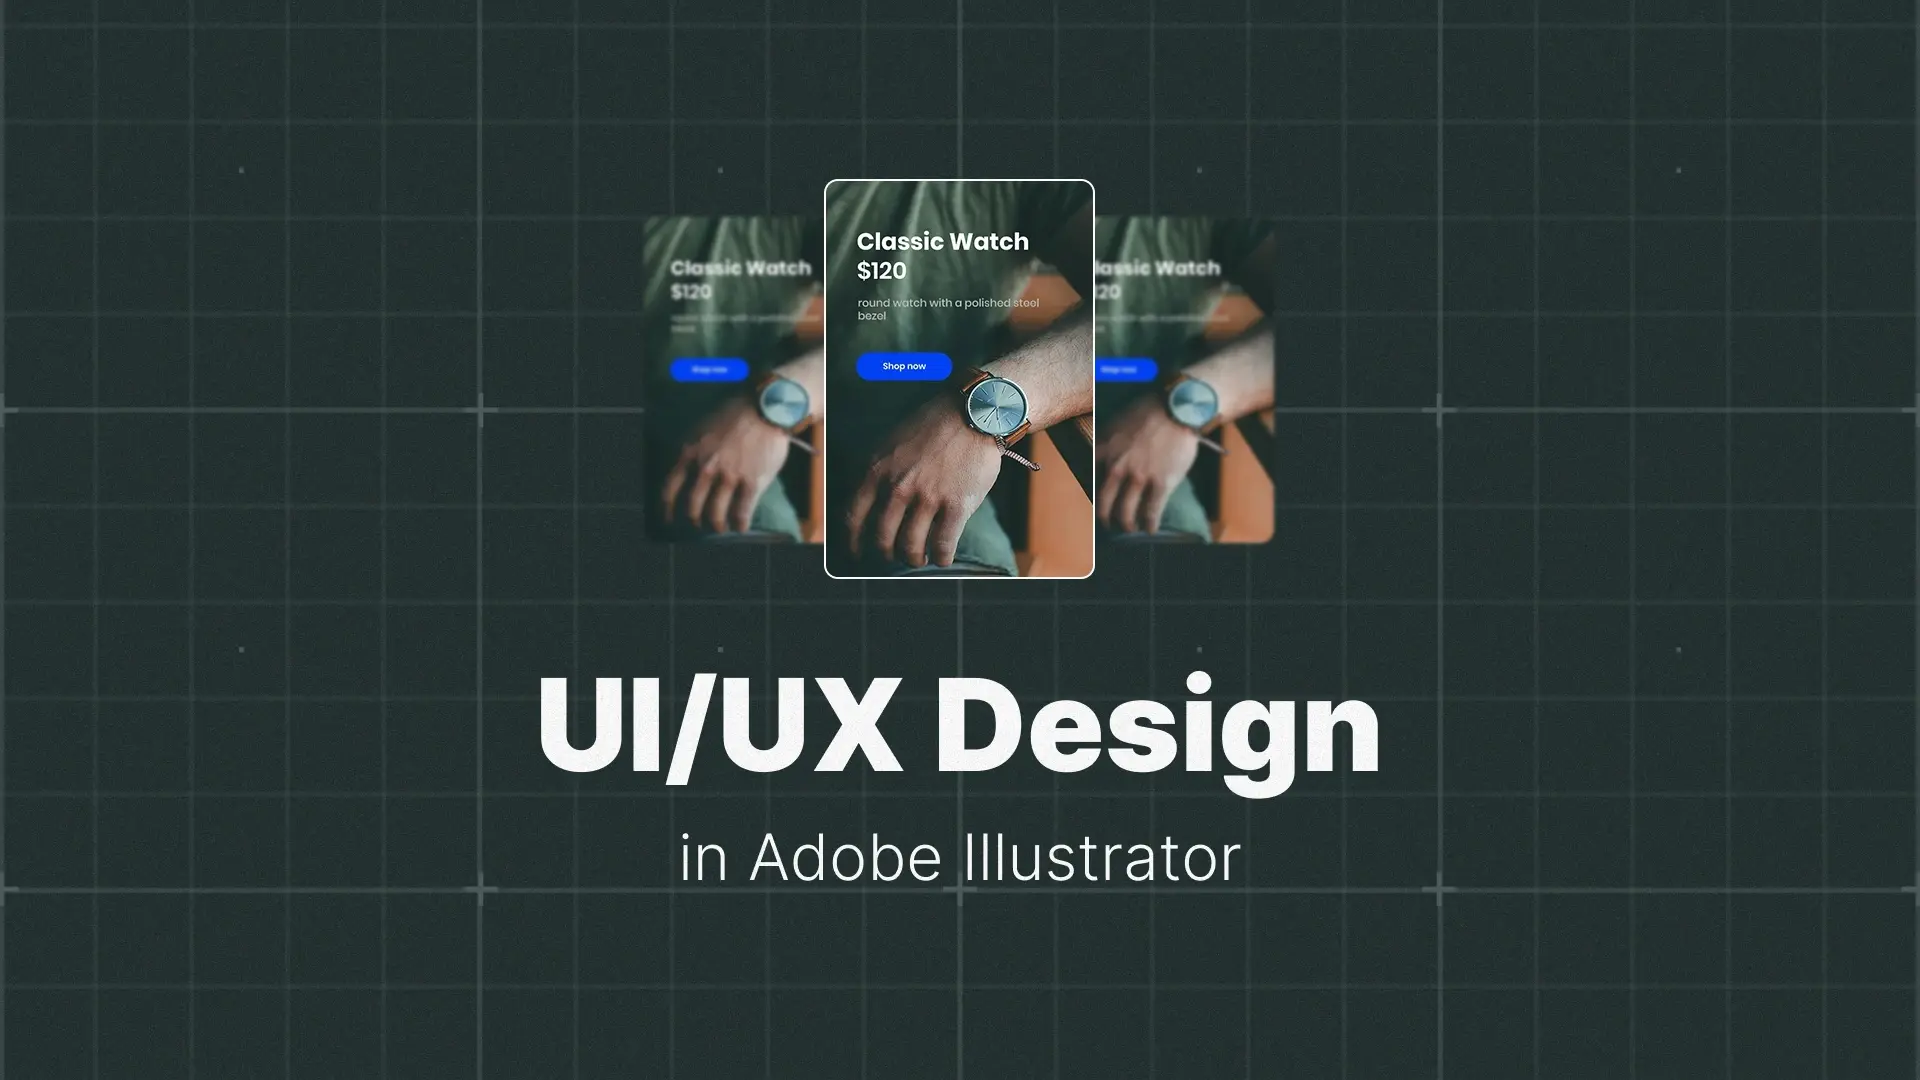
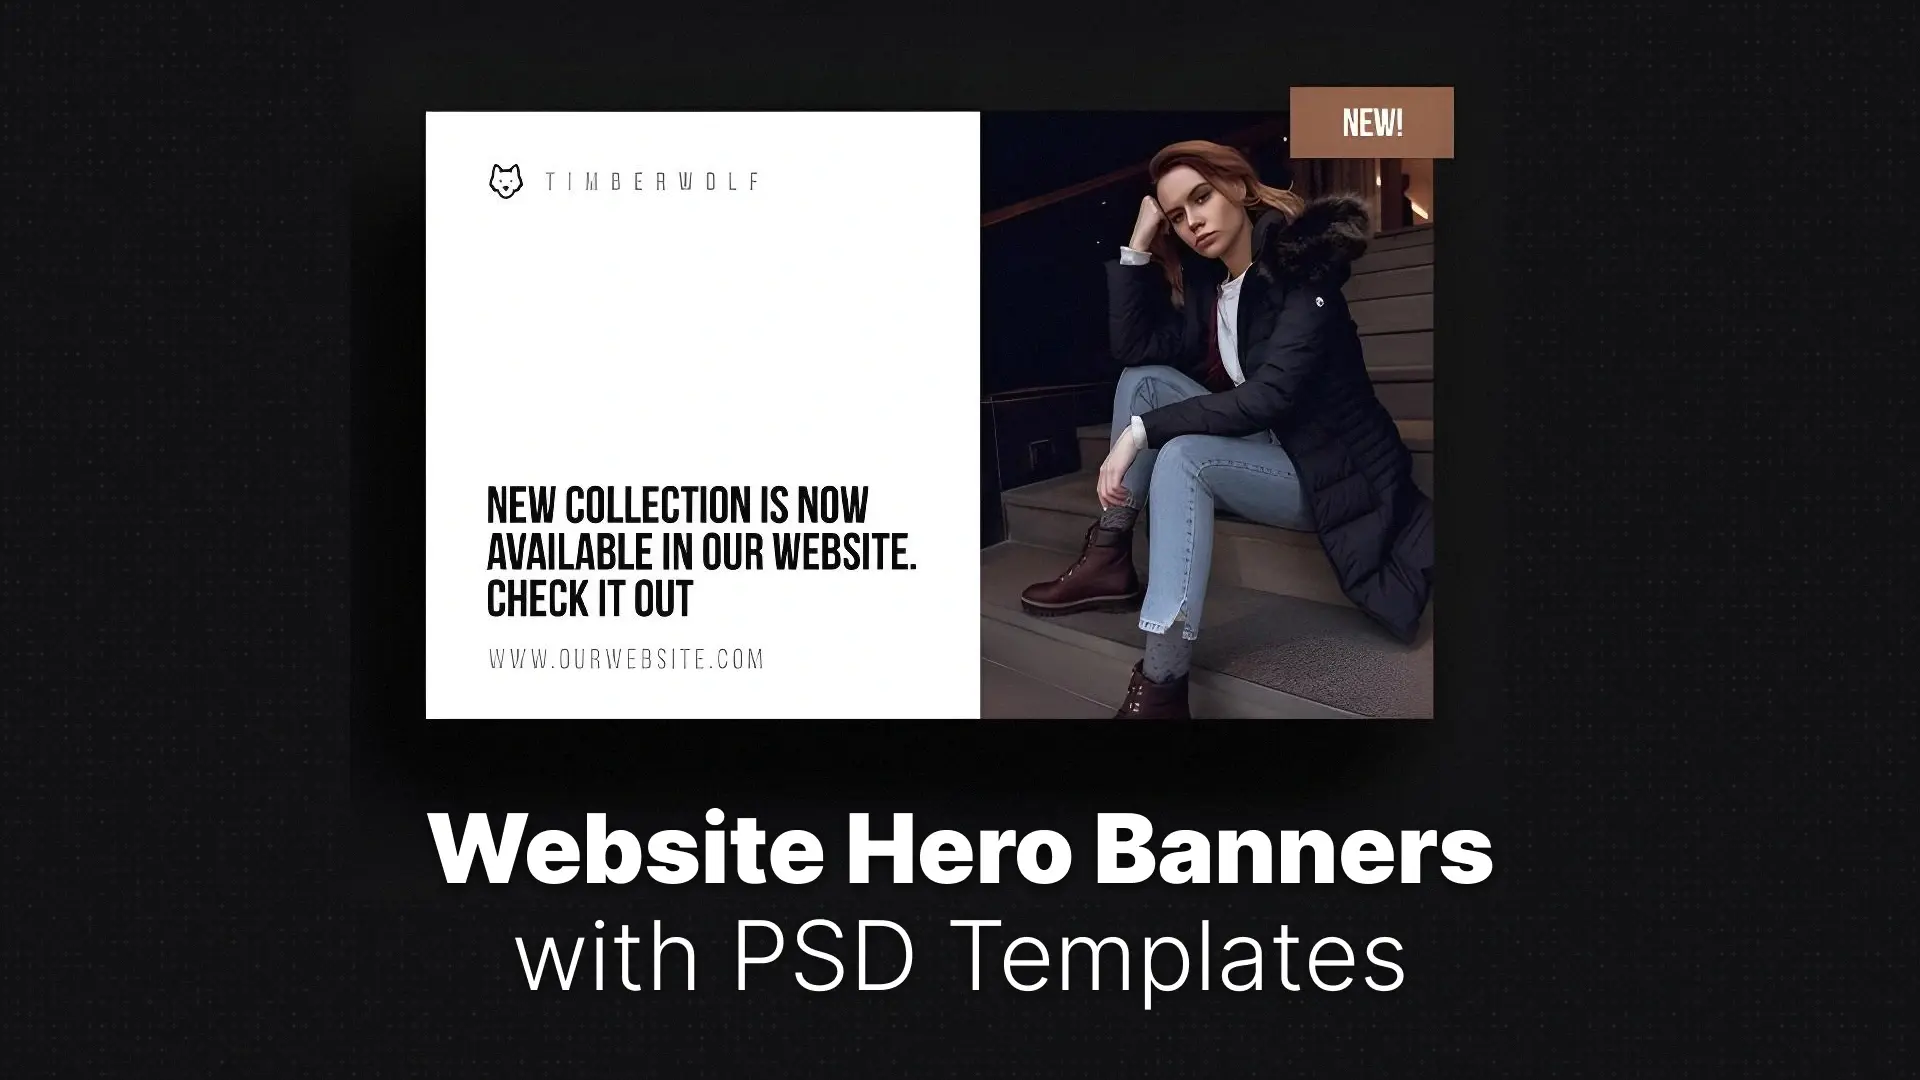
Professional Photoshop Templates

Why Professional Web Graphics Are Crucial for Online Success
- First Impressions Count: Your banner sets the tone and establishes trust instantly.
- Engagement & Retention: Compelling visuals encourage visitors to scroll, click, and stay.
- Communicate Value Fast: A well-designed hero conveys your unique selling point at a glance.
- Brand Authority: Professional web graphics boost credibility and brand trust.
- Drive Conversions: Strategic calls to action (CTAs), combined with powerful imagery, significantly increase click-throughs.
- Emotional Storytelling: Visuals guide the user experience and build emotional connection.
The Manual Web Graphic Marathon vs. The Conversion-Ready Kickstart
- Setting the canvas dimensions
- Designing for responsiveness
- Creating balanced layouts
- Choosing typography and color schemes
- Ensuring file size optimization
That’s hours (or days) of work — and without a design background, results may still fall short.
But what if you could skip the heavy lifting and access conversion-ready templates designed by professionals?
Pixflow Templates: Your Blueprint for High-Converting Web Graphics
🔗 Explore:
Why These Templates Work:
- Pre-Designed & Optimized: Modern layouts aligned with the latest web design trends.
- Modular & Flexible: Use complete hero sections or mix-and-match elements.
- Smart Object Layers: Swap in your own images, logos, or product visuals easily.
- Fully Customizable: Change colors, fonts, sizes — all within organized PSD layers.
- Responsive-Friendly: Base designs adapt well across screen sizes.
- Performance-Oriented: Templates are optimized to export web-friendly graphics without sacrificing quality.
- No Advanced Skills Required: Focus on visual storytelling and messaging, not technical complexity.
Your Quick Guide: Designing High-Converting Web Graphics with Pixflow Templates
Step 1: Define Your Goal & Choose a Template (3 minutes)
Start with clarity. What’s your primary CTA? Who is your target audience?
Then, browse the right category:
- For hero sections: UI Kits
- For backgrounds: Background Templates
- For headlines: Typography & Titles
Choose a layout that matches your message and brand aesthetic.
Step 2: Download & Open in Photoshop (1 minute)
- Download the PSD file
- Open in Photoshop (CC or later recommended)
Step 3: Insert Your Content (5–15 minutes)
- Use Smart Objects to drop in hero images, product shots, or illustrations
- Update text layers with your headline, subheadline, and CTA
- Replace icons or logos as needed
This step turns a template into a branded visual story.
Step 4: Customize Branding & UX (5–10 minutes)
- Change colors to match your brand palette
- Swap fonts for your preferred typefaces
- Adjust spacing, sizes, or alignment for better flow and legibility
These tweaks ensure that your landing page graphics in Photoshop not only look good but also feel uniquely yours.
Step 5: Export for Web (1–2 minutes)
Use:
- File > Export > Export As or
- File > Export > Save for Web (Legacy)
Choose:
- JPEG for photographs
- PNG for icons or transparent backgrounds
- WebP if you need higher compression with quality
Always balance image clarity with file size to keep load times fast.
Beyond Banners: The Strategic Impact of Templated Web Graphics
- ✅ Massive Time Savings: Launch campaigns in hours, not days.
- 🚀 Higher Conversion Rates: Strategically placed CTAs and visuals boost engagement.
- 🎨 Consistent Branding: Maintain brand identity across all landing pages.
- 💡 Enhanced UX: Clean design equals easier navigation and happier users.
- 🥇 Stand Out from the Competition: Impress with modern, polished aesthetics.
- 🙌 Empower Your Team: Even non-designers can create beautiful assets.
Conclusion
From UI Kits to Backgrounds and Typography Templates, everything is designed to help you work smarter and create visuals that perform.
Ready to transform your website’s first impression into a powerful conversion machine?
Stop struggling with bland web graphics!
👉 Explore Pixflow’s Photoshop Templates now
and start creating web visuals that truly wow.
Disclaimer : If you buy something through our links, we may earn an affiliate commission or have a sponsored relationship with the brand, at no cost to you. We recommend only products we genuinely like. Thank you so much.