Mastering Adobe Illustrator: A Comprehensive Guide for Beginners and Beyond
We’ve crafted this comprehensive Illustrator tutorial to serve as your go-to learning hub—perfect for absolute beginners and intermediate users alike. From understanding how to download and log in to Adobe Illustrator to mastering professional techniques, this blog will walk you through everything step by step. By the end, you’ll be fully equipped to tackle real-world design challenges and elevate your creative output.
Professional Illustraitor Templates

Getting Started: Your First Steps in Adobe Illustrator
Setting Up Your Workspace
The first step to mastering Adobe Illustrator is becoming comfortable with its interface. When you launch the program, you’ll see the Toolbar on the left, Panels on the right (like Layers, Properties, and Color), and the Artboard at the center—your digital canvas.
To start a new project, go to File > New and choose from presets for web, print, or custom sizes. Web projects typically use RGB color mode and pixels, while print projects require CMYK and inches or millimeters.
Navigate around your workspace easily using:
- Zoom Tool (Z) or hold Alt + Scroll to zoom in/out
- Hand Tool (H) to pan
- Rotate View Tool (Shift + H) to rotate the canvas for easier drawing
With these basics set, you’re ready to begin designing with confidence.
Understanding Vector vs. Raster
Before diving into design, it’s essential to understand what makes Adobe Illustrator vector graphics different from raster images. Unlike raster formats (like JPEGs or PNGs), which are made of pixels, vector graphics are composed of paths defined by mathematical formulas.
This means your artwork—especially logos and illustrations—can be scaled infinitely without losing quality. That’s why Illustrator is the top choice for projects like logo design, where clarity and precision are critical.
Whether you’re crafting a minimalist mark or a complex design, the vector format ensures your work stays sharp across all media.
The Core Tools: Your Illustrator Toolkit
The Must-Know Drawing Tools
At the heart of Adobe Illustrator’s power lies its drawing tools. Whether you’re sketching freehand or crafting complex paths, these tools form the basis of any design.
- The Pen Tool (P): This is Illustrator’s most precise drawing tool. Mastering it allows you to create smooth curves, clean corners, and editable paths. It’s indispensable when designing a logo in Adobe Illustrator or crafting vector illustrations.
Want to go further? Check out our advanced Illustrator templates here. - The Pencil Tool (N) and Brush Tool (B): For more organic, hand-drawn designs, these tools offer flexibility and creative freedom. You can also install Adobe Illustrator brushes to add texture, style, and flair to your artwork.
These tools lay the foundation for both beginners and professionals to turn ideas into precise vector graphics.
Creating and Manipulating Shapes
Illustrator’s shape tools simplify the process of building layouts and forms. Start with the Rectangle (M), Ellipse (L), Polygon, or Star Tool, then use the following features to manipulate them:
- Direct Selection Tool (A): Adjust anchor points and paths.
- Pathfinder Panel: Combine or subtract shapes.
- Shape Builder Tool (Shift + M): Click and drag to merge or erase parts of overlapping shapes.
A common question is: How to change the shape of text in Adobe Illustrator?
Here’s how:
- Select the text.
- Go to Type > Create Outlines to convert it to shapes.
- Use the Direct Selection Tool or Shape Builder Tool to adjust the paths like any other vector object.
The Power of Color and Gradients
Colors are crucial in defining mood and tone in your designs. Adobe Illustrator provides multiple ways to manage and customize color:
- Swatches Panel: Use predefined colors or load custom swatch libraries.
- Color Picker: Fine-tune exact values in HEX, RGB, or CMYK formats.
- Gradient Tool (G): Add depth with linear or radial gradients, adjust angle, position, and blend modes.
You can also build and save your own color palettes for consistency across brand or client work.

A Practical Project: How to Create a Logo in Adobe Illustrator
How to create a logo using Adobe Illustrator?
From Sketch to Vector
- Conceptualize your logo. Begin by sketching a few ideas on paper or digitally.
- Open Illustrator and create a new document with the appropriate size and color mode (RGB for digital, CMYK for print).
- Use the Pen Tool or Shape Tools to build the structure of your logo. Leverage grids and guides to align elements properly.
- Use the Pathfinder or Shape Builder Tool to clean up overlapping shapes and combine elements.
Whether you’re designing for a brand, personal project, or client, this workflow brings your idea to life in scalable vector form.
Adding Text and Finalizing Your Design
Once your symbol or icon is ready:
- Add a text element using the Type Tool (T).
- Choose a font that matches your brand personality. Consider kerning and alignment for a professional look.
- Apply effects like shadows, gradients, or outlines to enhance the design.
Exporting your logo:
- Go to File > Export > Export As and choose formats like SVG, PNG, or EPS depending on your needs.
- SVG is ideal for web, EPS for print, and PNG for transparent backgrounds.
Illustrator for Real-World Design Projects
Creating Custom Illustrations and Vector Art
Illustrator isn’t just for logos—it’s a powerhouse for crafting detailed illustrations and scalable artwork.
To create intricate Adobe Illustrator vector art, use a combination of:
- Pen Tool for controlled curves
- Brushes for expressive strokes
- Layers to manage complex compositions
Want to convert a photo or sketch into a vector? Use Image Trace:
- Import your raster image.
- Open the Image Trace Panel.
- Select a preset (e.g., black and white logo, sketch, or high fidelity photo).
- Click “Expand” to convert it into editable paths.
Adobe Illustrator for Fashion Design
Many designers in the apparel industry rely on Illustrator to create clean, professional garment sketches and production-ready files.
- Use shape tools and the pen tool to create technical flats.
- Add textures, patterns, and stitching with custom brushes.
- Utilize layers and artboards for front/back views and color variations.
This functionality is essential for those searching for Adobe Illustrator for fashion design or Adobe Illustrator design clothes tutorials.
UI/UX Design with Illustrator
While dedicated apps like Figma lead the pack for collaborative interface design, Illustrator’s powerful vector tools make it a surprisingly strong choice for UI/UX work — especially in the early visual design stages.
Why it works:
- Vector precision — UI elements like icons, buttons, and input fields scale perfectly across screen sizes, staying crisp at any resolution.
- Creative flexibility — When a project demands a custom, heavily illustrated visual style, Illustrator gives you more artistic control than most UI-specific tools.
- One-app workflow — If you’re already fluent in Illustrator, you can handle wireframes, UI components, and high-fidelity mockups without switching software.
The practical workflow: Start by setting up artboards for each screen (use the Artboard Tool, Shift+O), then build low-fidelity wireframes with simple grey shapes and placeholder text to nail your layout and hierarchy. Once the structure is solid, replace wireframe elements with polished UI components — convert frequently used elements like buttons and nav bars into Symbols so updates propagate automatically across every screen.
When to switch tools: Illustrator lacks built-in prototyping, real-time collaboration, and developer handoff. Use it for wireframing, creating visual assets, and building mockups — then export artboards as PNG or SVG and import into Figma or InVision when you need interactivity and team feedback.
For a complete step-by-step walkthrough covering wireframes, reusable UI kits, and high-fidelity mockups, see our full Practical Guide to UI/UX Design in Adobe Illustrator. You can also speed up your layouts with ready-made UI templates.
Using and Creating Templates
Templates save time and streamline repetitive tasks. Adobe Illustrator lets you create and reuse custom templates for projects like:
- Social media graphics
- Brand guidelines
- Infographics
- Adobe Illustrator resume template layouts
To find high-quality Adobe Illustrator templates for download, browse our design marketplace on Pixflow.
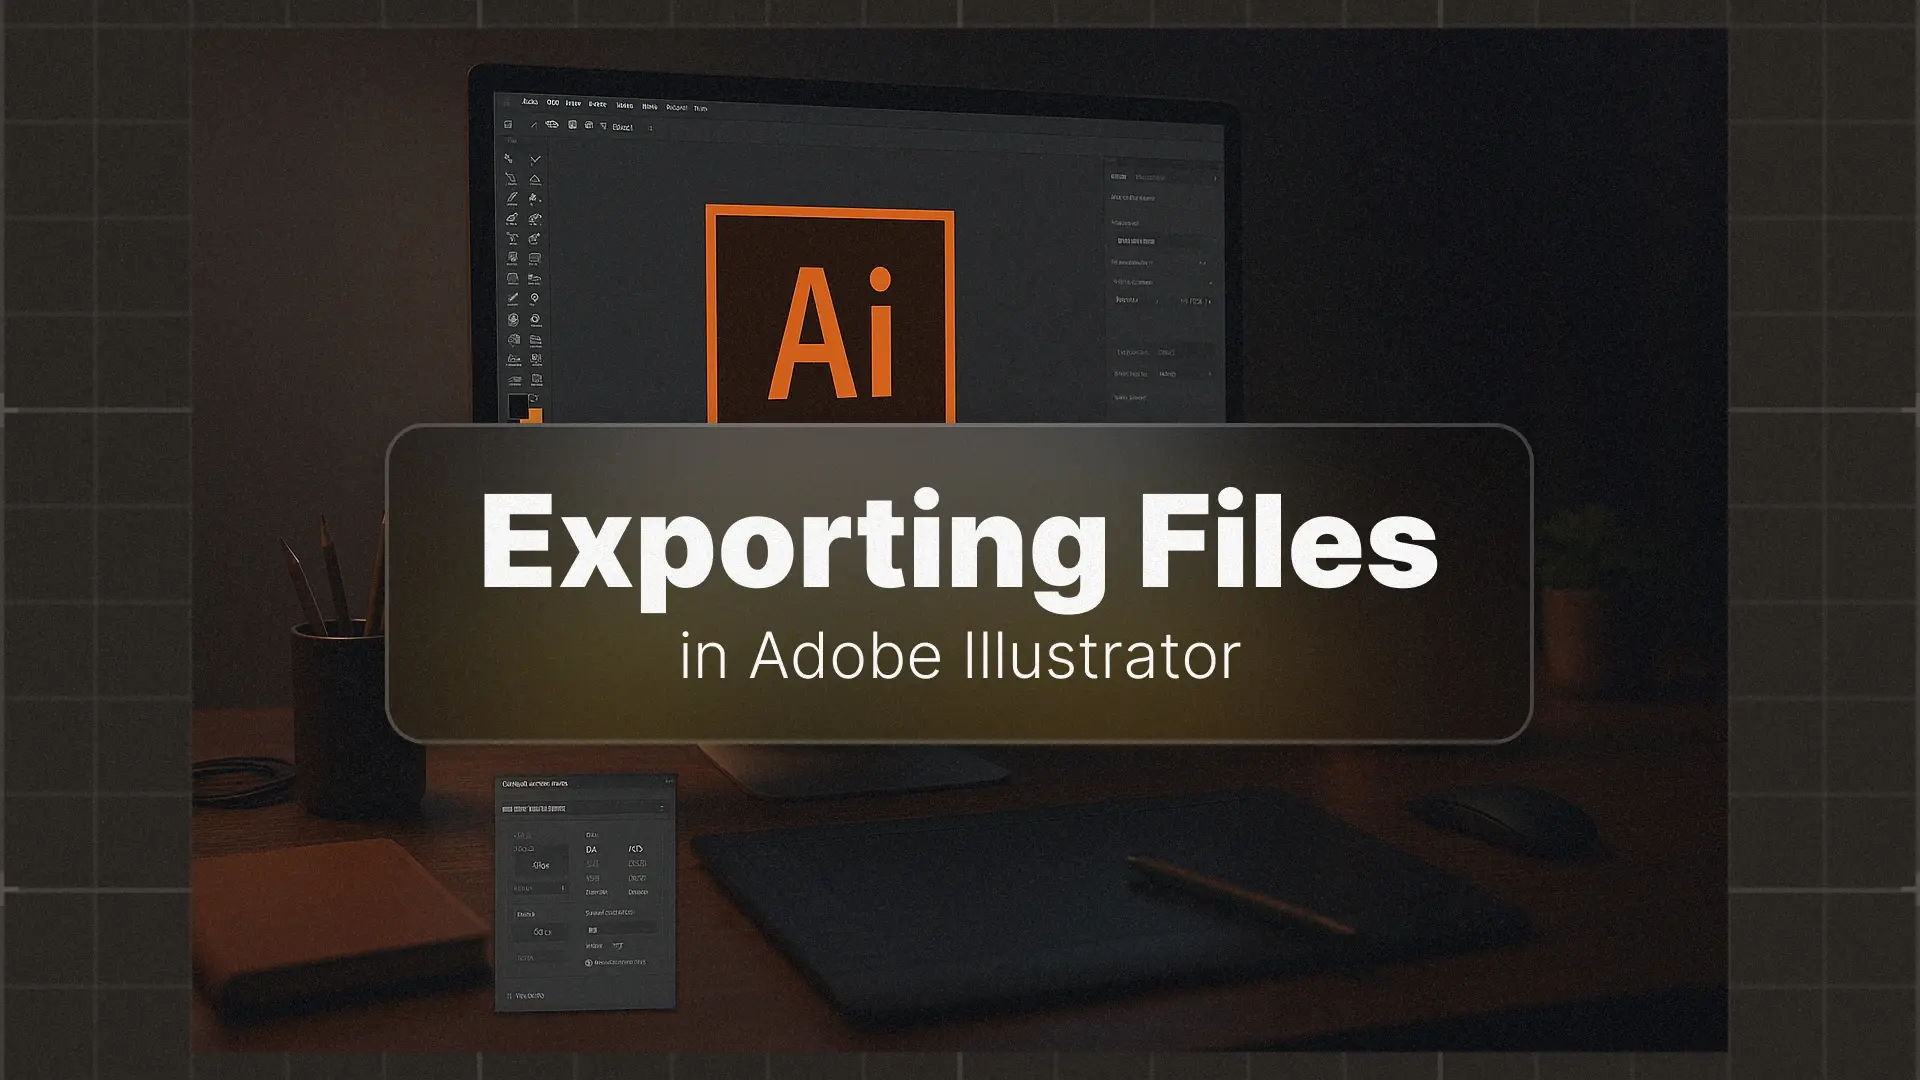
Preparing and Exporting Your Artwork
Understanding Export Options
After you’ve completed your design, it’s time to export it in the right format. Adobe Illustrator provides several options, each serving a different purpose:
- Save As: Best when you want to save your work as an editable .ai file. You can reopen and edit it later.
- Export for Screens: Ideal for exporting assets in multiple resolutions and formats, commonly used for UI/UX and web graphics.
- Save for Web (Legacy): Great for compressing images for websites while preserving quality.
Choosing the correct file format is critical depending on your design’s use case:
- PNG: Supports transparency, best for digital use.
- JPEG: Smaller file size, but no transparency.
- SVG: Perfect for web-based vector graphics, logos, and responsive designs.
- PDF or EPS: Ideal for print and preserving vector quality.
You can also automate exports by creating export presets—essential for batch processing or consistent file generation across projects.
Preparing Your File for Print
Before exporting a print project, take these essential steps to avoid common issues at the printer.
Outline all text: Fonts may not transfer correctly to a print shop. Select all text and press Ctrl+Shift+O (Cmd+Shift+O on Mac) to convert it to vector outlines. This locks in your typography exactly as designed, regardless of which fonts the printer has installed.
Embed raster images: If your design includes photos or textures, make sure they are embedded rather than linked. Go to Window > Links, select any linked images, and choose Embed from the panel menu. This packages everything into a single file so nothing goes missing.
Export a print-ready PDF: Go to File > Save As, choose Adobe PDF, and select the High Quality Print preset. Under Marks and Bleeds, check “Use Document Bleed Settings” to carry your bleed area into the final file. This gives the printer a clean, self-contained PDF ready for production.
Best Practices for Web and Print
To ensure your designs look great in any medium, follow these key practices:
- Color Modes:
- Use RGB for digital projects.
- Use CMYK for print to avoid unexpected color shifts.
- Resolution & Size:
- For web, aim for 72 PPI (pixels per inch).
- For print, use 300 PPI or higher for clarity and sharpness.
Setting Up Bleed and Safety Margins for Print
Color mode and resolution alone won’t guarantee a clean print. Two additional settings are critical for any project that will be physically cut and trimmed.
Bleed area: Bleed is the extra space around your design that extends beyond the trim line. It prevents unwanted white edges if the cut shifts slightly during production. When creating a new document, go to File > New and set the Bleed value to 0.125 inches (3 mm) on all sides. Any background colors, images, or design elements that reach the edge of your artwork should extend into this bleed zone.
Safety margins: Even with bleed set correctly, keep all essential content (text, logos, key graphics) at least 0.125 inches inside the trim line. This inner boundary acts as a buffer so nothing important gets clipped during trimming.
Raster effects resolution: If your design uses Illustrator effects like drop shadows or glows, go to Effect > Document Raster Effects Settings and set the resolution to High (300 PPI). This ensures those effects render at print quality rather than the default screen resolution.
These three steps, combined with CMYK color mode, form the foundation of a truly print-ready Illustrator file.
Be sure to test your exported files in their final environment—whether that’s a web browser, social media platform, or print proof.
Conclusion
Adobe Illustrator opens the door to limitless creativity—whether you’re building a brand identity, designing marketing assets, or illustrating your next portfolio piece.
Ready to create your own designs faster and smarter?
Explore our collection of high-quality Illustrator templates on Pixflow and start building like a pro.
Disclaimer : If you buy something through our links, we may earn an affiliate commission or have a sponsored relationship with the brand, at no cost to you. We recommend only products we genuinely like. Thank you so much.

Write for us
Publish a Guest Post on Pixflow
Pixflow welcomes guest posts from brands, agencies, and fellow creators who want to contribute genuinely useful content.
Fill the Form ✏