How to Create a Seamless Pattern in Illustrator (The Easy Way)
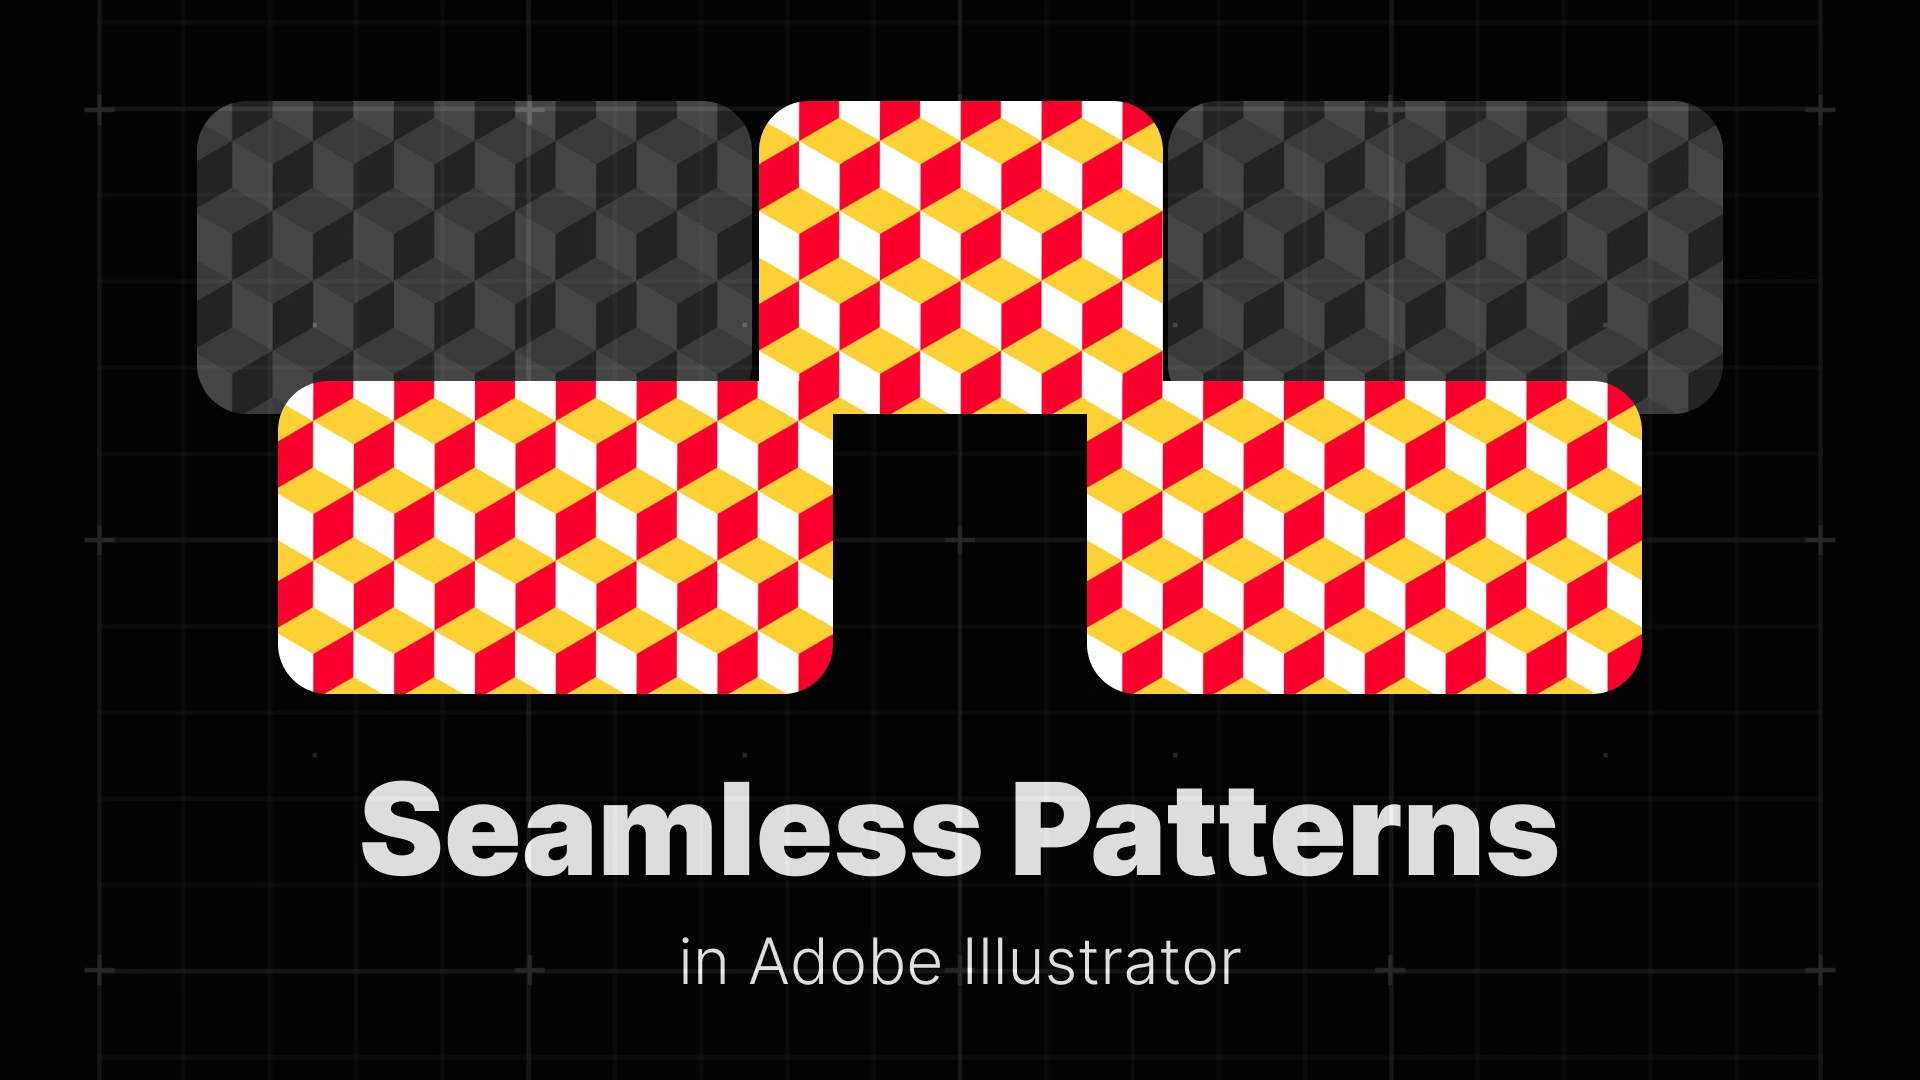
This step-by-step guide will teach you how to create a seamless repeating pattern in Illustrator, whether you’re making a geometric, floral, or abstract design. You’ll learn how to use the Pattern Maker tool, customize your pattern swatches, and apply your patterns to any shape — all without any distortion or confusion.
Professional Graphic Templates

Step 1: Creating Your Pattern Elements
Design Your Core Icons
Before you dive into the pattern options in Illustrator, start with the basics: create the vector elements that will form the base of your pattern.
These could be anything — flowers, geometric shapes, abstract forms, or custom icons. If you’re going for a clean surface pattern design in Illustrator, keep your elements consistent in style and color. To speed up your workflow, you can grab ready-made pattern assets from Pixflow’s pattern templates.
Arrange Your Motifs
Once your elements are ready, loosely arrange them in a square or rectangular layout on your artboard. This cluster will act as your initial tile — the repeating unit of the pattern.
There’s no need to worry about precise alignment yet. The Pattern Maker Illustrator tool handles all that for you.
Step 2: Using the Illustrator Pattern Maker Tool
How to Launch the Pattern Tool
Now the magic begins.
- Select all the objects you want in your pattern.
- Go to Object > Pattern > Make.
This action opens the Pattern Options panel and automatically creates a new Illustrator pattern swatch in your Swatches panel.
The Pattern Options Panel Explained
The Pattern Options panel is where you define how your pattern repeats. Let’s break down the key settings:
- Tile Type: This controls how your tile repeats. The default is Grid, but Brick by Row, Brick by Column, and Hex by Column offer more natural-looking layouts, great for floral or geometric patterns in Illustrator.
- Width & Height: These values adjust the space between your motifs. Use them to create tight or airy patterns.
- Overlap: If objects touch tile edges, this determines which elements appear in front.
- Copies: This shows repeated tiles around your original. Lower the opacity to focus while editing.
Want inspiration or templates to start with? Browse these pattern-ready graphic templates.

Step 3: Making Your Pattern Seamless
Editing in Real-Time
One of the best features of the Illustrator Pattern Tool is live editing.
While in Pattern Editing Mode, you can:
- Move
- Resize
- Rotate
- Delete
- Add new objects
Everything you do inside the blue tile instantly updates across the entire preview — giving you full control over the seamless pattern Illustrator result.
Filling the Gaps
To make your pattern visually balanced, focus on filling the gaps between elements. You don’t need perfect symmetry, but aim for flow and cohesion.
Check that the edges of your tile align naturally. This prevents harsh transitions when your pattern repeats — a common cause of visible seams.
Saving Your Pattern
Once you’re happy with the layout, click the “Done” button at the top.
Your new seamless pattern is now saved as a swatch in the Swatches panel. That’s it — you’ve made a vector pattern in Illustrator!
How to Edit and Apply Your New Pattern
How to Apply Your Pattern Fill
To use your pattern:
- Draw any shape — circle, rectangle, custom path.
- With the shape selected, open the Swatches panel.
- Click your new pattern swatch.
Boom — your shape is now filled with your repeating design. You’ve successfully applied a pattern to a shape in Illustrator.
How to Edit an Existing Pattern
Want to tweak your pattern later?
- Double-click the swatch in the Swatches panel.
- This reopens the Pattern Maker tool for live editing.
- Make your changes and hit Done to save.
This is especially helpful if you’re exploring floral pattern design or adjusting motifs for different clients.
How to Change the Scale of a Pattern
Need to resize the pattern inside a shape without changing the shape itself?
- Right-click the shape > Transform > Scale.
- In the dialog:
- Uncheck “Transform Objects”
- Check “Transform Patterns”
- Adjust the scale percentage.
This is a must-know trick when your Illustrator pattern fill looks too small or too large.
Conclusion
So go ahead, create your own vector pattern and apply it with confidence. Want to speed up your creative flow? Be sure to check out our in-depth guides on:
Happy pattern making!
Disclaimer : If you buy something through our links, we may earn an affiliate commission or have a sponsored relationship with the brand, at no cost to you. We recommend only products we genuinely like. Thank you so much.