A Beginner’s Guide to Character Design in Adobe Illustrator
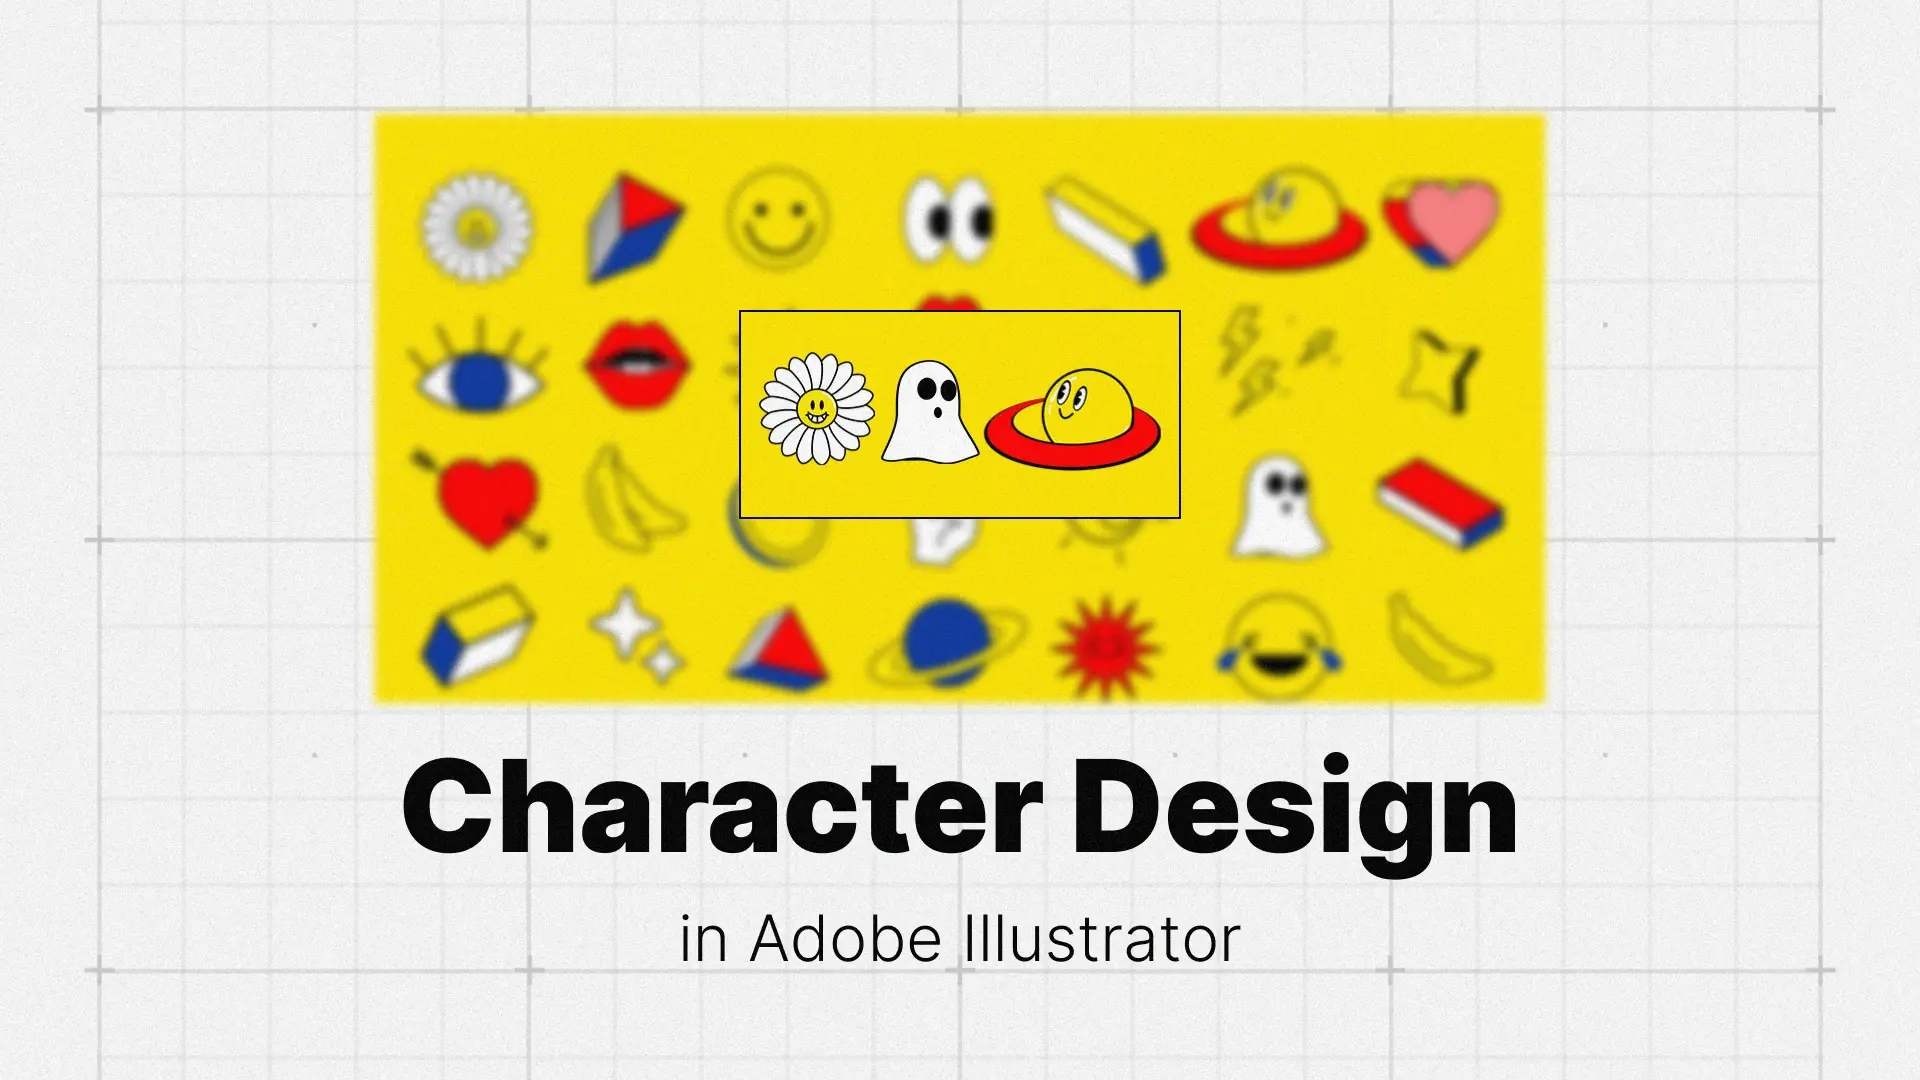
Character Design in Illustrator
Whether you’re aiming for a flat design character in Illustrator or something more detailed, this step-by-step guide will teach you the fundamentals of how to draw characters in Illustrator. From finding inspiration and sketching basic shapes to adding color and preparing for animation, you’ll have a complete vector character illustration ready for any project.
Professional Illustrator Templates
Step 1: The Foundation – Sketching & Shape Language
Finding Inspiration and Defining Personality
Before you draw a single line, ask yourself: Who is this character? Are they friendly, grumpy, energetic, shy? Defining their personality early will influence your choices in proportions, facial expressions, and accessories.
If you’re unsure where to start, browse inspiration boards, watch animated shorts, or check out professional Illustrator character design projects in marketplaces like Pixflow’s Illustrator templates.
The Power of Basic Shapes (Shape Language)
Great characters often begin with simple geometry:
- Circles → Friendly, safe, approachable
- Squares → Stable, strong, reliable
- Triangles → Dynamic, sharp, energetic
For example, a clumsy, lovable character might be built mostly from circles, while a cunning villain could be dominated by sharp triangles.
From Paper to Illustrator
Even in the digital era, starting with a quick pencil sketch can save you hours.
- Draw your concept loosely on paper.
- Take a photo or scan it.
- In Illustrator, place it on a locked template layer and trace over it using vector shapes.
This gives your final character design in Illustrator a more personal and intentional style.
Step 2: Building Your Character with Vector Tools
Constructing the Body with the Shape Builder Tool
Start by blocking out the main forms — head, torso, and limbs — with basic ellipses and rectangles.
Select them all, then use the Shape Builder Tool (Shift+M) to merge shapes into clean silhouettes. This is the foundation of flat design character illustration and ensures every line is crisp and scalable.
How to Draw a Cartoon Face
Faces bring characters to life. Here’s a quick Adobe Illustrator cartoon character face tutorial:
- Eyes: Two simple circles, with smaller circles for pupils.
- Nose: A small triangle or oval.
- Mouth: A curved path (Pen Tool) or ellipse with cutouts.
Small adjustments—like raising one eyebrow or tilting the mouth—can completely change the mood.
Refining Lines with the Pen and Pencil Tools
- Pen Tool: Perfect for sharp, precise contours.
- Pencil Tool: Great for natural, organic strokes such as hair or fabric folds.
Combining the two helps balance geometric structure with human-like fluidity.
Step 3: Adding Color, Detail, and Personality
How to Color a Character in Illustrator
Your palette should reflect personality—bright and bold for playful characters, muted tones for serious or mysterious ones.
Two coloring options:
- Live Paint Bucket → Fast and intuitive.
- Swatches + Eyedropper Tool → More control and consistency.
Adding Shading and Highlights
For depth without overcomplicating, add semi-transparent darker shapes for shadows and lighter ones for highlights. This works especially well for flat design characters in Illustrator.
Accessorize!
Accessories instantly add storytelling. Glasses, hats, headphones, or props can give your vector character illustration a unique twist. You can explore premade prop vectors on our Illustrator resources.
Preparing Your Character for Animation (Rigging Basics)
Why Layering is Crucial
If you want to animate in After Effects or Animate, each moving part must be on its own layer. For example:
- Head
- Torso
- Left Arm → Left Forearm → Left Hand
- Right Arm → Right Forearm → Right Hand
- Legs and feet
A Basic Rigging Checklist
- Separate layers for every movable part.
- Group related parts (e.g., all head elements together).
- Name layers clearly so animators can work efficiently.
Conclusion
Now it’s your turn: sketch a simple monster or a friendly robot today, and watch it evolve into a polished vector character illustration.
For more Illustrator know-how, check out these guides:
Disclaimer : If you buy something through our links, we may earn an affiliate commission or have a sponsored relationship with the brand, at no cost to you. We recommend only products we genuinely like. Thank you so much.

