A Beginner’s Guide to Using Adobe Illustrator for Fashion Design

Illustrator for Fashion Design
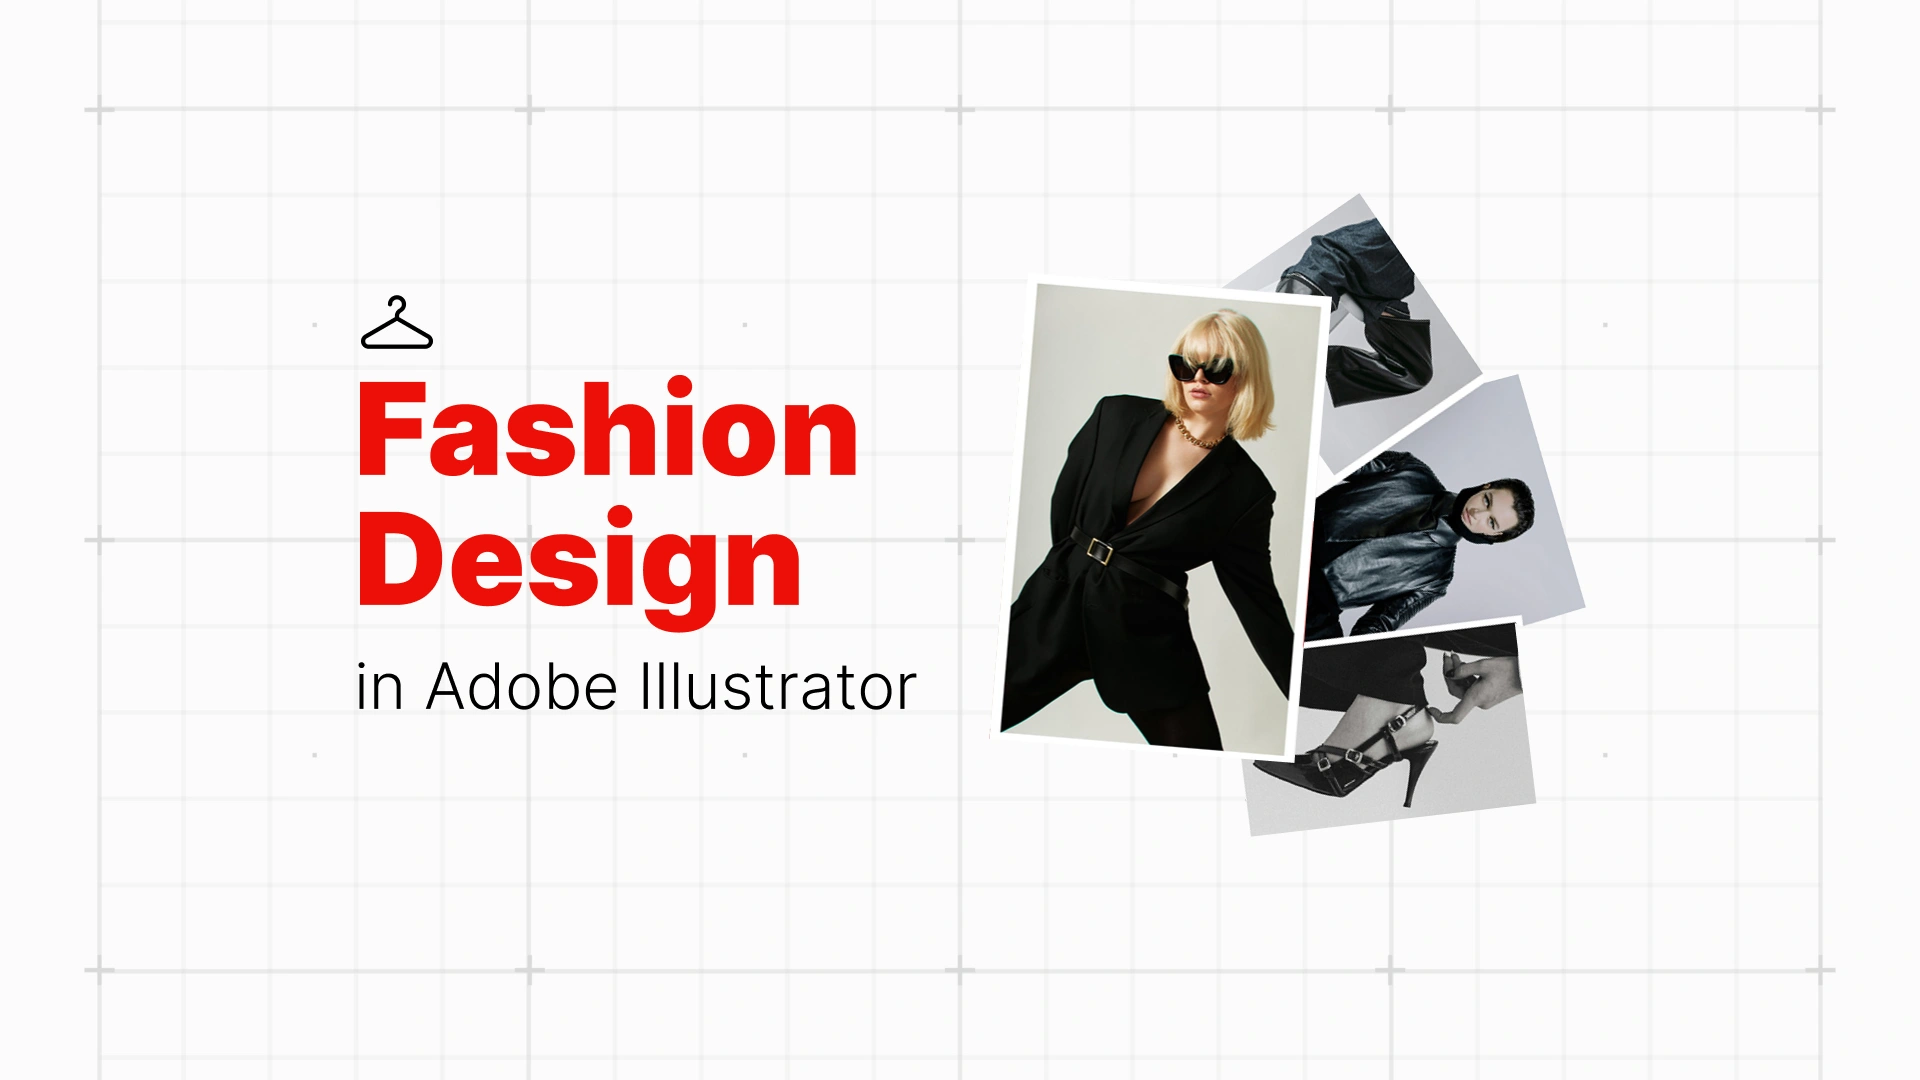
In this beginner’s guide, you’ll learn exactly how to use Illustrator for fashion design—from drawing clean fashion flats and fashion illustrations to adding realistic details and preparing your work for manufacturing. Whether you’re sketching a flowing gown or assembling a precise technical flat in Illustrator, this guide will help you take your designs to the next level.
Professional Illustrator Templates
Why Illustrator is the Industry Standard for Fashion
The Power of Vector for Clean Lines
Fashion manufacturers rely on technical flats that are clear, accurate, and easy to scale without losing quality. This is exactly where vector graphics shine. Unlike raster images, vector lines in Illustrator remain perfectly sharp no matter how much you zoom in or resize. This ensures your fashion CAD drawings look clean on screen, in print, and on production sheets.
All-in-One Tool
Adobe Illustrator for fashion design is more than just a drawing app—it’s a complete production environment. You can start with a fashion illustration, refine it into a technical drawing, add details, and then assemble it into a tech pack—all without leaving the program. This streamlines your workflow and ensures consistency in your design files.
The Core Skill: How to Draw Fashion Flats
Setting Up Your Document
Begin by placing a croquis (a fashion figure template) on a locked layer. This gives you a proportionally accurate guide to work over, helping you maintain proper body and garment measurements.
Drawing with the Pen Tool
Select the Pen Tool (P) and start tracing one side of the garment—such as the left half of a T-shirt. Keep your curves smooth and your anchor points minimal for a cleaner look. If you’re new to the Pen Tool, practice is key. You can explore Illustrator templates to speed up your learning.
Reflect and Join for Perfect Symmetry
Once one side is complete, use the Reflect Tool (O) to mirror it. Align both halves and use Object > Path > Join to merge anchor points, creating a perfectly symmetrical fashion flat sketch.
Adding Realistic Details to Your Garments
How to Create a Stitch Brush
To draw stitches in Illustrator for fashion, make a short dashed line and save it as a Pattern Brush or Scatter Brush. You can then apply it along any seam path instantly.
Drawing Zippers, Buttons, and Ribbing
Use simple shapes like circles for buttons, rectangles for zippers, and repeated line patterns for ribbing. Keep them vector-based so they scale perfectly.
How to Create and Apply Fabric Patterns
Open Object > Pattern > Make to create seamless swatches like stripes, plaids, or polka dots. Apply these swatches to garment areas for realistic pattern making in Illustrator. For a deeper dive, see our “How to Create Patterns” tutorial blog.
Beyond Flats: Creative Fashion Illustration
Adding Color and Movement
Fashion illustration in Illustrator doesn’t have to be static. Add gradient fills for shading, apply textured brushes for fabric effects, and use diagonal strokes to imply drape and flow.
Illustrator vs. Procreate for Illustration
While Procreate excels for freehand sketching and painterly effects, Illustrator remains unmatched for scalable, production-ready vector art. Many designers sketch in Procreate, then finalize their designs in Illustrator for technical precision.
The Final Step: Building a Tech Pack
What is a Tech Pack?
A tech pack is your garment’s blueprint—a complete set of instructions that tells manufacturers exactly how to produce your design.
Key Elements of a Tech Pack
Include the following:
- Fashion flats (front and back)
- Construction details with labeled callouts
- Colorway and fabric swatch information
- Measurement tables for each size
You can streamline this process by using fashion flat templates for Illustrator as a starting point.
Conclusion
Your next step? Grab a simple garment from your closet and draw it as a fashion flat sketch in Illustrator. And if you want to truly master garment drawing, start with the Pen Tool—check out our complete guide: Mastering the Pen Tool in Adobe Illustrator.
Disclaimer : If you buy something through our links, we may earn an affiliate commission or have a sponsored relationship with the brand, at no cost to you. We recommend only products we genuinely like. Thank you so much.


