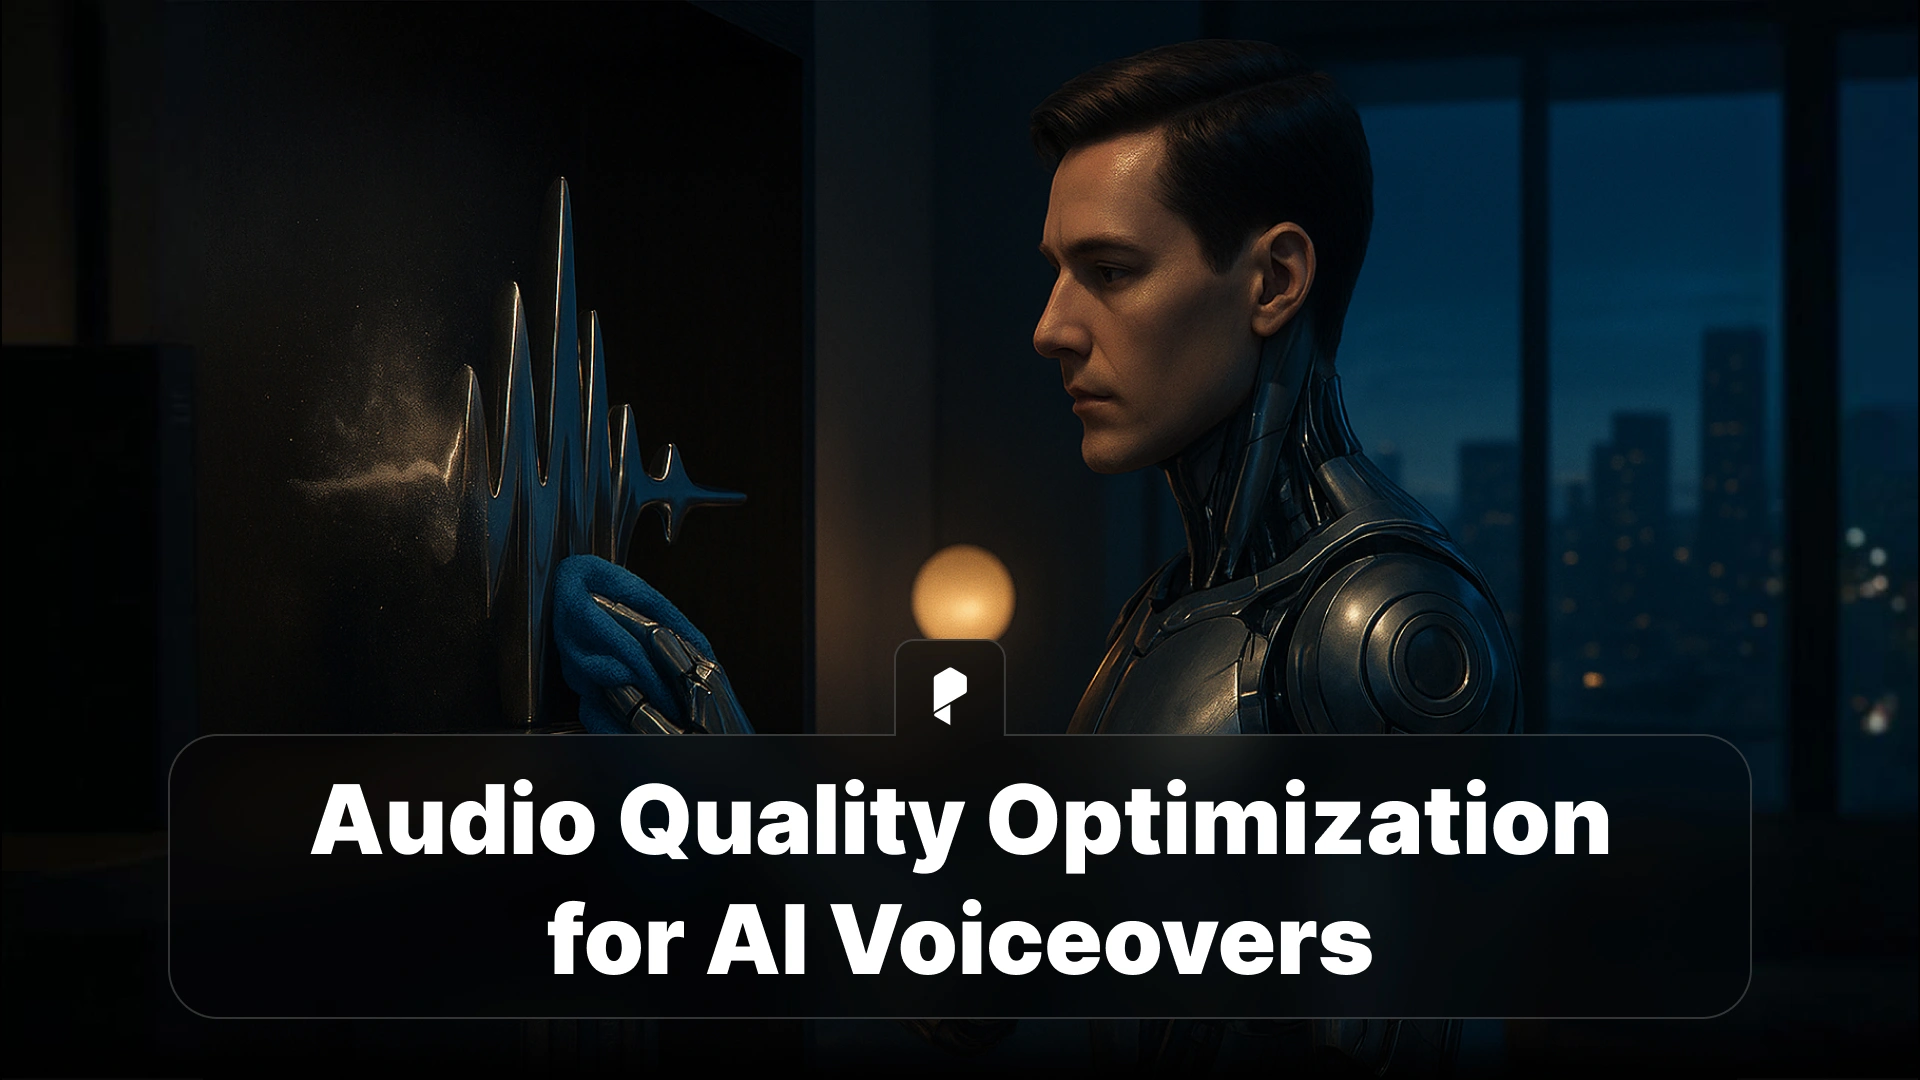
Audio Quality Optimization for AI Voiceovers

Through techniques like AI voice mixing and mastering, equalization, and noise reduction for AI audio, creators can transform a basic synthetic recording into a polished, broadcast-quality voice track. Post-processing gives depth, warmth, and realism to AI voices, making them more engaging and emotionally resonant.
If you’re new to the world of AI audio, you can explore our detailed AI Voiceovers: The Complete Guide for an overview of how AI-generated voices are created and how they fit into professional workflows.
Why Audio Optimization Matters
Audio quality plays a critical role in viewer engagement and brand credibility. Studies show that audiences subconsciously associate audio clarity with professionalism. A crisp, well-balanced voiceover enhances emotional connection, while a dull or harsh one can break immersion, even if the visuals are stunning.
Imagine listening to two versions of the same narration: one straight out of an AI generator and one that’s been cleaned, EQ’d, and compressed. The latter feels richer, more balanced, and emotionally expressive. That’s the power of proper AI voiceover post-processing.
To learn more about how these voices are made before optimization, check out The AI Models Behind Voiceovers (TTS, Neural Synthesis).
Clean Your Audio
Use audio cleanup tools like Adobe Audition, iZotope RX, or Audacity to remove unwanted noise. A simple high-pass filter around 80–120Hz helps eliminate low-end rumble that might muddy the mix. When applying noise reduction for AI audio, avoid over-processing, as excessive filtering can make the voice sound thin or artificial.
This step lays the foundation for clarity and ensures that every following adjustment, like EQ or compression, works effectively.
If you want to see how AI voiceovers integrate into your creative process, visit Integrating AI Voiceovers Into Workflows (APIs, Plugins).
Equalization (EQ)
- Boost 2–5kHz for presence and clarity. This helps the voice cut through background music or sound effects.
- Gently reduce 6–8kHz if the AI voice sounds too sharp or “sibilant.”
- Add warmth by enhancing 120–250Hz, especially for deeper or gender-neutral voices.
A balanced EQ curve adds body and smoothness to the tone, reducing the digital edge that some AI models produce. Subtle adjustments can make a big difference, helping you enhance clarity in AI narration without sacrificing naturalness.
If you’re editing inside Adobe software, you can follow our detailed guide on Adding AI Voiceovers in Premiere Pro / After Effects for tips on EQ and audio filters directly within your workflow.
Compression and Dynamics
Apply light compression with a ratio of 2:1 or 3:1 and a threshold around -18dB. This helps smooth out peaks while keeping the voice natural. Follow it with a limiter to prevent clipping and maintain consistent volume across the entire track.
For platform-specific targets, aim for -14 LUFS when mastering AI voiceovers for YouTube, and -16 LUFS for podcasts. These settings ensure your voiceovers meet professional broadcast standards.
Compression and limiting make your AI voice mixing and mastering sound controlled and confident. Key ingredients in creating a professional AI voice sound that holds the listener’s attention.
If you’re producing content for social media platforms like YouTube, you can check out AI Voiceovers for Social Media: TikTok, Instagram Reels, and YouTube Shorts, for guidance on combining generation and post-production efficiently.
Matching AI Voice with Background Music
Start by applying sidechain compression to slightly “duck” the music under the voice whenever dialogue is present. This ensures that the voice remains intelligible without needing to reduce the music too much.
Next, balance the tone and brightness of both elements. If your background track is bright and full of high frequencies, gently lower that range so it doesn’t mask the voice’s clarity band (2–5kHz). Always maintain at least -6dB of headroom in your final mix to avoid distortion.
Properly matching your AI narration with music can make even simple projects feel cinematic and immersive. For real-world use cases, see how professionals are AI Voiceovers in Film & Animation to bring storytelling to life.
Exporting with the Right Settings
Normalize your final audio so the loudest peaks reach just below 0dB without distortion. Consistency is key, each section of your video or podcast should maintain similar volume levels.
Following these best practices ensures your voiceovers retain their professional polish regardless of where they’re played. For detailed setup tips, explore AI Voiceovers in Gaming & Interactive Media where precision audio mixing plays an important role in immersion. And for a professional experience of making AI voices, check out Pixflow’s AI Voiceover plugins.
Common Mistakes to Avoid
- Over-compressing: Too much compression makes the audio sound lifeless and distorted.
- Excessive reverb: This often exposes the synthetic nature of AI voices rather than masking it.
- Neglecting EQ: Skipping equalization leaves the voice sounding dull or thin.
- Ignoring loudness standards: Inconsistent volume between clips or platforms reduces professionalism.
Treat your AI voiceovers the same way you would handle a real actor’s recording, with subtle adjustments that enhance rather than overpower.
Tools and Plugins for Better AI Voiceovers
- Creating AI voices: Pixflow’s AI Voiceover plugins
- Editing and cleanup: Adobe Audition, Audacity
- Noise and clarity tools: iZotope RX, Krisp, Adobe Enhance Speech
- Mixing and mastering plugins: Waves Vocal Rider, FabFilter Pro-Q3, iZotope Nectar, Auphonic
These tools can help you improve AI voiceover quality, remove background noise from AI-generated voice, and enhance clarity in AI narration efficiently. For more insights into crafting lifelike performances, visit Customizing AI Voices (Emotion and Pacing).
Conclusion
Think of it this way: AI gives you the raw material, but audio quality optimization for AI voiceovers gives it soul. When polished properly, AI voices can compete with human narrators in clarity and professionalism.
Creators who take the time to refine their sound stand out with content that feels premium and immersive.
Disclaimer : If you buy something through our links, we may earn an affiliate commission or have a sponsored relationship with the brand, at no cost to you. We recommend only products we genuinely like. Thank you so much.


