The Complete Guide to Lighting Setup for Home Studio Video Production

- Understanding Three-Point Lighting
- Essential Lighting Equipment for Home Studios
- Key Light Setup and Placement
- Fill Light Techniques
- Back Light for Depth
- Lighting Setups for Different Scenarios
- Modifiers and Light Control
- Budget-Friendly Lighting Solutions
- Color Temperature and White Balance
- Fixing Lighting Issues in Post-Production
In this comprehensive guide, we’ll walk you through everything you need to know about lighting for home studio video production, from understanding the fundamentals of three-point lighting to choosing the right equipment and creating professional setups for different scenarios.
Understanding Three-Point Lighting: The Foundation
The three lights in this setup each serve a distinct purpose. The key light is your primary light source, providing the main illumination for your subject. The fill light softens shadows created by the key light, controlling contrast. The back light (also called a rim light or hair light) separates your subject from the background, adding depth and dimension to your image.
This setup isn’t just a formula to follow blindly. It’s a framework that helps you think about how light interacts with your subject. Understanding the purpose of each light gives you the creative freedom to adjust intensity, position, and quality to achieve exactly the look you want.
Essential Lighting Equipment for Home Studios
For your key light, consider a powerful LED panel like the Godox SL-60W, which offers 60 watts of consistent, flicker-free light with adjustable brightness. If you’re working with a tighter budget, the Neewer 660 LED panel provides excellent value with bi-color temperature control. For those who want to invest in a premium option, the Aputure Amaran 200d delivers exceptional color accuracy and brightness control.
Light stands are equally important. You’ll want sturdy, adjustable stands that can support your lights safely. A good Neewer light stand set typically includes multiple stands at different heights, giving you flexibility in positioning. For more advanced setups, C-stands offer superior stability and the ability to position lights in ways standard stands cannot.
Modifiers shape and control your light quality. A Neewer softbox kit is an excellent starting point, providing soft, flattering light that reduces harsh shadows. For a more focused, wrap-around quality, a Godox 90cm octagon softbox creates beautiful results, especially for interviews and talking head videos.
Don’t overlook light control tools. Light diffusion panels help soften harsh light sources, while 5-in-1 reflector kits and black flags give you precise control over where light falls and where it doesn’t.
Key Light Setup and Placement
The height of your key light matters significantly. Placing it too low creates an unnatural, eerie look. Too high, and you’ll cast unflattering shadows under the eyes and nose. Aim for a position slightly above eye level, angled down toward your subject at about 30-45 degrees.
Distance affects both intensity and the quality of light. Closer lights create harder shadows with more dramatic falloff, while lights positioned further away produce more even illumination with gentler shadow transitions. Start with your light about 3-4 feet from your subject and adjust based on the look you want to achieve.
Using a softbox or diffusion modifier on your key light is almost always recommended for interview and talking head content. The Godox 90cm octagon softbox wraps light beautifully around facial features, creating a professional, flattering result that viewers associate with high-quality production.
Fill Light Techniques
Position your fill light on the opposite side of your subject from the key light, typically at a similar angle but lower intensity. A good starting ratio is 2:1 or 3:1, meaning your key light is two or three times brighter than your fill light. This maintains depth while keeping shadows under control.
You don’t always need a dedicated light for fill. 5-in-1 reflector kits work beautifully as fill light sources, bouncing light from your key light back onto the shadow side of your subject. White reflectors provide neutral fill, silver creates more intensity, and gold adds warmth to skin tones.
For dedicated fill lights, small LED panels offer excellent control and adjustability. Mount them on boom arms for precise positioning without cluttering your shooting space with additional stands.
Back Light (Rim Light) for Depth
Place your back light high and behind your subject, angled down toward the top of their head and shoulders. The light should be just out of frame. You want to see the effect (a gentle rim of light along the hair and shoulders) without seeing the light source itself.
Back lights don’t need to be as powerful as your key light. In fact, a small, focused light often works better than a large, bright source. The goal is a subtle accent, not a strong spotlight effect. Adjust the intensity until you see a clear separation between your subject and background without the rim becoming distracting or overpowering.
RGB accent lights like Govee or Philips Hue can serve double duty as creative back lights, allowing you to add color to your rim lighting for a more stylized look. This works particularly well for gaming content, tech reviews, or any video where a modern, dynamic aesthetic fits your brand.
Lighting Setups for Different Scenarios
Talking Head Videos and Vlogs
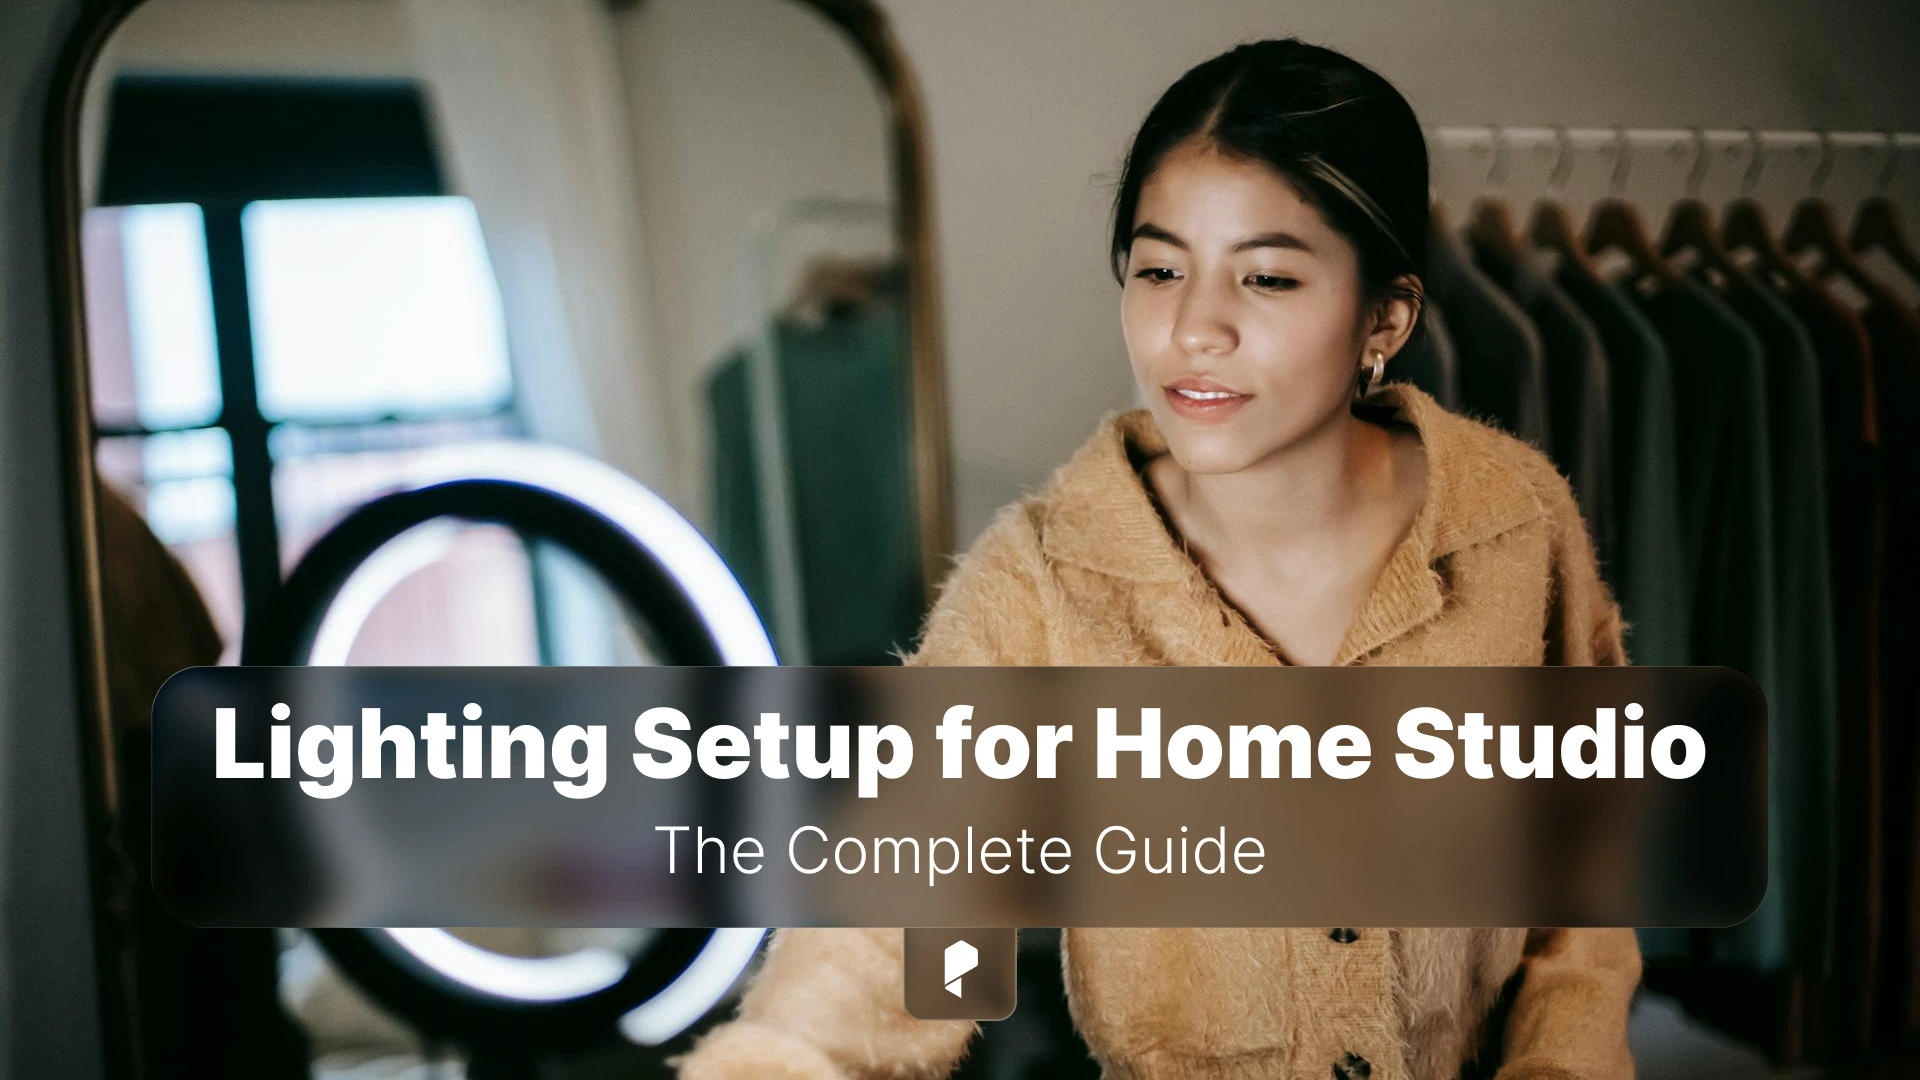
For solo talking head content, a modified three-point setup works perfectly. Use a large, soft key light positioned at 45 degrees to camera left or right, a subtle fill (either a light or reflector) on the opposite side, and a back light for separation. Consider using a ring light as an on-axis fill for an especially flattering, shadow-free look that works well for beauty content, makeup tutorials, or any situation where you want maximum facial detail.
Interview Setups
Interviews typically feature two people, which means you need to light both subjects consistently while maintaining visual interest. A common approach is to use two key lights (one for each person) positioned at 45-degree angles. Each person’s key light can serve as the other person’s back light, creating an efficient setup that looks balanced on camera.
Product Photography and Demonstration Videos
Product shots require even, shadow-free lighting that shows detail without creating distracting reflections. Position two lights at 45-degree angles on either side of your product, using diffusion to create soft, even illumination. Add a third light from above or behind to create separation and highlight edges. Light diffusion panels are especially valuable here, softening multiple light sources to eliminate harsh shadows entirely.
Green Screen Setups
Green screen work requires separate lighting for your subject and your background. Light your subject using standard three-point lighting, then add dedicated lights for the green screen itself. The key is even illumination across the entire screen with no shadows or hot spots. Position lights at 45-degree angles on both sides of the screen, far enough away to create even coverage.
Modifiers and Light Control
Softboxes are the most versatile modifiers for video work. They enlarge the effective size of your light source, creating soft shadows and even illumination. The Neewer softbox kit is an affordable option that includes multiple sizes for different applications. Larger softboxes create softer light, while smaller ones maintain more direction and contrast.
Octagonal softboxes like the Godox 90cm octagon softbox are particularly flattering for faces. The circular shape creates round catchlights in eyes (that attractive sparkle you see in professionally lit faces) and wraps light around facial features more naturally than rectangular softboxes.
Diffusion panels work differently than softboxes. Rather than attaching directly to your light, these standalone panels sit between your light source and your subject, spreading and softening the light as it passes through. This technique is especially useful when working with multiple lights or when you need to soften a strong light source quickly.
Flags and negative fill control where light doesn’t go. Black flags block light from hitting specific areas, creating more dramatic shadows or preventing lens flare. This subtractive approach to lighting is just as important as adding light. Sometimes the best way to improve your lighting is to take light away from areas where it’s causing problems.
Budget-Friendly Lighting Solutions
Ring lights offer exceptional value for solo content creators. Originally popular with makeup artists and beauty YouTubers, ring lights provide soft, even, shadow-free illumination that’s especially flattering for faces. Modern ring lights include adjustable brightness and color temperature, making them versatile enough for many shooting scenarios. While they won’t give you the directional control of a full three-point setup, they’re perfect for quick setup and consistent results.
Clamp lights with daylight-balanced bulbs are the most budget-friendly option. You can find these at any hardware store. Pair them with white shower curtains or bedsheets as DIY diffusion, and you’ll have soft light at a fraction of the cost of professional equipment. The results won’t match high-end gear, but you can create perfectly usable content while building toward better equipment.
Natural window light costs nothing and can look beautiful when used correctly. Position your subject facing a large window, using the window as your key light. Add a reflector (or white poster board) on the opposite side for fill. This setup works best on overcast days when the light is soft and even, or when using sheer curtains to diffuse direct sunlight.
Color Temperature and White Balance
Daylight is approximately 5600K, appearing neutral or slightly cool. Tungsten bulbs are around 3200K, creating a warm, orange glow. Standard home LED bulbs often fall somewhere in between. When lights with different color temperatures mix in your scene, the result is a muddy, unprofessional look that’s difficult to fix in post-production.
Choose lights with adjustable color temperature, like the Neewer 660 LED panel, which offers bi-color control. This allows you to match your artificial lights to available light in your space, or to intentionally create warm or cool looks for specific creative effects.
Set your camera’s white balance manually rather than relying on auto white balance. Auto white balance shifts as your subject moves or as light conditions change, creating inconsistent color between shots. Manual white balance ensures every shot matches, making editing much easier and creating a more professional final product.
Fixing Lighting Issues in Post-Production
Premiere Pro’s Lumetri Color panel is your primary tool for lighting corrections. Use the Basic Correction section to adjust exposure if your footage is slightly too dark or bright. The Tone Curve allows more precise control over specific brightness ranges, letting you lift shadows without blowing out highlights, or pull down highlights without crushing blacks.
The Creative section lets you apply color grades that enhance the mood created by your lighting. Even well-lit footage benefits from subtle grading that adds polish and visual consistency across your project.
White balance corrections in Premiere Pro can save footage shot with mismatched color temperatures, though it’s always better to get this right in camera. Use the Temperature and Tint sliders in the Basic Correction section to neutralize color casts or to intentionally warm or cool your footage for creative effect.
Remember that post-production is for refinement, not rescue. No amount of color correction can fix fundamentally poor lighting. Invest time in lighting your shots properly during production, and use Premiere Pro to add that final layer of professional polish.
Conclusion
Start with the fundamentals: three-point lighting gives you a proven framework for creating depth and dimension. Invest in quality equipment like the Godox SL-60W LED light, Neewer 660 LED panel, or Aputure Amaran 200d for your key light, and build your kit gradually with softboxes, stands, and modifiers that give you control over light quality.
Remember that lighting is both technical and creative. Learn the rules and principles, but don’t be afraid to break them when a different approach serves your creative vision better. Experiment with different setups, study how professional productions handle lighting, and develop your own style.
The lighting techniques and equipment recommendations in this guide give you everything you need to create professional-quality video content from your home studio. Whether you’re shooting interviews, product reviews, vlogs, or creative projects, proper lighting will elevate your work and help your content stand out in an increasingly crowded digital landscape.
Disclaimer : If you buy something through our links, we may earn an affiliate commission or have a sponsored relationship with the brand, at no cost to you. We recommend only products we genuinely like. Thank you so much.

Write for us
Publish a Guest Post on Pixflow
Pixflow welcomes guest posts from brands, agencies, and fellow creators who want to contribute genuinely useful content.
Fill the Form ✏


