Essential Video Production Gear for Beginners Under $1,000
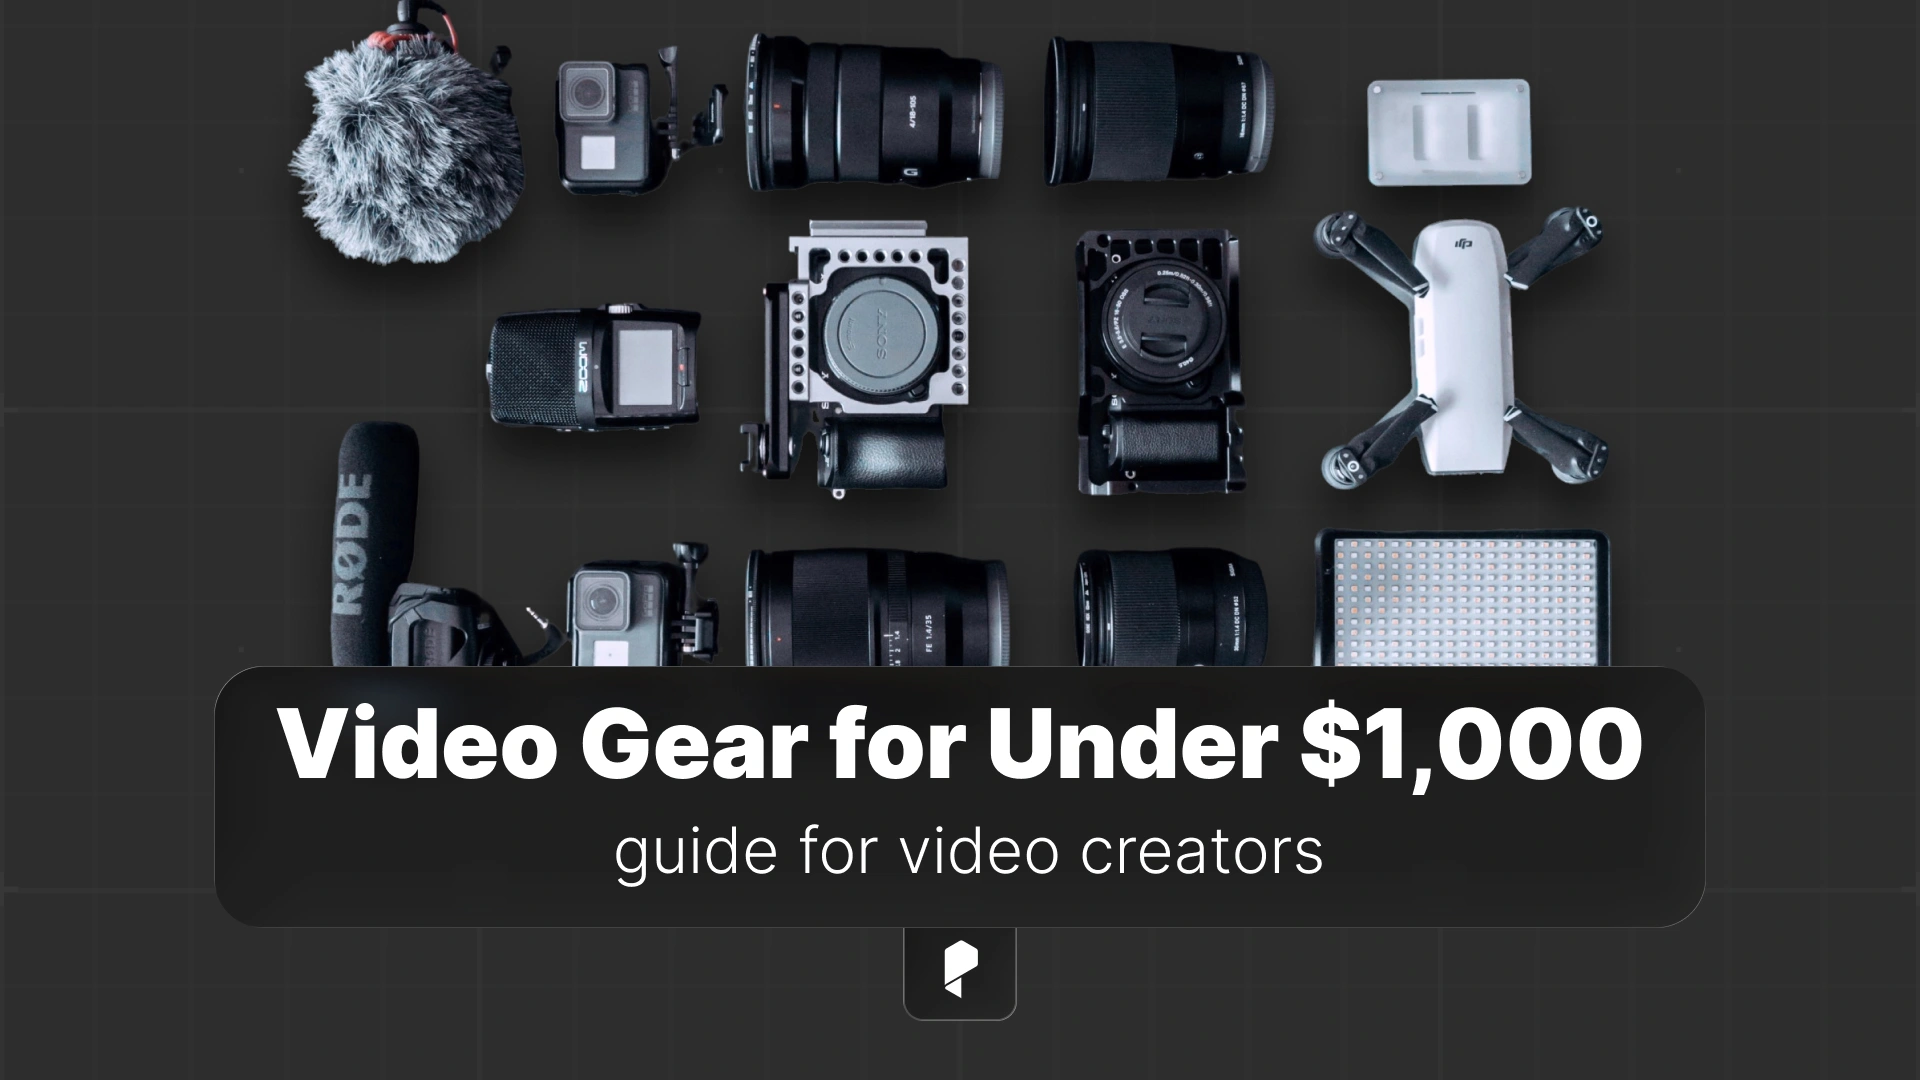
Here’s the thing: you don’t need a Hollywood budget to create professional-looking videos. With the right gear choices and a strategic approach, you can build a complete video production setup for under $1,000 that delivers stunning results.
In this guide, we’re breaking down the essential gear every beginner videographer needs, complete with specific product recommendations and real-world advice from the trenches of content creation.
Why Your Gear Choices Matter (But Don’t Obsess)
The best camera is the one you actually have with you and know how to operate. That said, starting with solid, beginner-friendly gear means you’ll spend less time fighting your equipment and more time developing your creative skills.
Your first setup should be:
- Reliable – Gear that works consistently without constant troubleshooting
- Growth-friendly – Tools that won’t limit you as your skills improve
- Budget-conscious – Smart investments that deliver maximum value
Think of this as your foundation. You can always upgrade specific pieces later, but starting with quality basics means your early work will still look professional years down the line.
The Camera: Your Creative Vision Starts Here
What to Look For:
Video-Specific Features:
- 4K recording capability (future-proofing your content)
- Reliable autofocus (especially if you’re shooting solo)
- Flip-out screen (game-changer for vlogging and self-recording)
- Clean HDMI output (for livestreaming as you grow)
- Good low-light performance (because not every shoot has perfect lighting)
Top Camera Picks in the $300-500 Range:
The Canon EOS M50 Mark II hits the sweet spot for beginners. Its Dual Pixel autofocus is lightning-fast, the touchscreen interface is intuitive, and it shoots beautiful 4K video. Plus, Canon’s color science means your footage looks great straight out of camera. (Your color grading sessions will thank you.)
If you’re primarily creating content for social media and YouTube, the Sony ZV-1 is purpose-built for creators. It’s compact, has exceptional autofocus for faces, and includes a directional microphone that’s actually usable. The background defocus button is perfect for those professional-looking interview setups.
For the feature-hungry creator on a budget, the Panasonic Lumix G7 delivers 4K video, interchangeable lenses, and a robust build quality that feels more expensive than it is. It’s been the secret weapon of budget filmmakers for years.
Pro tip: Whatever camera you choose, invest time learning its manual settings. Auto mode is fine for starting out, but understanding exposure, frame rates, and picture profiles will unlock your camera’s true potential.
Audio: The Most Underestimated Element
Seriously. You can shoot on your phone with perfect audio and get better engagement than a 4K masterpiece with distracting background noise or muffled dialogue. Audio is that important.
Microphone Options for Every Shooting Style:
For Run-and-Gun and Outdoor Shooting:
The Rode VideoMic GO is the lightweight champion of on-camera mics. It’s dead simple (no batteries needed), sounds clean, and the directional pickup pattern naturally reduces background noise. Mount it on your camera’s hot shoe and you’re ready to roll.
For Studio Work and Voiceovers:
The Blue Yeti USB microphone is the content creator standard for a reason. Plug it into your computer, select your polar pattern, and you’ve got broadcast-quality audio. It’s perfect for voiceovers, podcasting, and any controlled recording environment.
For a more professional XLR option with stunning clarity, the Audio-Technica AT2020 is an industry staple. You’ll need an audio interface to use it, but the sound quality is noticeably richer than USB alternatives.
The Golden Rule: Get your microphone as close to your subject as possible. Distance is the enemy of good audio.
Lighting: Sculpting Your Image
The difference between an amateur-looking video and a professional one often comes down to lighting. Good lighting doesn’t just make things brighter, it creates depth, dimension, and mood.
Building Your Lighting Kit:
For Maximum Versatility:
The Neewer LED light panel kit gives you everything you need to start: two LED panels, stands, and diffusion filters. LED lights are perfect for beginners because they stay cool, show you exactly what you’re getting, and offer adjustable color temperature. You can create a classic three-point lighting setup or go minimal with a single key light.
For Serious Output:
The Godox SL-60W is a powerhouse. This Bowens-mount light is bright enough to compete with sunlight through windows and gives you that cinematic quality you’ve been craving. Pair it with a softbox and you’ve got a professional-grade key light that’ll serve you for years.
Speaking of softboxes, a dedicated softbox lighting kit with continuous bulbs is perfect for home studios. The larger the light source (relative to your subject), the softer and more flattering the light. That’s why softboxes create such beautiful, wrap-around illumination.
Quick Lighting Tips:
- Position your key light at a 45-degree angle to your subject
- Use a fill light to control shadow depth (or bounce light off a white surface)
- Add a backlight to separate your subject from the background
- Diffuse, diffuse, diffuse – harsh light is rarely flattering
Stabilization: Keeping Your Shots Smooth
The Manfrotto Compact Action is the reliable workhorse of entry-level tripods. It extends to a comfortable working height, has a fluid video head for smooth pans and tilts, and folds down compact enough for travel. The quick-release plate means you can move between handheld and tripod shots without hassle.
For content creators who need flexibility, the JOBY GorillaPod is ingeniously designed. Those flexible legs wrap around poles, railings, or uneven surfaces, giving you mounting options in locations where traditional tripods can’t go. Perfect for vlogging, travel content, or creative angles.
Movement pro tip: If you’re shooting handheld, use both hands, tuck your elbows against your body, and move from your core, not your arms. Your footage will be noticeably smoother.
Storage: Protecting Your Creative Work
Memory Cards That Won’t Let You Down:
SanDisk Extreme Pro SD cards are fast, reliable, and can handle 4K video recording without dropping frames. Get at least two cards so you always have a backup. Pro move: never format a card until you’ve backed up your footage to at least two locations.
Backing Up Your Footage:
The Samsung T7 portable SSD is a game-changer for backup and editing workflows. It’s pocket-sized, blazingly fast, and durable enough to toss in your bag. Edit directly from the drive or use it as your primary backup solution. (Future you will be grateful when your laptop’s internal drive inevitably fills up.)
The 3-2-1 Backup Rule:
- 3 copies of your footage
- 2 different storage types (internal drive + external)
- 1 copy offsite (cloud backup)
Sounds paranoid? Wait until you experience your first drive failure during a client project. (Trust me on this one.)
The Essential Extras
Protecting Your Investment:
A quality camera bag keeps your gear organized, protected, and ready to grab. Look for padded dividers, weather resistance, and enough space to grow your kit.
Your camera’s sensor is a dust magnet, and even a tiny spec can ruin your footage. Keep a lens cleaning kit handy with a rocket blower, microfiber cloths, and lens cleaning solution.
Never Run Out of Power:
Nothing kills creative momentum like a dead battery. Grab spare batteries for your camera (at least two extras) and keep them charged. Consider a dual battery charger so you can power up multiple batteries overnight.
Complete Setup Examples at Different Price Points
The Essentials Starter Kit ($650)
Perfect for beginners who want to start creating immediately without breaking the bank:
- Camera: Panasonic Lumix G7 ($450)
- Microphone: Rode VideoMic GO ($75)
- Lighting: Neewer LED light panel kit ($80)
- Tripod: JOBY GorillaPod ($45)
This setup gives you everything you need to start producing quality content right away.
The Balanced Creator Kit ($850)
For creators ready to invest in better quality without going overboard:
- Camera: Sony ZV-1 ($550)
- Microphone: Blue Yeti USB ($100)
- Lighting: Softbox lighting kit ($120)
- Tripod: Manfrotto Compact Action ($80)
This configuration is ideal for YouTube creators and social media producers who need versatility.
The Maximum Value Kit ($980)
Getting the most performance possible under $1,000:
- Camera: Canon EOS M50 Mark II ($600)
- Microphone: Audio-Technica AT2020 ($100)
- Lighting: Godox SL-60W ($150)
- Tripod: Manfrotto Compact Action ($80)
- Storage: Samsung T7 SSD ($50)
This setup rivals what professionals were using just a few years ago.
What to Do with Your Footage
This is where the magic happens. Post-production is where good footage becomes great content. You’ll need editing software that matches your skill level and creative ambitions.
For beginners and professionals alike, Adobe Premiere Pro is the industry standard for video editing. Its timeline-based workflow is intuitive, it integrates seamlessly with other Adobe apps like After Effects, and there are countless tutorials available for every skill level. The subscription model means you always have access to the latest features and updates.
Whether you’re cutting together a vlog, creating a product review, or editing a short film, Premiere Pro gives you professional-grade tools without the overwhelming complexity of some alternatives. Start with basic cuts and transitions, then gradually explore color grading, audio mixing, and effects as your skills develop.
Learning curve tip: Focus on mastering the basics first. Learn keyboard shortcuts, understand the razor tool and selection tools, and get comfortable with the timeline. Fancy effects can wait until you’ve nailed the fundamentals of storytelling through editing.
Your First Shoot: What to Expect
This is completely normal.
Every professional videographer has been exactly where you are. The difference between beginners who succeed and those who give up is simple: the successful ones keep shooting, learning from each mistake, and gradually building their skills.
Pre-Shoot Checklist to Save Your Sanity:
- Batteries charged? Camera, microphone, lights, everything
- Memory cards formatted? Start each shoot with clean cards
- Test recording? Shoot 10 seconds and play it back to verify everything works
- Audio check? Record some test dialogue and check your levels
- White balance set? Don’t rely on auto white balance for consistency
- Focus confirmed? If shooting manual focus, triple-check it’s sharp
This five-minute checklist will save you from catastrophic shoot failures. (Ask me how I know.)
Growing Beyond Your First Kit
Upgrade in This Order:
- Lighting – Better lighting improves everything instantly
- Audio – Professional sound elevates perceived production value dramatically
- Lenses – If your camera has interchangeable lenses, new glass makes a bigger difference than a new body
- Camera body – Only upgrade when you’re genuinely limited by your current camera’s capabilities
Most beginners do this backwards, immediately lusting after a new camera when better lighting would transform their existing footage. Your $500 camera with great lighting will outperform a $5,000 camera with bad lighting every single time.
The “One Upgrade Per Project” Rule:
After every 3-5 projects, evaluate what’s actually limiting your creative vision. Is it your camera’s low-light performance? Your microphone’s limited range? Your inability to create professional-looking key light? Then address that specific limitation with a targeted upgrade.
Common Beginner Mistakes (and How to Avoid Them)
Mistake #1: Prioritizing Camera Over Everything Else
Don’t spend $800 on a camera and $50 total on audio and lighting. Your content will look amateur despite the expensive camera. Balance your budget across all three core elements.
Mistake #2: Shooting Everything Handheld
Handheld can be cinematic, but it requires practice. Use your tripod. Your footage will be smoother, more professional, and easier to edit. Save handheld for when you specifically want that energetic, documentary feel.
Mistake #3: Ignoring Audio in Post
You captured it, now fix it. Learn basic audio mixing in your editing software. Remove background noise, normalize levels, add subtle compression. Clean audio is non-negotiable for professional content.
Mistake #4: Buying Gear Before Learning Your Current Gear
Master what you have before buying more. Read your camera’s manual (yes, really). Watch tutorials specific to your gear. Understand every setting and feature. You’ll be amazed what your “basic” camera can actually do.
Mistake #5: Forgetting to Back Up
This isn’t a mistake until it is, and then it’s catastrophic. Back up everything, immediately after every shoot. No exceptions.
Conclusion
Remember: the best time to start creating is now, with whatever gear you can afford. Don’t wait for the “perfect” setup. Start shooting, start learning, start developing your creative voice. Your future self will be grateful you began the journey today.
Disclaimer : If you buy something through our links, we may earn an affiliate commission or have a sponsored relationship with the brand, at no cost to you. We recommend only products we genuinely like. Thank you so much.


Write for us
Publish a Guest Post on Pixflow
Pixflow welcomes guest posts from brands, agencies, and fellow creators who want to contribute genuinely useful content.
Fill the Form ✏