Print Perfect: How to Easily Design Business Cards & Flyers for Print (Pro Results, Zero Hassle with Photoshop Templates!)
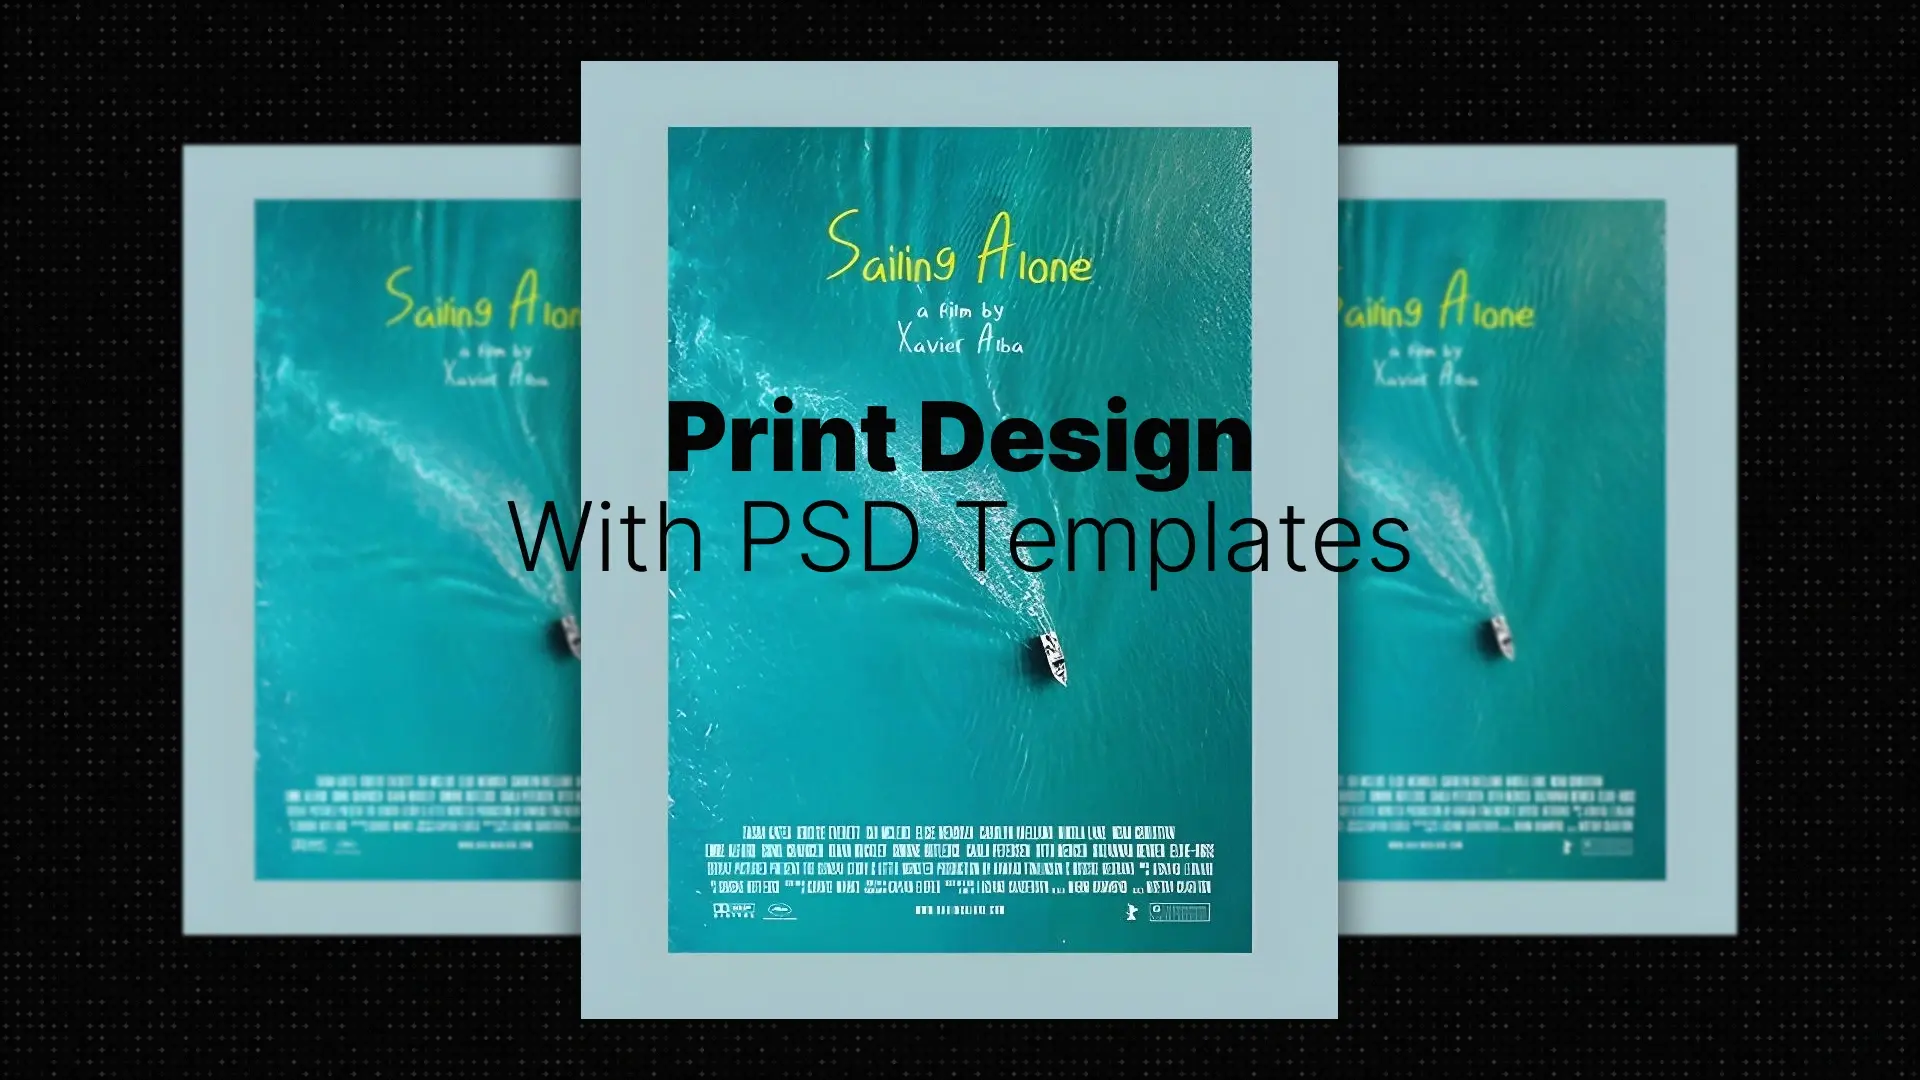
The Tangible Power of Print
Yet, creating professional-grade business cards and flyers in Photoshop isn’t always easy. From configuring CMYK color modes and setting up bleed margins to aligning elements with pixel-perfect precision, even a small mistake can lead to costly printing errors. Without the right knowledge, what should be a simple design project can turn into a frustrating, time-consuming ordeal.
But here’s the good news: you don’t need to be a seasoned print designer to get stunning results. This guide will show you how to easily design business cards and flyers for print using Pixflow’s expertly crafted Photoshop templates — no technical headaches, no guesswork, just flawless, print-ready designs that elevate your brand.
Professional Photoshop Templates
Why Professional Print Materials Still Matter in a Digital World
- Tangible Connection: Holding a business card creates a real-world interaction that digital touchpoints can’t replicate.
- Credibility & Trust: A sleek, well-designed print asset signals that you take your brand seriously.
- Networking Essential: Events, meetups, and pitches all benefit from the physical exchange of contact information.
- Targeted Messaging: Flyers are ideal for localized marketing campaigns, direct mailers, or handouts.
- Brand Reinforcement: Consistency across your online and offline presence helps build recognition and loyalty.
- Memorability: While emails get deleted and ads get skipped, a physical piece often lingers longer — on desks, fridges, and bulletin boards.
Whether you’re running a small business, hosting an event, or launching a new product, professional print marketing materials offer a lasting edge.
The Print Design Pitfalls vs. The Foolproof Template Solution
- Setting exact dimensions and bleed areas
- Converting colors from RGB to CMYK
- Maintaining high-resolution (usually 300 DPI)
- Double-checking alignment, margins, and safe zones
- Choosing balanced typography and design elements
Each step is a chance to make a mistake that could ruin the final print. And unless you’re trained in print design with Photoshop, even small missteps can lead to blurry text, off-color tones, or trimmed-off logos.
But what if you didn’t have to worry about any of that?
Imagine if a team of expert designers already took care of the technical setup — leaving you with a perfectly prepared, beautifully styled template that only needed your content.
Pixflow Templates: Your Printer’s Best Friend for Professional Designs
Here’s how Pixflow’s templates make it easy:
- ✅ Print-Ready Setup
Each template comes configured with the correct CMYK color mode, 300 DPI resolution, and built-in bleed, trim, and safe zones — ensuring error-free print results. - 🎨 Stylish, Versatile Layouts
From sleek business cards to dynamic double-sided flyers, choose from a huge variety of modern, industry-ready designs crafted for real-world use. (Explore templates here: Pixflow Print Designs) - 🧩 Simple Customization
Just replace the placeholder text, logos, and images using Smart Objects and organized layers. No design degree required! - 🔧 Built-in Visual Assets
Many templates include icons, branding elements, and curated color palettes — giving your project a premium, cohesive look. - 🎯 Consistent Branding Made Easy
Keep your visual identity tight across all channels — both online and off — with matching styles and layouts. - 💡 Zero Technical Expertise Needed
Skip the confusion. The templates do the heavy lifting so you can focus on your content. - ⏱️ Save Hours of Work
Designing from scratch might take hours (or days). With Pixflow, it’s plug, play, and print.
Your Quick Guide: Designing Print-Ready Materials with Pixflow Templates
Step 1: Choose Your Template (3 mins)
Browse Pixflow’s collection of print-ready templates. Decide whether you need a business card, a flyer, or another print material. Choose one that suits your style and goals.
Step 2: Download & Open in Photoshop (1 min)
Make sure Photoshop is installed. Open the .PSD file and take a quick look at the layers and guides.
Step 3: Add Your Content (5–10 mins)
Find the editable text layers and Smart Objects. Replace:
- Placeholder text → Your business or event info
- Logos/images → Your brand elements
- Icons (if needed) → Custom graphics or visuals
Step 4: Customize Colors & Fonts (3–5 mins)
Use layer styles or grouped folders to apply your brand colors and fonts. Most templates make this incredibly intuitive.
Step 5: Export for Print (1 min)
Double-check bleed and safe zones. Then export to PDF, JPEG, or TIFF (300 DPI, CMYK), depending on your printer’s requirements.
Beyond the Design: The Strategic Impact of Templated Print Materials
- 💰 Budget-Friendly: Avoid the high cost of hiring a professional print designer.
- ⚡ Quick Turnaround: Launch campaigns or events with same-day print materials.
- 🚫 Fewer Errors: Built-in guides and print specs protect you from rookie mistakes.
- 🔄 Consistent Messaging: Reinforce your brand identity across business cards, flyers, and even posters.
- 🙌 Empowerment: Solo entrepreneurs and small teams can create premium designs in-house.
- 🧠 Professional Perception: Instantly boost credibility with high-quality print assets.
Conclusion
Whether you’re building a brand, marketing an event, or leveling up your networking game — your printed materials are a tangible reflection of your professionalism.
✅ Ready to elevate your brand with stunning, print-ready business cards and flyers that truly impress?
Stop struggling with complex print design!
👉 Explore Pixflow’s Adobe Photoshop Print Templates and get your brand into the hands of your audience today.
Disclaimer : If you buy something through our links, we may earn an affiliate commission or have a sponsored relationship with the brand, at no cost to you. We recommend only products we genuinely like. Thank you so much.
Write for us
Publish a Guest Post on Pixflow
Pixflow welcomes guest posts from brands, agencies, and fellow creators who want to contribute genuinely useful content.
Fill the Form ✏


