How to Generate Digital Painting Effects from Photos Using Photoshop Brushes & Actions
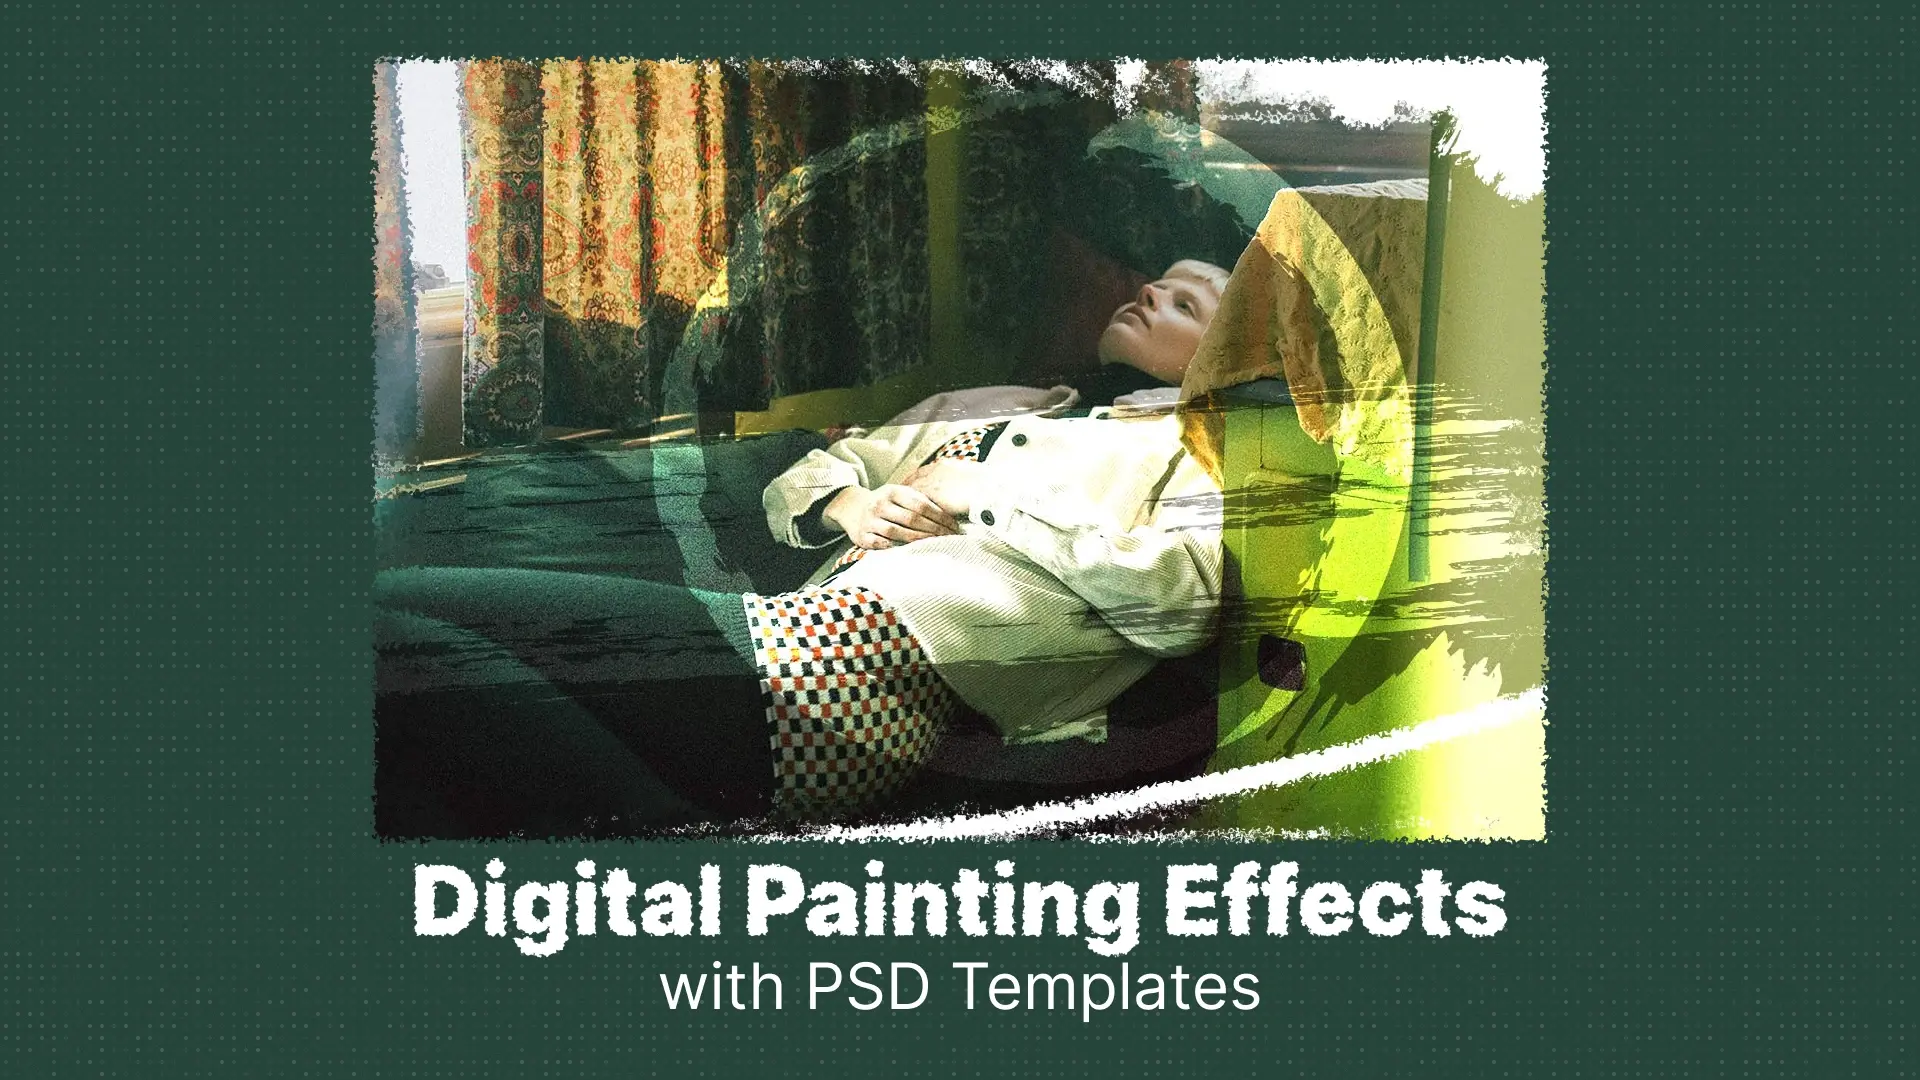
Digital Painting Effects
Whether you’re an artist, photographer, or just creatively curious, Photoshop offers multiple ways to give your images a hand-painted touch. In this tutorial, we’ll show you exactly how to use Photoshop brushes and actions to create digital painting effects—from quick fixes to detailed enhancements. You can also get help from our brush templates for Photoshop.
Professional Photoshop Templates


Why Use Photoshop for Digital Painting Effects?
🎨 Non-Destructive Editing Capabilities
Photoshop’s layer-based workflow allows you to experiment freely without altering your original image. This gives you full control over every brush stroke and effect adjustment.
🖌 Availability of Thousands of Custom Brushes
From oil paint textures to watercolor strokes, you’ll find an endless library of Photoshop brushes for painting effects, many of which are free or affordable.
⚡ One-Click Painting Effects with Actions
With Photoshop actions for photo painting, you can automate complex effects with a single click—great for saving time while achieving professional results.
✨ Realism + Stylization Flexibility
Whether you want a photo-realistic digital painting or a stylized illustration, the combination of brushes and actions allows you to achieve the exact look you envision.
In short, if you’re looking for the ultimate Photoshop painting effect, this platform gives you all the tools needed to bring your creative vision to life.
Tools You Will Need
A. Photoshop Software
Any recent version of Adobe Photoshop will work. We recommend the latest version for better performance and access to newer brushes and tools.
B. A Photo to Edit
High-resolution images with good lighting and clear subjects work best. Portraits and landscapes are ideal starting points.
C. Photoshop Brushes for Painting Effect
Download a variety of textured brushes designed for smudging, painting, blending, and detailing. These brushes mimic traditional painting techniques and give your artwork a more organic look.
D. Photoshop Actions for Photo Painting
Install pre-made actions that replicate different styles like oil painting, watercolor, and digital sketch. These save time and ensure consistency in your results. Using Photoshop brush templates can also speed up your workflow.

Step-by-Step: How to Turn a Photo into a Digital Painting in Photoshop
1. Prepare Your Image
Start by opening your image in Photoshop. Resize the canvas to match your desired output resolution. Then:
- Clean up the background using the Spot Healing Brush or Clone Stamp Tool.
- Use tools like Levels or Curves to enhance lighting and contrast.
- Crop the image to focus on your subject.
2. Apply Base Adjustments
Before you begin painting, create a solid foundation:
- Adjust brightness, contrast, and saturation to enhance the visual impact.
- Convert your image to a Smart Object to enable non-destructive filters.
- Optionally apply a mild Surface Blur to reduce photo noise and prep the image for brush blending.
3. Use Photoshop Brushes for Painting Effects
Now comes the fun part—painting!
Use Photoshop brushes for painting effects to mimic real brush strokes:
- Blend Edges: Use soft round brushes to blur harsh transitions.
- Hair, Fabric & Skin Simulation: Use textured brushes with pressure sensitivity to recreate the natural feel of hair strands, cloth folds, and skin pores.
- Use the Smudge Tool with a custom brush to drag colors for a painterly blend.
💡 Best Photoshop Brushes for Digital Painting Effect
Try these popular options:
- Kyle’s Real Oils (included in Creative Cloud)
- Aaron Griffin’s Free Brush Set
- BrushBox Watercolor Set
These brushes help you convert photos into paintings using Photoshop brushes with precision and style.
4. Use Photoshop Actions for Instant Results
If you want quick, professional-quality effects, this is where Photoshop actions for photo painting shine:
- Load an action (.ATN file) into the Actions panel.
- Select your image layer, press play, and watch your image transform.
From oil painting to watercolor and sketch effects, actions can drastically speed up your workflow.
⚡ How to Use Photoshop Actions to Paint Photos
- Open the Actions Panel (Window > Actions)
- Click on the action set and hit play.
- Customize layers post-action to tweak details or colors.
Great free and premium options include:
- Oil Paint Effect Action
- Watercolor Photoshop Action
- Portrait Painting Pro Action
5. Final Enhancements
Once you’ve applied your brushes and/or actions, it’s time to polish the final result:
- Texture Overlays: Add paper, canvas, or brush textures to give your painting depth.
- Sharpen Details: Use High Pass Filter on a duplicate layer to enhance fine areas like eyes or texture strokes.
- Dodge & Burn: Use these tools sparingly to add contrast and dimensionality to the image.
These final touches elevate your piece from “filtered photo” to “finished painting.”
Troubleshooting and Pro Tips
🔍 Why Your Painting Looks Too Blurry
- You may be overusing the smudge tool or painting with a brush set to too low hardness.
- Apply sharpening with a High Pass Filter to bring back subtle details.
🧱 How to Fix Hard Edges
- Use a soft round brush or reduce brush flow and opacity.
- Blend using low-strength Smudge Tool brushes to soften transitions.
👤 Tips for Painting Portraits vs Landscapes
- Portraits: Focus on the eyes and face structure. Use fine detailing brushes.
- Landscapes: Emphasize light direction and texture. Use broader brushes and actions like watercolor or oil.
🎚 Adjusting Brush Opacity & Flow
- Lower opacity = more transparency
- Lower flow = more control for layering
Both are essential for achieving a realistic, painterly build-up of color.
Conclusion
✅ You now know how to turn any photo into a digital painting
✅ You’ve seen how Photoshop brushes add realism and style
✅ And you’ve explored how actions speed up your process while giving consistent results
Experiment, blend, and make it your own.
Disclaimer : If you buy something through our links, we may earn an affiliate commission or have a sponsored relationship with the brand, at no cost to you. We recommend only products we genuinely like. Thank you so much.

Write for us
Publish a Guest Post on Pixflow
Pixflow welcomes guest posts from brands, agencies, and fellow creators who want to contribute genuinely useful content.
Fill the Form ✏