Mastering the Blend Tool in Illustrator: From Simple Colors to Complex Art
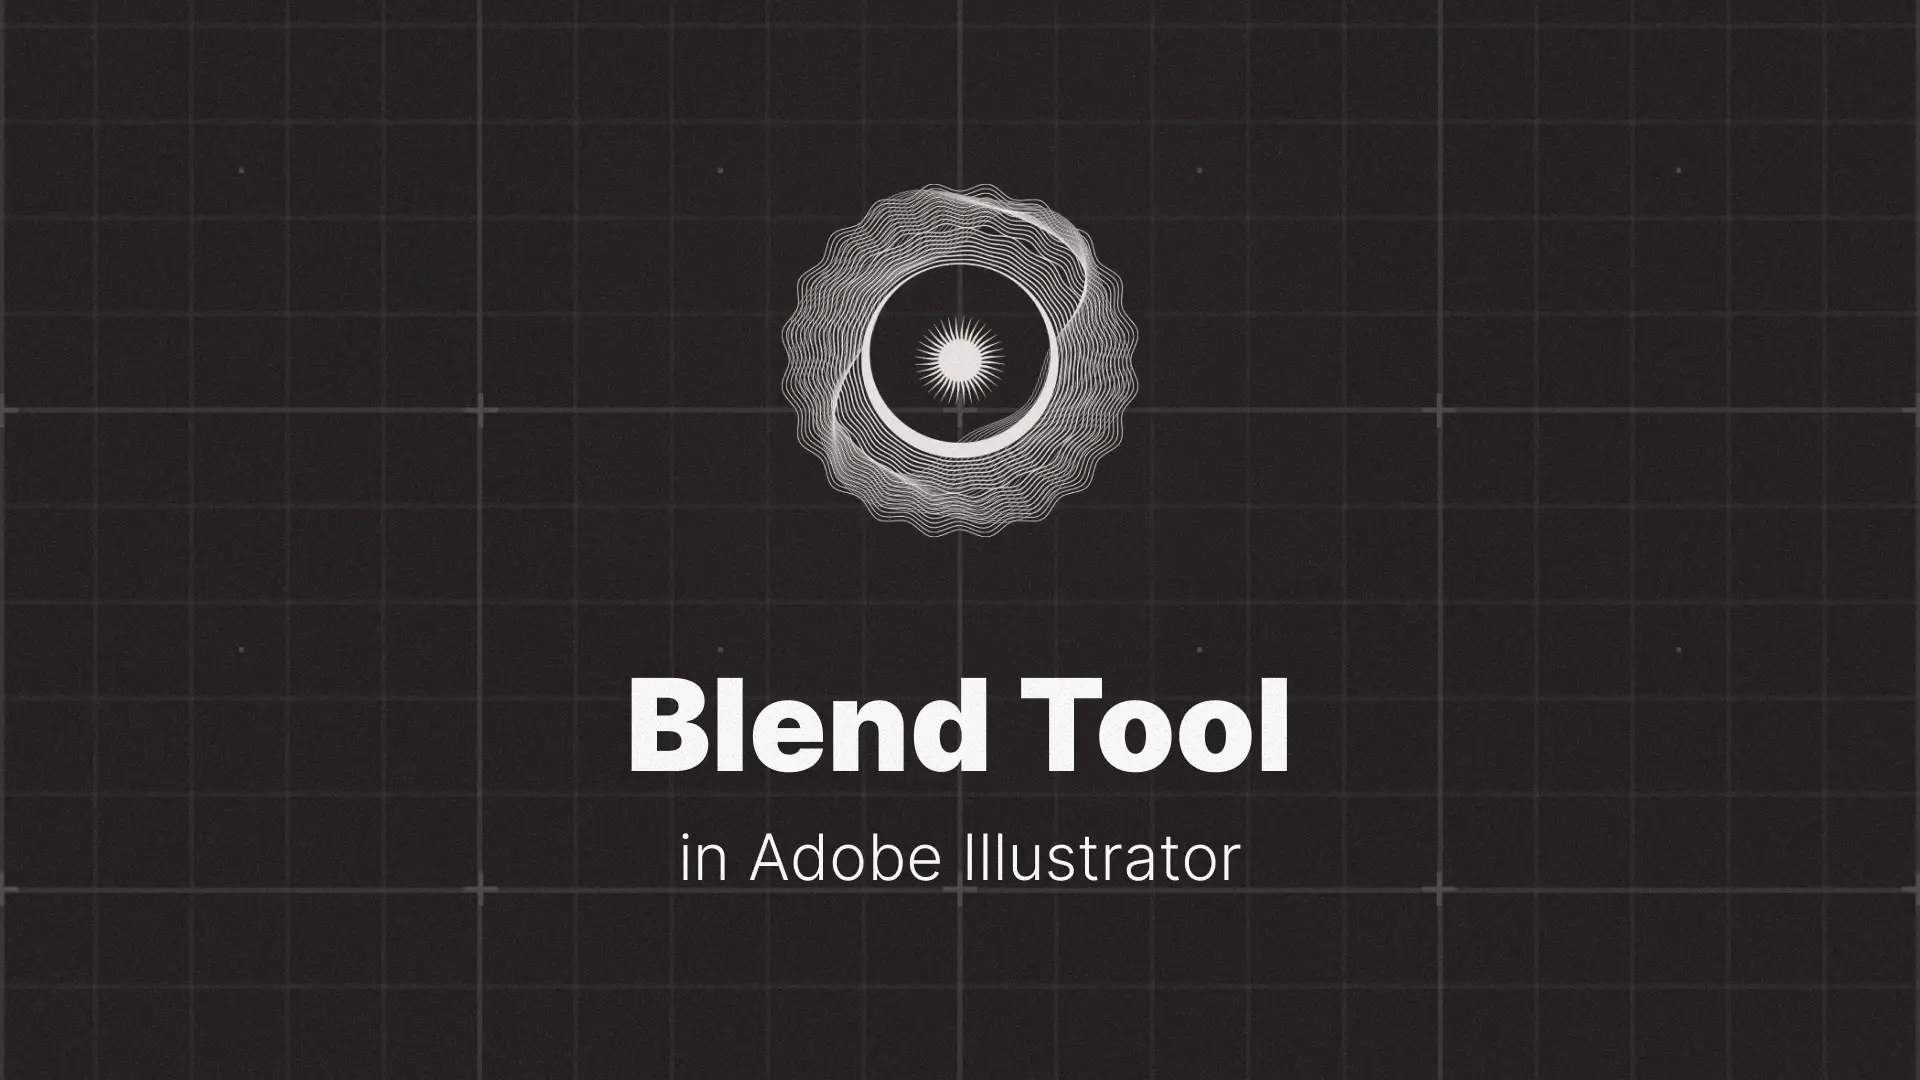
Blend Tool in Illustrator
In this Illustrator Blend Tool tutorial, we’ll explore its two main modes — color blending and shape morphing — and then unlock its most creative application: making objects follow a path. By the end, you’ll know how to go from simple fades to complex, dynamic compositions.
If you want ready-to-use Illustrator assets that can enhance your design workflow, check out these premium Illustrator templates.
Professional Illustrator Templates

The Two Faces of the Blend Tool
Mode 1: The Smooth Color Blend
The first and most common use of the Blend Tool is to create a smooth, multi-step gradient between two or more objects — perfect for color blends in Illustrator without using the Gradient Tool.
How to use it:
- Create two separate shapes (e.g., circles) with different fill colors.
- Select both shapes.
- Go to Object > Blend > Make (or use the shortcut Alt+Ctrl+B on Windows / Option+Cmd+B on Mac).
- Go to Object > Blend > Blend Options and change Spacing to Smooth Color for a seamless transition.
💡 Pro Tip: Smooth Color works best when the shapes have similar sizes and are close in position — too far apart, and Illustrator might create harsh transitions.
Mode 2: The Specified Steps Blend (Shape Morphing)
This mode is where things get really interesting. Instead of color blending, Illustrator creates intermediate shapes that “morph” between the starting and ending objects.
How to use it:
- Create two different shapes (e.g., a star and a circle).
- Select both shapes.
- Go to Object > Blend > Make.
- Open Blend Options, set Spacing to Specified Steps, and choose the number of shapes you want.
With this, you can create everything from abstract backgrounds to 3D blend effects in Illustrator.

The Power Move: Blending Along a Path
Step 1: Create Your Blend
Start with any blend — for example, a small circle blended into a larger one.
Step 2: Draw a Custom Path
Use the Pen Tool or Pencil Tool to create a curve, wave, or zigzag. This line will act as the spine for your blend.
Step 3: Replace the Spine
- Select both your blend and the path.
- Go to Object > Blend > Replace Spine.
- Watch your shapes magically align and flow along the path.
This is how designers create abstract background effects and dynamic flowing lines. If you want ready-to-use Illustrator assets that use similar techniques, check out these premium Illustrator templates for instant inspiration.
Practical Examples and Creative Ideas
Creating Abstract Line Art Backgrounds
Blend two strokes with different widths and colors, then apply Replace Spine to a wavy path. You now have a unique abstract background that looks complex but takes minutes to make.
Making a Retro 3D Text Effect
Type a word, duplicate it, and place one copy slightly behind the other. Apply the Blend Tool with Specified Steps to create a layered, dimensional typography look — a perfect blend tool text effect for vintage designs.
Simulating Depth and Shadows
Blend a shape with a darker, transparent copy of itself. This can give your illustrations subtle depth and shadow effects without manual shading.
For more inspiration, browse through the Illustrator creative template collection — you’ll see how pro designers integrate blending into professional-grade visuals.
Conclusion
Try making your own abstract desktop wallpaper with blended strokes and custom paths — and if you want to improve your control over paths, check out our Mastering the Pen Tool in Adobe Illustrator guide. For a broader skill boost, explore Mastering Adobe Illustrator — A Comprehensive Guide for Beginners and Beyond to unlock even more creative potential.
Disclaimer : If you buy something through our links, we may earn an affiliate commission or have a sponsored relationship with the brand, at no cost to you. We recommend only products we genuinely like. Thank you so much.

Write for us
Publish a Guest Post on Pixflow
Pixflow welcomes guest posts from brands, agencies, and fellow creators who want to contribute genuinely useful content.
Fill the Form ✏