How to Create Stunning 90s Sparkle Effects in Premiere Pro for Social Media Videos
Why Sparkle Effects are Perfect for Social Media Videos
Why Sparkle Effects Stop the Scroll
On fast-moving feeds, you have a fraction of a second to grab attention — and animated sparkle elements do exactly that. The human brain processes visual motion far faster than static text, so a well-placed shimmer registers almost instantly as a viewer scrolls. Beyond the initial hook, consistent sparkle styling — matching colors, intensity, and placement to your brand palette — builds visual recognition over time, making your content immediately identifiable in a crowded feed. That combination of instant attention capture and long-term brand recall is what makes sparkle effects one of the highest-impact additions you can make to social media videos.
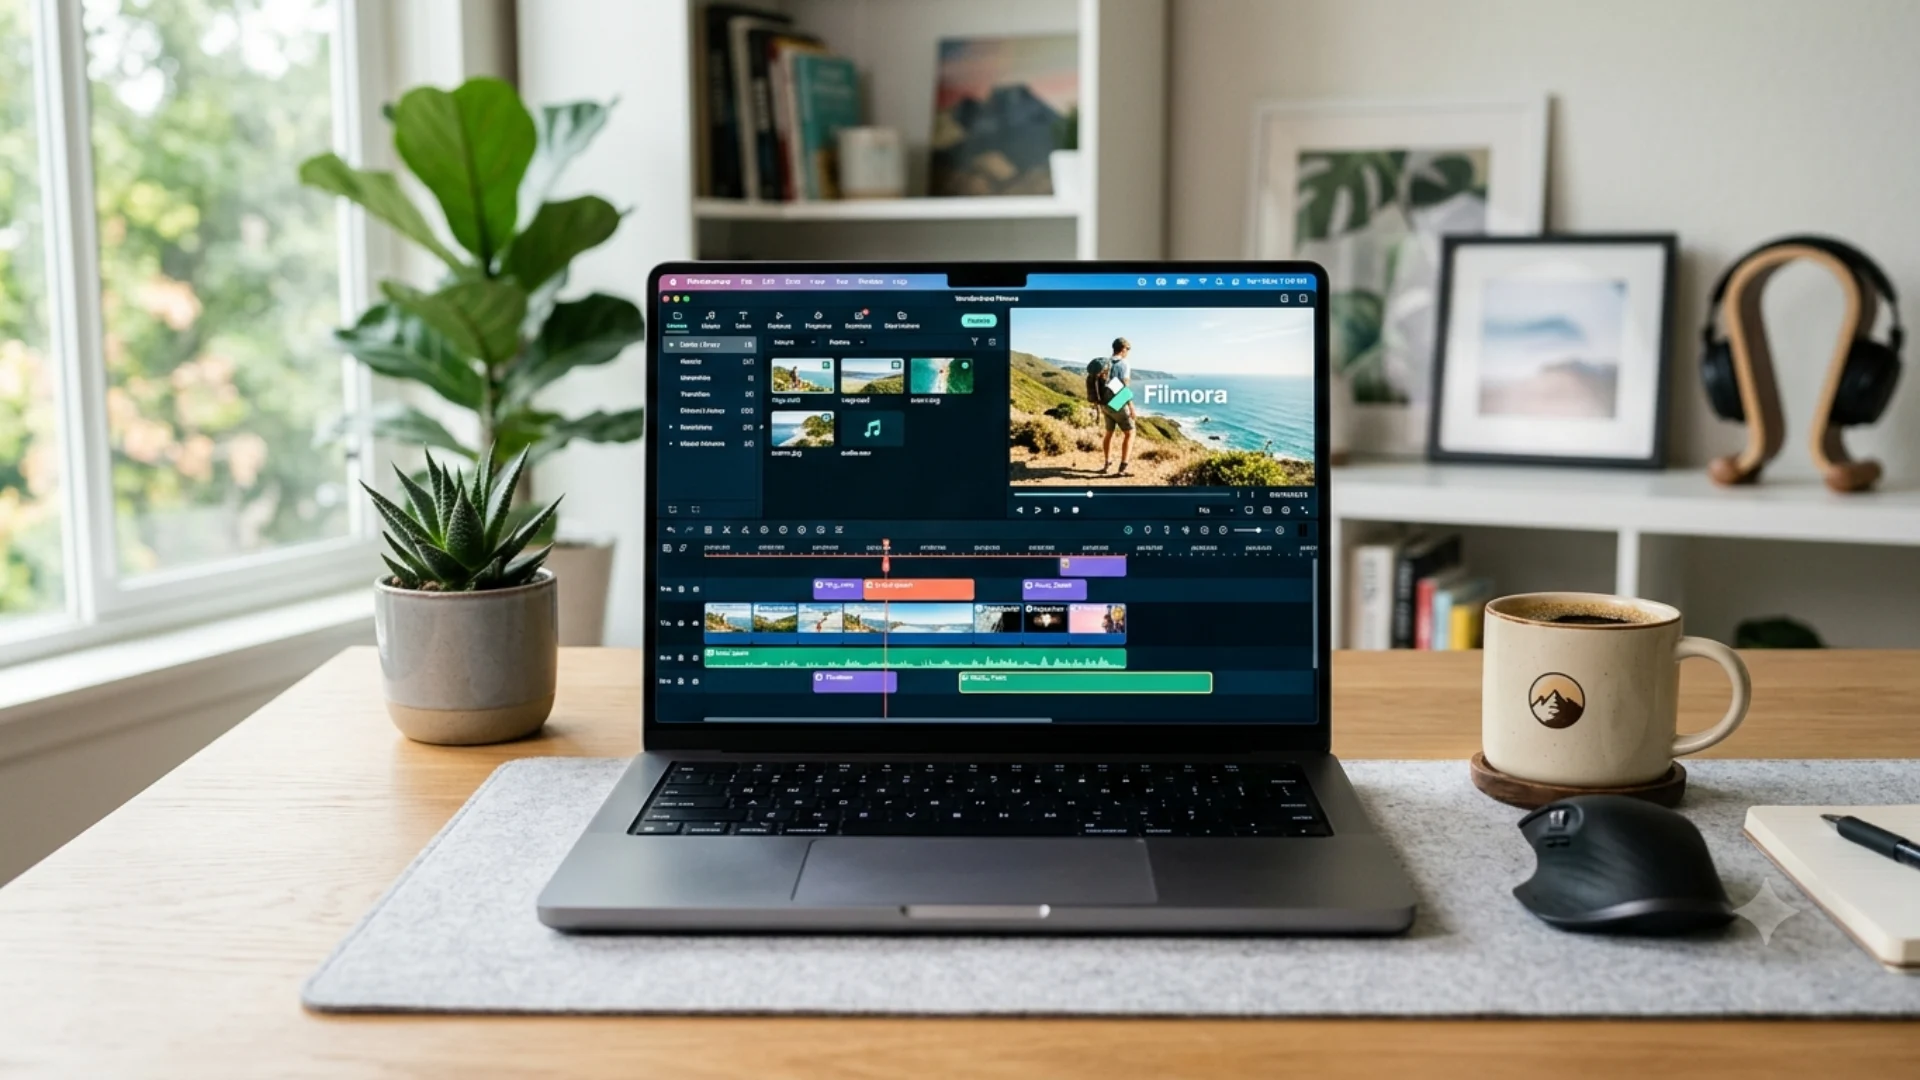
Getting Started with Premiere Pro Sparkle Effects
Why Use Sparkle Effects in Videos?
Sparkle effects add more than just beauty—they can help emphasize key moments, create a magical atmosphere, or give your video that extra pop of energy. Social media audiences, particularly on platforms like Instagram and TikTok, have come to expect visually striking content. Sparkle effects enhance your video’s aesthetics, making it more engaging and shareable. Whether you’re filming a product demo, a dance challenge, or a travel vlog, adding these magical effects gives your content an edge.
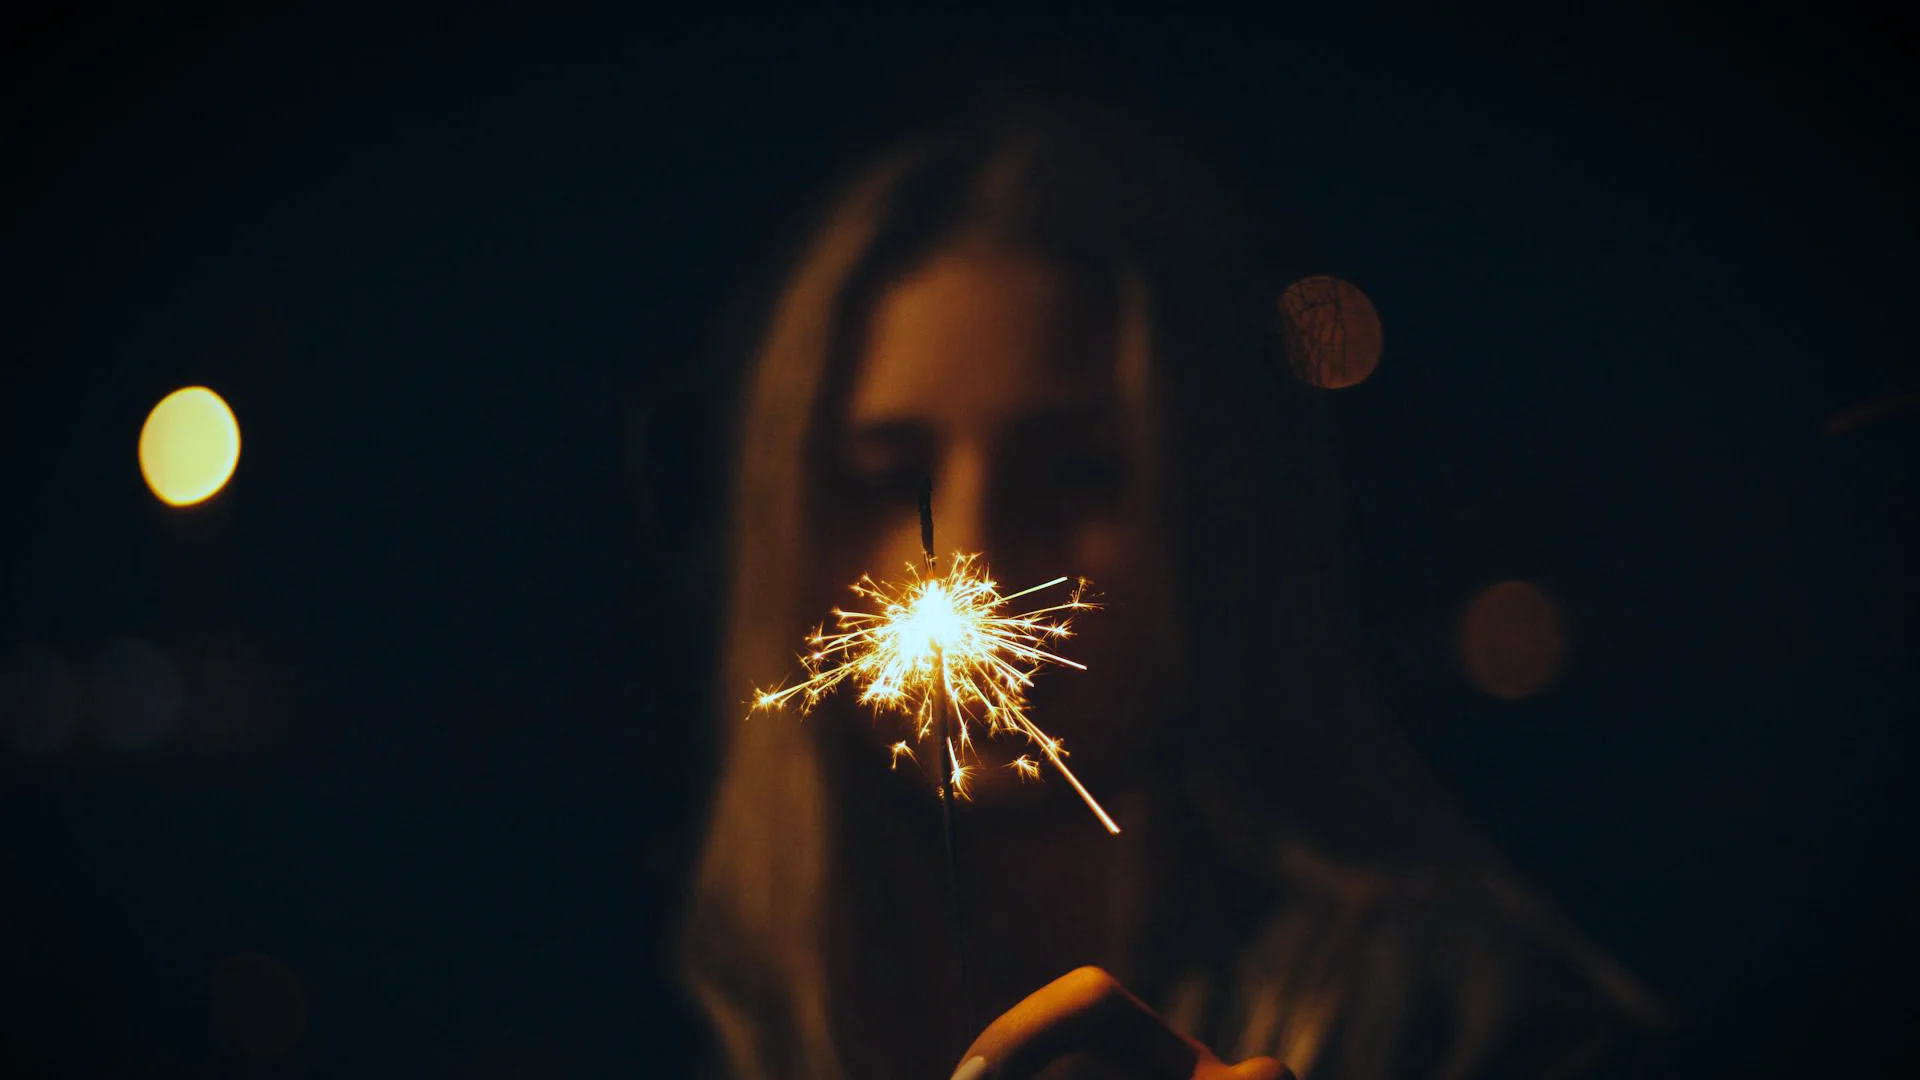
90s Sparkle Effects: A Retro Comeback for Social Media
The 90s sparkle effects trend isn’t just about nostalgia; it’s about bringing retro aesthetics back to life with a modern twist. During the 90s, visuals were characterized by bright neon colors, glitter, and shimmering effects—elements that have made a major comeback today. These effects are particularly popular on social media, as they can turn ordinary clips into visually rich, dynamic content that resonates with a younger, trend-savvy audience. By integrating Premiere Pro sparkle effects, you can effortlessly recreate this 90s magic while maintaining a polished, professional look.
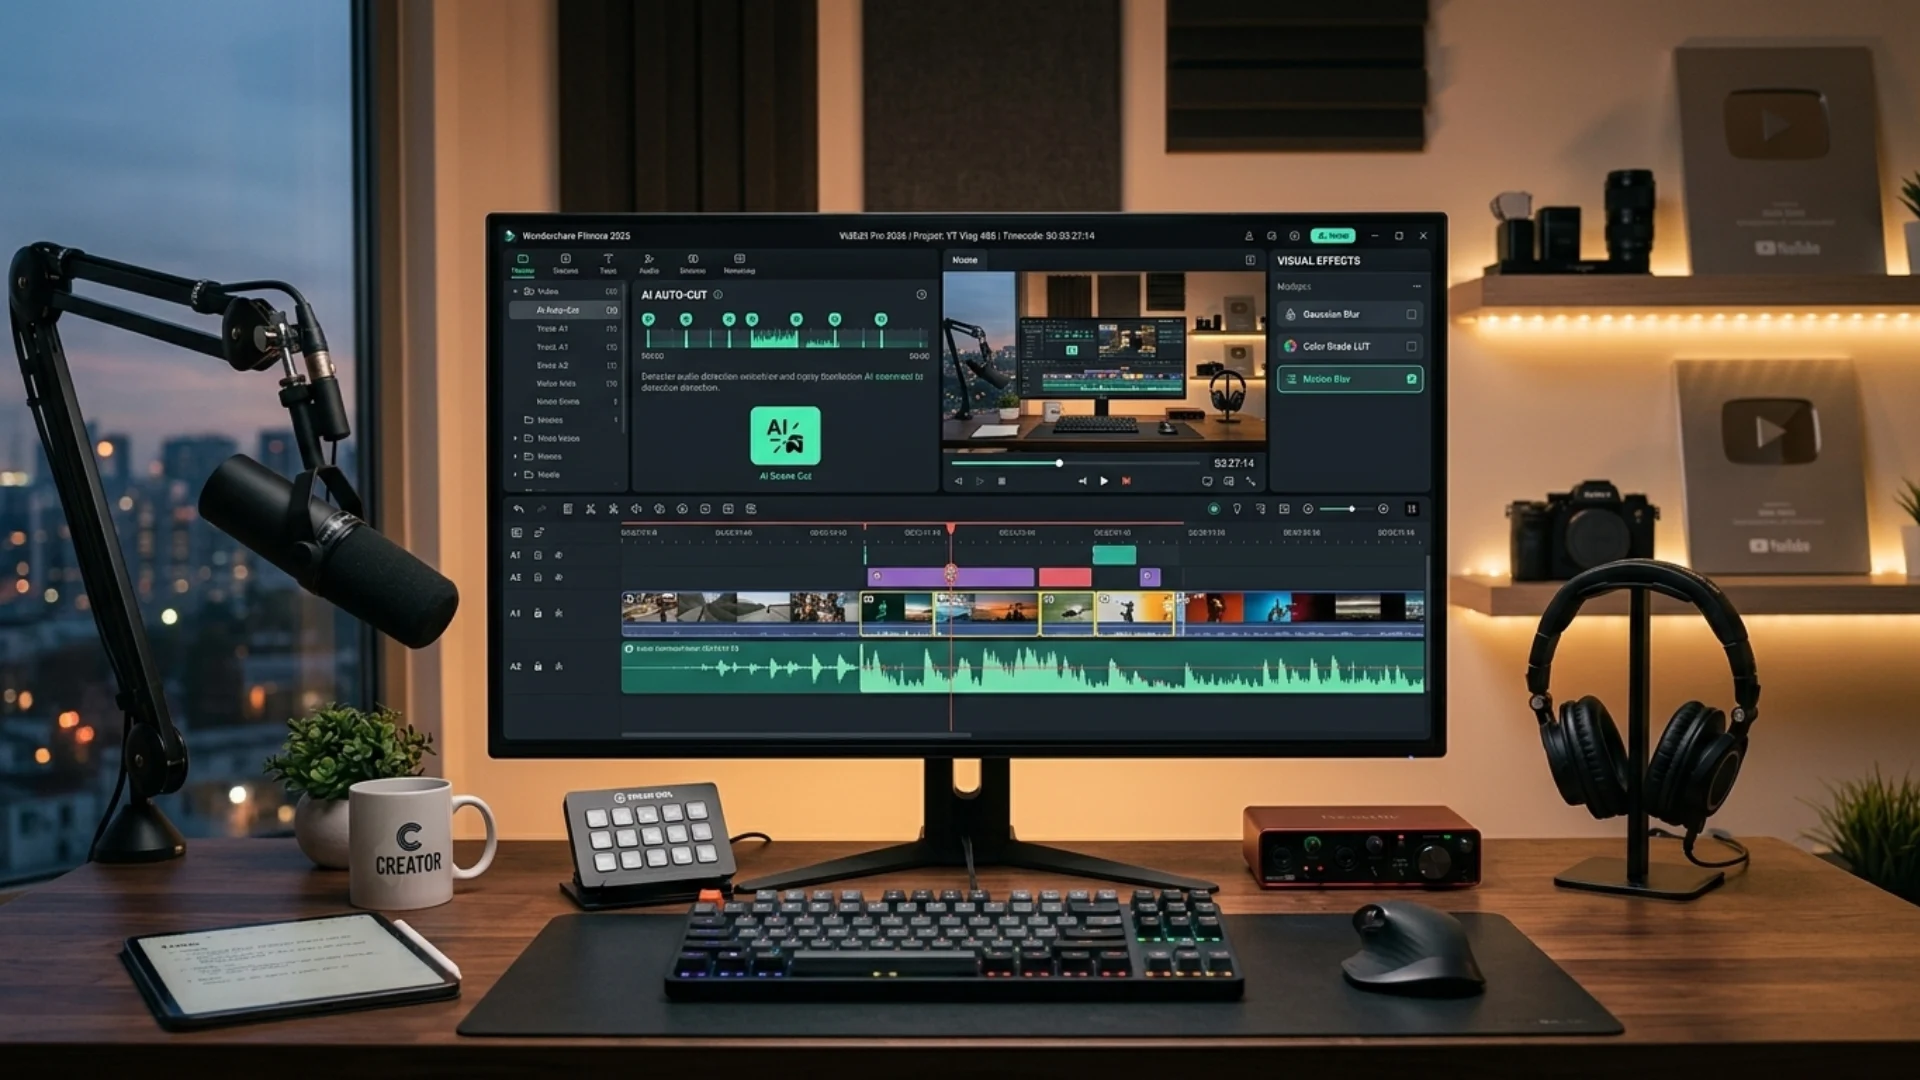
Using Overlays to Create Sparkle Effects in Premiere Pro
First, Why Use Overlays?
Before diving into the how-to, it helps to understand why overlays are worth adding to your toolkit in the first place. Visual appeal — overlay motion graphics layer dynamic, shimmering elements on top of your footage that instantly grab attention. Versatility — the same sparkle overlay can work across genres, from corporate product demos to trendy TikTok edits. Branding elevation — customizable overlays let you match colors and intensity to your brand identity, keeping every video consistent. Engagement boost — animated particles and transitions encourage viewers to keep watching instead of scrolling past.
Best Floating Particle Overlays for Sparkle Video Effects
Overlays are an excellent way to add sparkle effects to your footage without needing complex setups. Floating particle overlays, in particular, offer a simple yet effective solution to create that sparkling, glittery look. There are plenty of high-quality overlays available online that you can drag and drop into Premiere Pro. Websites like Pixflow offer customizable sparkle overlays that are perfect for social media videos. The best part? They save you time while delivering professional-quality results.
How to Apply and Customize Overlays in Premiere Pro
- Import your floating particle overlay into Premiere Pro.
- Drag the overlay onto your timeline, placing it above your main footage.
- To make it blend seamlessly with your video, use the Blend Mode feature (like “Screen” or “Lighten”).
- Fine-tune the overlay’s opacity and scale to achieve the desired sparkle intensity.
- For Instagram sparkle filters or TikTok sparkle filters, tweak the speed and direction to match current trends and video style preferences.
Layer Complementary Assets for a Richer Sparkle Edit
A sparkle overlay on its own looks great — but pairing it with complementary assets takes the edit from good to scroll-stopping. Stock footage layering — drop a subtle light-leak or bokeh clip underneath your sparkle overlay (both set to Screen blend mode) to create multi-dimensional depth without extra keyframing. Background music sync — align your sparkle burst timing with musical accents or beat drops so the shimmer feels intentional rather than random; use Premiere Pro’s audio waveform view to snap overlay keyframes to peaks. Animated stickers and lower thirds — combine sparkle overlays with animated text or emoji stickers that share the same color temperature, keeping the visual language cohesive across the whole frame.
Optimizing Overlays for Instagram and TikTok Videos
When using overlays for social media videos, consider the platform’s aspect ratio and video length. For instance, Instagram and TikTok videos are usually vertical, so make sure to export your videos in a 9:16 format. Adjust your overlay’s speed and opacity to match the vibe of your content—fast, flashy movements work well for energetic dance clips, while slow, subtle sparkles are ideal for beauty or lifestyle videos. Don’t forget to export in high resolution to ensure the sparkles shine brightly on all devices.
Pick the Right Overlay Before You Edit
Not every sparkle overlay suits every platform or project. Before dragging one onto your timeline, run through a quick checklist: Aspect ratio — confirm the overlay matches your target format (9:16 for Reels and TikTok, 1:1 for feed posts, 16:9 for YouTube). Video length — choose fast, punchy particle bursts for short-form content and slower, building shimmer for longer pieces. Customizability — prioritize overlays that let you adjust opacity, color tint, and speed so you can adapt one file across multiple projects. Compatibility — verify the file format (MOV with alpha channel is ideal) works with your Premiere Pro version to avoid rendering issues.
Custom Sparkle Effects with Directional Blur in Premiere Pro
Step-by-Step Guide: Adding Directional Blur for Sparkle Effects
For more customizable sparkle effects, the Directional Blur in Premiere Pro is a powerful tool that lets you simulate the motion of sparkles. This effect allows you to create dynamic and fluid sparkles that move across the screen, giving your video a professional, polished look.
To add a Directional Blur:
- Select your clip or footage where you want to add sparkle effects and duplicate it.
- Go to the Effects panel and search for “Directional Blur.”
- Drag and drop the effect onto the top clip.
- In the Effect Controls panel, adjust the Direction to control the angle of your blur (e.g., 90 degrees for vertical or 0 degrees for horizontal).
- Use the Blur Length slider to adjust the intensity of the blur, controlling how sharp or soft the sparkles appear.
- Duplicate the layer with the directional blur again.
- Change the direction of its Directional blur to the negative amount of the buttom layer.
- Add keyframes to animate the blur effect over time, giving the sparkles a sense of motion.
Enhancing Sparkles with Light and Color Adjustments
To make your sparkle effects pop even more, adjusting the light and color settings in Premiere Pro can help amplify the effect. For example:
- Apply a Glow effect to give your sparkles a radiant, ethereal glow.
- Adjust the Brightness/Contrast to make the sparkles stand out more against darker backgrounds, intensifying the visual impact.
Conclusion
Disclaimer : If you buy something through our links, we may earn an affiliate commission or have a sponsored relationship with the brand, at no cost to you. We recommend only products we genuinely like. Thank you so much.


Write for us
Publish a Guest Post on Pixflow
Pixflow welcomes guest posts from brands, agencies, and fellow creators who want to contribute genuinely useful content.
Fill the Form ✏