How to Reuse Existing Anime Artwork in an AI Workflow
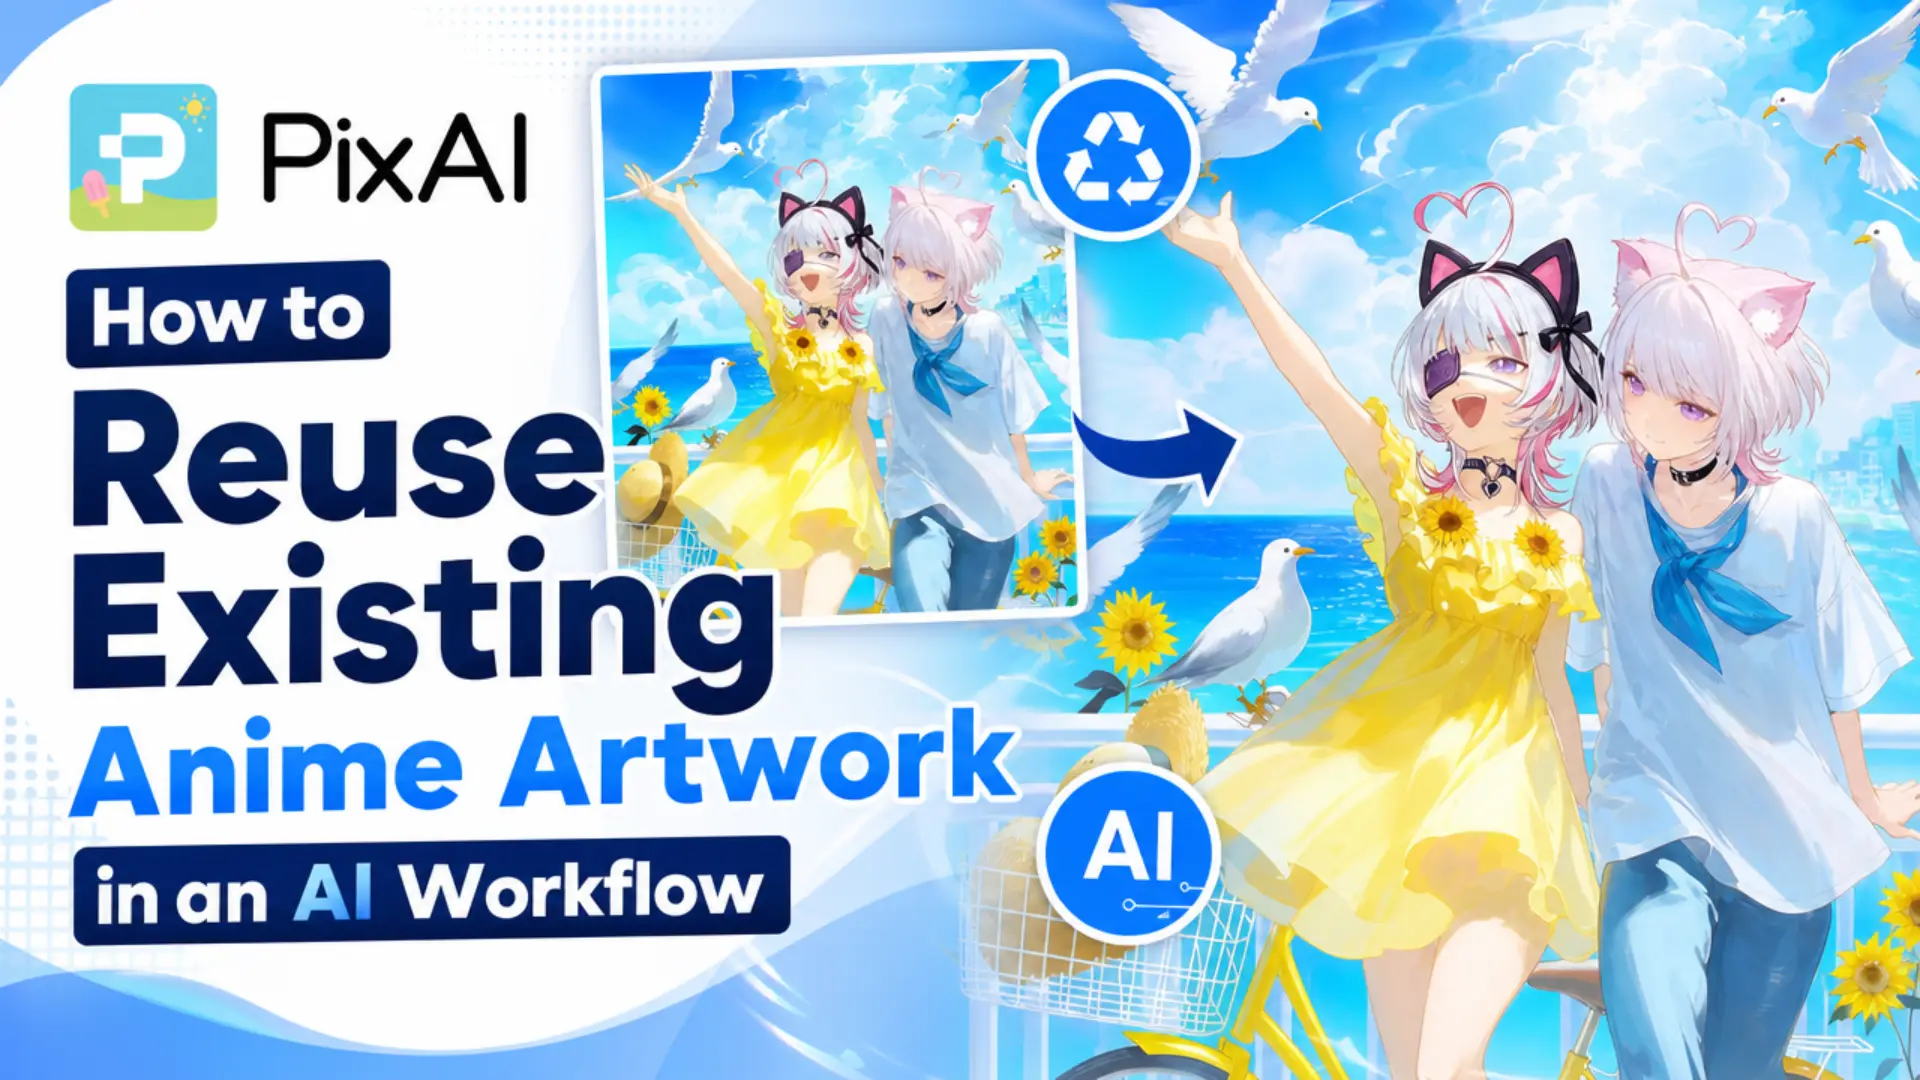
When the next idea arrives, the instinct is often to open an empty prompt box and rebuild the concept from zero. That is rarely necessary. You can reuse AI artwork you have already made as the starting asset for a new scene, a variation, an edit, or a video.
This article walks through the process: choose the next goal, decide what to preserve, continue the asset, and review what comes back.
Step 1 — Choose One Clear Continuation Goal
The realistic options include: placing the character in a new scene, giving them a new outfit, correcting a detail that never looked right, building a character poster, producing a manga teaser, or turning the image into a short video.
For this walkthrough, the goal is fixed and singular: move the OC into a rainy night city scene.
That is one change of environment and mood. The final output should communicate the same character in a new place, with a different atmosphere around her — reflective, night-time, urban.
One goal per continuation is the rule worth keeping. Attempting a new scene, a new outfit, a major pose change, and a video in the same pass produces a result you cannot evaluate, because you no longer know which change caused which difference.
Step 2 — Decide What Must Be Preserved
The elements that usually define an OC:
- Face and recognisable character features — eye shape, face structure, distinguishing marks
- Hair shape and main colour direction — the silhouette matters as much as the colour
- Key outfit or accessory details — a specific jacket, a pendant, a hair ornament
- Overall body proportions — height, build, head-to-body ratio
- General art style — line quality, shading approach, level of detail
- The emotional identity of the character — whether she reads as guarded, warm, tired, or confident
What is free to change for this scene: background, lighting, atmosphere, and the supporting pose or expression that suits the new mood.
| Preserve | Change for the New Scene |
|---|---|
| Face and recognisable features | Background and setting |
| Hair shape and main colour | Lighting and colour temperature |
| Key outfit and accessory details | Atmosphere and weather |
| Body proportions | Supporting pose |
| General art style | Expression, within the character’s range |
| Emotional identity | Camera distance and framing |
Set expectations here too. Continuation preserves character direction; it does not deliver pixel-perfect reproduction, and small differences between the original and the new scene are normal.
Step 3 — Add the Existing Artwork to PixAI Studio
In PixAI Studio, the existing image is added to the workspace as the starting asset for the next creative stage. This can be a file you bring in or a previous PixAI creation you are picking back up.
From this point, the image is no longer a finished piece sitting in a folder. It is an input, and everything that follows in the AI art workflow builds on it rather than replacing it.
Keep the setup focused on that one asset. There is no need to arrange additional steps until you know whether the first continuation works.
Step 4 — Create the New Scene or Variation
- New setting: a rainy city street at night
- New mood: reflective and cinematic, not action-heavy
- Supporting visual changes: neon reflections, wet pavement, light rain, city lights in the background
- Character direction to preserve: the same face, hair, main outfit identity, and anime visual style
The instruction used for the continuation:
Place the same character on a rainy city street at night, keeping her face, hairstyle, hair colour, main outfit, and anime art style unchanged. Wet pavement reflects neon signage, light rain falls, and city lights blur in the background. Reflective, cinematic mood — the character stands quietly rather than in action. Medium shot with the character as the clear focus.
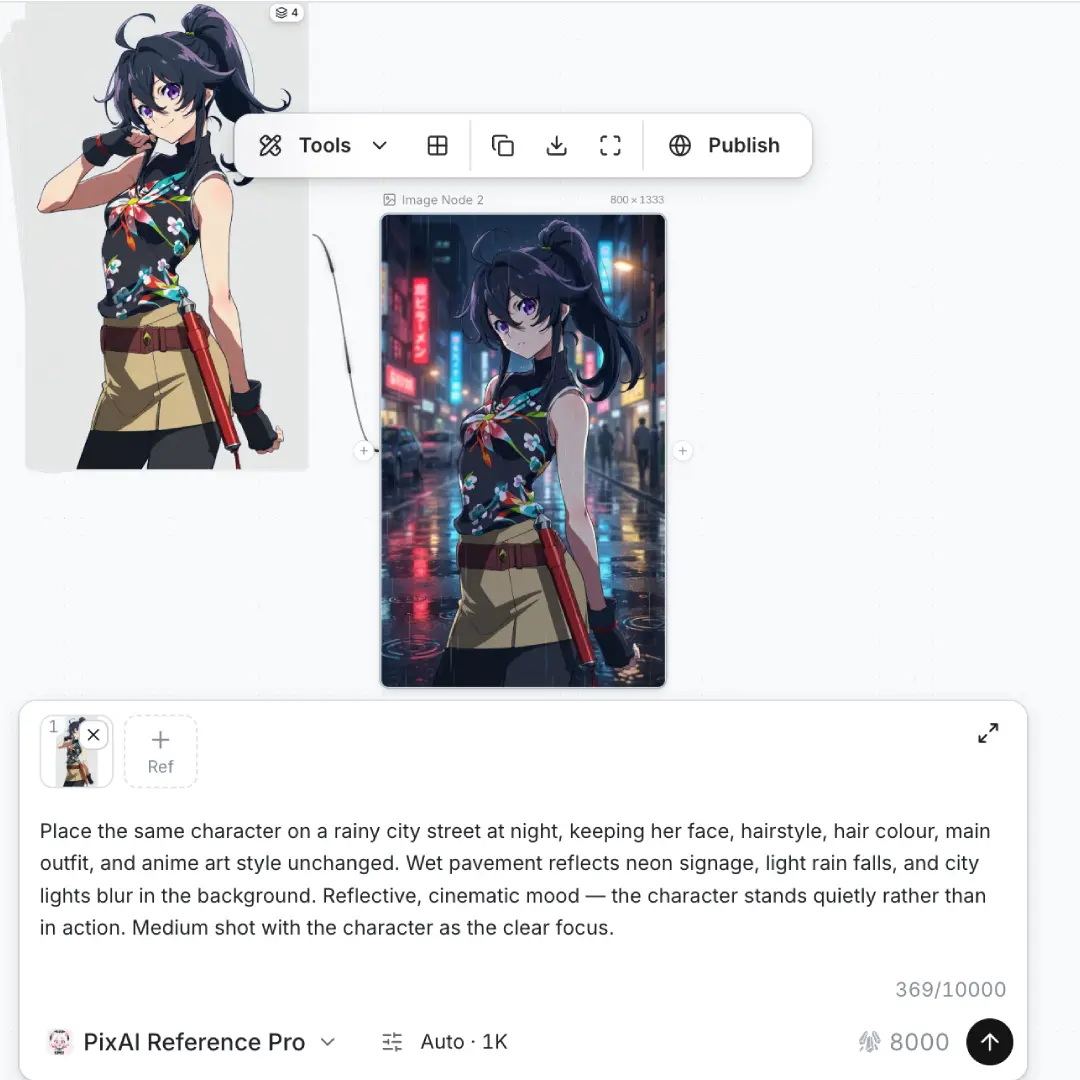
What stayed: the face reads as the same person, the hair silhouette and colour are intact, the outfit is recognisable, and the art style is consistent between the two images.
Some drift is visible if you look closely — a detail on the collar sits slightly differently, and the hair catches light in a new way. That is expected. The question is whether the character remains identifiable, not whether the two images match exactly.
Two Other Ways to Continue Existing Artwork
Edit or Refine One Detail
Sometimes the artwork is right except for one element. Editing lets you correct a single object, colour, expression, or background detail without regenerating the whole image.
Example: removing a distracting sign from the background while leaving the character untouched.
Turn the Image into a Short Video
An existing illustration can also serve as the source asset for a focused animation, where a small amount of motion is added to artwork that already works.
Example: letting the character blink and her hair drift slightly while the camera pushes in slowly.
Both paths deserve their own preparation, which is covered elsewhere. Treat them here as directions, not tutorials.
Step 5 — Review the Continued Output
- Does the character still look recognisable?
- Are the important face, hair, and outfit details present?
- Does the new setting match the intended mood?
- Did the change introduce unnecessary differences?
- Does the composition still have a clear focus?
- Is the result suitable for the planned use?
Question four does most of the work. Continuations often succeed at the requested change while quietly altering something you never asked about — an accessory disappearing, a hair length shifting, an art style drifting slightly more realistic.
If the answers are mostly yes with one weak point, adjust that single element and regenerate rather than rewriting the whole instruction.
Common Mistakes
Using an unsuitable or unfinished source image. A rough or low-detail original will not become cleaner through continuation.
Failing to define what must be preserved. Without a preserve list, you have no standard to review the output against.
Accepting the first result without comparison. Place the original and the new image side by side before deciding.
Claiming the new output is identical to the original character. It will be close, not identical, and describing it accurately keeps expectations honest.
Conclusion
Pick an anime illustration you already like and continue it into something new in PixAI Studio.
Disclaimer : If you buy something through our links, we may earn an affiliate commission or have a sponsored relationship with the brand, at no cost to you. We recommend only products we genuinely like. Thank you so much.
Blog Label:



Write for us
Publish a Guest Post on Pixflow
Pixflow welcomes guest posts from brands, agencies, and fellow creators who want to contribute genuinely useful content.
Fill the Form ✏