How to Add AI Voiceovers in Premiere Pro & After Effects (Step-by-Step Tutorial)
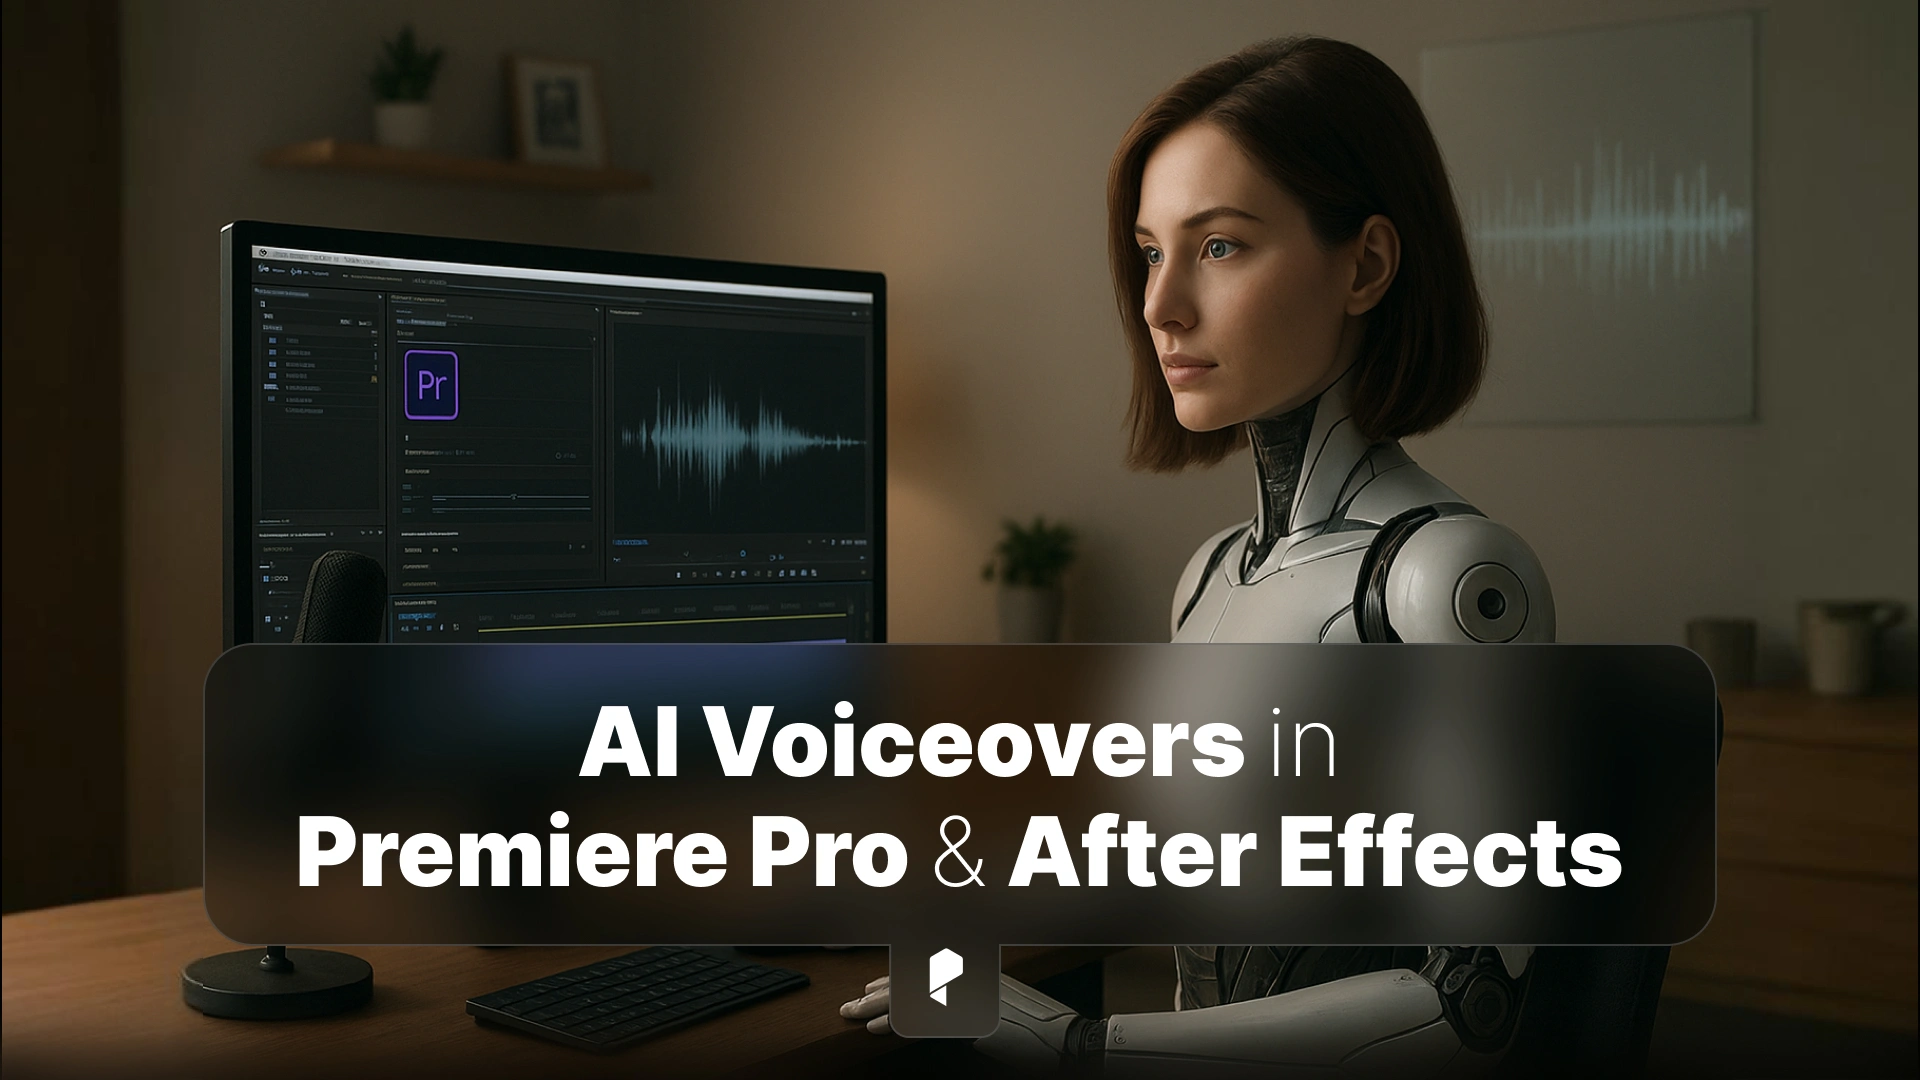
With AI voiceovers, you can create studio-quality voice narration directly inside Adobe Premiere Pro or After Effects, no microphones, no sound booths, and no retakes.
Traditional narration workflows often require hours of setup, costly voice talent, and endless rounds of revisions. If you’ve ever had to wait days for a new take or struggled to get the perfect tone for your video, you know how limiting that can be.
Now, there’s a better way.
Our AI voice technology lets you instantly generate realistic voiceovers, adjust tone and pacing, and sync them perfectly with your visuals, all within your existing Adobe workflow.
Whether you’re producing explainer videos, social media content, or motion graphics, adding AI voiceovers in Premiere Pro and After Effects can transform your editing process.
Why Add AI Voiceovers to Your Adobe Workflow
Save Time and Simplify Revisions
Unlike traditional recording sessions, AI voiceovers can be regenerated instantly.
Need a script tweak or tonal adjustment? Just edit your text and hit “generate”, no rescheduling, no recording, no delays.
Easy Localization for Global Reach
Working with clients or audiences in multiple languages?
AI voice tools like Pixflow’s support over 27 languages, making it easy to localize your videos for international markets. You can deliver multiple language versions of the same project in minutes.
Perfect for Any Type of Content
- Explainer videos: Keep narration clear, concise, and perfectly timed.
- Tutorials: Add consistent, engaging voice guidance to enhance learning.
- Social media videos: Use AI voices to make Reels or TikToks stand out without recording yourself.
By embedding AI narration into your projects, you can streamline your workflow while giving your videos a professional polish.
Related reading: How to Create Stunning Videos with AI Voiceovers.
Tools You Will Need
Required Software
- Adobe Premiere Pro or After Effects (latest version recommended for optimal performance)
- AI Voiceover Generator: such as Pixflow’s AI Voiceover Plugin
This tool allows you to create natural-sounding voices directly from your script and export them into your project with one click.
Optional Tools
- Motion Factory: Pixflow’s smart asset management system for automating video workflows and organizing voice, visuals, and effects in one place.
It’s a perfect companion if you work with complex motion graphics or team-based post-production.
With these tools set up, you’re ready to start generating and syncing your AI narration.
🔗 You can also explore: Best AI Voiceover Tools in 2025
Adding AI Voiceovers in Premiere Pro
Step 1: Generate the AI Voiceover
- Open your AI voice generator (e.g., Pixflow AI Voiceover Plugin).
- Write or paste your script directly into the text box.
- Choose your voice style, tone, and language.
- Adjust speed, emphasis, and pitch for a natural sound.
- Preview the result in real time, then export your final version as an MP3 or WAV file.
If you’re new to voice generation, check out our guide:
👉 How to Create an AI Voiceover (Step by Step)
Step 2: Import the Audio into Premiere Pro
- Launch Adobe Premiere Pro and open your project.
- Create or select the sequence you want to work with.
- Drag your AI-generated voiceover file into the Project panel.
- Drop the audio onto your timeline, aligning it with the start of your visuals.
- Use fade-ins and volume keyframes to ensure a smooth and balanced integration.
At this stage, your voiceover should play alongside your visuals, but we’ll fine-tune the timing next.
Step 3: Sync Voiceover with Video
- Enable the audio waveform view in your timeline to see the peaks and pauses.
- Match the narration to your cuts, transitions, or animations.
- Use the Razor tool or Rate Stretch tool to trim or time-stretch clips for perfect sync.
- For better accessibility, consider adding captions or subtitles using Premiere’s built-in captioning tool.
This workflow creates a professional, voice-led edit that feels natural and engaging, ideal for clients or audiences who value clarity and pacing.
Tip: Once synced, save your sequence as a preset workflow for future AI narration projects. It’ll save tons of time on your next edit.
Adding AI Voiceovers in After Effects
Let’s look at how to add and sync AI voiceovers in After Effects efficiently.
Step 1: Import Audio
- In After Effects, go to File → Import → File…
- Select your AI-generated audio file (MP3/WAV).
- Drag it into your timeline or composition panel to use as a timing reference.
If you haven’t generated your AI voice yet, you can easily do it using Pixflow’s AI Voiceover.
Step 2: Sync with Animation
- Enable the Audio Waveform view (hit L twice) to visualize your narration’s rhythm.
- Use the peaks and pauses to time keyframes, motion graphics, or lip-sync elements.
- Link keyframe timing to important cues in the narration, for example, text animations appearing as the words are spoken.
- Use expressions or time remapping for extra precision in syncing.
This method ensures your visuals feel perfectly tied to the voiceover, adding rhythm and emotional timing to your animation.
Step 3: Preview and Adjust Timing
- Use RAM Preview (spacebar or 0 on numpad) to play back the animation with audio.
- Adjust timing or transitions if certain parts feel rushed or off-beat.
- Fine-tune your keyframes to match syllables, pauses, or emotional beats in the narration.
Once your narration feels perfectly aligned, you’re ready to polish the mix and move on to final editing and sound design.
Best Practices for Editing AI Voiceovers
1. Match Tone and Pacing to Your Visual Style
Keep the narration aligned with the energy of your visuals.
For a fast-paced social video, a slightly upbeat tone works best.
For educational or explainer videos, go for a calm, steady delivery that’s easy to follow.
Pixflow’s AI Voiceover Plugin lets you adjust emotional depth, so your voice matches the project perfectly.
2. Add Background Music and Ambient Sound
Even the most natural voice sounds flat in isolation.
Layer subtle background music or ambient sound to create depth and realism.
Use volume automation to keep narration front and center without overpowering it.
3. EQ and Compress the Audio
Apply light EQ and compression in Premiere Pro or After Effects to balance frequencies.
- Roll off low frequencies below 80Hz.
- Add a gentle boost around 3–5kHz for clarity.
- Compress with a 3:1 ratio to even out levels.
These small adjustments help your AI voice blend naturally with your mix.
For a full breakdown of how to create your voice tracks from scratch, read: How to Create an AI Voiceover (Step by Step)
Integrating Pixflow’s AI Voiceover Plugin
Pixflow’s AI Voiceover Plugin was built exactly for this, to help you generate, preview, and sync AI narration without leaving your editing timeline.
Seamless Adobe Integration
- Works inside Premiere Pro and After Effects.
- Lets you preview AI voices in real time before generating.
- Directly exports voiceovers into your project timeline — no manual importing needed.
Real-Time Control
Instead of toggling between multiple tools, you can:
- Adjust the tone, accent, and pacing directly in the plugin.
- Regenerate specific lines instantly when making script revisions.
- Test different emotional styles (e.g., corporate, friendly, dramatic) without re-rendering audio.
Multilingual Capability
Pixflow’s AI Voiceover tool supports 27+ languages, making it the perfect solution for global creators.
Whether you’re working on international campaigns or localized tutorials, you can produce multilingual versions in just a few clicks.
Related: AI Voiceovers: The Complete Guide
Common Mistakes to Avoid
Here’s what to watch out for:
1. Using Voices That Don’t Match the Scene
Choose a tone that fits the content.
A robotic or overly cheerful voice in a serious documentary can ruin immersion.
Always preview multiple styles before finalizing.
2. Ignoring Gain Levels
Normalize your audio to avoid volume spikes or dips.
In Premiere Pro, use the Audio Gain setting (shortcut G) and normalize to around -3dB for clean, consistent output.
3. Skipping the Preview Step
Always review your video with full sound before exporting.
AI-generated voices can occasionally mispronounce words or emphasize the wrong syllables, especially in brand names or technical terms.
Fix those with phonetic spelling or custom pronunciation adjustments in your AI tool.
4. Rushing Sync Adjustments
Perfect sync between narration and visuals is what separates amateur edits from professional ones.
Take the time to tweak timing until every line hits the right beat.
Related read: AI Voiceovers for Social Media: TikTok, Instagram Reels, and YouTube Shorts
Conclusion
What once took hours of recording, retakes, and expensive gear can now be done in minutes, directly in Premiere Pro and After Effects.
Now you can:
Generate professional narrations with the perfect tone.
Sync AI voices seamlessly with your visuals.
Export a polished video faster than ever.
Whether you’re an individual creator, a motion designer, or part of a video production team, adding AI voiceovers in your Adobe workflow saves time, budget, and stress, while giving your projects a professional edge.
Start today with Pixflow’s AI Voiceover Plugin and experience how fast, flexible, and creative your editing process can be.
Disclaimer : If you buy something through our links, we may earn an affiliate commission or have a sponsored relationship with the brand, at no cost to you. We recommend only products we genuinely like. Thank you so much.
Blog Label:
- adding AI voiceovers in After Effects
- adding AI voiceovers in Premiere Pro
- AI text-to-speech guide
- AI voice for Adobe Premiere
- AI voice plugin for After Effects
- AI Voiceover
- AI voiceover in After Effects
- generate voiceover for video using AI
- how to add AI voice to video in Premiere Pro
- how to create an AI voiceover

Write for us
Publish a Guest Post on Pixflow
Pixflow welcomes guest posts from brands, agencies, and fellow creators who want to contribute genuinely useful content.
Fill the Form ✏