How to Create Professional Social Media Cover Photos & Banners for All Platforms in Photoshop
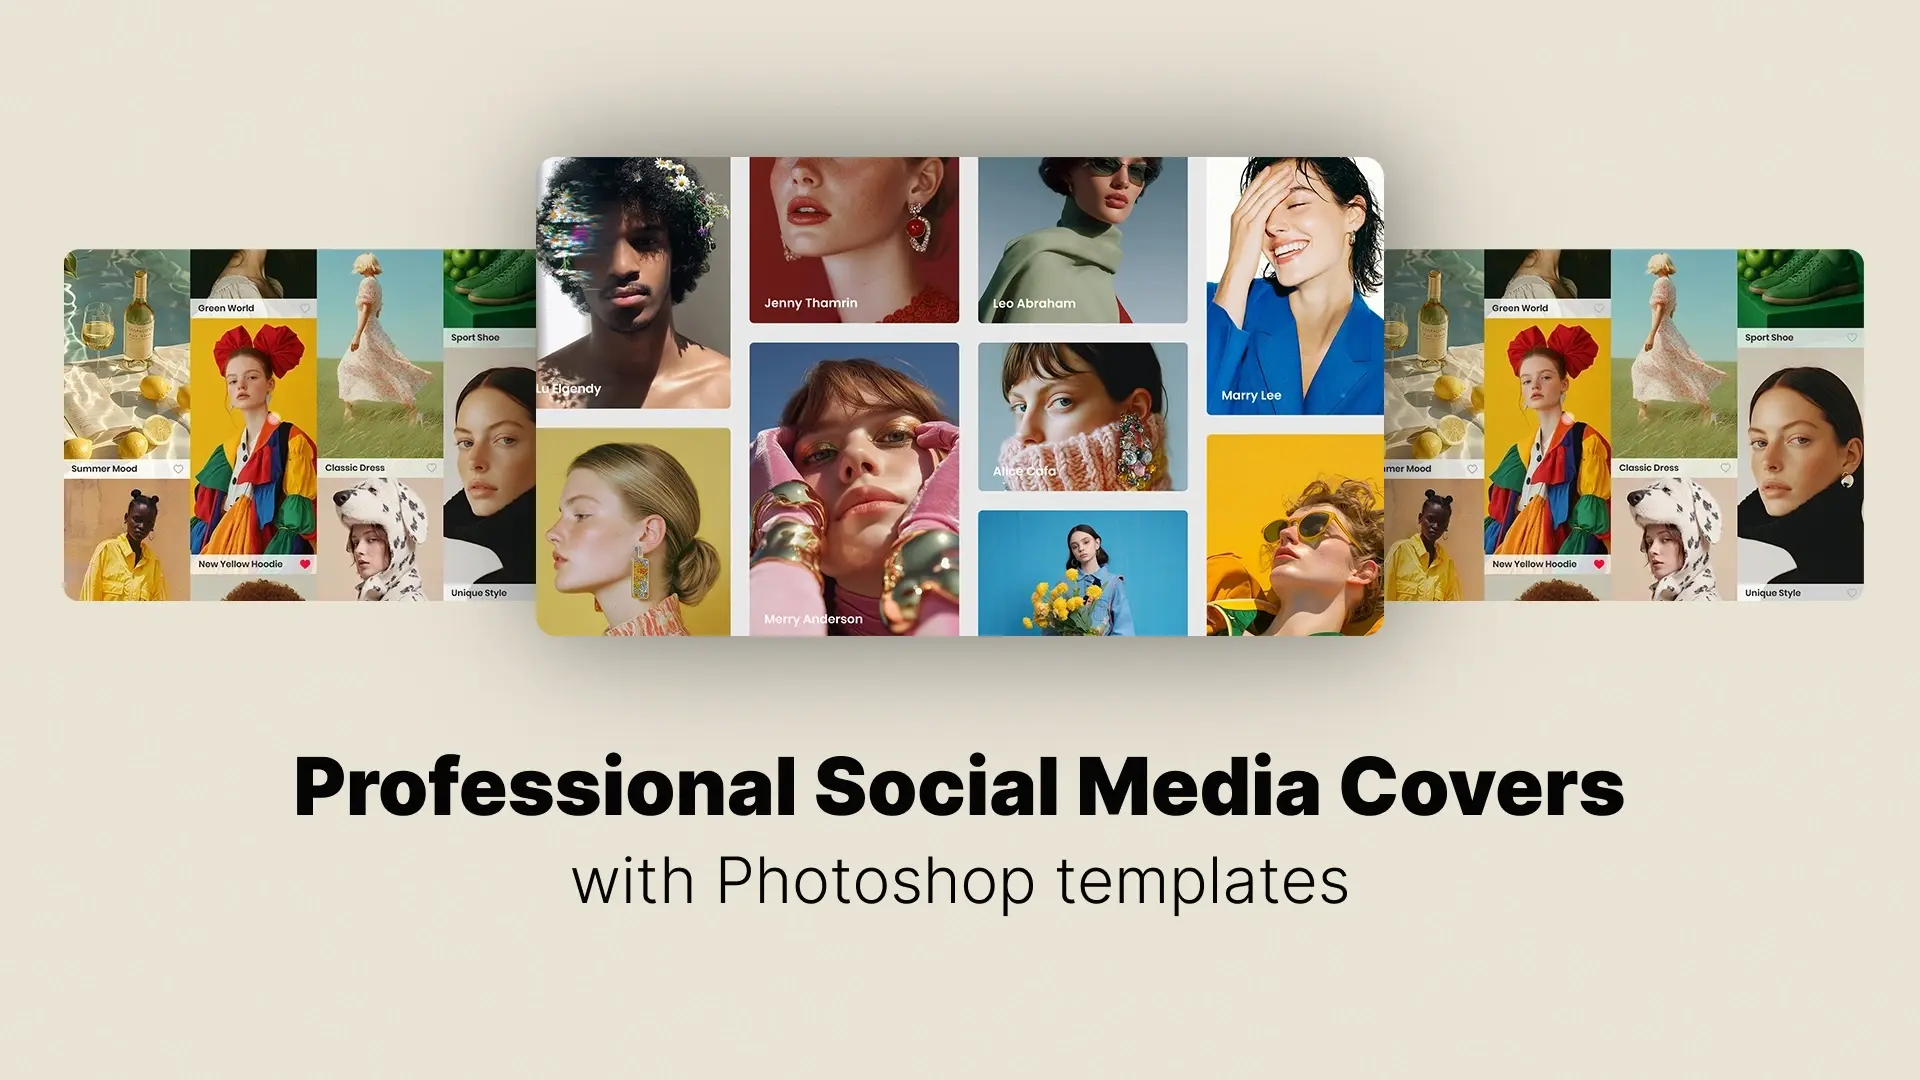
- Understand the Role of Cover Photos Across Platforms
- Social Media Banner Sizes and Dimensions
- Setting Up Your Photoshop File Properly
- Design Principles for Social Media Covers
- Using Smart Objects and Templates in Photoshop
- Exporting and Optimizing for Web and Mobile
- Platform-Specific Tips
- Common Mistakes to Avoid
Creating eye-catching banners may seem like a job for a professional designer, but with Photoshop, you can easily learn how to create stunning, brand-consistent covers for every platform—from Facebook and YouTube to LinkedIn and Twitter. In this guide, we’ll walk you through the exact steps to create polished, optimized social media banners in Photoshop.
🎨 Want to skip the setup and start designing immediately?
👉 Explore customizable social media templates →
Professional Photoshop Templates
Understand the Role of Cover Photos Across Platforms
A well-designed header sets the tone for your profile and communicates trust, style, and professionalism at a glance. When creating designs in Photoshop, keep the purpose of each banner in mind and tailor your layout accordingly. This is the foundation of great social media header design in Photoshop.
Here are the latest social media cover photo sizes you should know:
Facebook: 851 × 315 px
YouTube: 2560 × 1440 px
Twitter (X): 1500 × 500 px
LinkedIn: 1584 × 396 px
Instagram Story: 1080 × 1920 px
💡 Tip: Always leave space around the edges to account for profile picture overlays and cropping on different devices.
Using the correct Facebook cover photo size in Photoshop ensures your design looks clean and professional no matter where it’s viewed.
Setting Up Your Photoshop File Properly
- Open Photoshop and go to File > New.
- Enter your dimensions (e.g., 851×315 px for Facebook).
- Set resolution to 72 or 150 DPI for web usage.
- Choose RGB color mode and white background.
- Click Create.
Use guides to create “safe zones,” especially for YouTube and Facebook where parts of the banner can be hidden behind avatars or cropped differently on mobile and desktop.
If you plan to create banners for multiple platforms, you can also save these setups as templates. This approach is ideal for anyone building a Photoshop template for all social media cover photos.
Design Principles for Social Media Covers
Here are key design principles to follow:
- Balance text and imagery: Don’t overcrowd. Leave breathing room.
- Use high-quality images: Blurry photos kill credibility.
- Maintain brand consistency: Stick to your brand colors and fonts.
- Add visual hierarchy: Emphasize important elements using size and contrast.
- Include a CTA when relevant: Direct viewers to a website or upcoming event.
Use Smart Objects in Photoshop to insert logos or brand assets non-destructively, and always group and label your layers for easy edits.
🎯 This is the foundation of professional banner design in Photoshop for branding that works across industries.
Using Smart Objects and Templates in Photoshop
What are Smart Objects?
They allow you to embed image layers in a way that preserves the original data. This means you can scale, rotate, or apply filters without degrading the image quality. More importantly, you can reuse and update designs across multiple platforms effortlessly.
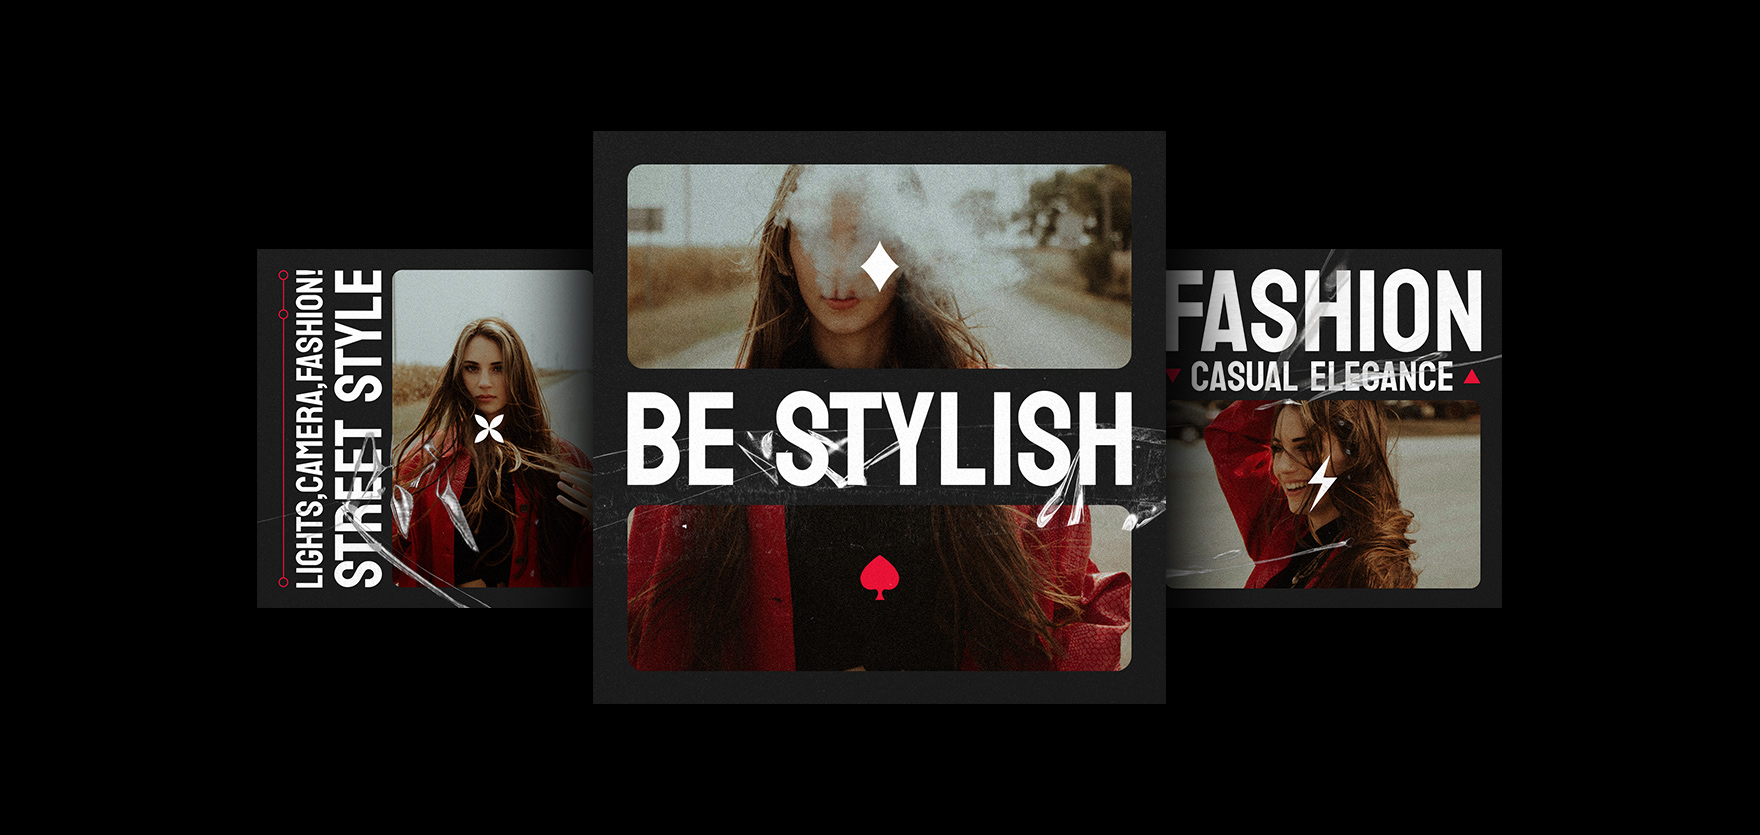
Using Photoshop PSD templates for social media banners is another major time-saver. Templates give you a ready-to-edit structure for Facebook, YouTube, Twitter, and more. All you have to do is change text, replace logos, and update colors.
🚀 Ready to design faster?
👉 Download customizable social media banner templates →
Exporting and Optimizing for Web and Mobile
✅ Best Export Settings in Photoshop:
- Go to File > Export > Save for Web (Legacy) or use Export As…
- Choose JPG (80–90% quality) for photos, or PNG for transparency.
- Make sure to check dimensions to ensure your export matches platform requirements.
📱 Optimize for Mobile:
Preview your banners at smaller resolutions or use Photoshop’s Artboards feature to test responsiveness.
Pro Tip: Avoid placing essential text or logos too close to the edges—these areas often get cropped or hidden on smaller devices.
Platform-Specific Tips (Facebook, YouTube, LinkedIn, and More)
🎯 Facebook:
- Profile picture overlaps the bottom-left corner—keep key info to the center or right.
- Consider using banners to announce events or product launches.
- Use 851 × 315 px, but upload at 1640 × 624 px for retina clarity.
📺 YouTube:
- Use the full 2560 × 1440 px canvas, but keep critical content inside the “safe area” of 1546 × 423 px.
- Consider placing your channel name, logo, and upload schedule in this zone.
- Keyword: YouTube banner Photoshop tutorial.
💼 LinkedIn:
- Use 1584 × 396 px for personal profiles or company pages.
- Avoid overly personal photos—go for corporate identity, brand colors, or service showcases.
🐦 Twitter (X):
- Banners often appear cropped on mobile—preview your layout before finalizing.
- Keep important content centered within a 1260 × 400 px safe zone.
Common Mistakes to Avoid
❌ Mistake 1: Using Incorrect Dimensions
Leads to cropping, stretched images, or misaligned content.
❌ Mistake 2: Text Too Close to Edges
May get cut off on mobile or by profile overlays.
❌ Mistake 3: Low-Resolution Assets
Pixelated banners scream unprofessional—always use high-quality images.
❌ Mistake 4: Ignoring Branding
Inconsistent fonts, colors, or logos can confuse your audience and hurt credibility.
❌ Mistake 5: Forgetting Mobile Optimization
Always test how your design appears on mobile vs. desktop screens.
Fixing these issues is crucial to creating professional social media banners in Photoshop that support your brand identity.
Conclusion
Whether you’re working on a Facebook cover, YouTube channel art, or LinkedIn header, following these best practices ensures your designs are crisp, compelling, and consistent across all devices. Don’t forget to optimize for mobile, export correctly, and use Smart Objects or templates to streamline your workflow.
Want to skip the blank canvas and jump straight into high-quality designs?
👉 Browse Pixflow’s social media banner templates →
Disclaimer : If you buy something through our links, we may earn an affiliate commission or have a sponsored relationship with the brand, at no cost to you. We recommend only products we genuinely like. Thank you so much.

Write for us
Publish a Guest Post on Pixflow
Pixflow welcomes guest posts from brands, agencies, and fellow creators who want to contribute genuinely useful content.
Fill the Form ✏


Social Media Banner Sizes and Dimensions (2025 Updated Guide)