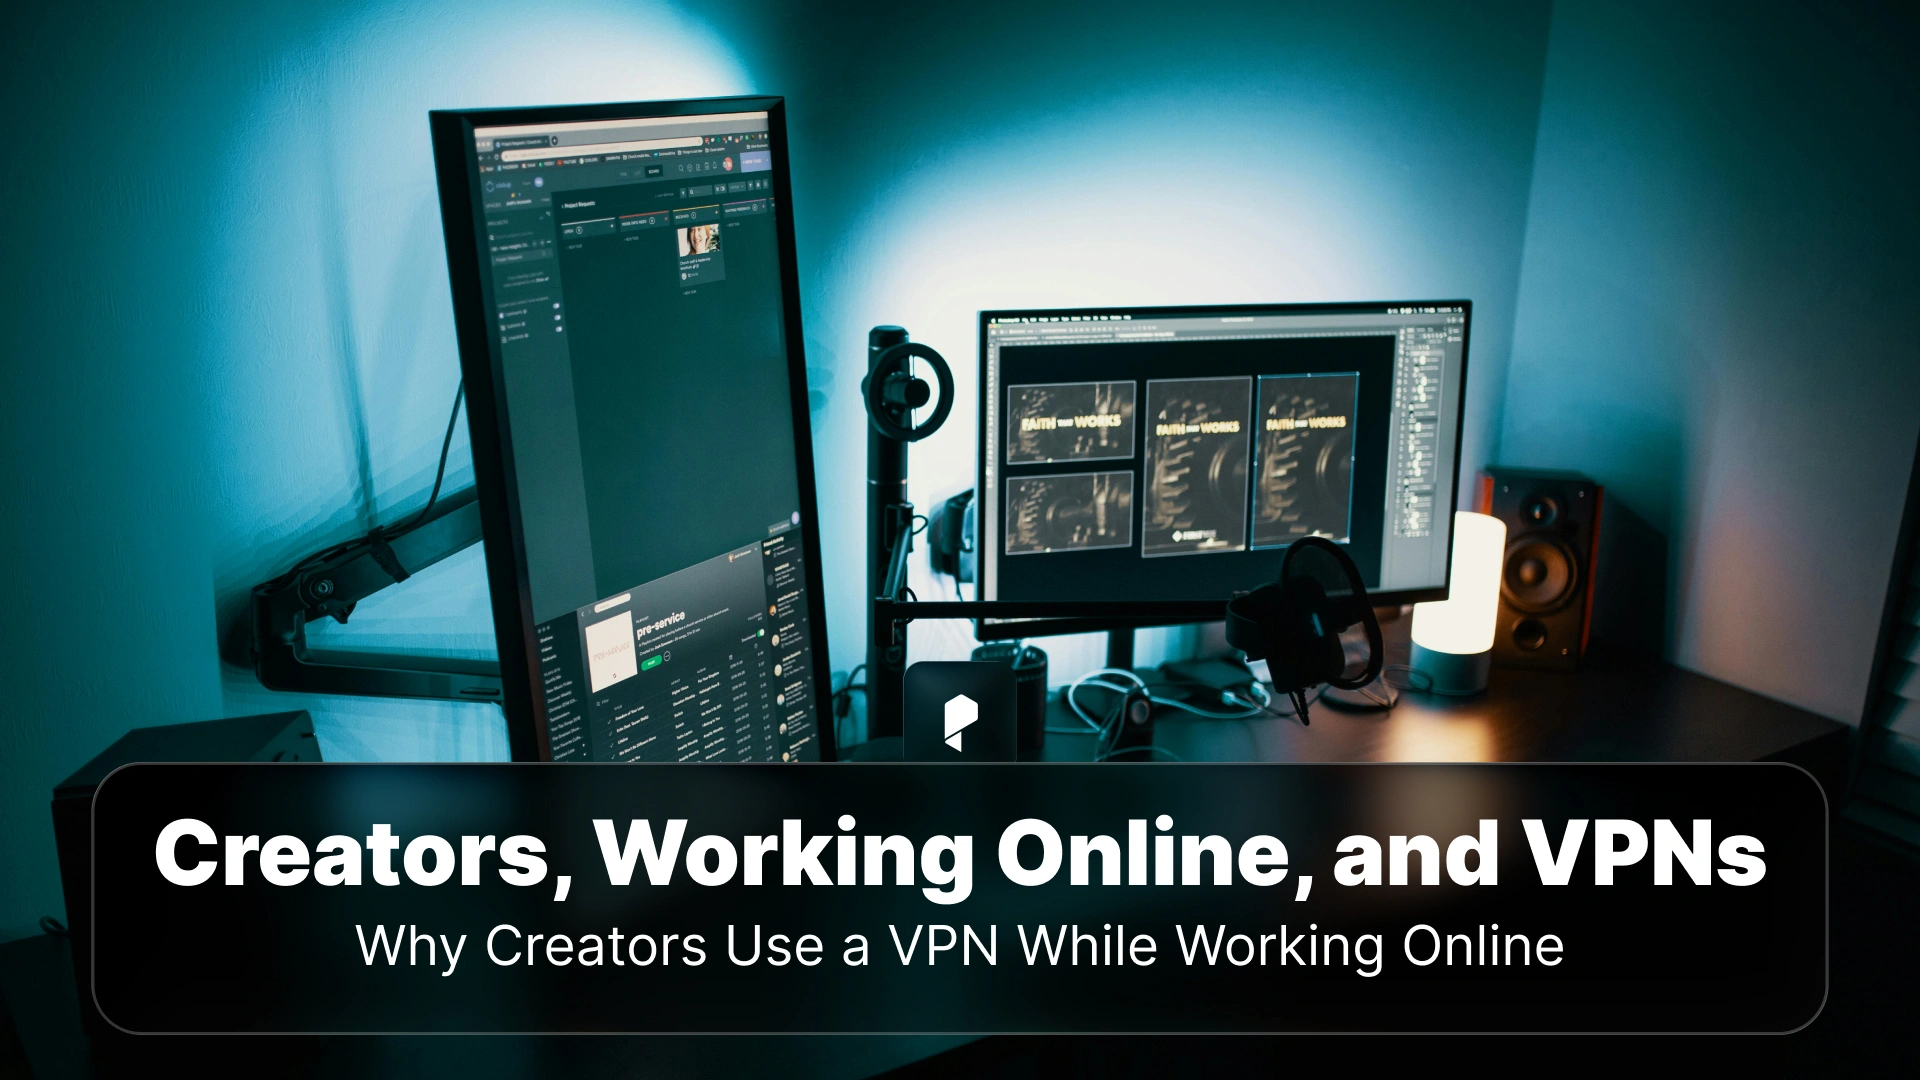
How to Export After Effects Projects Like a Pro: A Deep Dive into Media Encoder

That’s where Adobe Media Encoder steps in.
This powerful application serves as the perfect companion for After Effects, handling the heavy lifting of video encoding while offering flexibility, speed, and superior control over output settings. Whether you’re aiming to render After Effects Media Encoder exports for YouTube, Instagram, or professional delivery, understanding how to leverage Media Encoder is essential.
In this blog post, we’ll walk you through how to export After Effects projects like a pro using Adobe Media Encoder. From its core functionality to advanced export settings and troubleshooting tips, you’ll learn everything you need to elevate your video output workflow.
Professional After Effects Templates


What is Adobe Media Encoder?
So, what does Adobe Media Encoder do for After Effects exports?
Put simply, it gives you more power and flexibility. Media Encoder allows you to:
- Transcode video and audio into multiple formats, such as H.264, H.265, ProRes, and more.
- Compress files while maintaining quality—perfect for web, mobile, or social media delivery.
- Automate export workflows with presets and queues, saving time and effort.
Whether you’re exporting content for a client or publishing on platforms like YouTube or Instagram, Media Encoder ensures you can tailor your outputs precisely to the requirements of your destination.
💡 Want ready-made assets to level up your workflow? Check out these After Effects video templates to speed up your creative process.
Why Use Media Encoder for After Effects?
Here’s why it’s a better alternative:
1. Non-Blocking Workflow
After Effects locks up during a direct render—but when you send your project to Media Encoder, you can continue working in After Effects while your project exports in the background. Multitasking just got real.
2. Faster Rendering & Performance
Media Encoder often handles rendering more efficiently, especially when using hardware acceleration. This can improve export speed dramatically compared to the render queue in After Effects.
3. Multiple Exports, One Queue
Need to render your video in different formats or resolutions? Media Encoder lets you queue multiple export versions from a single composition.
4. Better Control Over Output Settings
Fine-tune everything—format, bitrate, resolution, and even audio settings. Media Encoder is built for export customization.
How to Export After Effects Projects with Media Encoder
Step 1: Finalize Your Composition
Before anything, make sure your composition is ready. Double-check resolution, frame rate, effects, and pre-comps.
Step 2: Add to Adobe Media Encoder Queue
- Go to the top menu bar, select Composition > Add to Adobe Media Encoder Queue.
- Alternatively, use the shortcut: Cmd+Alt+M (Mac) or Ctrl+Alt+M (Windows).
- This will automatically launch Adobe Media Encoder and import your composition into the encoding queue.
Step 3: Choose Export Format
In Media Encoder, under the Format column, choose your desired codec. For most online platforms, H.264 is the go-to option for its balance of quality and file size.
Step 4: Set Output File Destination
Click the file name under the Output File column to choose where you want to save the export. Rename it if needed.
Step 5: Adjust Media Encoder Export Settings
Click the format name to open the Export Settings panel. This is where you can:
- Choose resolution (e.g., 1080p, 4K).
- Set frame rate.
- Control bitrate.
- Choose export presets optimized for different platforms (e.g., YouTube 1080p Full HD).
Step 6: Start the Encoding
Once everything is ready, hit the green play button in the top-right corner to begin the render.
Your file will now export via Media Encoder, allowing you to keep working in After Effects or start exporting additional compositions.
🔍 Looking for quick inspiration or pre-built assets? Check out Pixflow’s After Effects video templates to speed things up.
Optimizing Export Settings in Media Encoder
“What are the best Media Encoder settings for exporting After Effects projects?” — it depends on your target platform and delivery goals. Here’s how to tailor your settings.
1. Choose the Right Format & Codec
- H.264: Best for YouTube, web, and social media (high quality, low file size).
- H.265 (HEVC): Better compression, useful for high-efficiency delivery (may require modern hardware).
- Apple ProRes / DNxHD: Best for high-quality archival or post workflows.
Understanding Containers vs Codecs in Media Encoder
When you open the Export Settings panel in Media Encoder, you see two key choices: Format and Codec (listed under Video Codec or Encoder). These are not the same thing, and understanding the difference will help you make better export decisions instead of just following presets blindly.
- A container (also called a format or wrapper) is the file type that packages your video stream, audio stream, subtitles, and metadata into a single file. Common containers include MP4 (the universal standard for web delivery), MOV (native to Apple ecosystems and common in post-production), MKV (open-source, flexible, supports nearly any codec), and MXF (the broadcast and professional archive standard used in television and film pipelines).
- A codec is the compression algorithm that encodes and decodes the actual video data inside the container. The codec determines file size, visual quality, and how much processing power is needed to play or edit the file.
The recommendations earlier in this section map to this distinction: when you select “H.264” in Media Encoder, you are choosing a codec that will typically be wrapped in an MP4 container. When you select “Apple ProRes,” you are choosing a codec that will typically be wrapped in a MOV container.
Beyond H.264: codecs worth knowing about
- VP9 is an open-source codec developed by Google. YouTube already uses VP9 for playback, so if you upload an H.264 file to YouTube, it gets re-encoded to VP9 on their servers. Some creators export directly in VP9 to have more control over the final quality.
- AV1 is the next-generation open-source codec backed by the Alliance for Open Media (Amazon, Apple, Google, Meta, Netflix, and others). It offers roughly 30% better compression than H.265 at the same quality level. Media Encoder support for AV1 is expanding, and it is increasingly the preferred codec for streaming platforms.
Why ProRes and DNxHD matter for professional workflows
The earlier recommendation to use ProRes or DNxHD for post-production is not just about “higher quality.” These codecs support 10-bit color depth (1,024 shades per channel instead of 256 in 8-bit), which gives colorists and compositors significantly more latitude for grading without banding. They also support 4:2:2 chroma subsampling, which preserves more color detail per pixel than the 4:2:0 subsampling used by H.264 and H.265. If your After Effects project involves color grading, green screen keying, or compositing work that will be edited further downstream, exporting in ProRes 422 or DNxHR HQX inside a MOV or MXF container will preserve the data your next editor needs.
2. Adjust Bitrate Settings
- For YouTube, use a variable bitrate (VBR), 2-pass with a target of 10–16 Mbps for 1080p.
- For Instagram, go for a lower bitrate (3–5 Mbps) and ensure your resolution matches Instagram’s specs (e.g., 1080×1350 for vertical).
3. Set Proper Resolution & Frame Rate
- Match your composition settings unless a specific platform requires otherwise.
- Typical standards: 1920×1080 at 30fps for most platforms.
4. Tweak Audio Settings
- Keep it simple: AAC, 48kHz, Stereo, 320kbps is great for web/social content.
5. Use Presets for Speed
Media Encoder comes with built-in export presets like:
- YouTube 1080p Full HD
- Instagram Stories
- Twitter 720p
You can even save your own presets for future use.
Troubleshooting Common Issues
1. Encoding Errors
If your export fails or Media Encoder crashes, here are some common fixes:
- Check your output settings: Ensure you’re using a compatible format/codec. Sometimes, incompatible codecs can cause errors.
- Clear Media Encoder cache: Go to Preferences > Media Cache and clean it up. A full cache can sometimes lead to issues.
- Update software: Make sure you’re using the latest version of After Effects and Media Encoder to avoid compatibility problems.
2. Slow Export Times
If you’re noticing slow export times:
- Enable hardware acceleration: In Media Encoder, go to Preferences > General and make sure hardware encoding is enabled if your GPU supports it.
- Lower resolution or bitrate: Sometimes reducing export settings can dramatically speed up rendering times, especially if you don’t need ultra-high quality for a particular project.
- Close unnecessary applications: Exporting is resource-intensive, so close other software to free up system resources.
3. Quality Issues
If the quality of your export isn’t up to par:
- Check bitrate settings: Too low of a bitrate will reduce quality. Aim for at least 10–16 Mbps for 1080p HD.
- Avoid over-compression: Over-compressing your video can result in pixelation or loss of fine details. Use VBR 2-pass for better quality at a manageable file size.
4. Compatibility Problems
If your exported video doesn’t play correctly:
- Ensure the format is compatible with the target platform: For example, YouTube prefers H.264 video with MP4 containers.
- Test your file: Play it back in various media players to ensure the issue isn’t specific to one.
After Effects Render Queue vs. Media Encoder
After Effects Render Queue:
The Render Queue in After Effects is great for quick, single-format renders. You typically use it when you:
- Need a single output.
- Want to export directly from After Effects.
- Are not concerned with long render times.
However, the Render Queue can be limiting for larger, more complex workflows. You’re also forced to stay in After Effects during the render process, which can slow you down if you’re multitasking.
Media Encoder:
On the other hand, Media Encoder offers more flexibility:
- It’s ideal if you need to export multiple formats (e.g., YouTube, Vimeo, Instagram).
- You can queue multiple exports in a batch, freeing up time to work on other tasks.
- It offers greater control over export settings like resolution, bitrate, and format.
- Best for when you want a non-blocking workflow, as you can continue working in After Effects while Media Encoder handles the rendering.
When to Use Media Encoder vs. Render Queue:
- Use Media Encoder if you need to:
- Queue multiple compositions or formats.
- Export in different codecs (e.g., ProRes, H.264, etc.).
- Continue working while rendering in the background.
- Use the Render Queue if you:
- Only need to export one composition.
- Are okay with a slower, blocking render process.
- Want quick access to basic render settings (e.g., Lossless).
In short, Media Encoder is the more powerful and flexible tool for most complex workflows, while the Render Queue is great for simple, single-format renders.
Tips and Best Practices
1. Organize Your Projects
Before you start exporting, make sure your After Effects project is well-organized. This will help you avoid errors during rendering and improve the export process. Label your layers, compositions, and precompositions clearly. This way, when you send them to Media Encoder, everything will be easy to find and manage.
Optimize Your AE Project for Faster Exports Before You Hit Render
Media Encoder can only work as fast as the project you send it. A bloated, disorganized After Effects project will export slowly no matter how good your encoder settings are. Taking a few minutes to optimize your project structure before exporting can cut render times dramatically.
- Pre-render heavy effects into intermediate files. Particle systems, complex simulations, light leaks, and multi-layered blur stacks force After Effects to recalculate every frame during export. If an effect-heavy element is finalized and will not change, pre-render it to a ProRes or PNG sequence and replace the live comp with the rendered file. Media Encoder will breeze through pre-rendered footage instead of rebuilding complex effects frame by frame.
- Reduce unnecessary pre-comp nesting. Every nested pre-composition adds another layer of calculation that After Effects must resolve before passing frames to Media Encoder. If you have comps nested three or four levels deep and the nesting is not serving an organizational or creative purpose, flatten where possible. Fewer nesting levels means fewer render passes.
- Clean up expressions and scripts. Expressions that reference other layers, pull data from external files, or run complex math on every frame add processing overhead. Audit your expressions before export: if an expression has already served its purpose (for example, a wiggle that you are happy with), consider baking the keyframes and removing the live expression. Simpler calculations mean faster frame processing.
- Remove unused layers and assets. Disabled layers, orphaned footage items, and unused comps still consume memory and can slow down the project load when Media Encoder opens it. Use File > Dependencies > Remove Unused Footage before sending to the encoder queue.
Render hygiene habits that compound over time:
- Purge After Effects cache regularly (Edit > Purge > All Memory & Disk Cache). A bloated cache can slow both preview and export performance.
- Use proxy files for large assets. If your project includes 4K or RAW footage that you are outputting at 1080p, toggle proxies on for the export to reduce the data After Effects must process per frame.
- Close all background applications before starting a long export. Browsers, chat apps, and cloud sync tools compete for RAM and CPU cycles that Media Encoder needs.
- Check available disk space on your output drive. When a drive is nearly full, write speeds drop significantly, and Media Encoder may stall or fail mid-export.
Think of project optimization as the “before” step and Media Encoder settings as the “after” step. Getting both right is what separates a smooth, predictable export workflow from one that keeps you guessing.
2. Use Presets for Common Exports
If you frequently export in the same format or for the same platform (e.g., YouTube, Instagram), you can save a lot of time by using Media Encoder export presets. These presets can be customized for the resolution, bitrate, and codec that are most suitable for your needs. Presets eliminate the need to reconfigure your settings each time.
To access these presets:
- Go to the Format dropdown in Media Encoder and choose a preset that matches your export goal.
- You can also create custom presets for your specific needs, saving you time in the future.
3. Keep Your Software Updated
Adobe regularly updates both After Effects and Media Encoder, improving performance and fixing bugs. Make sure you’re using the latest versions of both programs to take advantage of the newest features and enhancements. Updates can also fix compatibility issues that might be slowing down your exports.
4. Monitor Export Progress
While Media Encoder runs in the background, it’s good practice to monitor the export progress occasionally. This can help you catch any errors early on, such as encoding failures or incorrect settings. You can also cancel exports if you realize there’s an issue before the process completes.
5. Optimize for Different Platforms
When exporting for different platforms, you need to adjust your settings to ensure the best performance. For example, exporting for YouTube or Instagram requires different resolutions, bitrates, and formats.
For YouTube:
- Format: H.264
- Resolution: 1920×1080 (Full HD) or 3840×2160 (4K)
- Bitrate: 10–16 Mbps for 1080p, 35–45 Mbps for 4K
For Instagram:
- Format: H.264
- Resolution: 1080×1080 (Square) or 1080×1920 (Vertical)
- Bitrate: Around 5–10 Mbps
Match the Native Aspect Ratio for Every Platform
Getting the format, resolution, and bitrate right is only half the story. If your exported video does not match the native aspect ratio a platform expects, it will be displayed with black bars (letterboxing for vertical content on a horizontal player, pillarboxing for horizontal content on a vertical player) or cropped unpredictably by the platform’s auto-fit algorithm. Some platforms also deprioritize content that does not fill the screen natively, reducing reach and engagement.
Here are the standard aspect ratios to set in your After Effects composition before sending to Media Encoder:
- 16:9 (1920×1080 or 3840×2160) for YouTube standard uploads, Vimeo, and most website embeds. This is the default widescreen format and what most AE projects start with.
- 9:16 (1080×1920) for TikTok, Instagram Reels, YouTube Shorts, and Snapchat. Full vertical format designed for mobile-first viewing. If your project was built at 16:9, you will need to create a separate composition at 1080×1920 and reframe your key elements to fit.
- 1:1 (1080×1080) for Instagram feed posts and some Facebook placements. Square format works well for content that needs to read clearly in a scrolling feed without relying on landscape framing.
- 4:5 (1080×1350) for Instagram portrait posts and Facebook feed ads. This taller-than-square format takes up more vertical screen space in the feed than 1:1, which can improve stop-scroll performance.
When exporting multiple aspect ratios from the same project, create a separate composition in After Effects for each ratio, reposition your elements to fit each frame, and then queue all compositions in Media Encoder at once. This way you get a single batch export instead of running separate render sessions for each platform.
6. Be Mindful of File Size
While it’s tempting to push high-quality settings for the best resolution, sometimes smaller file sizes are more appropriate, especially for web and social media platforms. Consider compressing your videos using Media Encoder’s bitrate settings to reduce the overall file size without sacrificing too much quality.
Conclusion
Whether you’re exporting a simple project or a complex composition, Media Encoder streamlines the process, saving you time and enabling you to multitask while your videos are rendered in the background. You’ll be able to queue multiple exports, fine-tune your settings, and ensure your videos are delivered in the best possible format for your chosen platform.
By understanding the benefits of Media Encoder and utilizing the right settings for your specific needs, you can significantly enhance the quality and efficiency of your After Effects export process. So, next time you need to export a project, remember to use Media Encoder and take full advantage of its powerful capabilities.
Disclaimer : If you buy something through our links, we may earn an affiliate commission or have a sponsored relationship with the brand, at no cost to you. We recommend only products we genuinely like. Thank you so much.

Write for us
Publish a Guest Post on Pixflow
Pixflow welcomes guest posts from brands, agencies, and fellow creators who want to contribute genuinely useful content.
Fill the Form ✏