How to Slow Down a Clip in After Effects: A Beginner-to-Pro Guide

In this tutorial, you’ll learn:
- How to slow down a clip in After Effects step-by-step.
- Techniques like Time Remapping and Frame Blending for smooth slow motion.
- Troubleshooting tips for fixing choppy motion and optimizing frame rates.
Whether you’re editing a cinematic sequence, a dramatic slow-motion shot, or a dynamic social media video, these tips will help you master the art of slow motion.
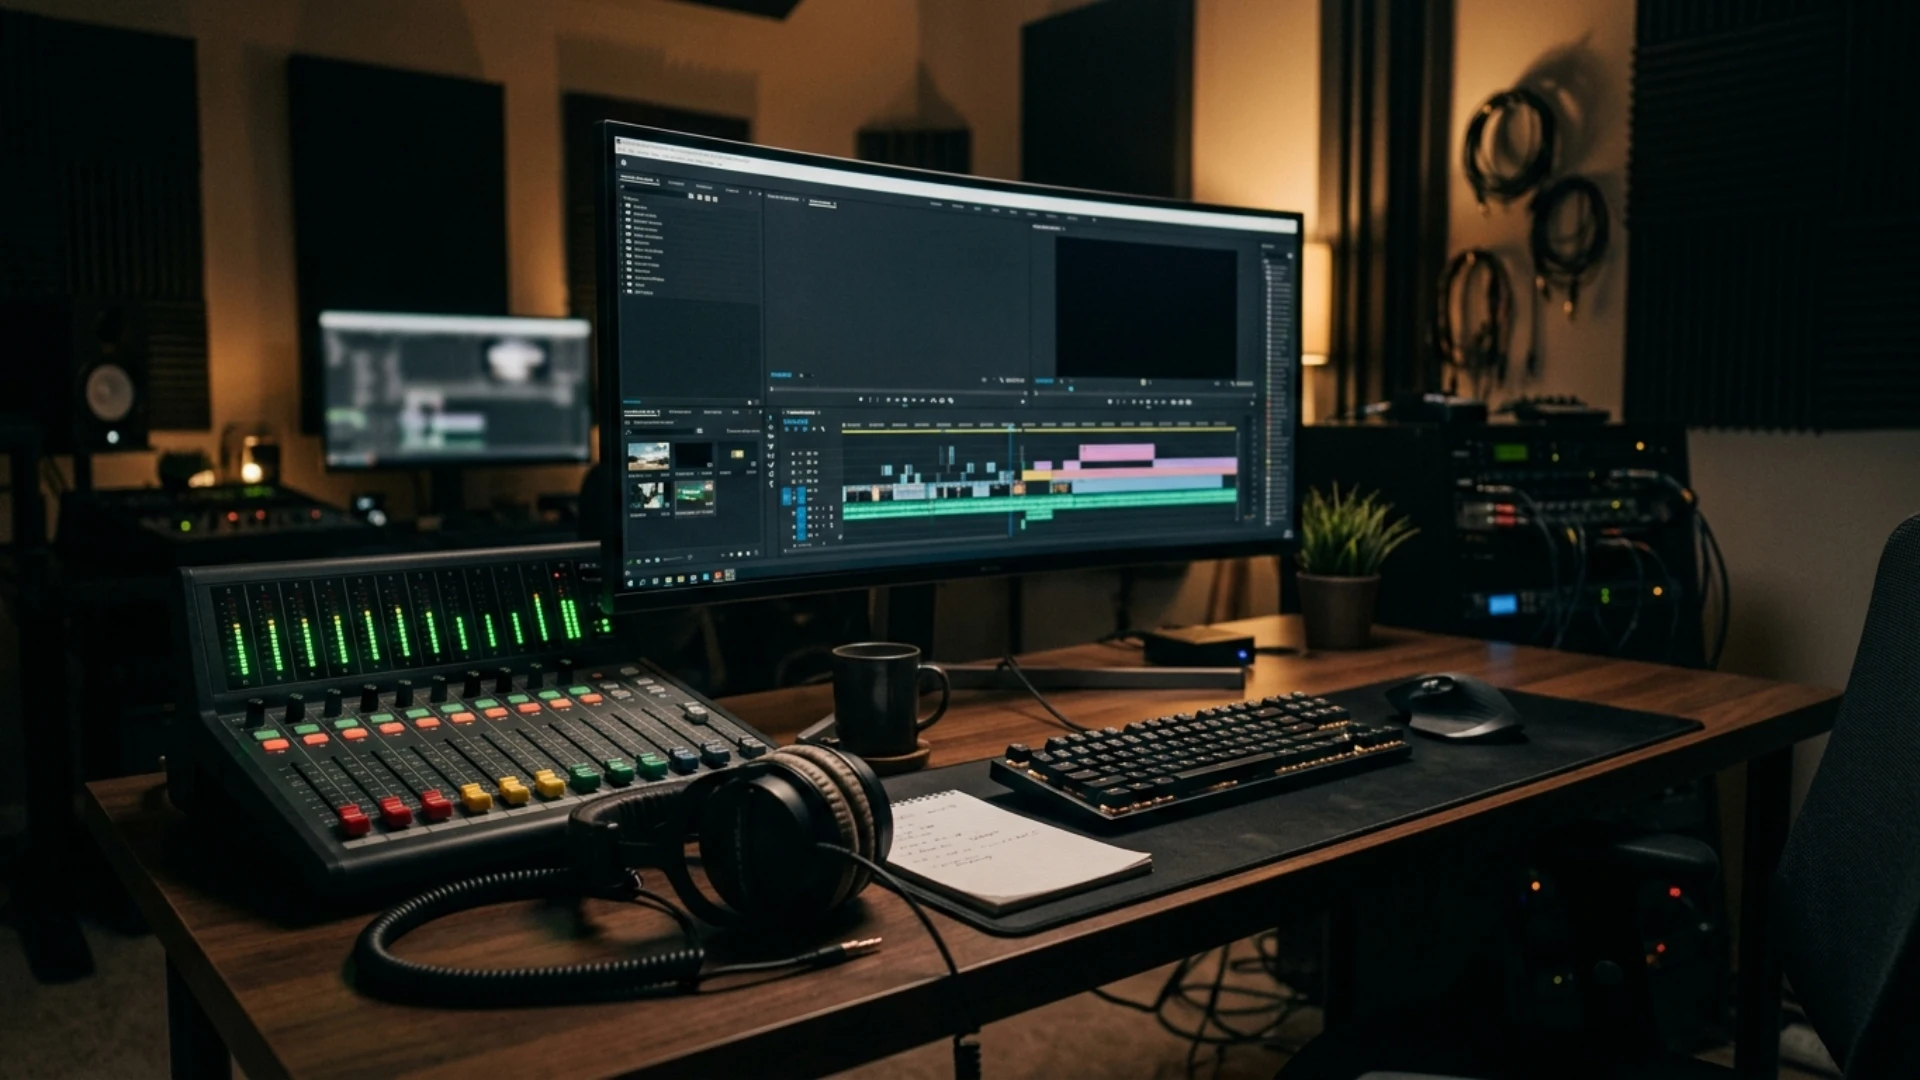
How to Slow Down a Clip in After Effects
- Import Your Clip into After Effects
Open After Effects and create a new composition. Drag your video clip into the timeline. - Select the Clip and Access Time Stretch
Right-click on the clip in the timeline and choose Time > Time Stretch. This opens the Time Stretch settings. - Adjust the Stretch Factor
Increase the Stretch Factor to slow down the clip. For example, setting it to 200% doubles the duration, effectively halving the speed. - Preview and Adjust
Play back your clip to preview the effect. Adjust the stretch factor further if needed.
This method is ideal for beginners because it’s fast and easy. However, for smoother motion, you may need more advanced techniques like Time Remapping.
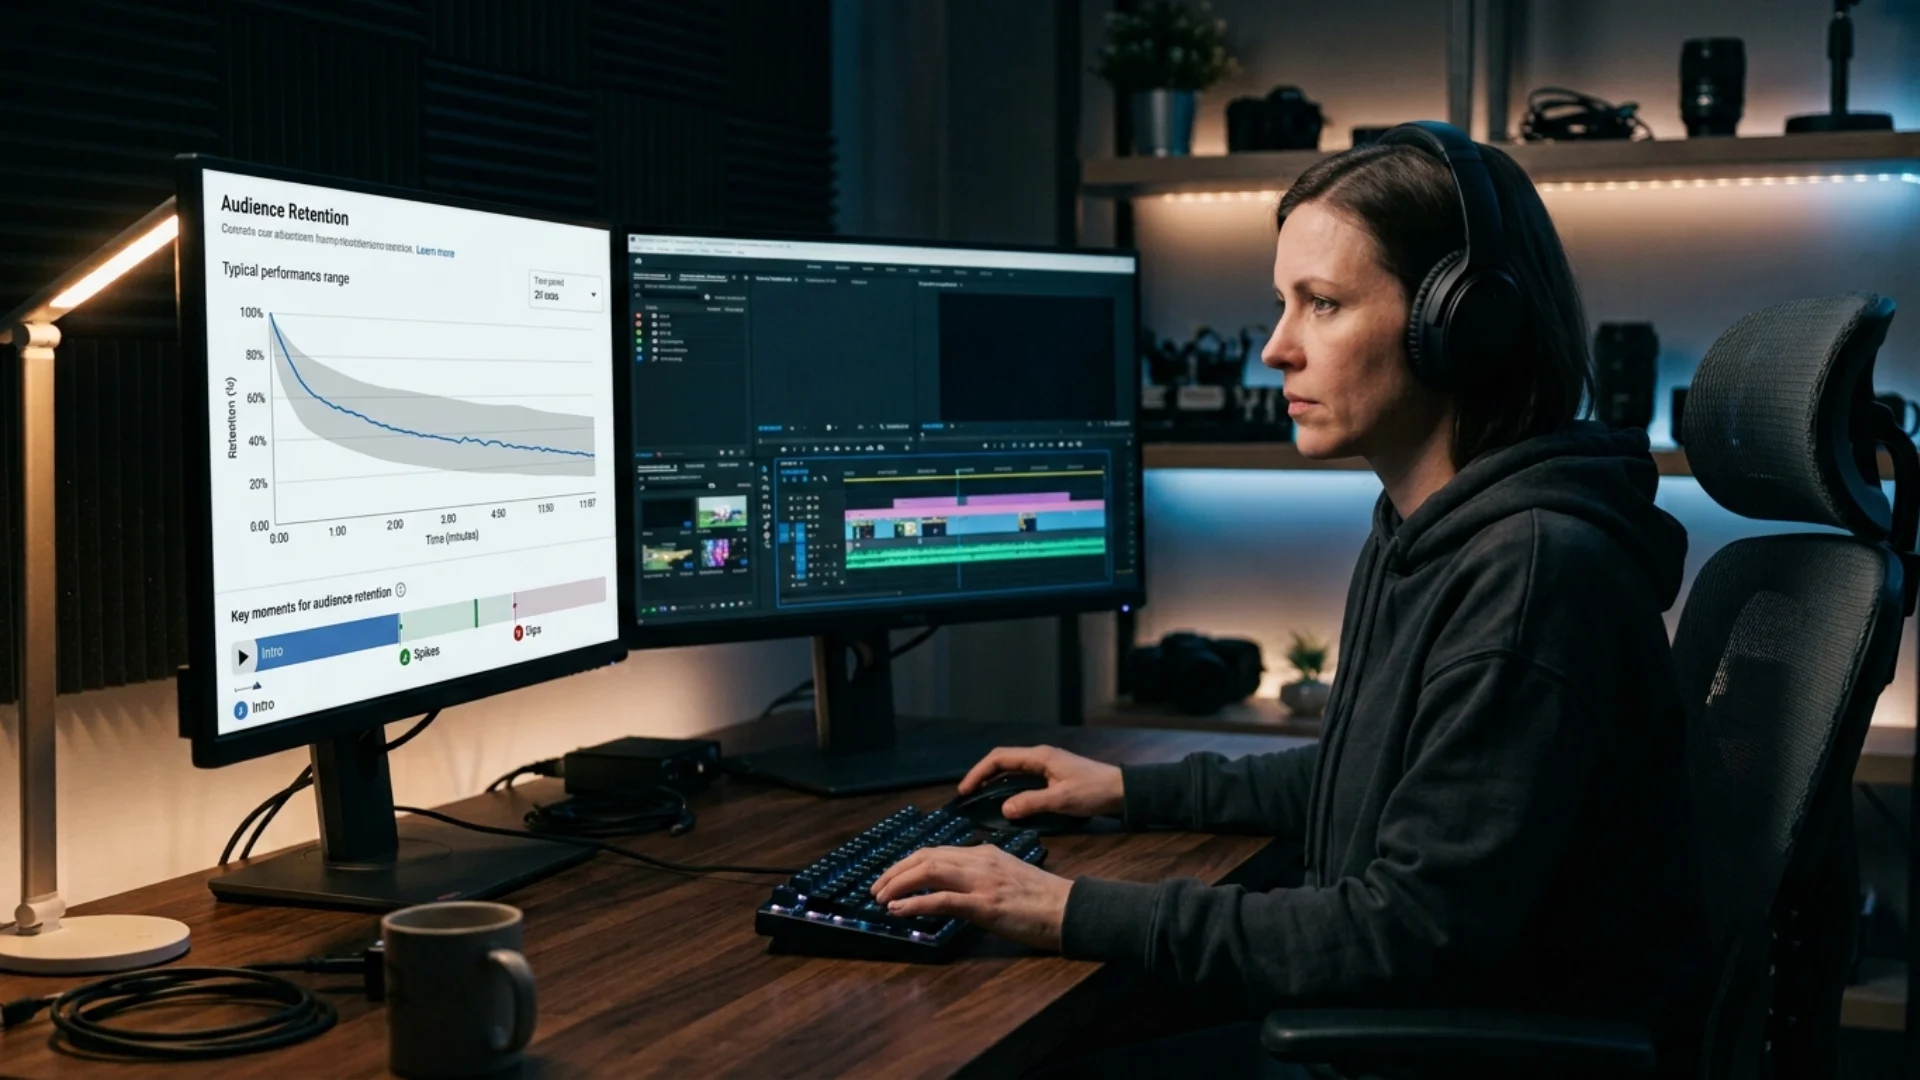
Create Smooth Slow Motion Effects with Time Remapping
- Enable Time Remapping
Right-click your clip and select Time > Enable Time Remapping. - Add Keyframes
Use keyframes to mark points where you want the speed to change. Drag keyframes further apart to slow down specific sections. - Apply Frame Blending
Enable Frame Blending by clicking the film frames icon in the timeline. This smooths out transitions between frames. - Fine-Tune Your Motion
Experiment with keyframe placement and easing options to refine the effect.
Precision Shortcuts for Time Remapping Keyframes
These three shortcuts make refining your slow-motion keyframes much faster:
- Alt + Left/Right Arrow (Opt on Mac) nudges selected keyframes one frame at a time for precise placement. Add Shift to jump 10 frames per press.
- F9 applies Easy Ease to selected keyframes, which is essential for smooth speed transitions. Without easing, the shift between normal speed and slow motion will look abrupt and mechanical.
- U reveals all keyframes on a layer instantly, so you can see your Time Remapping keyframes alongside any other animated properties without expanding each one manually.
By combining Time Remapping with Frame Blending, you can achieve incredibly smooth slow-motion effects, even if the original footage wasn’t shot at a high frame rate.
Troubleshooting and Optimization Tips for Slow Motion in After Effects
- Fix Choppy Motion with Frame Blending
- Enable Frame Blend options in the timeline to smooth transitions.
- If you’re increasing the speed, use Pixel Motion Blur to replicate the fast motion look.
- Optimize Frame Rates for Better Results
- Shoot footage at higher frame rates, such as 60fps or 120fps, for smoother slow motion.
- Adjust the frame rate in Composition Settings to match your project’s needs.
- Resolve Timing Issues with Keyframes
- Double-check keyframe placement for consistent speed changes.
- Use the Graph Editor to fine-tune easing and interpolation.
Source Footage Quality Matters for Slow Motion
Frame interpolation works best when After Effects has clean, detailed frames to analyze. Use minimal-compression formats like ProRes, DNxHR, or RAW whenever possible. Highly compressed footage like H.264 from DSLRs contains less pixel data between frames, which causes Frame Blending and Pixel Motion to produce more visible artifacts, especially blocky edges and ghosting. These compression artifacts become even more noticeable in slow motion because each frame stays on screen longer. For the best results, always apply Time Stretch or Time Remapping to your original, unmodified footage before adding other effects.
Creative Applications for Cinematic Slow Motion Effects
- Cinematic Drone Footage
- Highlight sweeping landscapes or dramatic angles by slowing down drone shots.
- Combine slow motion with color grading for added cinematic appeal.
- Vertigo Effects and Transitions
- Use slow-motion clips with zoom effects to create a Vertigo effect.
- Blend transitions between scenes for a dynamic visual flow.
- Social Media Highlights
- Slow down action moments for Instagram Reels or TikTok videos.
- Highlight product shots or tutorials with smooth slow-motion pacing.
Conclusion
Ready to take your editing to the next level? Start exploring our templates today and bring your creative vision to life!
Disclaimer : If you buy something through our links, we may earn an affiliate commission or have a sponsored relationship with the brand, at no cost to you. We recommend only products we genuinely like. Thank you so much.


Write for us
Publish a Guest Post on Pixflow
Pixflow welcomes guest posts from brands, agencies, and fellow creators who want to contribute genuinely useful content.
Fill the Form ✏