Best Export Settings for YouTube in Premiere Pro (2026)

- How to Open the Export Panel in Premiere Pro
- What YouTube Recommends
- Best Video Export Settings for YouTube in Premiere Pro
- H.264 vs H.265 (HEVC) for YouTube: Which Should You Use
- Best Audio Export Settings for YouTube
- Best Export Settings for YouTube Shorts in Premiere Pro
- Pro Tips for Maximum YouTube Video Quality
- Common Export Mistakes That Hurt Your YouTube Video Quality
- The Optimal Export Settings Cheat Sheet for YouTube
- Conclusion
Here’s the thing: YouTube re-encodes every single video you upload. That means even if your timeline looks flawless in Premiere Pro, the wrong export settings can turn your crisp footage into a muddy, compressed mess. The good news? With the right settings, you can work with YouTube’s compression instead of against it.
In this guide, we’re breaking down every export setting in Premiere Pro 2026 that matters for YouTube, from format and bitrate to the H.264 vs H.265 debate. Whether you’re uploading your first vlog or exporting a cinematic short film, you’ll walk away with clear, actionable settings that actually work.
And if you’re short on time, we’ve put together an Optimal Settings Cheat Sheet near the end of this guide with our exact recommended values. Feel free to skip ahead, but stick around for the full breakdown if you want to understand why these settings matter.
Before you export, make sure your project looks its best. Browse Pixflow’s Premiere Pro templates to add professional titles, transitions, and motion graphics to your videos.
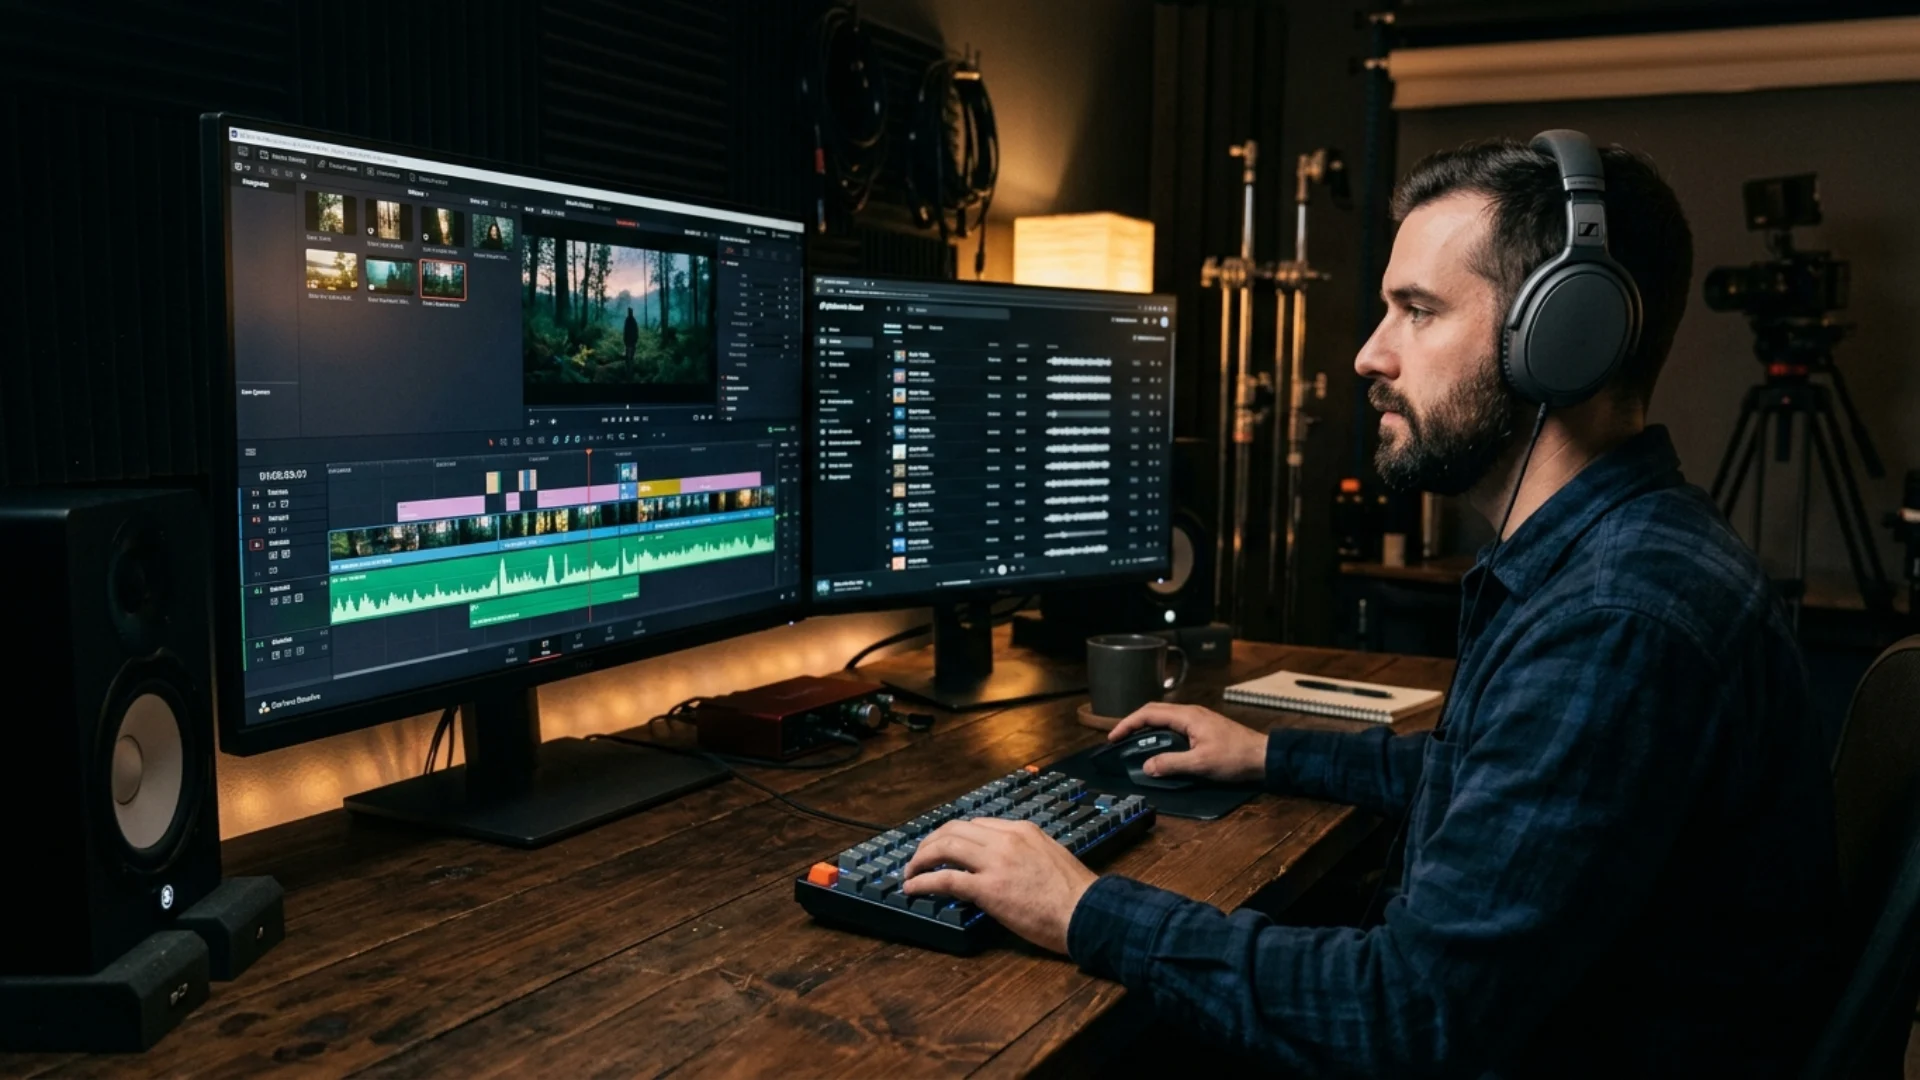
How to Open the Export Panel in Premiere Pro (2026)
- Header bar method: Click Export from the header bar at the top of the Premiere Pro interface.
- Menu method: Go to File > Export > Media File, or press Ctrl + M (Windows) / Cmd + M (Mac).
This opens the Export workspace, where you’ll see a list of destinations on the left (YouTube, Vimeo, etc.), along with your video and audio settings on the right.
Premiere Pro includes a built-in YouTube destination preset. Selecting it and choosing YouTube 1080p Full HD from the Preset dropdown will get you a functional export with minimal effort. It’s a perfectly fine starting point, especially if you’re just getting started.
But if you want more control over your output quality, and you should, keep reading. We’re going to walk through each setting manually so you know exactly what you’re doing and why.
If you haven’t set up your sequence yet, check out our beginner’s guide to creating a sequence in Premiere Pro to make sure your project is configured correctly before exporting.
What YouTube Recommends (and Why You Should Go Beyond It)
- Container: MP4
- Video Codec: H.264
- Audio Codec: AAC-LC
- Frame Rate: Same as the original recording
- Resolution: Up to 4K (3840 x 2160)
- Color Space: BT.709
YouTube’s recommended bitrates by resolution:
Because YouTube re-encodes every video you upload, regardless of your original quality. The platform compresses your file to optimize for different playback devices and bandwidth levels. If you upload a video that’s already compressed with modest settings, YouTube’s second pass of compression will degrade it further. The result? Blurry footage, banding in gradients, and muddy details in fast-moving scenes.
The strategy is simple: give YouTube more data than it needs, so the re-encoding has more to work with. That’s why our recommended settings push slightly above YouTube’s baseline.
For a broader overview of optimal formats across all social platforms, check out our guide on the best video format and codec for social media.
Best Video Export Settings for YouTube in Premiere Pro
Format: Why H.264 Is Still the Standard
For the Format dropdown, select H.264. It’s the most widely supported video codec on the planet, and YouTube processes it efficiently.
H.264 strikes an excellent balance between video quality and file size, making it the default choice for web video. You’ll see H.265 (HEVC) as an option too, and we’ll cover that in a dedicated comparison section below.
For the Preset, start with Match Source – Adaptive High Bitrate as your baseline. From there, we’ll customize the settings manually.
Resolution and Frame Size
Choose your resolution based on what you shot:
- HD: 1280 x 720
- Full HD: 1920 x 1080
- Quad HD: 2560 x 1440
- 4K UHD: 3840 x 2160
The general rule? Match your source footage resolution. If you shot in 1080p, export in 1080p. If you shot in 4K, export in 4K.
But here’s a trick that many experienced editors swear by: even if your footage is 1080p, consider exporting at 3840 x 2160 (4K). YouTube allocates a higher bitrate to 4K uploads during re-encoding, which means your video will actually look sharper when played back at 1080p or lower. In Premiere Pro, simply change the Frame Size to 3840 x 2160 and select Scale to Fit to proportionally upscale your footage.
If you’re working with 4K footage and running into performance issues, our guide on editing 4K videos smoothly using proxy in Premiere Pro can help you maintain a smooth editing workflow.
Frame Rate
Set the frame rate to match your source video. YouTube supports all standard frame rates:
- 24 fps: Cinematic look, ideal for short films, narrative content, and music videos
- 25 fps: Standard in PAL regions (Europe, Australia)
- 30 fps: General-purpose, great for vlogs, tutorials, and talking-head content
- 60 fps: Smooth motion, best for gaming content, sports, and fast-paced action
One important note: always use Progressive field order, never Interlaced. Modern displays and YouTube’s player are built for progressive scan.
If you need to convert between frame rates for YouTube, we have a detailed walkthrough on converting 24 fps footage to 30 fps in Premiere Pro.
Bitrate Settings: The Most Important Setting
Bitrate determines how much data is allocated per second of video. It’s the single biggest factor in your export’s visual quality, and it’s where most people get it wrong.
VBR vs CBR: Choose VBR
- CBR (Constant Bitrate): Allocates the same amount of data to every second of video, regardless of complexity. Simple scenes waste data, complex scenes don’t get enough. Results in larger files without a real quality advantage for YouTube.
- VBR (Variable Bitrate): Dynamically adjusts the bitrate based on scene complexity. A static shot of a blue sky gets less data, while a fast-paced action sequence gets more. This is what you want.
VBR 1-Pass vs 2-Pass: Choose 2-Pass
- 1-Pass: Premiere Pro makes bitrate decisions in real time as it encodes. It’s faster but less optimized.
- 2-Pass: Premiere Pro analyzes your entire video first, then encodes it with better bitrate distribution. It takes roughly twice as long, but the quality improvement is worth it for a final export.
Here are our recommended bitrate values:
Not sure whether to choose VBR or CBR? Our VBR vs CBR guide breaks down exactly which setting to use.
For more on optimizing file size without sacrificing quality, check out our guide on how to compress large video files without losing quality.
Encoding: Hardware vs Software
Premiere Pro 2026 gives you two encoding options:
- Software Encoding: Uses your CPU. Slower, but produces the highest quality output because it dynamically adapts to your video content.
- Hardware Encoding: Uses your GPU (NVIDIA NVENC, AMD, or Apple Silicon). Significantly faster, but with a slight quality trade-off.
Our recommendation: use Software Encoding for your final YouTube exports. The quality difference is subtle but real, especially in scenes with gradients, fine detail, or fast motion. Save Hardware Encoding for quick drafts or preview exports where speed matters more than perfection.
Additional encoding settings to configure:
- Profile: Main
- Level: 4.1 (for 1080p) or 5.1 (for 4K)
Color Space and HDR
For standard YouTube content, set your Export Color Space to Rec. 709 (also labeled as BT.709). This ensures the colors you see in Premiere Pro’s program monitor will look the same after uploading to YouTube.
If you’re shooting in HDR with cameras that capture in Rec. 2020 or HLG, you can enable HDR in the export settings. YouTube supports HDR playback, but keep in mind that the majority of viewers will still see your content on SDR displays.
Two more checkboxes you should always enable:
- Render at Maximum Depth: Processes your video at 32-bit color depth, which preserves more detail through compression.
- Use Maximum Render Quality: Applies higher-quality scaling and processing. This does increase render time (roughly 2-3x), but it’s absolutely worth it for your final export.
H.264 vs H.265 (HEVC) for YouTube: Which Should You Use in 2026?
What makes H.265 different:
H.265 uses more advanced compression algorithms that can deliver the same perceived quality as H.264 at roughly 25-50% smaller file sizes. For 4K content especially, this is a significant advantage, meaning faster uploads and less strain on your storage.
The trade-offs:
- Encoding speed: H.265 is significantly slower to encode than H.264, especially with software encoding. Expect 2-4x longer export times.
- Compatibility: While YouTube fully supports H.265 uploads, not all devices and browsers can decode it natively. H.264 works everywhere.
- CPU usage: H.265 encoding is more demanding on your system.
For a deeper dive into container formats and how they work with these codecs, read our comparison of MP4 vs MOV: which format should you export in 2026.
Best Audio Export Settings for YouTube
Here are the optimal audio export settings for YouTube:
- Audio Format: AAC
- Audio Codec: AAC (not HE-AAC v1 or v2, those are designed for low-bitrate streaming)
- Sample Rate: 48,000 Hz (48 kHz)
- Channels: Stereo
- Audio Quality: High
- Bitrate: 320 kbps
These settings ensure clear voice reproduction, rich music playback, and clean sound effects. Since audio contributes very little to overall file size compared to video, there’s no reason to compromise here.
Quick tip on loudness: YouTube normalizes audio to approximately -14 LUFS. If your audio is significantly louder or quieter than this target, YouTube will adjust it automatically. For the most consistent listening experience across devices, aim to master your audio around -14 LUFS before exporting. Premiere Pro’s Loudness Radar effect can help you monitor this in real time.
Best Export Settings for YouTube Shorts in Premiere Pro
Setting Up a Vertical Sequence for Shorts
First, create a vertical sequence. Go to File > New > Sequence, and in the Settings tab, set your frame size to 1080 x 1920. This flips the standard 16:9 ratio to a 9:16 vertical aspect ratio, which is exactly what YouTube Shorts requires.
Export Settings for YouTube Shorts
- Format: H.264
- Frame Size: 1080 x 1920 (9:16 aspect ratio)
- Frame Rate: Match source (30 fps is the most common for Shorts)
- Bitrate Encoding: VBR, 2-Pass
- Target Bitrate: 8 Mbps
- Maximum Bitrate: 12 Mbps
- Audio: AAC, 48 kHz, Stereo, 320 kbps
These settings give you a crisp, high-quality Short that looks great on mobile screens, which is where the vast majority of Shorts are consumed.
Pro tip: Save these as a dedicated export preset (something like “YouTube Shorts 1080×1920 VBR2”) so you can switch between your standard YouTube export and your Shorts export with a single click.
Looking to make your Shorts stand out from the crowd? Pixflow’s Premiere Pro templates include titles, transitions, and motion graphics that work beautifully in vertical formats.
Pro Tips for Maximum YouTube Video Quality
The 4K Upload Trick
We mentioned this briefly in the resolution section, but it deserves its own spotlight because it’s one of the most effective quality hacks for YouTube.
When you upload a 4K video, YouTube processes it through a higher-quality codec (VP9 or AV1) instead of the standard AVC codec used for 1080p uploads. This means your video gets better compression, which translates to sharper playback at every resolution, not just 4K.
How to do it in Premiere Pro:
- In the Export panel, change Frame Size to 3840 x 2160
- Enable Scale to Fit to upscale your footage proportionally
- Enable Use Maximum Render Quality for the best scaling algorithm
- Export and upload as normal
Even if your source footage is 1080p, the upscaled 4K upload will look noticeably better on YouTube compared to a native 1080p export. It does increase file size and upload time, so plan accordingly.
Save Custom Export Presets
Once you’ve dialed in your perfect settings, save them as a custom preset so you never have to configure them again:
- Set all your preferred export settings
- Click the Save Preset icon (next to the Preset dropdown)
- Name it something descriptive, like “YouTube 4K VBR2 2026” or “YouTube Shorts Vertical”
- Your preset now appears in the dropdown for all future exports
This is a small step that saves significant time, especially if you’re publishing content regularly.
Use Adobe Media Encoder for Batch Exports
Instead of clicking Export in Premiere Pro (which locks up the application until the render finishes), click Queue to send the job to Adobe Media Encoder. This lets you:
- Continue editing in Premiere Pro while your video renders
- Queue up multiple exports with different settings
- Render overnight without tying up your editing workspace
For creators who publish frequently, this workflow is a game-changer.
Elevate Your Content Before You Export
The best export settings in the world can’t fix boring content. Before you hit that export button, make sure your video is polished with professional titles, clean transitions, and engaging motion graphics.
If you’re looking for ways to level up your YouTube videos, check out our guide on how to stand out on YouTube with Premiere Pro templates for practical tips on using templates to take your content to the next level.
Common Export Mistakes That Hurt Your YouTube Video Quality
- Using CBR instead of VBR. CBR wastes data on simple scenes and starves complex ones. Always use VBR for YouTube exports.
- Setting bitrate too low. If your 1080p video has a target bitrate of 4 Mbps, YouTube’s re-encoding will crush it. Use at least 8 Mbps for 1080p.
- Exporting at the wrong resolution. If your sequence is 1080p but you accidentally export at 720p, you’re throwing away pixels for no reason. Always double-check your frame size.
- Forgetting Render at Maximum Depth and Maximum Render Quality. These two checkboxes make a real difference, especially for content with color grading, gradients, or visual effects. Enable both.
- Using Interlaced field order. This creates visible horizontal lines on modern displays. Always use Progressive.
- Low audio quality settings. Exporting audio at 128 kbps or with HE-AAC instead of standard AAC makes your audio sound thin and compressed. Use AAC at 320 kbps.
- Not checking the Export Summary. Before you hit Export, glance at the summary panel. It shows you the input vs output settings side by side, helping you catch mismatches before they become problems.
For a comprehensive walkthrough of every setting in Premiere Pro’s export panel, check out our detailed guide on how to professionally export videos in Premiere Pro.
The Optimal Export Settings Cheat Sheet for YouTube (Our Recommendation)
Conclusion
The settings we’ve covered in this guide are designed to work with YouTube’s compression pipeline, not against it. Whether you’re exporting a 10-minute tutorial at 1080p or a cinematic 4K short film, these values will give YouTube the best possible source file to work with.
Here’s what it comes down to: use H.264, choose VBR 2-pass, set your bitrate above YouTube’s minimum recommendations, and always enable Maximum Render Quality. Once you’ve saved your presets, the entire process takes seconds.
Now go create something worth exporting. And if you want to make your next project look even more professional, explore Pixflow’s Premiere Pro templates for production-ready titles, transitions, and motion graphics. (Your timeline is waiting.)
Disclaimer : If you buy something through our links, we may earn an affiliate commission or have a sponsored relationship with the brand, at no cost to you. We recommend only products we genuinely like. Thank you so much.
Blog Label:


Write for us
Publish a Guest Post on Pixflow
Pixflow welcomes guest posts from brands, agencies, and fellow creators who want to contribute genuinely useful content.
Fill the Form ✏