Mobile Filmmaking Accessories: Best Gimbals, Lenses, and Mics Under $100
Mobile Filmmaking Accessories: Best Gimbals, Lenses, and Mics Under $100
Your phone is already a cinema camera. What is actually holding your footage back is rarely the sensor, it is the shaky handheld motion, the flat wide angle, and the hollow built in microphone. The good news: you can fix all three for less than the price of a single pro lens. In this guide we break down the best gimbals, lenses, and microphones under $100, then show you how to assemble a complete kit for any budget.

Everything here is chosen for real mobile shooters, whether you are filming reels, travel videos, YouTube, or a short film. And once your clips are in the edit, a pack like Pixflow’s YouTube Packs can add the titles and graphics that make budget footage look polished. This article is part of our larger guide on mobile filmmaking in 2026.

How to shop for phone gear without wasting money

Before the product lists, learn the one spec that quietly ruins more setups than any other: gimbal payload. Payload is the maximum weight a gimbal can stabilize smoothly. Go over it and the motors strain, balancing becomes impossible, and your footage suffers.

Here is the trap. A bare iPhone Pro Max or Android Ultra already weighs around 235 grams, and a case pushes you past 280 grams. Many popular gimbals cap out at 300 grams, which means they are nearly maxed out before you add a single accessory. A useful way to think about gimbals, and about accessories in general, is in three tiers:

  • Naked: built for a bare phone only, around 300 grams of payload. Cheap and popular, but no room to grow.
  • Loaded: around 500 grams, enough for a case plus an ND filter or a small lens.
  • Limitless: 1 to 2 kilograms, handles a full cage build with lenses, filters, and an external SSD.

Keep this in mind as you read. If you plan to add lenses and filters later, buy for where you are headed, not just where you are today.

Best budget gimbals under $100

A gimbal uses motors to cancel out hand shake, turning jittery walking footage into smooth, cinematic movement. If you vlog, travel, or move while you film, it is the single most transformative accessory you can buy. Modern models also add AI subject tracking, gesture control, and a built in mini tripod.
GimbalApprox. pricePayload tierBest for
DJI Osmo Mobile 7Paround 89 to 99 dollarsNaked (300g)All rounder, excellent tracking module
Zhiyun Smooth Q4around 93 dollarsNaked (300g)Best value, built in extendable rod
Insta360 Flow 2around 99 to 159 dollarsNaked (300g)Compact fold, long battery, 360 pan
Hohem iSteady M7 (worth the splurge, above 100 dollars)around 269 dollarsLoaded (500g)Heavier rigs, detachable remote screen
Budget pick: the DJI Osmo Mobile 7P and Zhiyun Smooth Q4 both deliver silky footage and smart tracking for under $100, and either is plenty for a bare or lightly cased phone.

Worth the splurge (above budget): if you shoot with a Max or Ultra phone and want to add an ND filter, a heavier lens, or an external SSD, the Hohem iSteady M7 doubles the payload to 500 grams so your rig actually balances. It costs well over $100, but it removes the frustration of a gimbal that powers down under load.

One habit matters more than any feature: balance your phone before you power the gimbal on. Work through the tilt, roll, and pan axes one at a time with everything mounted, then run the auto calibration. Two minutes of setup is the difference between smooth footage and struggling motors. For shot ideas once you own one, see our guide to phone gimbal techniques, and if you are weighing your options, our comparison of steadicams versus gimbals breaks down when each one wins.
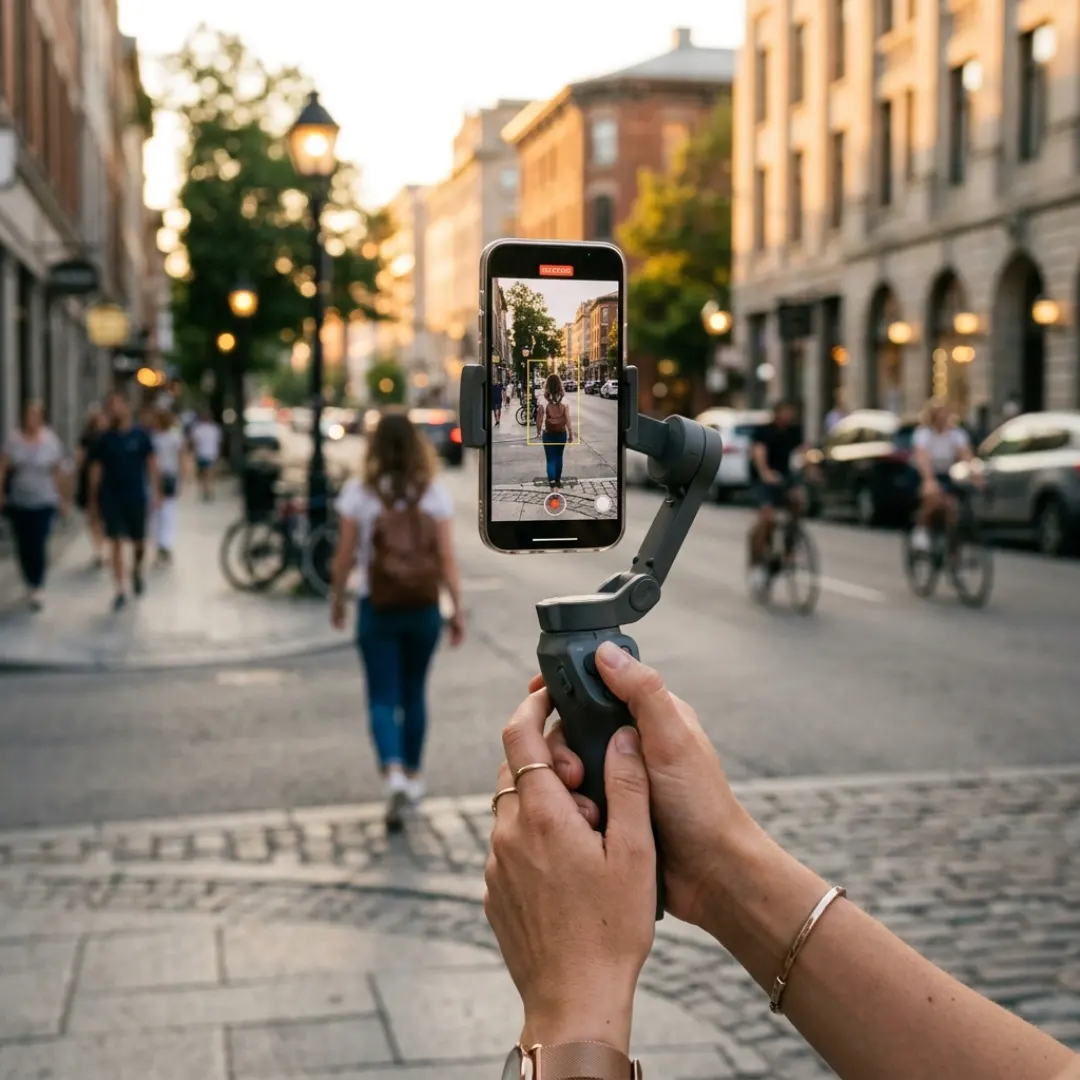
Creator using a smartphone gimbal outdoors to capture smooth cinematic video during golden hour.

Best smartphone lenses under $100

Even a phone with three built in cameras has one strong camera: the main 1x. The ultra wide and telephoto lenses use smaller, weaker sensors. The smarter move is to keep the main camera and place a quality third party lens over it. There are three types worth your money.

  • Anamorphic: captures a wider frame with that classic horizontal flare and oval bokeh for a true Hollywood look. Ideal for travel, music videos, and narrative work.
  • Wide (about 16mm): a slightly wider field of view for talking head and social content, without switching to the weaker ultra wide.
  • Telephoto: real optical zoom for distant subjects, best used on a tripod because any shake is magnified.

Lens typeBudget pick (under 100 dollars)Approx. priceNotes
Anamorphic 1.55xSirui / SMALL magnetic anamorphicaround 99 dollarsStackable with an ND filter, cinematic flare
Wide 16mmShiftCam or NEEWER widearound 50 to 80 dollarsThreaded case mount is far more secure
Telephoto 5x to 10xApexel telephoto kitaround 30 to 50 dollarsOptical zoom, requires a tripod
Worth the splurge (above budget): Moment makes the lenses many pros trust, and a Moment anamorphic runs roughly 120 to 150 dollars. If cinematic flare is central to your style, it is the upgrade to save for.

One warning from every reviewer we studied: avoid cheap clip on lenses for your main glass. They slip out of alignment easily and can wreck sharpness. Choose a lens system with a threaded phone case or a cage mount so the lens sits perfectly centered every time. For buyer research beyond phones, guides like Digital Camera World’s add on lens roundup are a good sanity check on current options.

Prefer to keep your setup light? You can also fake several optical looks in the edit. Pixflow’s Fish Eye Lens Effects recreates a wide, curved lens look in post, which is handy when you do not want to carry extra glass or you want to apply the effect selectively to a few shots.
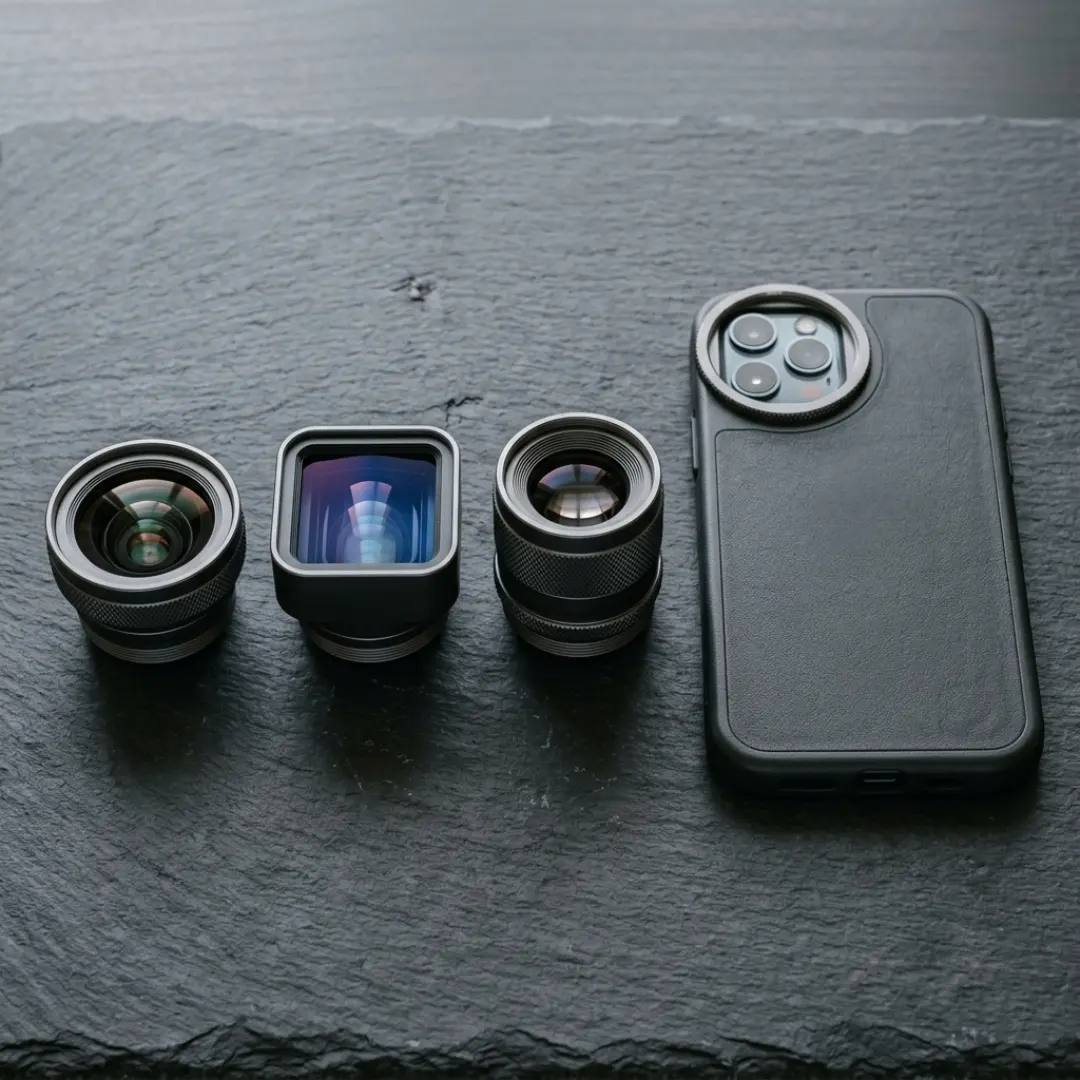
A set of budget smartphone lenses, wide, anamorphic, and telephoto, arranged next to a phone with a threaded case.
A set of budget smartphone lenses, wide, anamorphic, and telephoto

Best microphones under $100

Audiences forgive imperfect video far sooner than bad audio. The phone’s built in mic picks up room echo and wind, so a dedicated microphone is often the highest impact upgrade of all. You have two paths: wireless lavalier systems for freedom of movement, and wired lavs for simplicity on a budget.
MicrophoneApprox. priceTypeBest for
DJI Mic Miniaround 45 to 59 dollarsWireless lavCompact, clean audio, great value
Hollyland Lark M2 / A1around 50 to 100 dollarsWireless lavTwo mics for interviews, tiny clips
Boya Mini 2around 40 dollarsWireless lavBudget wireless starting point
SmallRig S70around 90 dollarsWireless lav kitCamera and phone receivers included
PopVoice Proaround 20 dollarsWired lavCheapest reliable upgrade
Worth the splurge (above budget): a DJI Mic 2 kit runs a bit over $100 and adds internal recording and longer range, useful once you shoot interviews regularly.

A quick tip from the field: many Bluetooth phone mics only pair inside certain pro camera apps. If you want to use one with your default camera app, a free companion app from the mic maker often unlocks that. For the full workflow, from mic placement to cleaning up sound in post, read our dedicated guide on how to record professional audio with your phone.
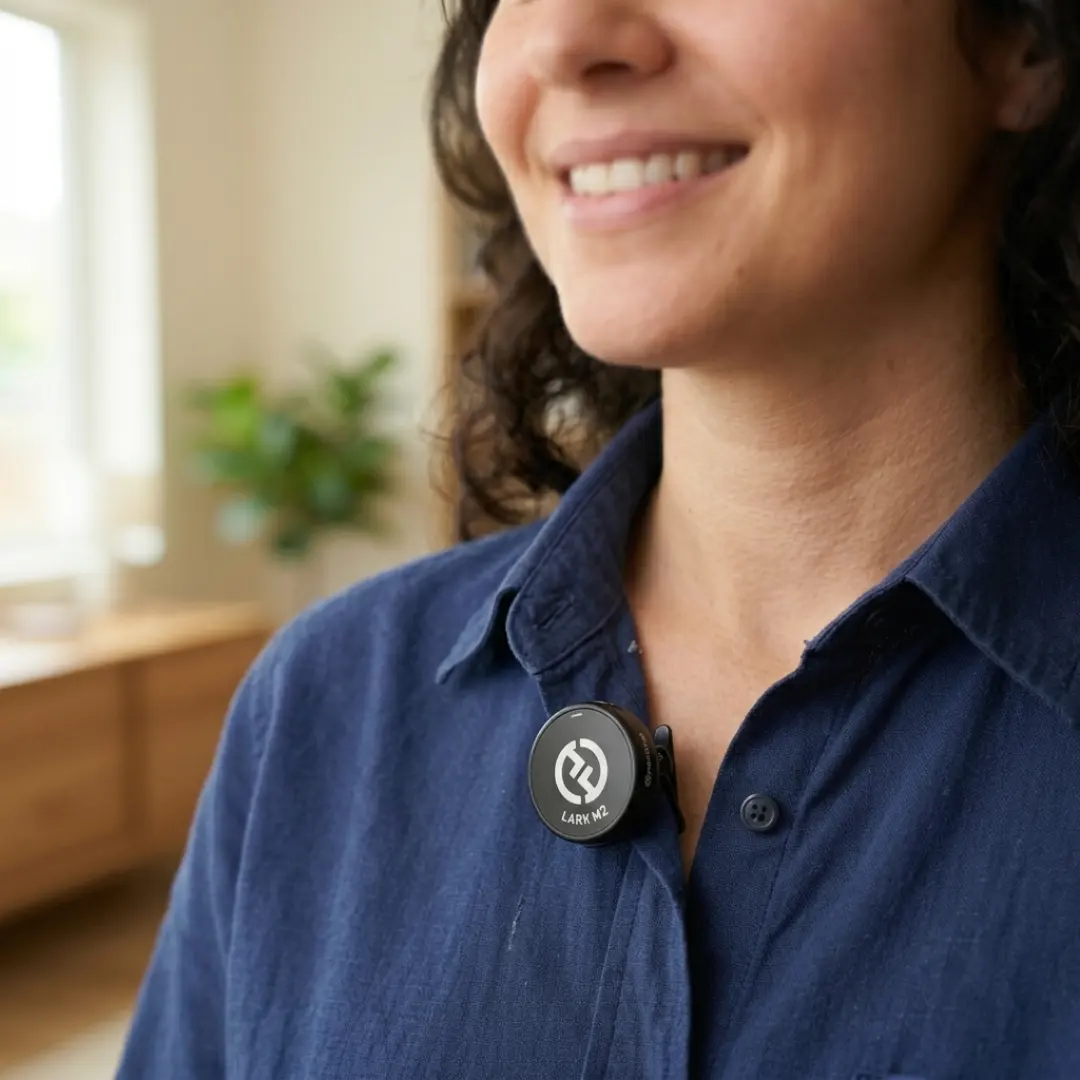
A compact wireless lavalier microphone clipped to a collar for capturing clean audio while filming on a phone.
A wireless lavalier microphone clipped to a collar for capturing audio on a phone.

The supporting cast, also under $100

These smaller accessories quietly do a lot of the heavy lifting. None of them will break the budget:

  • Variable ND filter (around 27 to 50 dollars): sunglasses for your lens. It lets you keep a cinematic shutter speed in bright light for natural motion blur.
  • Smartphone tripod (around 26 to 40 dollars): essential for static shots, timelapses, and self filming.
  • Phone cage or rig (around 43 to 85 dollars): adds mounting points for lenses, lights, mics, and a side handle, and lets you mount accessories without clamping the phone directly.
  • External SSD (Samsung T7 Shield or SanDisk Extreme): record ProRes or Log straight to the drive to save phone storage and speed up your edit.
  • MagSafe power bank (around 40 dollars): phone filming drains the battery fast, and a magnetic pack snaps on without cables.
  • Magic or friction arm (around 20 dollars): clamps your phone to almost anything for creative low, high, or point of view angles.

For lighting specifically, we cover budget options in depth in our guide to phone lighting setups.

Build your kit by budget

Not sure where to start? Here are three ready to assemble kits. Each builds on the last.

The 100 dollar starter kit

ItemApprox. price
Smartphone tripod26 dollars
Wired lav mic (PopVoice Pro)20 dollars
Clip on wide lens40 dollars
Totalaround 86 dollars

The 250 dollar creator kit

ItemApprox. price
Budget gimbal (Osmo Mobile 7P)99 dollars
Wireless mic (DJI Mic Mini)59 dollars
Variable ND filter40 dollars
Anamorphic or wide lens50 dollars
Totalaround 248 dollars

The 500 dollar pro kit

ItemApprox. price
Hohem iSteady M7 gimbal269 dollars
Hollyland Lark wireless mic90 dollars
Moment anamorphic lens130 dollars
Phone cage plus VND filter90 dollars
Totalaround 579 dollars
When you are ready to put it all together on a real project, our walkthrough on how to film a short film with just your phone shows the full process end to end.
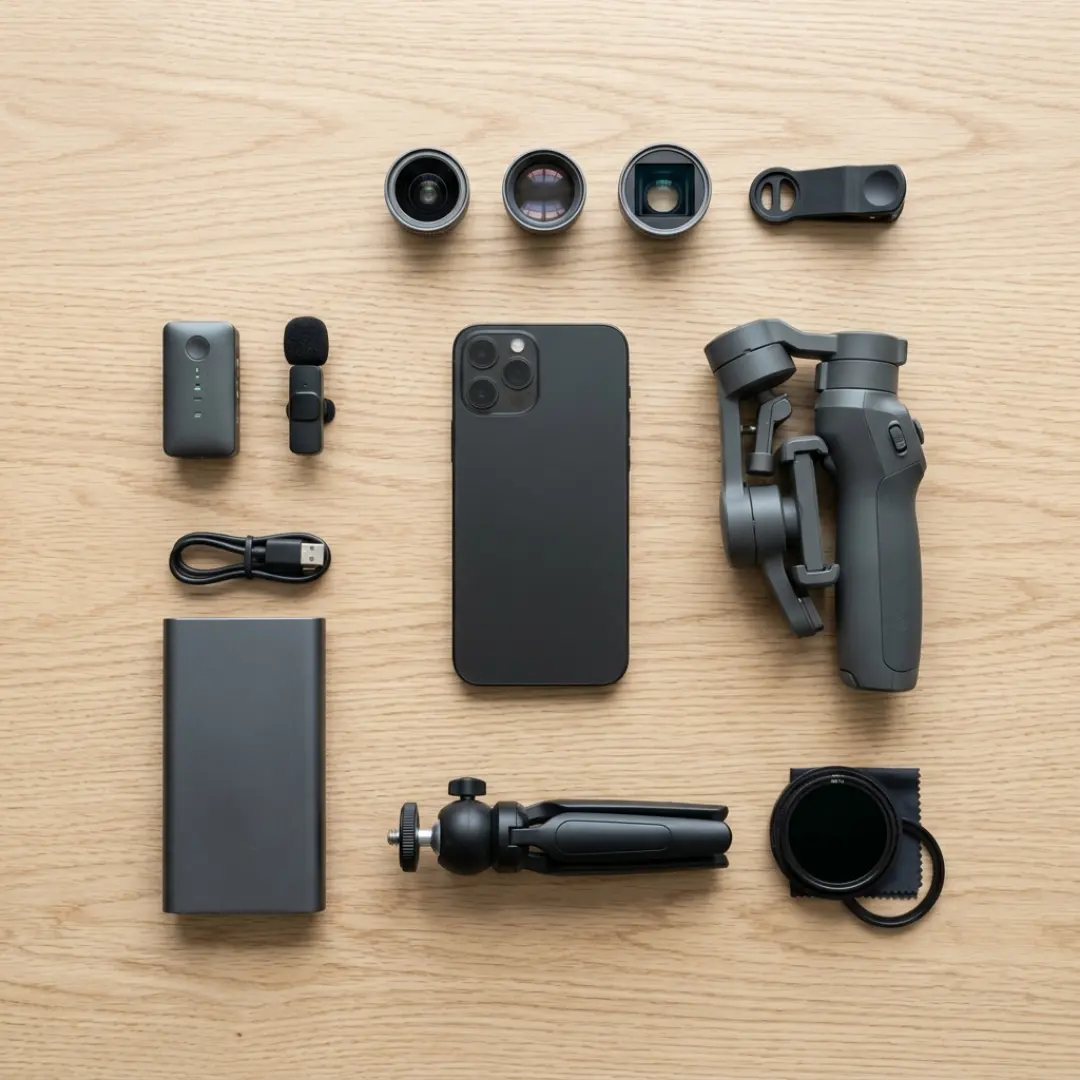
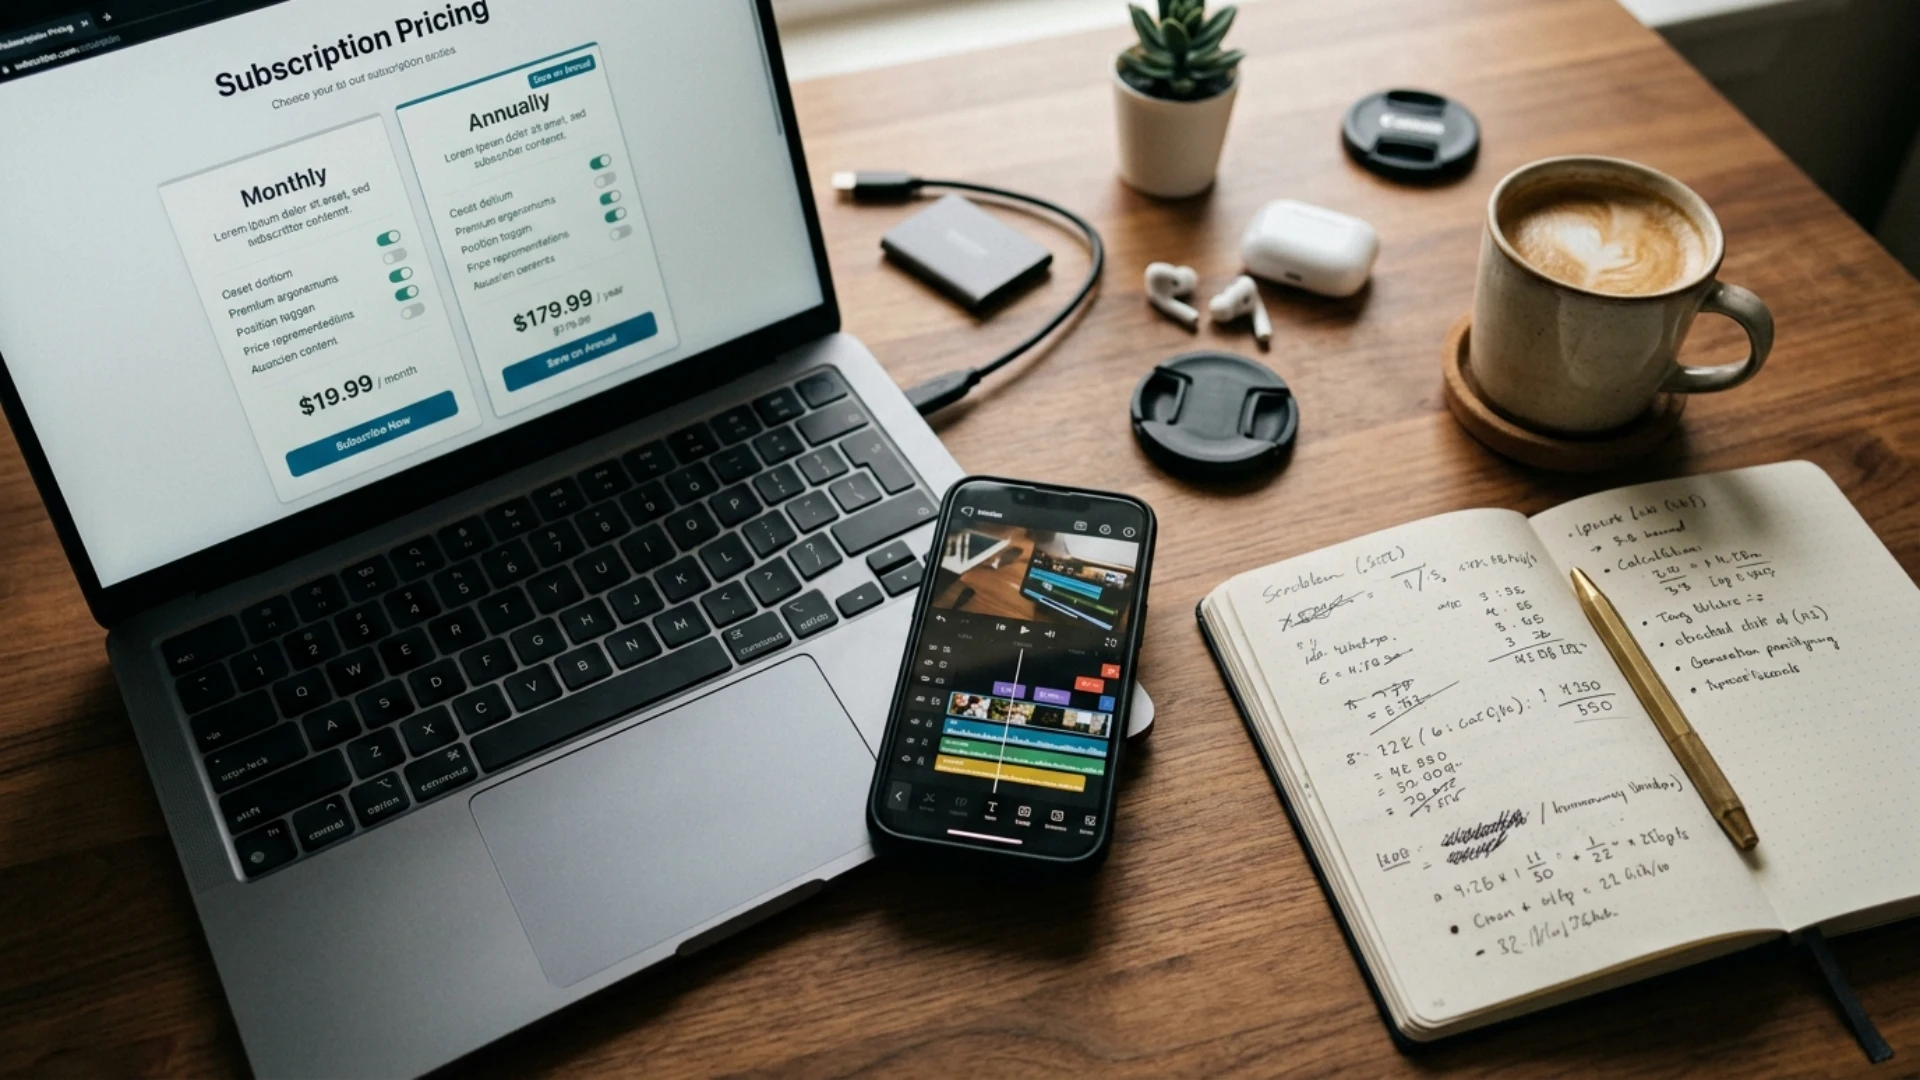
A flat lay of a complete budget mobile filmmaking kit including a gimbal, lenses, microphone, filter, tripod, and power bank.
Budget mobile filmmaking kit including a gimbal, lenses, microphone, filter, tripod

From shooting to publishing

Great gear only gets you to a great clip. The edit is where it becomes a video people watch to the end. Dial in your camera first with our best iPhone camera settings for cinematic video, pick your editor with our roundup of the best mobile video editing apps, and when you move to a computer, follow our mobile to desktop workflow guide. Shooting for reels and TikTok? Our guide to shooting vertical video like a pro covers framing for 9:16.

To finish fast and look professional, drop your footage into a template pack. Pixflow’s YouTube Packs give you ready made titles, transitions, and graphics so your budget setup produces content that looks anything but budget.

Conclusion

You do not need thousands of dollars to make professional looking video. Three accessories cover most of the gap: a gimbal for smooth motion, a lens for a cinematic frame, and a microphone for clean sound, each available for under $100. Start with the one that fixes your biggest weakness, buy with payload and mounting in mind so your kit can grow, and put your savings toward learning the craft. Your phone is ready. Now your accessories are too.

Disclaimer : If you buy something through our links, we may earn an affiliate commission or have a sponsored relationship with the brand, at no cost to you. We recommend only products we genuinely like. Thank you so much.

Blog Label:

Write for us

Publish a Guest Post on Pixflow

Pixflow welcomes guest posts from brands, agencies, and fellow creators who want to contribute genuinely useful content.

Fill the Form ✏
Frequently Asked Questions

The three highest impact accessories are a gimbal for smooth movement, a third party lens for a better frame, and an external microphone for clean audio. Add a tripod, a variable ND filter, and extra power as your needs grow.
If you film while walking, vlogging, or traveling, yes. Modern phone stabilization helps for casual clips, but a gimbal paired with a pro camera app gives noticeably smoother, higher quality footage with manual control.
The DJI Osmo Mobile 7P and Zhiyun Smooth Q4 are the standout picks under $100, with reliable tracking and smooth stabilization for a bare or lightly cased phone. If you plan to add heavier accessories, consider stepping up to a higher payload model.
The DJI Mic Mini offers excellent wireless audio for around 45 to 59 dollars. On a tighter budget, a wired lavalier like the PopVoice Pro is a reliable upgrade for about 20 dollars.
Clip on lenses are fine in a pinch, but they slip out of alignment easily and can soften your image. For consistent results, choose a lens system that mounts to a threaded case or a cage so it stays perfectly centered.
A magnetic 1.55x anamorphic lens from brands like Sirui or SMALL delivers a cinematic widescreen look with horizontal flares for around 99 dollars. For a step up in quality, Moment's anamorphic is worth the splurge above budget.