How to Build a Reliable Cinema 4D Rendering Workflow for Motion Graphics Projects
- Why Motion Graphics Projects Become Expensive to Render
- Test Representative Frames Before Final Rendering
- Separate Look Development From Final Output
- Optimise the Scene Without Damaging the Design
- When Local Hardware Becomes the Bottleneck
- Prepare a Portable Cinema 4D Project
- Using External Rendering Capacity
- Review the Returned Frames Before Editing
- Make Rendering Part of the Production Plan
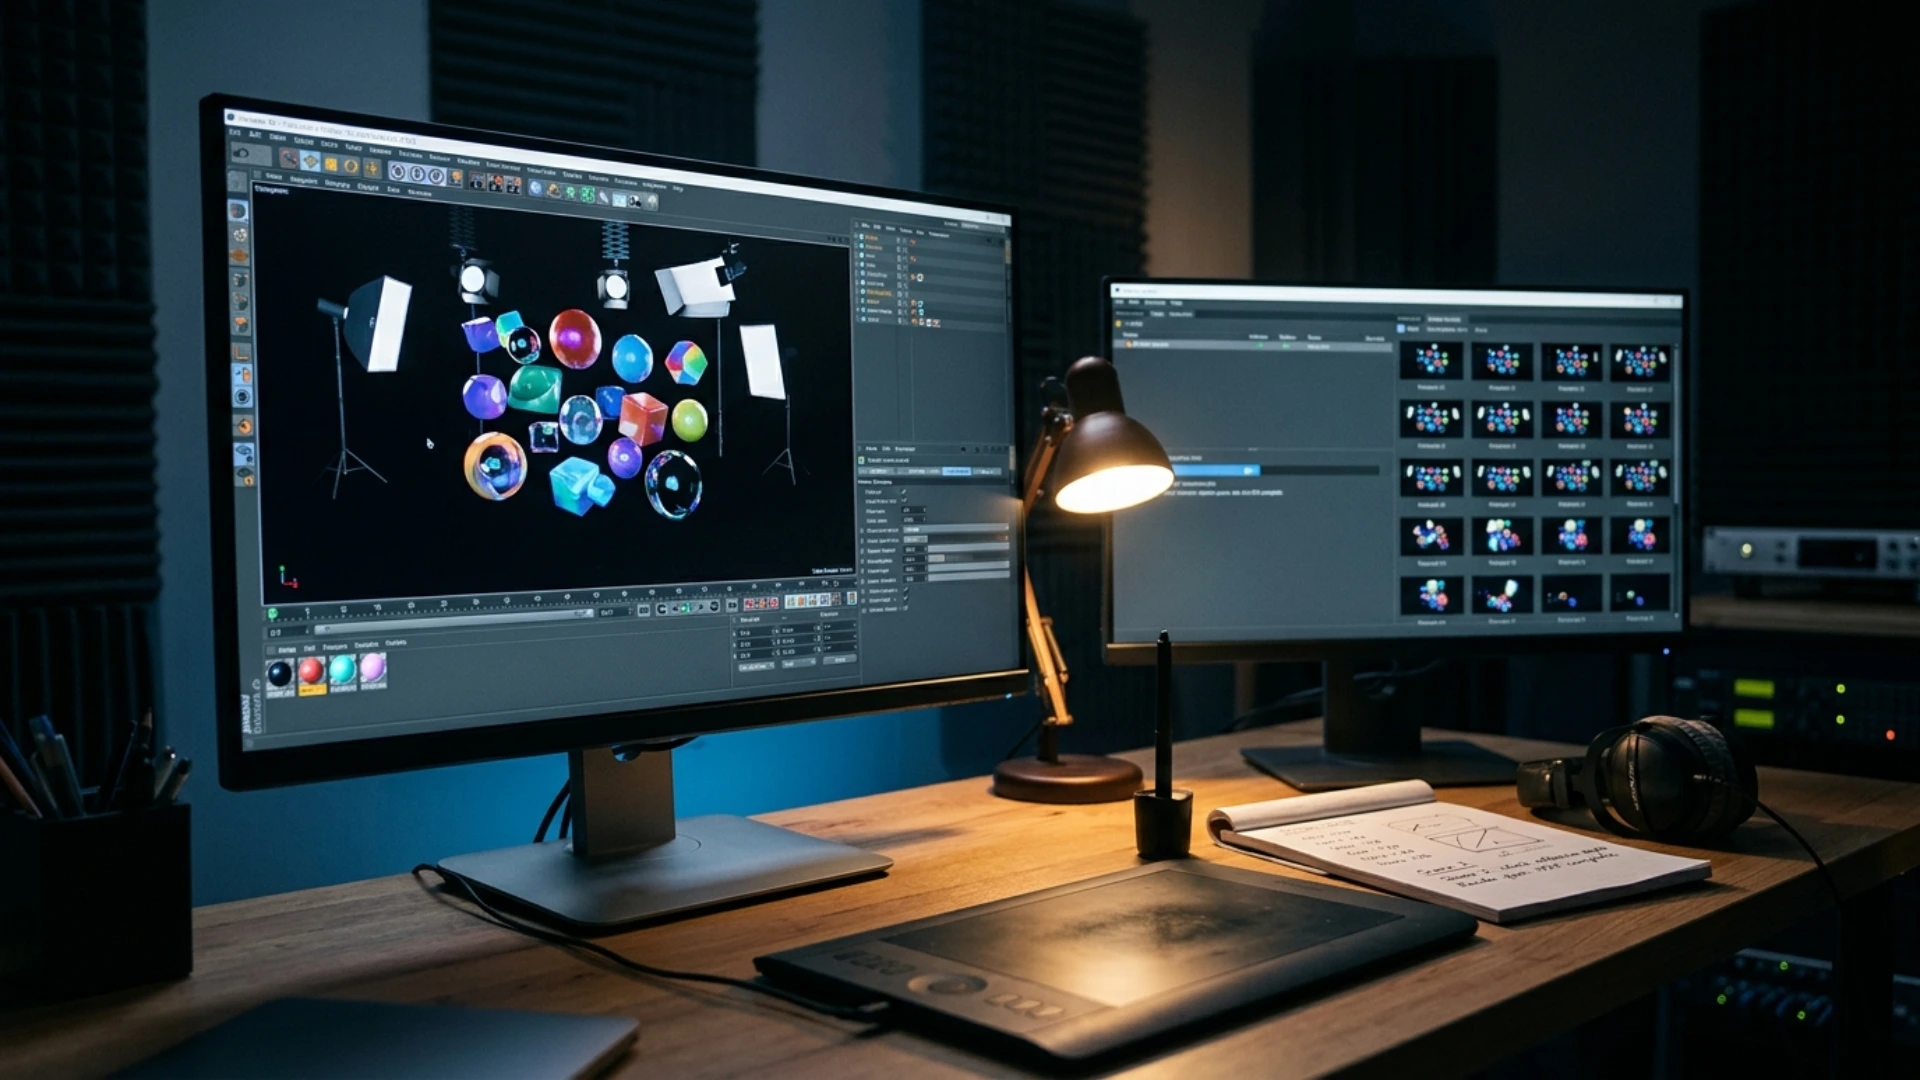
This is especially common in motion graphics. A short sequence may contain hundreds of frames, detailed reflections, MoGraph clones, simulations, depth of field, motion blur, and high-resolution textures. Even a small increase in the time required for each frame can add hours to the final output.
A reliable Cinema 4D rendering workflow does more than make the computer work faster. It helps designers estimate the workload, find technical problems early, protect time for revisions, and choose the right rendering resources before a deadline becomes difficult to manage.
Why Motion Graphics Projects Become Expensive to Render
Several settings can increase render time significantly:
- High anti-aliasing and sampling values
- Global illumination
- Reflections and refractions
- Motion blur and depth of field
- Volumetric lights, fog, or smoke
- Hair, particles, and dynamic simulations
- Large textures and displacement maps
- High polygon counts created by subdivision
- Complex Redshift, Arnold, Octane, or native Cinema 4D materials
The total workload is also multiplied by the number of frames. A frame that takes eight minutes to render may not seem demanding, but a 30-second animation at 30 frames per second contains 900 frames. If each frame takes the same amount of time, the sequence would require approximately 120 hours on one machine.
In practice, some frames will be more complex than others. That is why a Cinema 4D rendering workflow should be based on testing rather than a single optimistic estimate.
Test Representative Frames Before Final Rendering
Select several representative frames instead:
- A relatively simple frame
- A frame with typical scene complexity
- A frame containing the most objects or effects
- A frame from a simulation-heavy section
- A frame with strong motion blur or depth of field
Record the rendering time for each frame and calculate an approximate average. Multiply that average by the total number of frames to produce an initial estimate.
This number should not be treated as a guaranteed completion time. It does not account for failed frames, last-minute revisions, file transfers, or quality-control checks. It does, however, reveal whether the planned output is realistic for the hardware and deadline.
Testing different settings can also show where additional quality stops making a visible difference. Increasing samples may reduce noise, for example, but the highest possible setting is not automatically the best production choice.
Separate Look Development From Final Output
During creative development, designers can use:
- Lower output resolutions
- Reduced sample counts
- Simplified shadows and reflections
- Lower subdivision levels
- Disabled motion blur
- Short preview ranges
- Hardware previews or viewport renders
These previews should be detailed enough to evaluate composition, animation timing, colour, lighting, and materials. They do not need to carry the full processing cost of the final output.
Before switching to production settings, obtain approval for the main creative decisions. Confirm the duration, camera animation, object timing, text content, colours, and overall visual direction. Changing any of these after hundreds of frames have been rendered may require much of the sequence to be processed again.
Optimise the Scene Without Damaging the Design
Start by checking subdivision levels. Objects seen from a distance may not require the same geometric detail as a close-up product shot. Hidden objects, unused materials, old animation tests, and geometry outside every camera view can often be removed.
MoGraph instances can be more efficient than large numbers of fully independent objects. Texture resolutions should also reflect how large each asset appears on screen. A small background element rarely needs the same texture detail as the main subject.
Simulations should be cached before final output so they produce consistent results across frames and machines. Procedural effects, dynamics, cloth, particles, and hair deserve particular attention because an incomplete cache can produce unexpected changes during rendering.
Optimisation is not about turning off every demanding feature. The goal is to spend computing resources on details the audience will actually see.
When Local Hardware Becomes the Bottleneck
A machine processing frames overnight may still need to be used for client revisions the next morning. Long sessions can also expose memory limitations, overheating, storage problems, or instability that did not appear during short tests.
The problem is more noticeable when several aspect ratios, language versions, or client variations must be delivered together. A sequence intended for horizontal, vertical, and square platforms can quickly become several separate rendering jobs.
For projects whose tested workload exceeds local capacity, a C4D render farm can distribute frames across multiple computing nodes. This can make additional rendering power available without requiring the designer or studio to purchase and maintain more local machines.
Prepare a Portable Cinema 4D Project
Before moving or submitting the project, use Cinema 4D’s project collection features and check that every required asset has been included. Review:
- Texture and image paths
- Fonts and external design assets
- Simulation and dynamics caches
- Alembic or other imported files
- Renderer and plugin versions
- Frame rate and frame range
- Output resolution and format
- Multipass or AOV settings
- Alpha-channel requirements
- File names and output directories
Render a small group of nonconsecutive test frames before processing the complete animation. Frames from the beginning, middle, and end can reveal animation or asset problems that would not appear in a single preview.
Using External Rendering Capacity
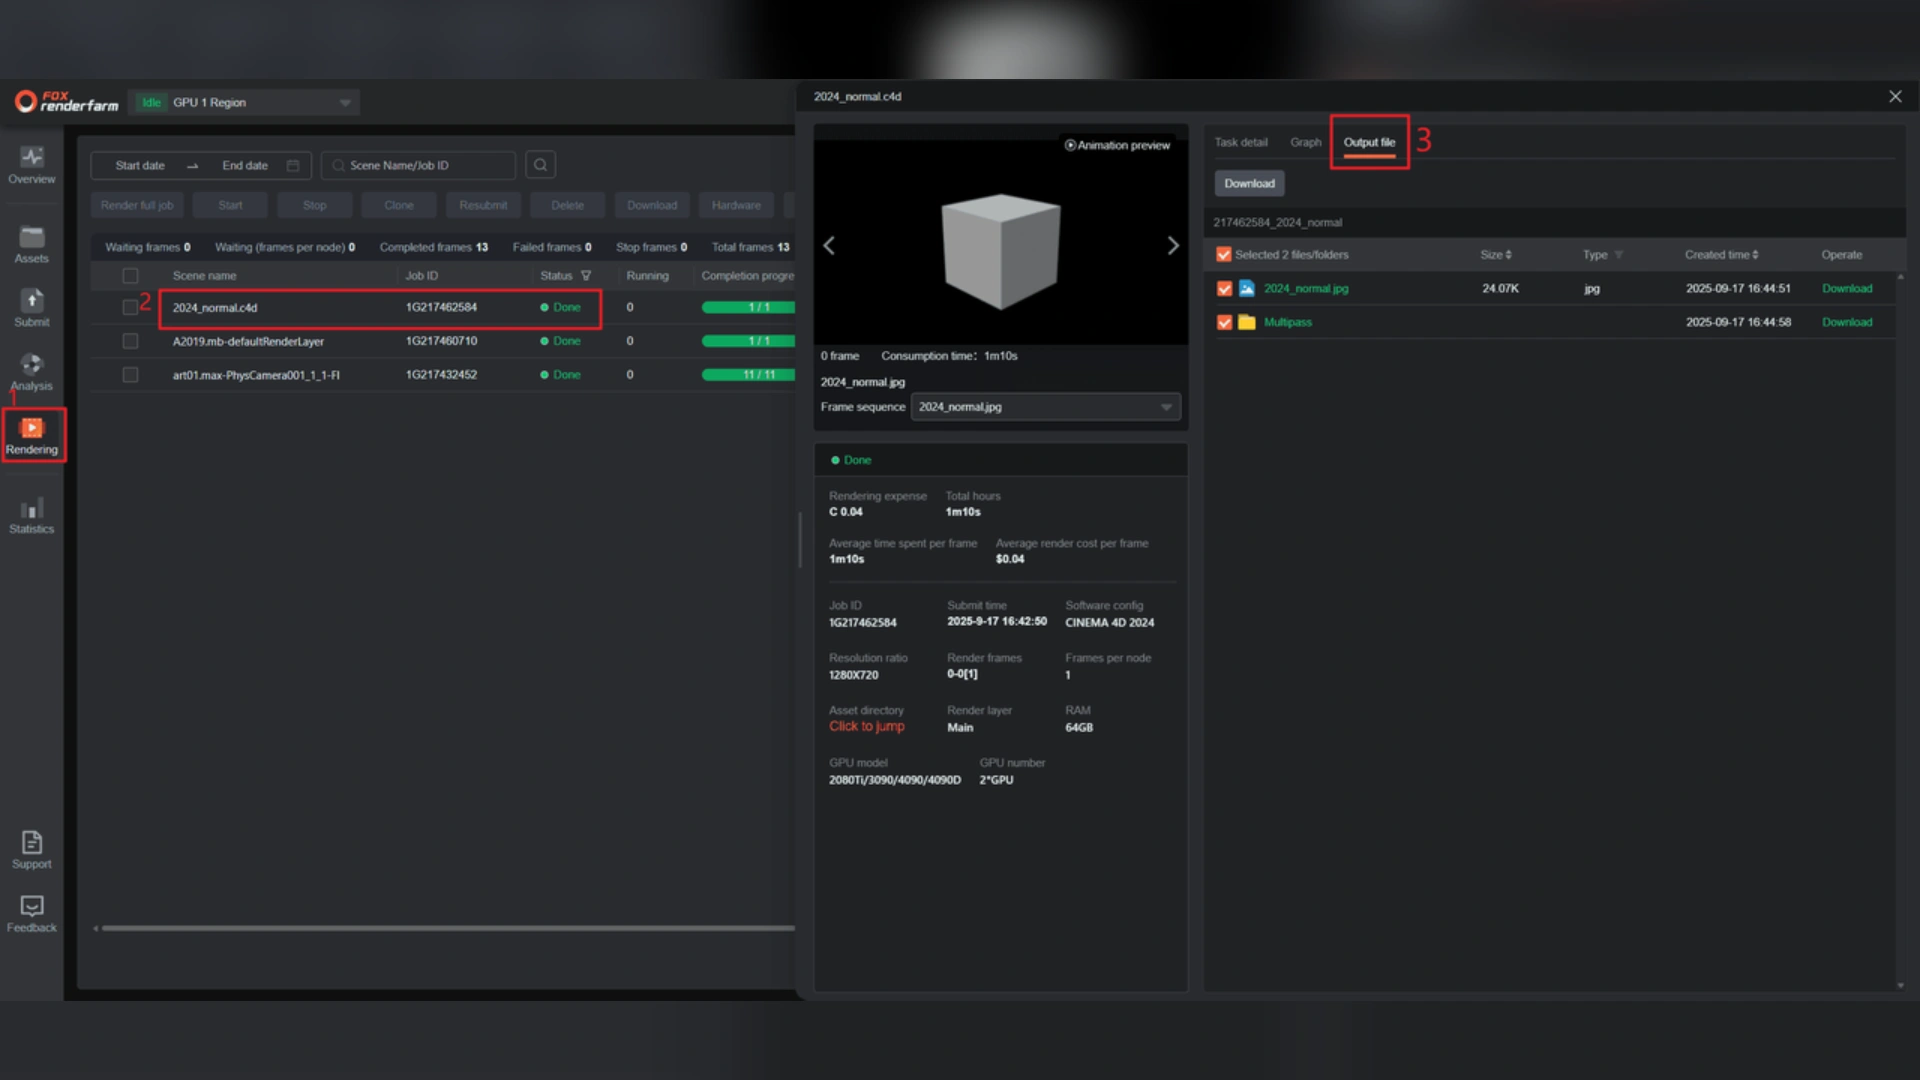
Fox Renderfarm provides cloud rendering services for Cinema 4D and other major 3D applications, with support for commonly used rendering engines. Designers can submit tasks, monitor their progress, and retrieve completed results while keeping their local workstation available for other production work.
Before committing the complete sequence, confirm that the project’s Cinema 4D version, renderer, and required plugins are supported. A short test job should be used to check materials, lighting, colour management, simulations, and output settings.
Cloud rendering is most useful when it is planned as part of the Cinema 4D rendering workflow. Sending an untested scene at the last minute may simply move existing project problems to a different set of machines.
Review the Returned Frames Before Editing
Look for:
- Missing or duplicated frames
- Flickering materials or lights
- Simulation discontinuities
- Unexpected colour changes
- Excessive noise
- Broken reflections or transparency
- Incorrect motion blur
- Corrupted or incomplete files
Image sequences are often safer than rendering directly to a final video file. If a small number of frames contain errors, those frames can be replaced without processing the complete animation again.
Once the sequence has passed quality control, compositing, colour correction, sound design, and final encoding can continue with fewer surprises.
Make Rendering Part of the Production Plan
Local hardware may be sufficient for many projects. When animation length, visual complexity, or delivery volume exceeds that capacity, external rendering resources can provide temporary computing power without changing the creative role of the artist.
The objective is not simply to render faster. It is to create a workflow in which rendering time is predictable enough that designers can focus on the work itself instead of discovering a technical bottleneck immediately before delivery.
Disclaimer : If you buy something through our links, we may earn an affiliate commission or have a sponsored relationship with the brand, at no cost to you. We recommend only products we genuinely like. Thank you so much.
Blog Label:



Write for us
Publish a Guest Post on Pixflow
Pixflow welcomes guest posts from brands, agencies, and fellow creators who want to contribute genuinely useful content.
Fill the Form ✏