A Guide to the 3D and Materials Tools in Adobe Illustrator
Illustrator and 3D tools
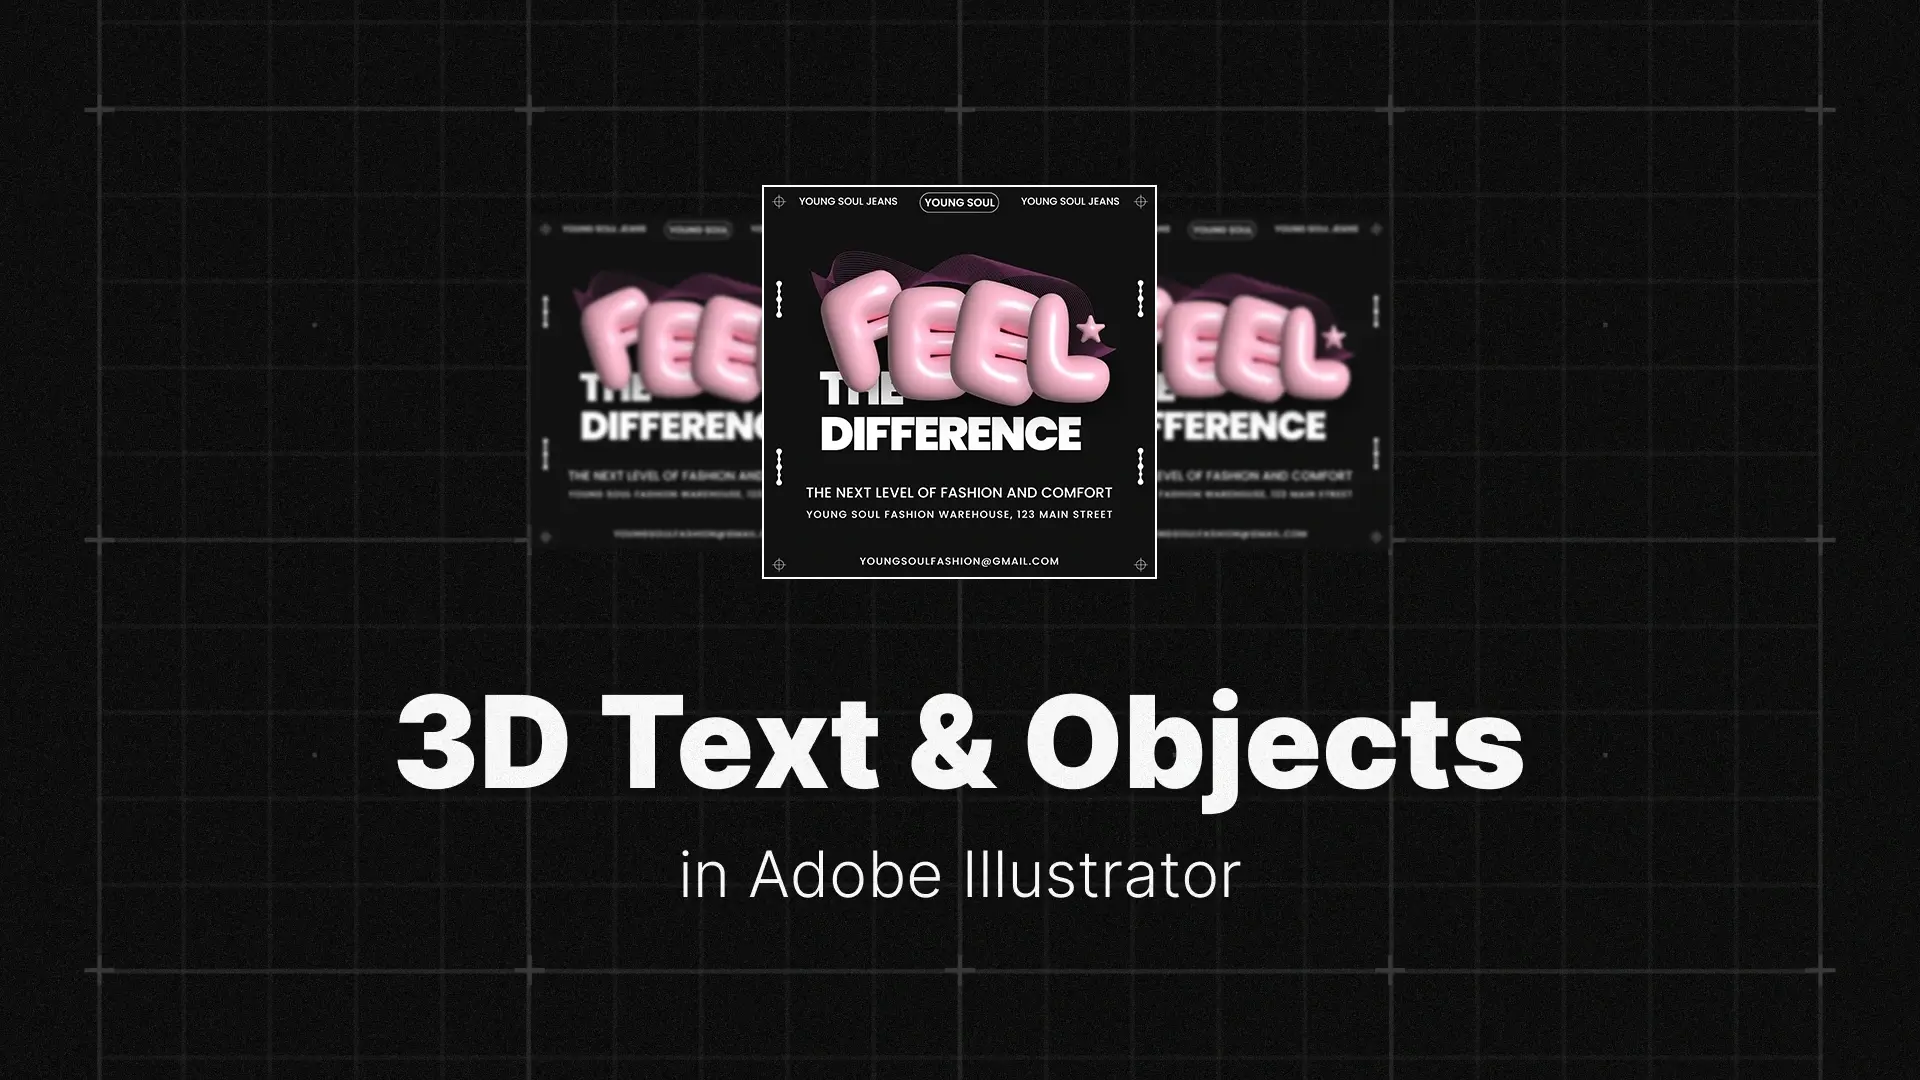
This tutorial covers the Illustrator 3D effects suite, including the new Inflate tool, realistic materials, and ray-traced rendering. We’ll also troubleshoot common problems like slow rendering or uneditable text, so you can master how to make 3D text in Illustrator like a pro.
The New 3D vs. Classic 3D: What’s the Difference?
Understanding the 3D & Materials Panel
The newer tools are found under Effect > 3D & Materials. This is where you’ll find advanced features like Inflate, realistic 3D materials, lighting presets, and render with ray tracing — enabling you to produce eye-catching designs like shiny 3D typography or custom-shaped objects.
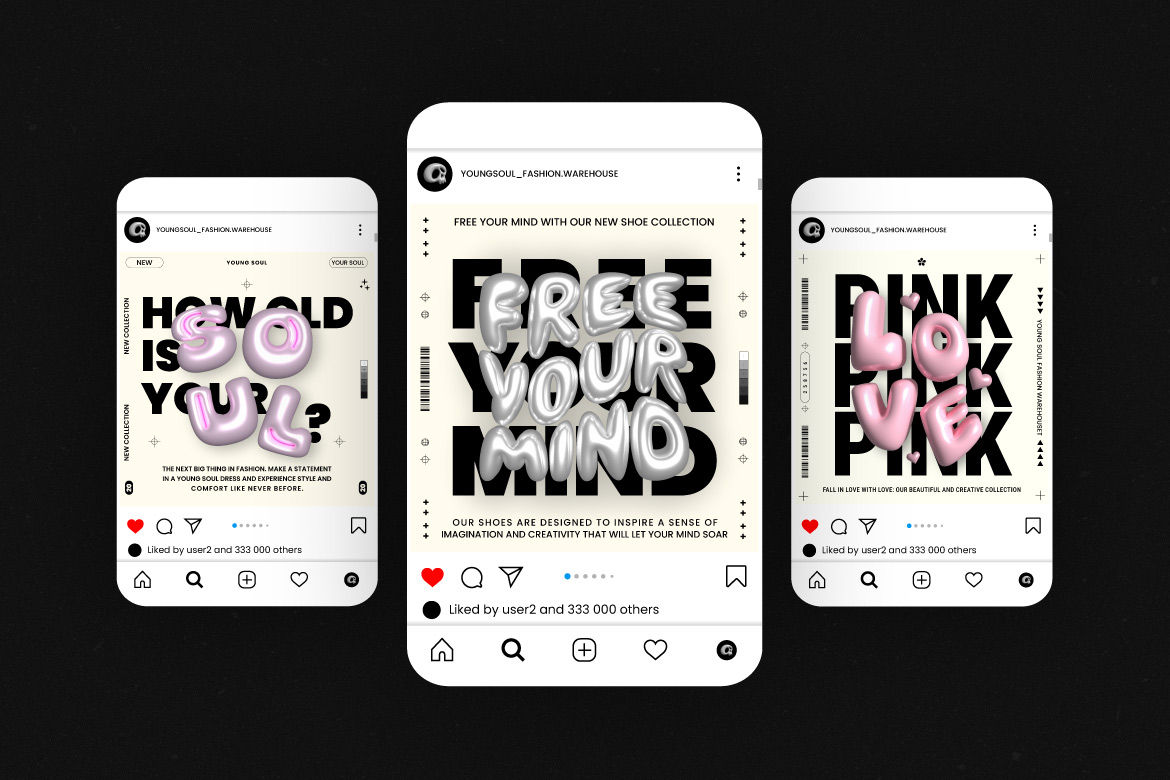
With these tools, how to create 3D objects in Adobe Illustrator becomes faster, more flexible, and more impressive than ever. Want some inspiration? Browse these trendy Gummy-style Illustrator assets that make full use of modern 3D looks.
When to Use Classic 3D
The classic tools are still available under Effect > 3D (Classic) and include Extrude & Bevel and Revolve. These are vector-based effects that don’t use materials or lighting. They’re perfect for simpler 3D icons, wireframes, or for users on lower-end machines.
If you’re working on retro designs or just need faster performance, Classic 3D Illustrator effects are still reliable.
Professional Illustrator Templates
How to Create 3D Shapes: The 3 Core Methods
Extrude: Creating Depth
Extrude and Bevel Illustrator effects are the most straightforward 3D transformation. Select any shape or live text, go to Effect > 3D & Materials > Extrude, and you’ll see your design get pushed into depth. This method is ideal when creating clean 3D text in Illustrator that mimics blocky, geometric depth.
Perfect for signage, logos, or 3D headlines, it’s the go-to option for many designers starting with Illustrator 3D text tutorial for beginners.
Revolve: Creating in the Round
Want to create a vase, bottle, or chess piece? Just draw half the silhouette, and apply Effect > 3D & Materials > Revolve. Illustrator will rotate your path around a vertical axis to form a symmetrical 3D shape.
This is the magic of the 3D Revolve Illustrator tool — fast and accurate. It’s also great when learning how to make a 3D sphere in Illustrator.
Inflate: The Modern 3D Look
The Illustrator Inflate tool is perhaps the most visually exciting. It gives your text or shapes a soft, pillow-like look — making it perfect for fun, modern graphics, social media visuals, and 3D emoji-style designs.
This is where Illustrator 3D materials really shine, especially when paired with something from these Retro Emoji design packs to create nostalgic and eye-catching visuals.
Professional Graphic Templates
Bringing Your 3D Object to Life with Materials & Lighting
How to Apply Realistic Textures
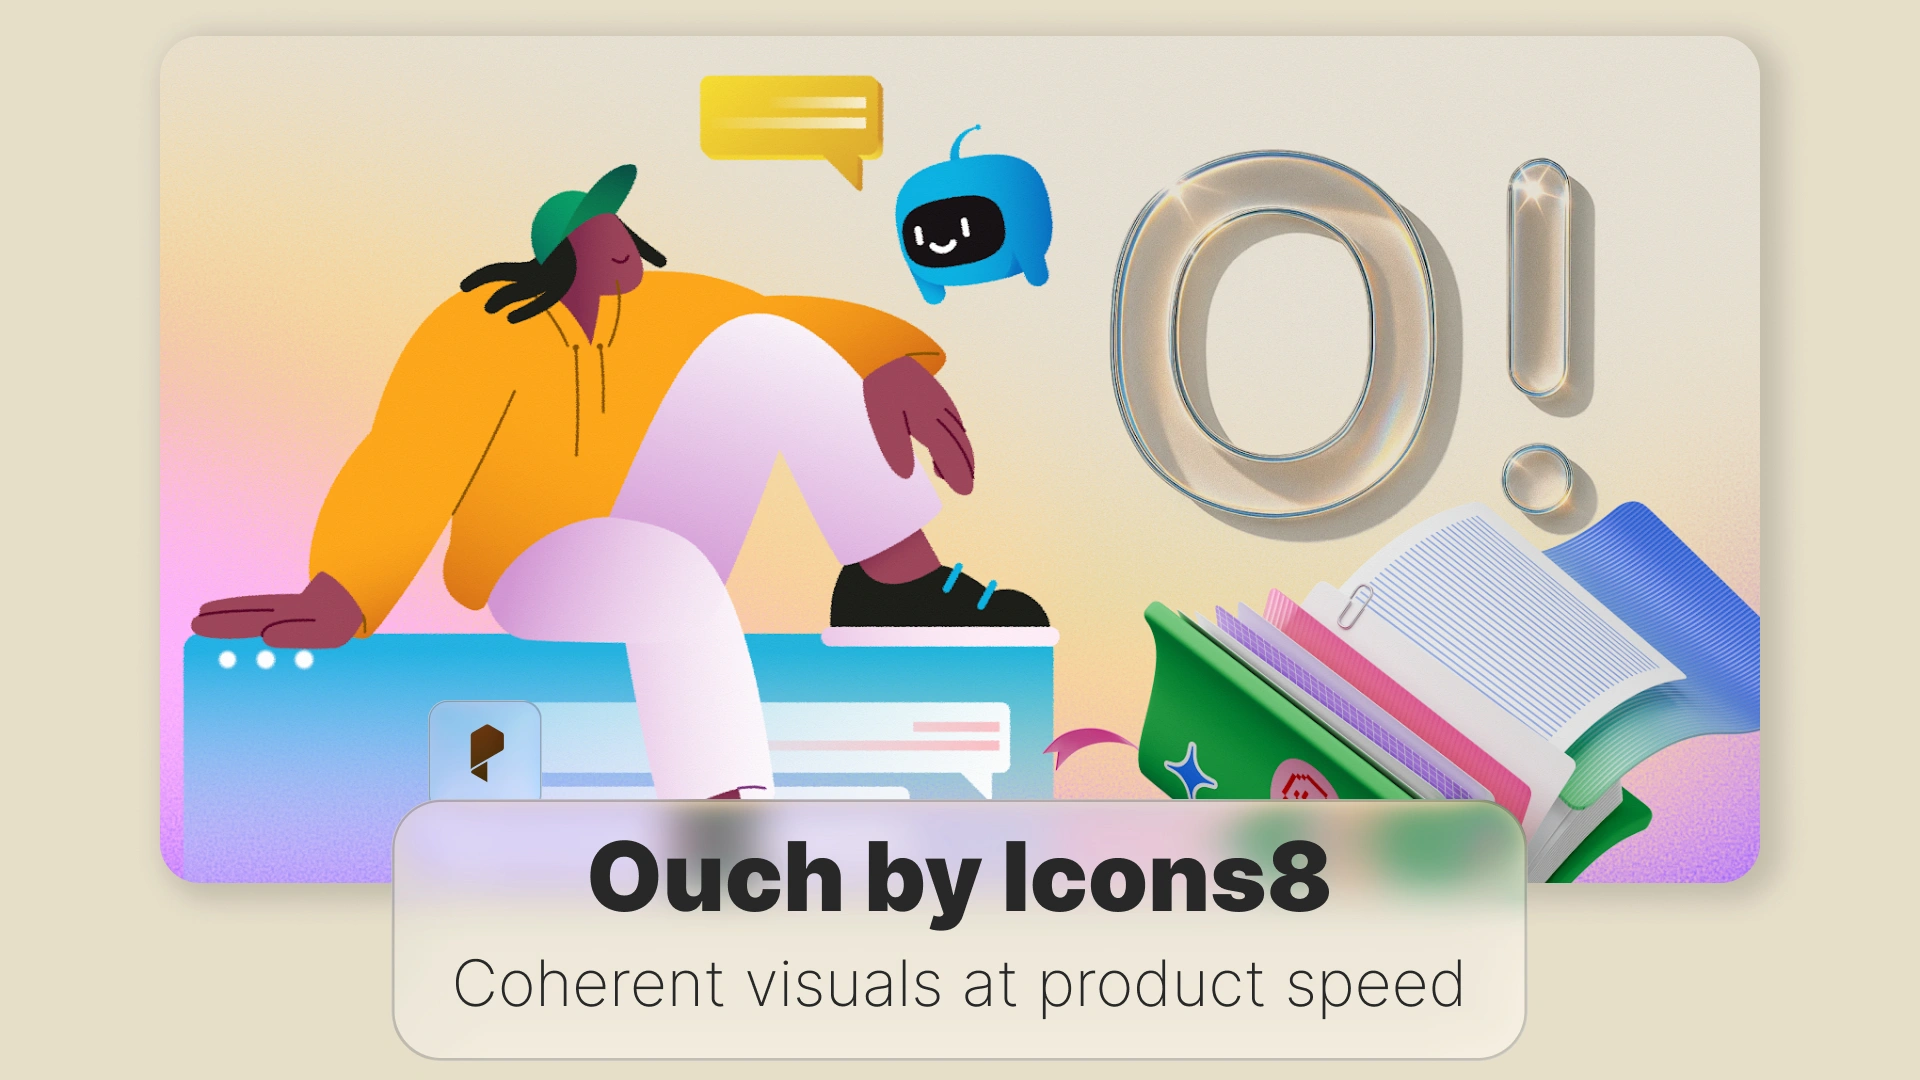
Inside the Materials tab, you can apply prebuilt Adobe Substance materials like glass, metal, leather, or marble. These instantly give your object a realistic 3D Illustrator look, without switching to Photoshop or another 3D program.
If you’re wondering how to add texture to a 3D object in Illustrator, this is the place. You can even import your own textures for custom branding or product mock-ups.
Adjusting the Lighting
Lighting can make or break your 3D scene. Illustrator offers lighting presets like Standard, Diffuse, and Top Left, each customizable with intensity, rotation, and shadow softness.
This is also how you make a 3D mock-up look realistic in Illustrator — with carefully placed shadows and highlights to simulate depth and environment.
Rendering Your Final Image
Once your object looks the way you want, hit Render with Ray Tracing in the top right of the panel. This gives your design a polished, photorealistic finish, simulating light behavior to create subtle shadows, depth, and highlights.
Yes, Illustrator 3D rendering slowly can happen, especially with complex materials or lighting, but the results are worth the wait.
Troubleshooting Common 3D Problems
Problem: “My Computer is Slow or 3D Effects Are Not Working!”
Rendering 3D objects is GPU-intensive. If you’re seeing poor performance or the Illustrator 3D effects not working, go to Preferences > Performance and make sure GPU acceleration is enabled. You might also try switching from Inflate to Classic 3D Illustrator if your system is older.
Problem: “I Can’t Edit My 3D Text Anymore!”
It’s a common issue — you apply effects and then can’t find a way to change them. The solution? Open the Appearance panel (Window > Appearance) and click back into the 3D & Materials effect listed there. Unless you’ve expanded your appearance, you can still tweak every 3D setting.
So if you’re wondering how to edit 3D text after creating it Illustrator, that’s your route back in.
Conclusion
👉 Try grabbing a playful icon or bold font and applying the Inflate tool to it — see how it transforms!
For more ideas and design tips, check out our guides on Creating Vector Art in Illustrator and Mastering Adobe Illustrator. Happy designing!
Disclaimer : If you buy something through our links, we may earn an affiliate commission or have a sponsored relationship with the brand, at no cost to you. We recommend only products we genuinely like. Thank you so much.
Write for us
Publish a Guest Post on Pixflow
Pixflow welcomes guest posts from brands, agencies, and fellow creators who want to contribute genuinely useful content.
Fill the Form ✏
