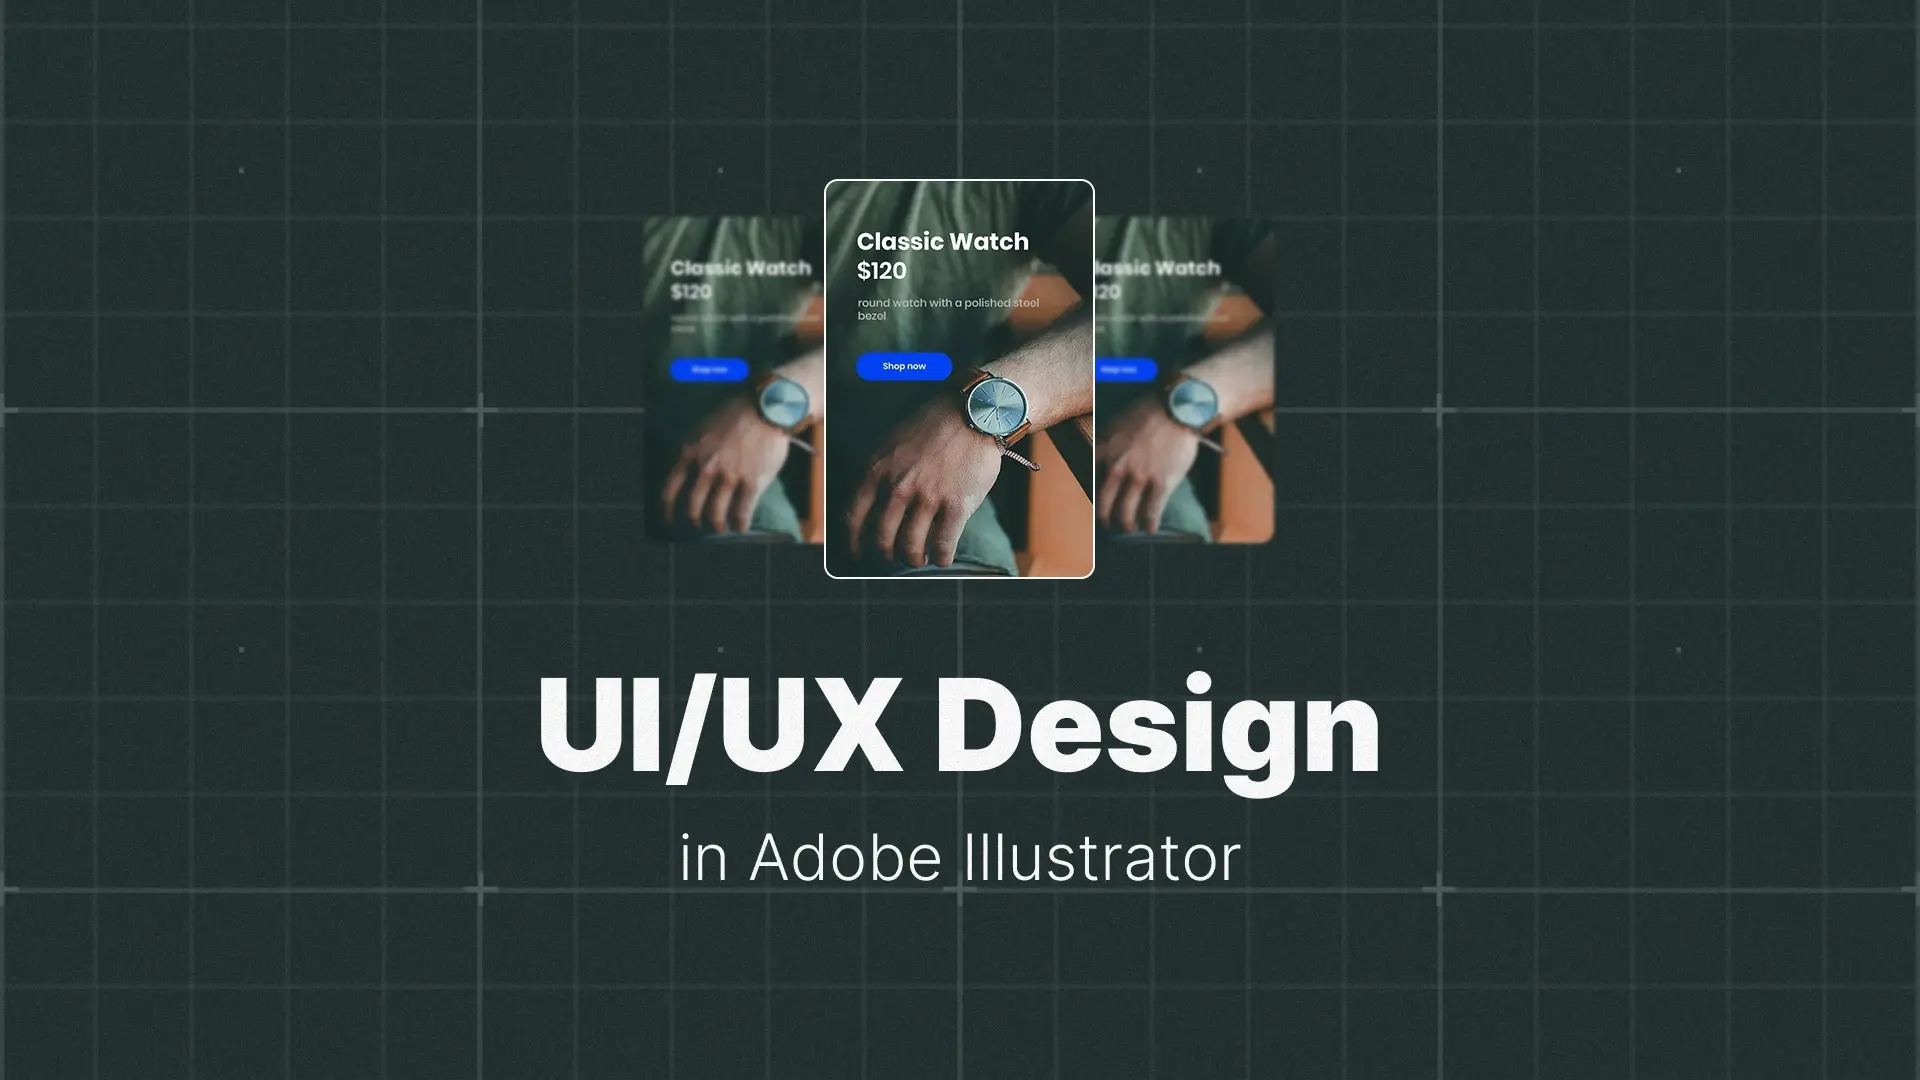
A Practical Guide to UI/UX Design in Adobe Illustrator
UI/UX Design and Illustrator
In this guide, we’ll explore a modern, practical workflow for UI design in Illustrator. You’ll learn how to set up your workspace, create effective wireframes, build a reusable UI kit, and understand when Illustrator is the best choice—and when it’s time to switch tools.
Pro tip: You can speed up your design process with ready-made UI templates to jumpstart your layouts.
Professional Graphic Templates

Why Use Illustrator for UI/UX?
The Pros
- Vector Mastery – Illustrator gives you unparalleled control over paths, shapes, and curves, making it perfect for creating intricate icons and illustrations that can scale infinitely.
- Creative Flexibility – Ideal for projects that demand a custom, heavily illustrated visual style.
- One-App Workflow – If you’re already fluent in Illustrator, you can handle wireframes, UI elements, and final designs without switching software.
The Cons (and When to Switch to Figma)
Illustrator does have limitations. It lacks built-in prototyping tools, real-time collaboration, and advanced developer handoff features.
Recommendation: Use Illustrator for wireframing, creating visual assets, and building high-fidelity mockups. Switch to Figma, or another prototyping tool when you need interactivity or teamwork.
Step 1: Wireframing Your App or Website
Setting Up Your Artboards
In UI/UX work, each screen—like a login page, home dashboard, or profile view—needs its own artboard.
Use Illustrator’s Artboard Tool (Shift+O) to set up multiple screens side by side. This makes it easy to compare layouts and maintain consistency. For efficiency, check out Pixflow’s Illustrator templates that already include standard screen sizes.
How to Create a Low-Fidelity Wireframe
Start with structure, not style. Use simple grey rectangles, circles, and placeholder text to map your mobile app wireframe. This keeps you focused on usability and hierarchy before diving into colors or typography.
Creating a User Flow Diagram
To visualize navigation, connect your wireframes with arrows. Use simple shapes and labeled lines to represent how users move between screens. This is especially useful for app design in Illustrator, ensuring a clear user journey before polishing visuals.
Professional Illustrator Templates

Step 2: Building a Reusable UI Kit with Symbols
What Are Symbols in Illustrator?
Symbols are master objects—update the master, and every linked instance changes automatically. This is a huge time saver in UI components Illustrator workflows.
How to Create a UI Kit
- Design your core components – buttons, input fields, dropdown menus, icons.
- Convert to symbols – Open Window > Symbols, then drag each component in.
- Use instances – Drag symbols onto your artboards to quickly assemble high-fidelity screens.
Related: You can use Illustrator symbols to create a UI kit for faster design systems.
Step 3: From Wireframe to High-Fidelity Mockup
Applying Your UI Kit
Replace your grey wireframe boxes with polished Illustrator UI kit components. Symbols keep everything consistent while allowing for fast changes.
Adding Color and Typography
Use Global Swatches for colors and Character Styles for typography to ensure consistent branding across all screens.
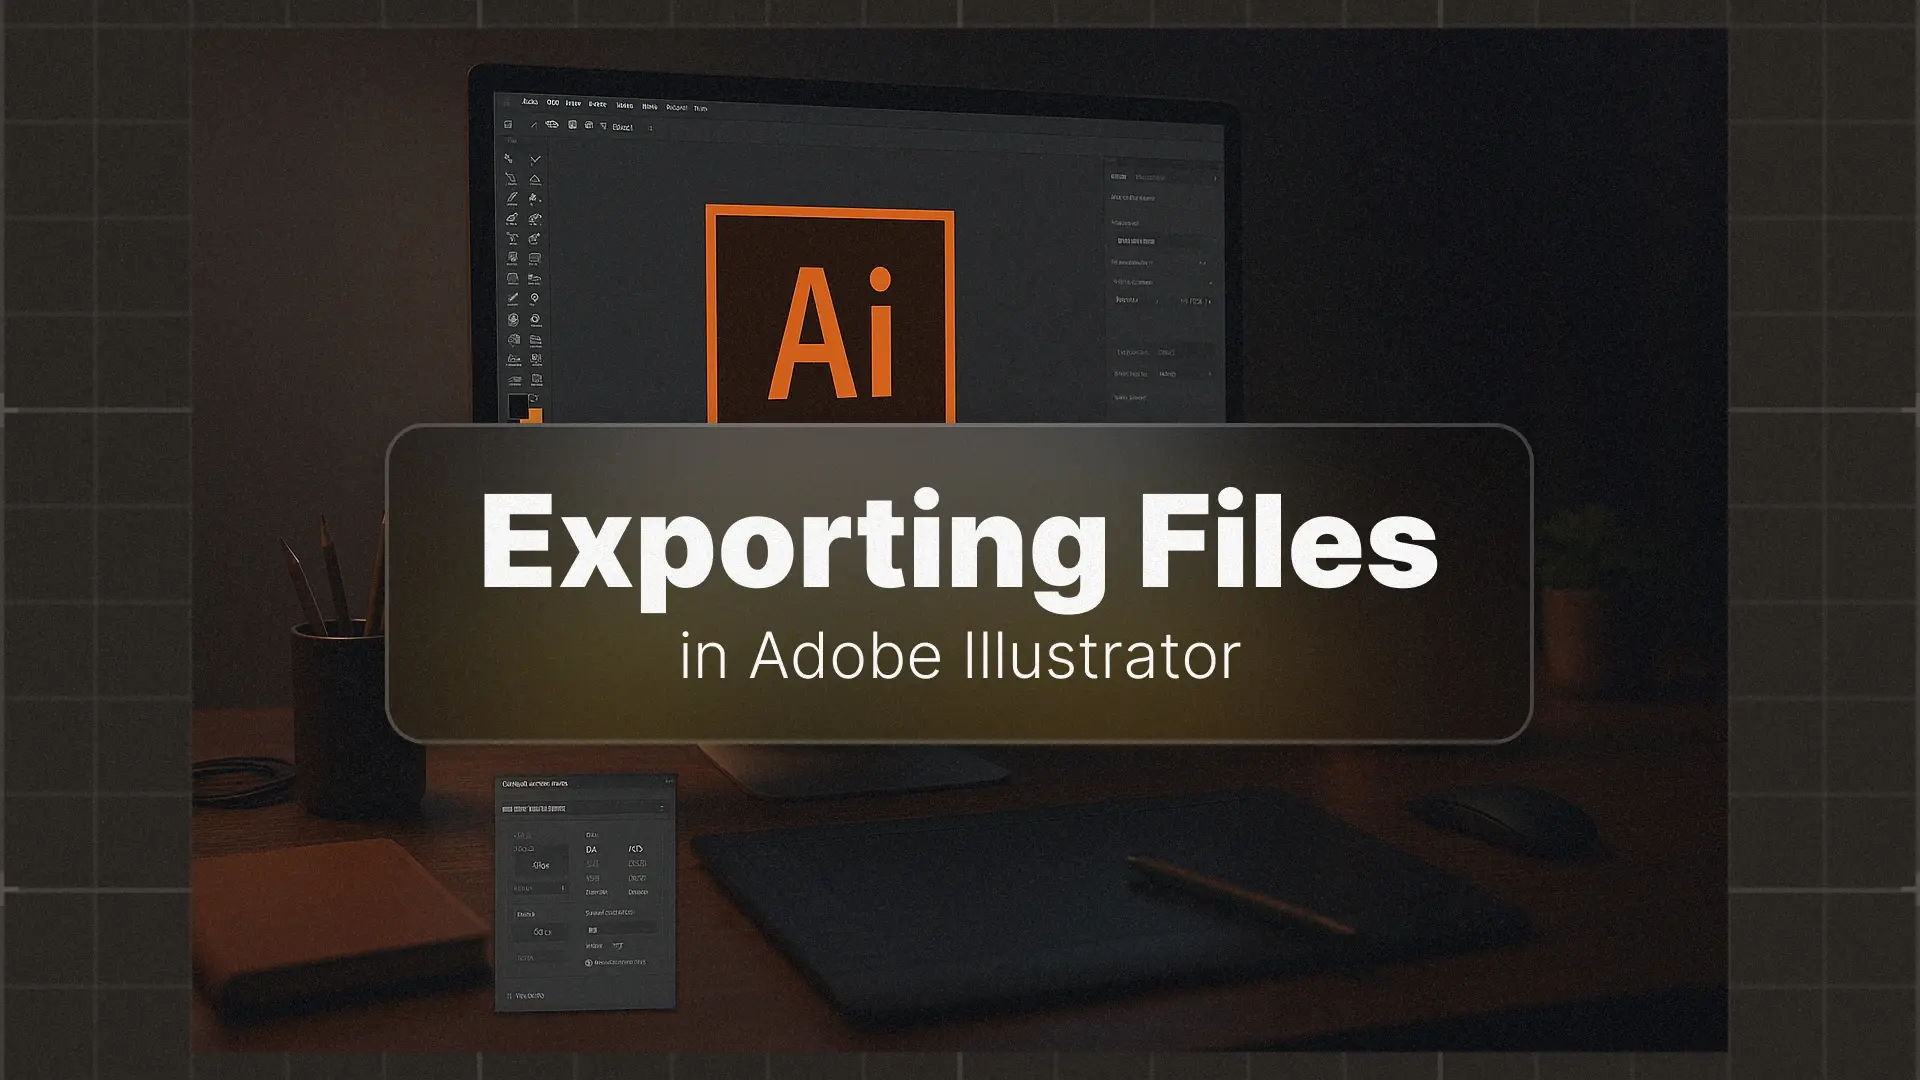
Exporting Screens for a Simple Prototype
While Illustrator doesn’t have built-in prototyping, you can export artboards as PNG or JPG files. Then, import them into Marvel, InVision, or Figma to create a clickable prototype.
This is a quick way to turn your static screens into a basic interactive preview without fully switching tools.
Conclusion
If you’re ready to put these techniques into practice, try designing a simple three-screen app today. And for unique icons or pre-built UI elements to save time, explore Pixflow’s Illustrator graphic templates to boost your creative process. And if you want even more ways to master Illustrator, check out Mastering Adobe Illustrator — A Comprehensive Guide for Beginners and Beyond.
Disclaimer : If you buy something through our links, we may earn an affiliate commission or have a sponsored relationship with the brand, at no cost to you. We recommend only products we genuinely like. Thank you so much.

Write for us
Publish a Guest Post on Pixflow
Pixflow welcomes guest posts from brands, agencies, and fellow creators who want to contribute genuinely useful content.
Fill the Form ✏