Architectural Animation: How Building Walkthroughs Are Made
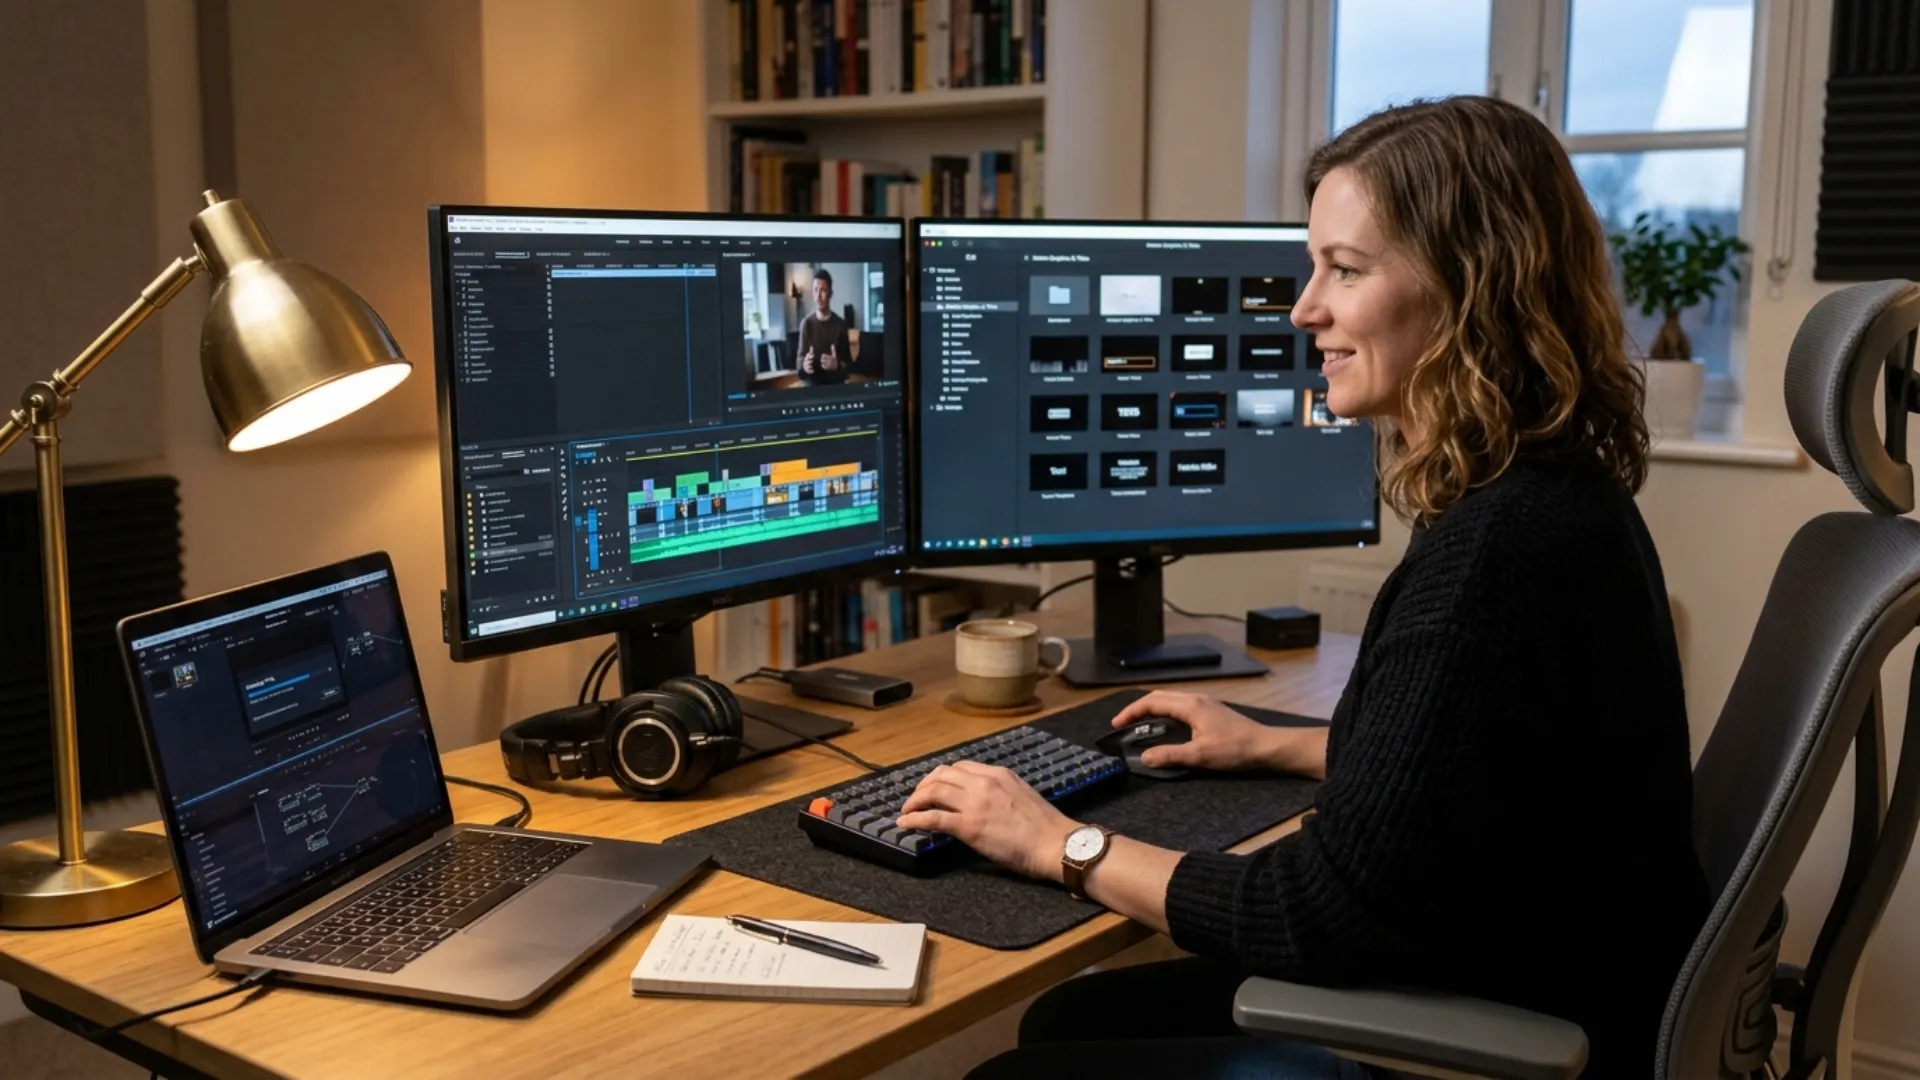
That first hour tells you most of what you need to know about this kind of work. The software is familiar. The logic of the project is not.
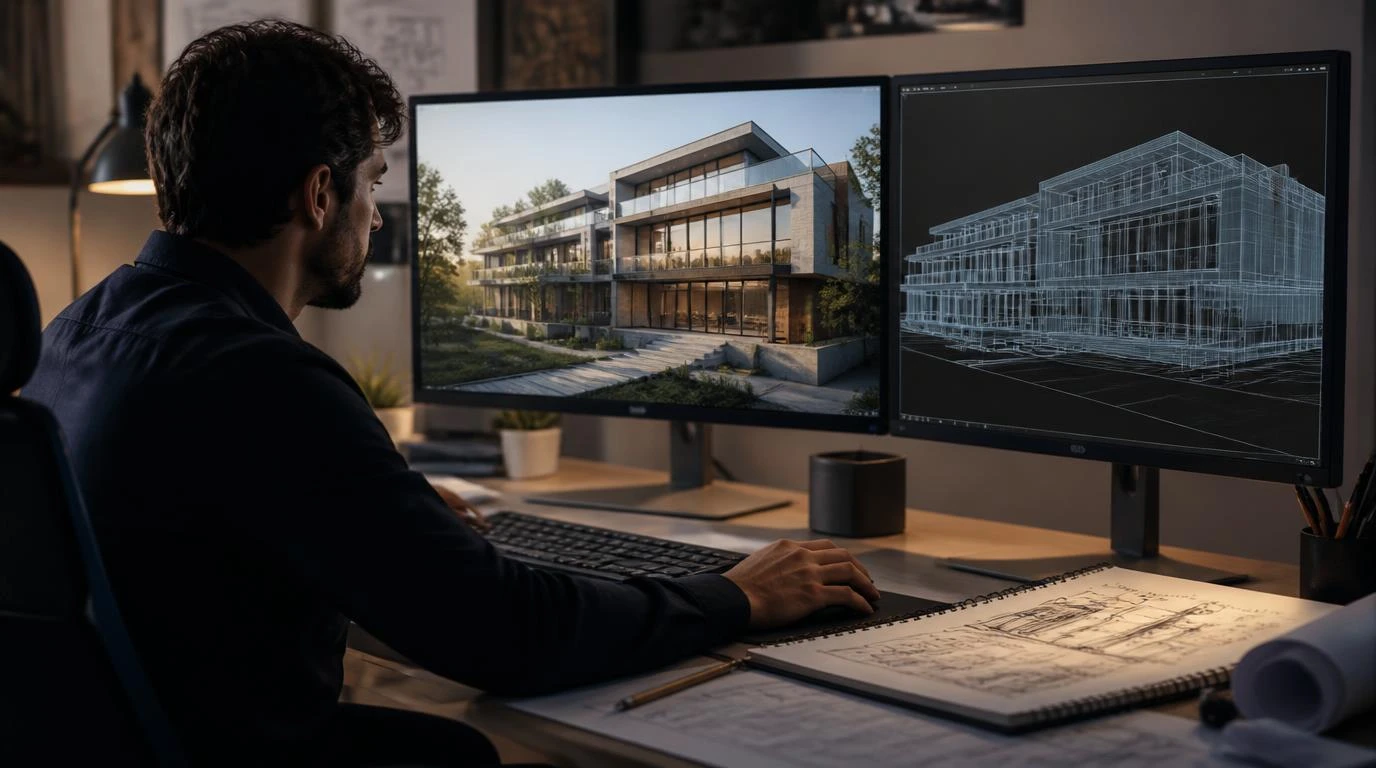
Architectural walkthroughs look like motion design from the outside. Camera moves, light, grade, a music bed. Under the hood they behave differently, because the geometry comes from a discipline that never planned to render anything, and the people approving the shots read drawings for a living.
What arrives from the architect
Studios that handle architectural animation production usually spend the first days of a project rebuilding that geometry rather than animating it. Walls arrive as solids with no thickness logic. Windows come in as manufacturer blocks with interior hardware nobody will ever see. Vegetation is a placeholder cube. The model was built to be accurate for construction, not light for a camera.
Practical consequences:
- Polygon counts are absurd before cleanup and manageable after it.
- Materials arrive as flat colors named after product codes.
- Scale and units need checking before anything else. A model set in millimeters
- will wreck your depth of field settings and your physical camera.
- Move the model to origin early. Far from zero, floating point precision starts
- producing visible jitter on slow camera moves.
None of this is hard. It is just work that has to happen before the fun part, and it is the step freelancers underestimate when they quote the job.
Planning the shots
Architectural camera work has its own grammar, and it runs slower than almost anything else you cut:
- Establishing shot. The building in context, usually aerial or elevated.
- Sells location before it sells design.
- Approach. A slow push toward the entrance, often at eye level.
- Reveal. The facade uncovering itself from behind a tree line or a corner.
- Interior pass. Continuous movement through connected spaces.
- Detail shot. Material, joint, railing, handle. Short, static or nearly so.
For exterior architectural shots, elevated access can also be useful when capturing details that are difficult to view from ground level. An aerial platform lift provides a stable way to reach higher positions for filming or documenting facades, upper-level features, and other elevated areas.
Two habits from commercial editing will hurt you here. The first is cutting on energy. Architects want the eye to stay long enough to read a space, so shots run six to twelve seconds where an ad would run two. The second is aggressive camera motion. Handheld shake and whip pans read as noise when the subject is a static object the viewer is trying to understand.
Ease your camera curves and then flatten them further than feels right. A walkthrough that seems slightly too slow in the animatic usually plays correctly at final grade.
Lighting and materials
For buildings that depend on daylight, sun studies are worth the extra pass. The architect already knows where the sun sits in March. If your render disagrees, they will notice immediately.
Materials behave differently at architectural scale. A brick texture that reads beautifully in a closeup turns into visible tiling across a forty meter wall. Roughness matters more than color: the difference between matte and satin paint changes how an entire elevation reads, while the exact hex value rarely survives the grade anyway.
Structuring the render
Interior frames with global illumination and glass can take a long time to resolve. A short interior pass can occupy a render farm overnight. Nobody has the schedule to recalculate that because a client wants different foliage.
So the sequence gets split into passes: beauty, ambient occlusion, reflection, shadow, depth, cryptomatte for isolating objects, vegetation on its own layer. On larger residential projects a visualization studio such as ArchiCGI will separate geometry, lighting and vegetation specifically so a change in one does not force a full re-render of the sequence.
Two rules save the schedule:
- Render EXR with all passes embedded, not flattened PNG sequences. You will
- want that data three days later.
- Test the final frame at full resolution before committing the sequence.
- Preview resolution hides sampling noise in glass, foliage and any surface
- with fine detail.
Post-production
Compositing the passes in After Effects buys you control that would cost hours in the render. Depth of field from the depth pass instead of the camera. Reflection intensity adjusted without touching the shader. Vegetation color shifted by season, which sounds trivial until a client asks to see the project in autumn.
Things worth doing in post: grade, atmospheric haze, lens artifacts, subtle grain to break the plastic cleanliness of a raw render, sound design, entourage if it is 2D.
Things that belong in the render: geometry, real reflections and refractions, shadow contact, anything that has to respond to camera movement. Faking a reflection in comp works for one frame and falls apart across a forty second move.
People and cars deserve their own decision. 3D entourage integrates with camera motion and costs render time. 2D cutouts are cheap and betray themselves the moment the camera arcs.
Revision rounds
Budget three rounds. Round one lands on the animatic and costs nothing but time. Round two comes after first renders and is where lighting gets argued. Round three should be cosmetic. If structural changes appear in round three, the approval process broke earlier and someone will absorb the cost.
Get the shot list approved in writing at the animatic stage. It is the single cheapest protection available on this kind of project.
Checklist before you start
- Source format and version, plus units and north point
- Site context: surroundings, terrain, neighboring buildings
- Time of day and season
- Material specifications with product references
- Interior scope: which spaces are actually visible
- Video length and shot count
- Delivery resolution and aspect ratios, including vertical crops for social
- Whether people and vehicles are required
- Number of revision rounds included
- Who signs off, and how many people that is
The last item decides more schedules than anything technical on the list.
When to take it solo
A residential complex with landscaping, populated exteriors and multiple approved shots is not a solo project on a normal deadline. The render time alone will beat you, and the revision cycle needs someone available while frames are cooking.
The tools are the ones already open on your machine. What changes is the shape of the project around them: heavier geometry, slower cameras, longer renders and clients who read drawings. Understand that, and the work becomes predictable rather than punishing.
Disclaimer : If you buy something through our links, we may earn an affiliate commission or have a sponsored relationship with the brand, at no cost to you. We recommend only products we genuinely like. Thank you so much.
Blog Label:



Write for us
Publish a Guest Post on Pixflow
Pixflow welcomes guest posts from brands, agencies, and fellow creators who want to contribute genuinely useful content.
Fill the Form ✏