Beyond Flat Photos: How to Add Realistic Textures & Overlays for Jaw-Dropping Artistic Effects in Photoshop!
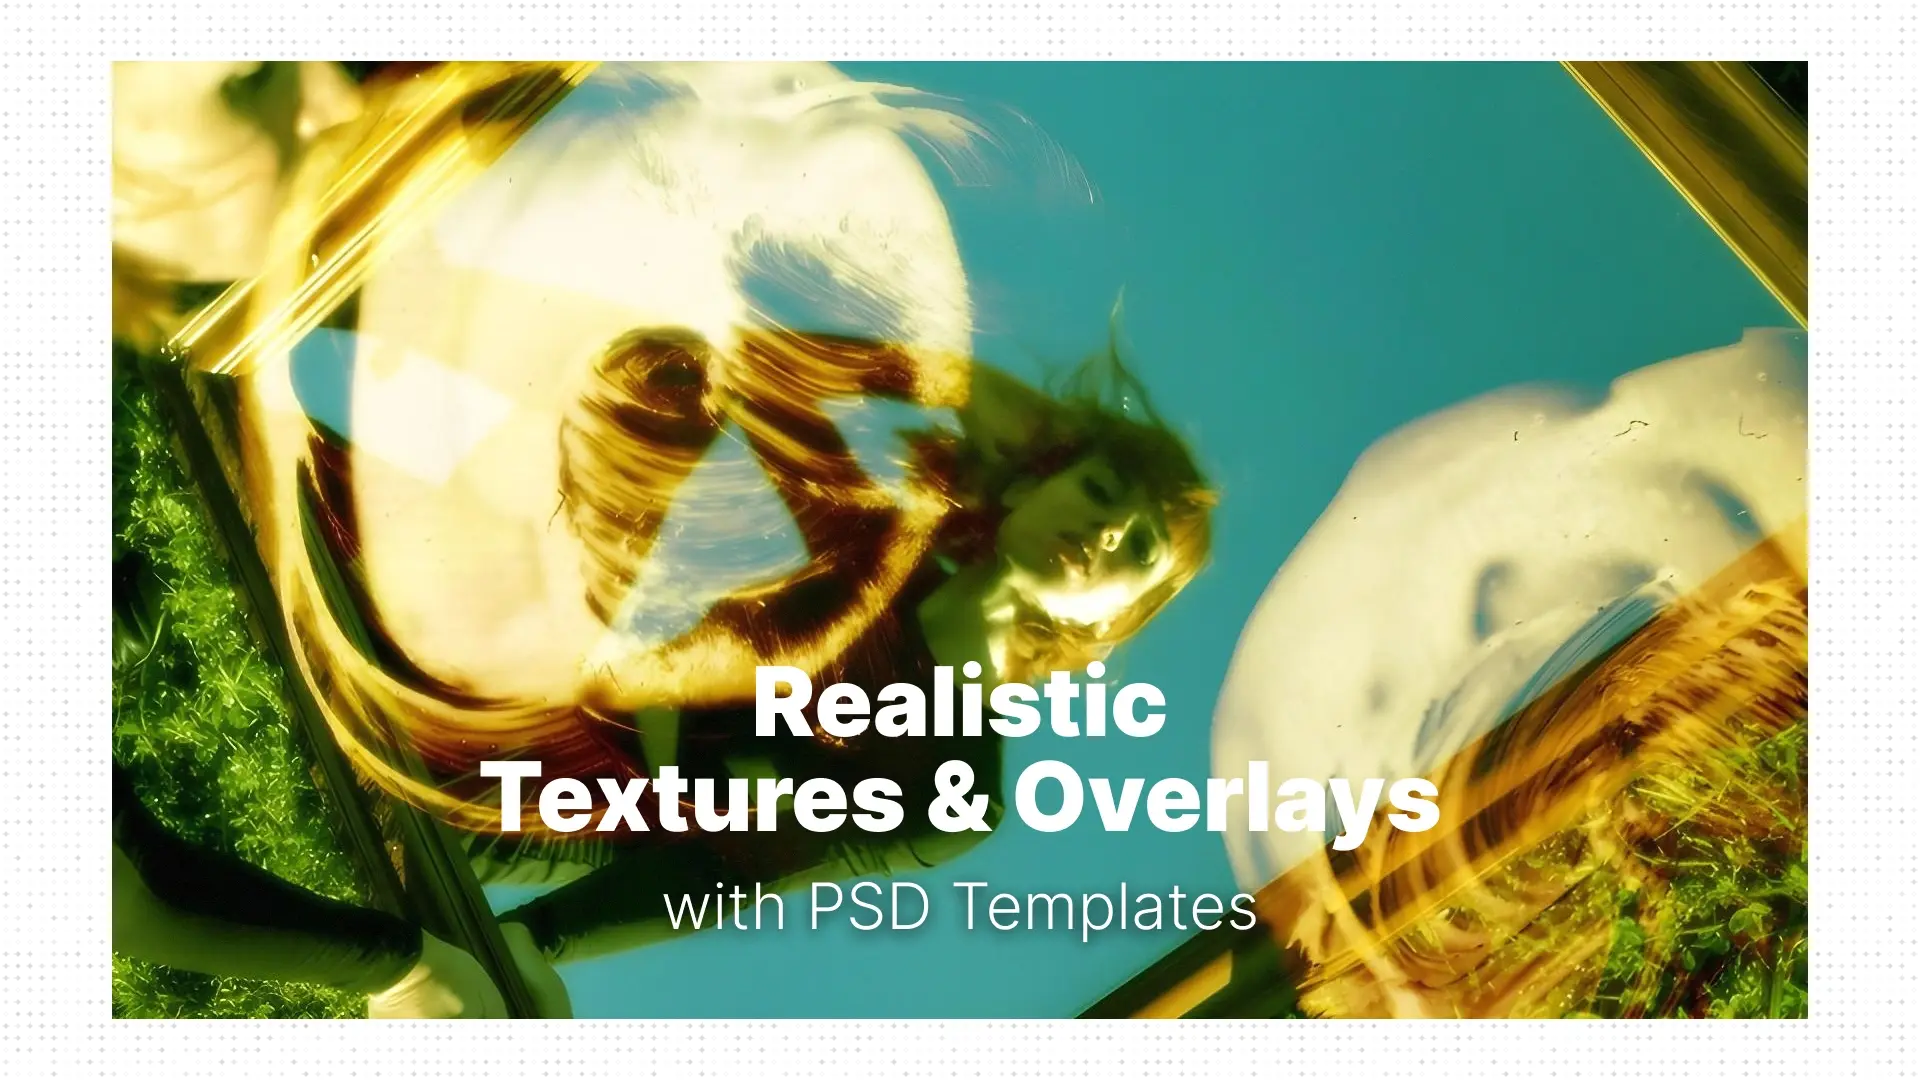
The Art of Adding Depth and Soul
Yet for many creators, the process can be daunting. Knowing how to add realistic textures to a photo, blend them naturally, and harmonize everything without ruining the shot is a skill that demands patience and precision. Without it, your work may remain visually “flat” — lacking the layered richness that pulls viewers in.
This guide unveils the easy way to blend textures into photos in Photoshop using both manual techniques and the powerful ready-made assets from Pixflow’s Photoshop overlays collection. You’ll discover how to turn basic edits into breathtaking works of art, infusing your photos with texture, depth, and soul — all while saving time.
Professional Photoshop Templates
Why Textures & Overlays Are Essential for Artistic Photography
- Add Depth & Dimension: Break the digital flatness with tactile surface elements that feel real.
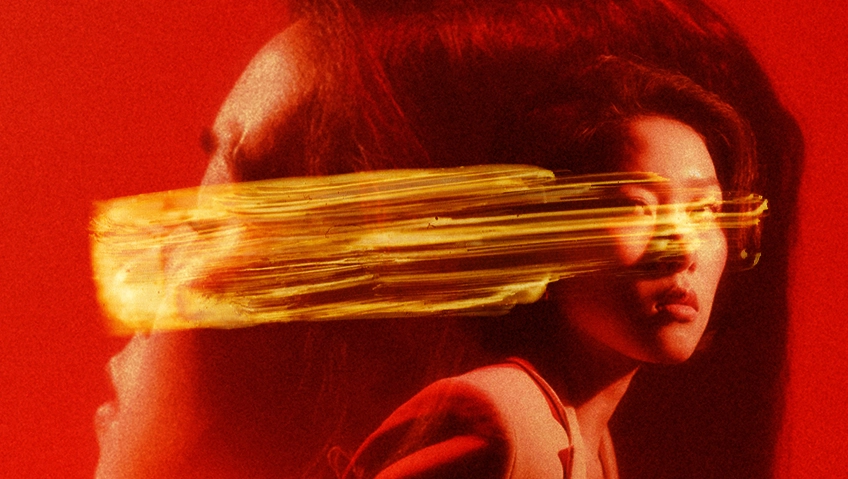
- Evoke Mood & Atmosphere: Whether it’s gritty grunge texture effects in Photoshop or dreamy light leaks, textures create emotional weight.
- Enhance Storytelling: A cracked surface or paper overlay can hint at age, memory, decay — without words.
- Creative Flair: Inject a signature artistic vibe into each piece.
- Problem Solving: Hide distracting elements, fill bland areas, or merge compositions seamlessly.
- Visual Interest: Keep the viewer’s eyes moving across detailed layers and effects.
From vintage overlays to cinematic glows, texture enhances not just how an image looks — but how it feels.
The Manual Texture Grind vs. The Instant Artistic Infusion
- Hunting down high-res texture files
- Trying endless Photoshop blending modes for textures
- Masking details by hand
- Tweaking color, lighting, and contrast just to make it “fit”
It’s a rewarding process — but also exhausting, especially when consistency and speed are critical.
But what if you had a toolbox of professionally designed, ready-to-use overlays created specifically for seamless artistic enhancement?
Pixflow Overlays: Your Brushstrokes for Instant Photo Artistry
Pixflow offers a curated, high-resolution library of Photoshop texture effects and artistic overlays crafted for both professionals and beginners. These assets make it simple to achieve complex visual styles — without hours of trial and error.
What’s Inside Pixflow’s Overlay Packs?
- Light Leak Overlays: For nostalgic warmth or ethereal glow
- Dust & Scratches: Create gritty, raw, grunge texture Photoshop effects
- Rain, Snow & Fog: Add atmosphere and emotion to landscapes or portraits
- Smoke & Haze: Perfect for cinematic, mysterious visuals
- Fabric, Paper, Concrete Textures: Add tactile realism and vintage depth
- Flares & Bokeh: Accentuate highlights with dreamy lens effects
These overlays are optimized for Photoshop blending modes like Overlay, Screen, and Multiply, giving you instant, natural integration with your base photo.
Benefits of Using Pixflow’s Overlays:
- Non-destructive: Keep your original photo intact
- Easily Customizable: Adjust opacity, scale, and tone with minimal effort
- Professional Quality: Every overlay is crafted in ultra-high resolution
- Time-Saving: Say goodbye to manual masking and endless adjustment layers
Plus, explore Pixflow’s Addons for brushes, or pair overlays with subtle textured backgrounds for more layered depth.
Your Quick Guide: Adding Realistic Textures & Overlays with Pixflow Assets
Step 1: Define the Mood & Pick the Right Overlay (3 minutes)
Want something vintage? Gritty? Dreamlike?
- Visit Pixflow’s Overlays and browse categories that match your artistic goal.
- Download your chosen overlay or pack.
Step 2: Open Your Photo in Photoshop (1 minute)
Launch Photoshop and open your image. Ideally, start with a high-res version for best results.
Step 3: Drag & Drop the Overlay (1 minute)
Simply drag your downloaded overlay into the photo document. It appears as a new layer.
Step 4: Experiment with Blending Modes (3–5 minutes)
- Select the overlay layer
- Change the Blending Mode (e.g., to “Overlay” for texture or “Screen” for light leaks)
- Lower Opacity to make it subtle
Step 5: Refine and Customize (5–10 minutes)
- Use Ctrl/Cmd + T to rotate or scale the overlay
- Add a Layer Mask and use a soft black brush to erase parts of the texture (like over a face)
- Apply Adjustment Layers (like Hue/Saturation or Curves) to fine-tune the overlay’s tone
Step 6: Finalize & Export (1 minute)
Save your PSD and export a JPEG or PNG of your new artistic creation!
Beyond the Single Photo: The Strategic Advantage of Templated Overlays & Textures
- Save Time: Apply finished effects in seconds
- Consistency: Keep your aesthetic coherent across shoots or clients
- Professional Results: Achieve gallery-ready quality
- Creative Freedom: Experiment without technical roadblocks
- Cost-Effective: No need for expensive textures or elaborate set design
- Empowerment: Even beginners can now add vintage effects to photos with overlays in Photoshop like a pro
Pixflow makes it possible to go from raw image to fully textured artwork — in under 10 minutes.
Conclusion
These assets take the technical weight off your shoulders, letting you focus on expression, not execution.
Ready to add unparalleled depth, mood, and artistic flair to your photos? Stop settling for flat! Explore Pixflow’s incredible collection of Adobe Photoshop Overlays today and transform your images into captivating works of art!
Disclaimer : If you buy something through our links, we may earn an affiliate commission or have a sponsored relationship with the brand, at no cost to you. We recommend only products we genuinely like. Thank you so much.

Write for us
Publish a Guest Post on Pixflow
Pixflow welcomes guest posts from brands, agencies, and fellow creators who want to contribute genuinely useful content.
Fill the Form ✏