Effortless AI Voiceovers: A Guide to Using the Pixflow Plugin in After Effects & Premiere Pro

Creating compelling video content often requires equally compelling voiceover. Whether it’s for explainer videos, tutorials, social media content, or draft narration, getting the right voiceover can be time-consuming and costly. Traditionally, you might record it yourself (requiring equipment and quiet space), hire a voice actor (adding expense and coordination time), or use separate text-to-speech (TTS) web apps (forcing you to constantly switch contexts).
What if you could generate high-quality, natural-sounding AI voiceovers directly within your favorite editing tools?
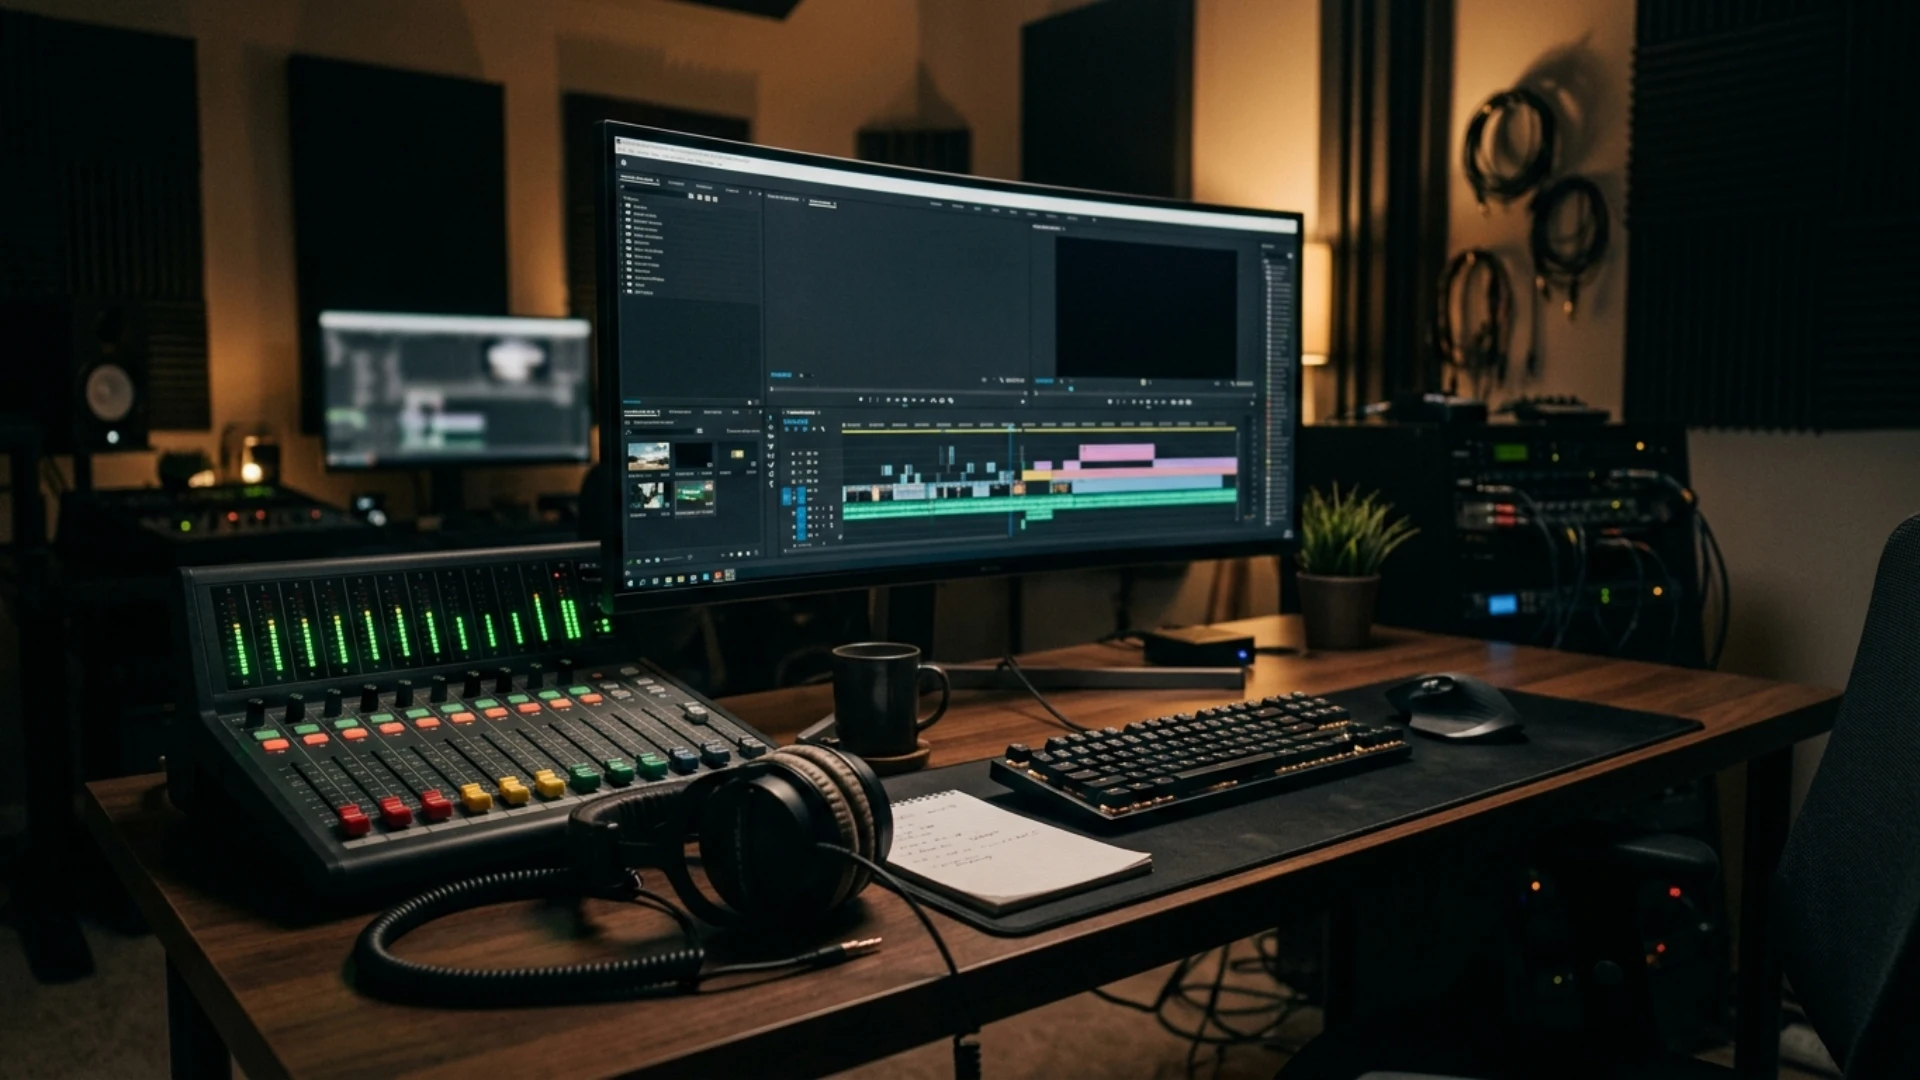
Introducing the Pixflow AI Voiceover plugin – a powerful text-to-speech engine seamlessly integrated into Adobe After Effects and Adobe Premiere Pro. This tool is designed to streamline your workflow, letting you create, preview, and implement voiceovers without ever leaving your project.
In this tutorial, we’ll walk you through how to use the Pixflow AI Voiceover plugin to add professional-sounding narration to your projects in just a few clicks.
What is the Pixflow AI Voiceover Plugin?
At its core, Pixflow AI Voiceover is a plugin that brings advanced AI text-to-speech capabilities right into your After Effects and Premiere Pro panels. Key features include
- Direct Integration: Pixflow AI Voiceover plugin works as an extension within AE & PP. No more exporting scripts and importing audio files.
- Vast Voice Library: Access to a wide range of realistic AI voices across numerous languages and accents.
- Voice Styles & Customization: Choose different speaking styles (like narrative, conversational, or cheerful) and adjust pitch, speed, and pauses for the perfect delivery.
- Instant Generation: Quickly convert your text script into an audio layer directly on your timeline or in your project panel.
- Workflow Efficiency: Ideal for creating placeholder narration, final voiceovers for various projects, accessibility tracks, or multi-language versions of your content.
Getting Started: Prerequisites & Installation
Before you begin, make sure you have:
- Adobe After Effects or Premiere Pro: Check the Pixflow website for specific version compatibility.
- The Pixflow AI Voiceover Plugin: You can get it from the official website: Download Pixflow AI Voiceover
- Installation: Follow the installation instructions provided by Pixflow. This typically involves using the Adobe Creative Cloud Desktop app or a ZXP installer (like Anastasiy’s Extension Manager). Refer to Pixflow’s documentation for the exact steps.
- Pixflow Account/License: You’ll likely need to log in or activate the plugin with your Pixflow account details.
How to Use the Pixflow AI Voiceover Plugin (Step-by-Step)
The process is very similar in both After Effects and Premiere Pro.
Step 1: Open the Plugin
- Launch After Effects or Premiere Pro and open your project.
- Go to the main menu:
Window->Extensions->AI Voiceover. - This will open the AI Voiceover plugin panel. You can dock this panel wherever it fits best in your workspace.

Step 2: Choose Your Voice and Language
- Explore the Voice library. Pixflow offers a wide selection of different characters, each suitable for a voiceover style that’s been mentioned under the characters’ avatars. Listen to the samples to get the feeling of their voices and characters.
- As for the language, once you insert your text in the next step, the AI detects the language, and the voice adjusts to it. Right now our AI supports 29 languages.
- Select the voice that best suits your project’s tone and language requirements.
Step 3: Enter Your Script
- After selecting the voice you want, you’ll see a text input area.
- Type or paste the script you want to convert into voiceover.
- Tip: Break down long paragraphs into smaller ones for easier timing adjustments later. Use proper punctuation (commas, periods), as the AI often uses this to infer natural pauses and intonations.

Step 4: Customize Voice Settings (Optional but Recommended)
- Adjust the Emotion slider to change the tone of the voice based on your preference.
- You can use punctuation marks to add pauses or stress, useful for emphasizing points or controlling the rhythm.
- Experiment! Small adjustments can significantly impact the naturalness of the voiceover.

Step 5: Generate the Voiceover
- Once you’re happy with the text, voice, and settings, click the “Generate”.
- The plugin will process the text using the AI engine. This may take a few moments depending on the length of your script and your internet connection.
Step 6: Use the Generated Audio
- Once generated, your voiceover will be available for review down the panel. It will also be added to your voiceover library, where you can see your previous generations as well.
- Then you can either add the voiceover directly to your project or download the audio file.

Tips for Getting the Best Results
- Punctuation is Key: Use commas, periods, question marks, and exclamation points correctly. The AI uses these cues for intonation and pausing.
- Shorten Sentences: Complex sentences can sometimes sound unnatural. Try breaking them down.
- Spell Out Numbers/Acronyms: Sometimes, writing “one nine nine nine” sounds better than “1999,” or spelling out an acronym might be clearer. Experiment with what sounds best for the specific voice.
- Choose the Right Voice Style: A “Newscast” style won’t fit a “Casual Vlog”. Match the style to your content.
- Preview and Iterate: Generate small chunks first to test voices and settings before generating a long script.
Common Use Cases
- Draft/Placeholder Narration: Quickly get timing right before recording final audio.
- Explainer Videos & Tutorials: Clear, consistent voiceovers are easy to generate.
- Social Media Content: Create engaging voiceovers for short videos quickly.
- E-Learning Modules: Produce narration for educational content efficiently.
- Accessibility: Generate audio descriptions for visually impaired audiences.
- Budget Projects: Achieve professional-sounding results without the cost of a voice actor.
Conclusion
The Pixflow AI Voiceover plugin is a game-changer for anyone working with video in After Effects or Premiere Pro. By bringing powerful text-to-speech capabilities directly into your editing environment, it saves valuable time, reduces costs, and simplifies the entire voiceover process. No more app-switching or file import/export hassles – just type, click, and create.
Give your videos the voice they deserve, faster and smarter than ever before.
Ready to streamline your voiceover workflow?
Disclaimer : If you buy something through our links, we may earn an affiliate commission or have a sponsored relationship with the brand, at no cost to you. We recommend only products we genuinely like. Thank you so much.


Write for us
Publish a Guest Post on Pixflow
Pixflow welcomes guest posts from brands, agencies, and fellow creators who want to contribute genuinely useful content.
Fill the Form ✏