How to Color Correct and Color Grade Like a Pro in After Effects: A Step-by-Step Tutorial

Adobe After Effects is an incredibly powerful tool for achieving professional-level color correction and color grading. In this comprehensive tutorial, we’ll guide you through the steps of mastering these techniques to take your video projects to the next level. And if you’re looking to level up your video editing game check out our video templates, and also explore more tips and tricks, check our blog on different color spaces here.
Professional Video Templates
What is Color Correction?
Goals of Color Correction
- Achieving a neutral white balance: Ensuring that whites appear truly white, without any color cast.
- Correcting exposure issues: Balancing highlights, midtones, and shadows for proper brightness.
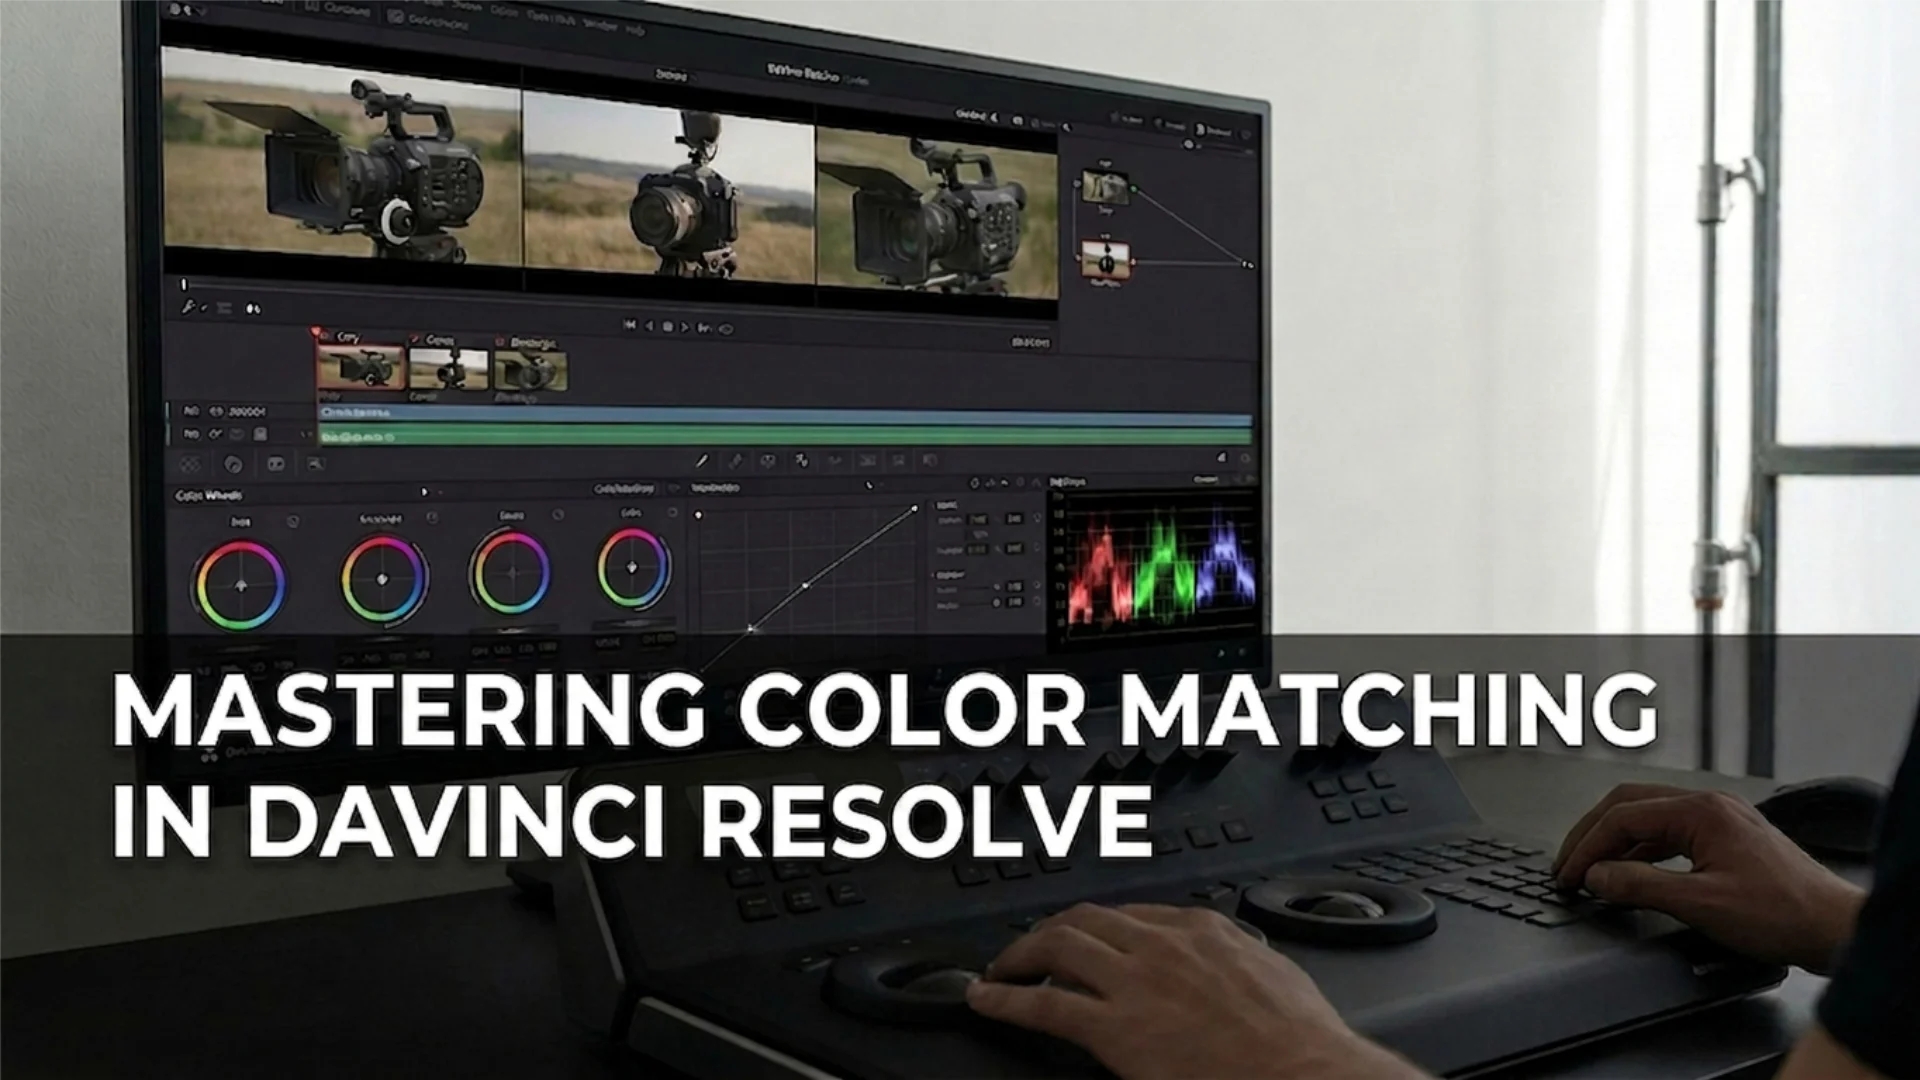
- Ensuring consistency across shots: Matching colors and lighting between different scenes or shots.
Simply put, color correction is the process of making your footage look as natural and accurate as possible. Let’s dive into the workflow to understand how to do it efficiently.
Color Correction Workflow in After Effects
Step 1: Importing and Organizing Footage
Before jumping into color correction, import your footage and organize it within the After Effects project panel. Proper organization helps streamline the entire process.
Step 2: Analyzing Footage with Scopes
Utilize tools like Waveform, Vectorscope, and Histogram to analyze color information. These scopes provide valuable insights into exposure, saturation, and color distribution.
Step 3: White Balance
To correct white balance, use the White Balance Selector tool to sample a neutral color in your footage. This ensures that whites look pure and colors remain accurate.
Step 4: Exposure Correction
Fine-tune exposure by adjusting highlights, shadows, and midtones. Use the Curves and Levels effects to precisely control brightness and contrast.
Step 5: Color Balance
Achieve color harmony by tweaking the Color Balance settings, ensuring that hues look natural and vibrant.
By following the steps above, you can make your footage look balanced and true to life.
What is Color Grading?
Goals of Color Grading
- Creating a specific mood or style: Use colors to evoke emotions or set a tone.
- Enhancing the visual narrative: Make scenes feel cohesive and visually engaging.
- Developing a consistent look: Unify the visual style across the entire project.
In short, color grading is the artistic manipulation of colors to achieve a distinctive look and feel.
Color Grading Workflow in After Effects
Step 1: Accessing Lumetri Color Panel
To open the Lumetri Color panel, navigate to Effects & Presets > Color Correction > Lumetri Color.
Step 2: Creative Adjustments
Use the Basic Correction tab to fine-tune temperature, tint, and exposure. Then, move to Creative for applying LUTs and enhancing color tones.
Step 3: Color Wheels and Curves
Adjust midtones, shadows, and highlights using the Color Wheels. Use Curves to fine-tune contrast and color balance.
Step 4: Applying LUTs
LUTs (Lookup Tables) can instantly give your footage a cinematic feel. Import and apply suitable LUTs to achieve your desired look.
Take a look at the examples below to see how professional LUTs make a significant difference.
Professional Color Grading LUTs
Color Techniques and Management
Color Management
Color management is essential to maintain consistency across different devices and platforms. Adjust settings under Project Settings to configure the working color space and output settings.
Conclusion
Disclaimer : If you buy something through our links, we may earn an affiliate commission or have a sponsored relationship with the brand, at no cost to you. We recommend only products we genuinely like. Thank you so much.


Write for us
Publish a Guest Post on Pixflow
Pixflow welcomes guest posts from brands, agencies, and fellow creators who want to contribute genuinely useful content.
Fill the Form ✏