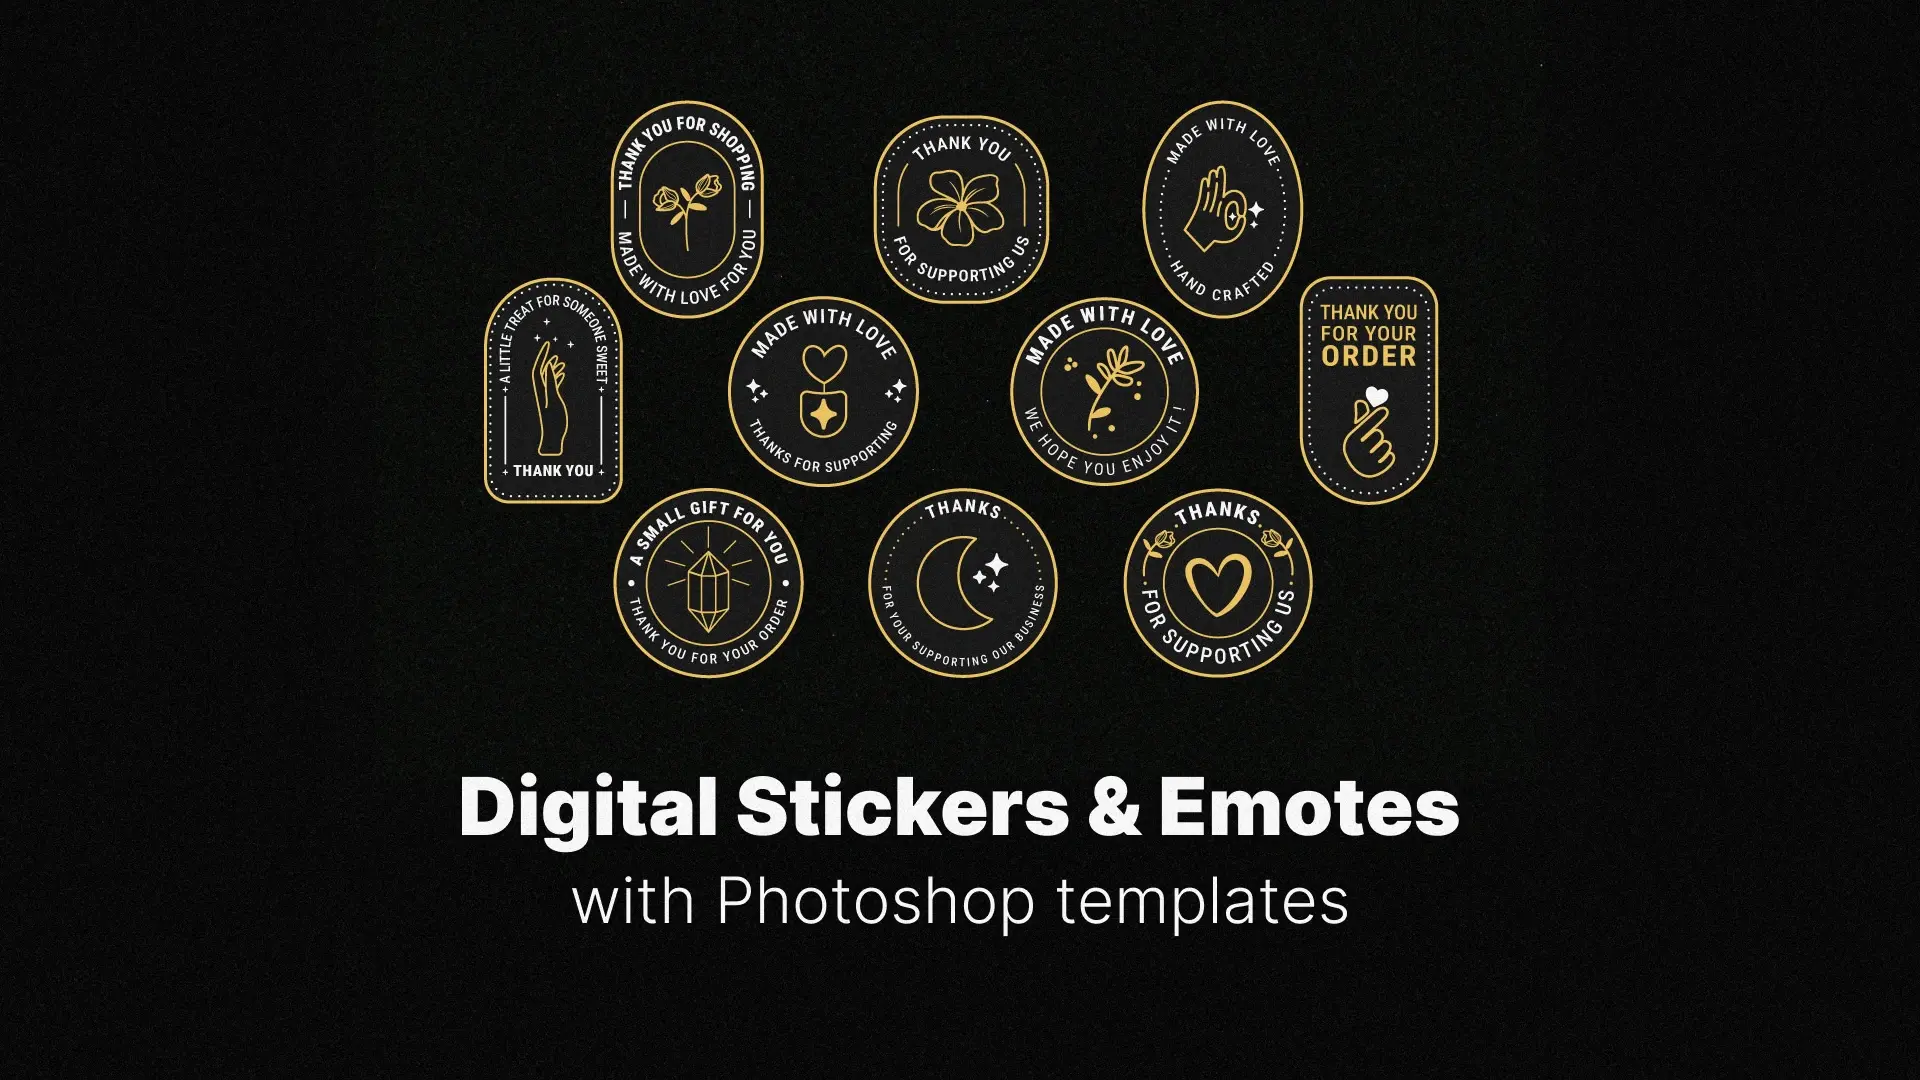
How to Design Custom Digital Stickers & Emotes for Messaging & Streaming in Photoshop
- Why Create Your Own Stickers and Emotes
- Setting Up Your Photoshop Workspace
- Sketching and Designing Your Emotes and Stickers
- Coloring and Adding Detail
- Exporting Your Stickers for Messaging and Streaming Platforms
- Creating Animated Stickers or Emotes in Photoshop
- Pro Tips for Building a Sticker or Emote Pack
In this guide, you’ll learn how to design custom stickers and emotes in Photoshop — from setting up your workspace to exporting platform-optimized files. Whether you’re creating animated Twitch emotes or static Telegram stickers, this tutorial will walk you through each step with pro tips along the way.
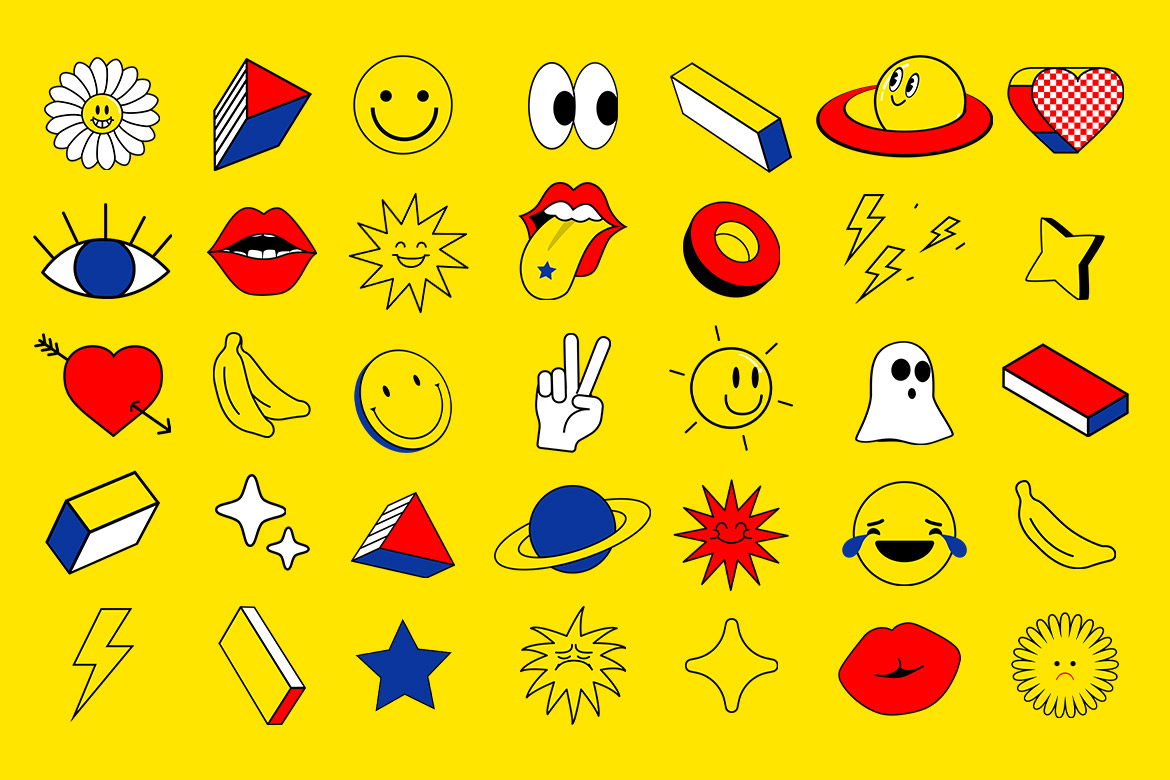
👉 Need a head start? Check out these ready-to-use, fully editable Pixflow Sticker Templates to save time and get inspired.
Professional Photoshop Templates
Why Create Your Own Stickers & Emotes?
Here are a few reasons to start designing:
- Brand Consistency: Streamers and creators can maintain visual branding across platforms.
- Audience Engagement: Emotes make your channel feel more interactive and lively.
- Creative Freedom: Skip the limitations of generic packs by designing stickers exactly how you want them.
- Revenue Opportunities: Sell emote or sticker packs as digital products.
Whether it’s designing Discord emotes in Photoshop or making a unique sticker set for WhatsApp, owning the process lets you stand out in a crowded digital world.
Setting Up Your Photoshop Workspace
Recommended Settings for Digital Stickers & Emotes:
- Canvas Size: 500×500 to 112×112 pixels for emotes (Twitch sizes), 512×512 pixels for stickers
- Resolution: 300 DPI for high-quality exports
- Color Mode: RGB (for digital use)
- Background: Transparent — set it using the layer options or when creating a new file
💡 Use guides and grids to align your artwork and maintain visual balance.
Sketching and Designing Your Emotes & Stickers
Design Tips:
- Keep it Simple: Especially for emotes, clarity at small sizes is key.
- Use Clean Lines: A solid outline helps your design pop, especially on darker backgrounds.
- Facial Expressions: Emotes are all about emotion — exaggerate expressions for better impact.
- Consistent Style: If you’re creating a pack, use the same brush, color palette, and design style.
Tool recommendations:
- Brush Tool (B): For sketching and inking
- Pen Tool (P): For smooth curves and precise control
- Eraser & Layer Masks: For non-destructive edits
- Layer Styles: Add stroke or glow effects to give your sticker depth and visibility
Coloring and Adding Detail
Best Practices for Coloring in Photoshop:
- Use Separate Layers: Keep color and line art on different layers for flexibility.
- Flat Color First: Lay down base colors before adding shadows and highlights.
- Shading: Use soft brushes with low opacity to create a subtle dimensional effect.
- Outlines: Apply a stroke using Layer Style > Stroke for a clean sticker edge.
- Highlights/Glow: Emphasize with Outer Glow or Soft Light layers to draw attention.
Quick Tip: Stick to a limited palette and avoid gradients if designing for emotes, which are usually shown at small resolutions.
Exporting Your Stickers for Messaging and Streaming Platforms
For Messaging Apps (WhatsApp, Telegram, iMessage):
- File Format: PNG (transparent)
- Size: 512×512 pixels
- Max File Size: Under 500KB for Telegram, around 100KB for WhatsApp
For Streaming Platforms (Twitch, Discord):
- Twitch Emote Sizes: 112×112, 56×56, 28×28 px
- Discord: 128×128 px (auto resized)
- Animated Stickers: Export as .GIF or .APNG (for Telegram or Discord Nitro)
Export Tips:
- Use File > Export > Save for Web (Legacy) to reduce file size without quality loss.
- Always check against platform guidelines to ensure compatibility.
- Name files clearly (e.g., laugh_emote.png, wave_sticker.png) for easy upload.
📦 Want to skip the setup and jump into customizing? Download ready-made Photoshop sticker templates on Pixflow.
Creating Animated Stickers or Emotes in Photoshop
How to Create a Simple Animated Emote:
- Open the Timeline panel (Window > Timeline)
- Create Frame Animation
- Duplicate frames and adjust layers for movement
- Set frame delay (e.g., 0.1 sec)
- Export as GIF (File > Export > Save for Web) or as video for social media
Pro Ideas for Animation:
- Eye blinking
- Waving hand
- Color pulsation or glowing effect
- Emoji-style bouncing
Keep it subtle — emotes are viewed quickly and in small sizes. Avoid over-complication.
Pro Tips for Building a Sticker or Emote Pack
Best Practices:
- Use a Consistent Template: Maintain sizing and spacing across your designs.
- Design for Emotion: Create a variety — happy, sad, excited, rage, LOL, etc.
- Create a Master File: Store all sticker layers in one Photoshop file for quick batch exports.
- Test on Devices/Platforms: Preview how they appear on mobile, web, or dark/light UIs.
🧠 Bonus Tip: If you’re creating emotes for Twitch or Discord, ask your community for ideas — this boosts engagement and makes the designs more meaningful.
Conclusion
So go ahead — sketch, color, export, and animate! Let your creativity run wild and fill your digital space with personality-packed visuals.
And if you’re in a hurry or want professional starting points, don’t forget to check out the ready-to-use Pixflow sticker templates to bring your designs to life effortlessly.
Disclaimer : If you buy something through our links, we may earn an affiliate commission or have a sponsored relationship with the brand, at no cost to you. We recommend only products we genuinely like. Thank you so much.
Write for us
Publish a Guest Post on Pixflow
Pixflow welcomes guest posts from brands, agencies, and fellow creators who want to contribute genuinely useful content.
Fill the Form ✏
