How to Edit a Music Video in Premiere Pro: Go From Beginner to Pro

- Preparation is Key
- Syncing Your Footage to the Music
- Cutting and Editing to the Beat
- Enhancing Your Edit with Transitions and Effects
- Incorporating B-Roll and Additional Footage
- Giving Your Video a Professional Look
- Polishing Your Audio
- Exporting Your Final Music Video
- Pro Tips for a Seamless Workflow
Adobe Premiere Pro stands out as one of the most powerful tools for video editing, trusted by both beginners and industry professionals alike. Whether you’re creating a performance-based video, a narrative-driven story, or a montage filled with energetic cuts, this guide will walk you through how to edit a music video in Premiere Pro step-by-step.
You’ll learn everything from syncing footage and cutting to the beat, to using creative transitions, color grading, and mastering your export. By the end of this tutorial, you’ll be on your way to crafting professional-looking music videos—even if you’re just starting out.
If you need ready-made transitions, title animations, and overlays, check out our Premiere Pro video templates here.
Professional Premiere Pro Templates
Preparation is Key (Before You Start Cutting)
Understand Your Footage
First, check your source material: frame rate, resolution, and format. Mismatched settings can lead to stutters or poor-quality renders later on. Standard frame rates for music videos often range from 24fps (cinematic) to 30fps or even 60fps for slow-motion shots.
Organize Your Project Files
A clean project is a productive project. Create folders for:
- Footage
- Audio
- B-roll
- Graphics and overlays
- Exports
Use Premiere Pro’s Project Panel to mirror this structure so you can quickly find and manage assets.
Importing Footage and Setting Up Your Sequence
Drag your clips into Premiere Pro or use the Media Browser. Make sure your sequence matches your desired output (e.g., 1920×1080, 24fps). You can also right-click a clip and choose “New Sequence from Clip” for automatic settings.
💡 Need high-quality visuals for your next music video edit? Browse Premiere Pro video templates here for ready-made intros, effects, and transitions.
Syncing Your Footage to the Music
Automatic vs. Manual Syncing
- Automatic Syncing: If you recorded with a clapperboard or had clean audio on your camera and audio recorder, use Premiere Pro’s Merge Clips or Synchronize feature.
- Manual Syncing: Use the audio waveform to align peaks in your music and video. Add markers at key points (like drum hits or vocal starts) to help you line things up.
Working With Multiple Takes or Angles
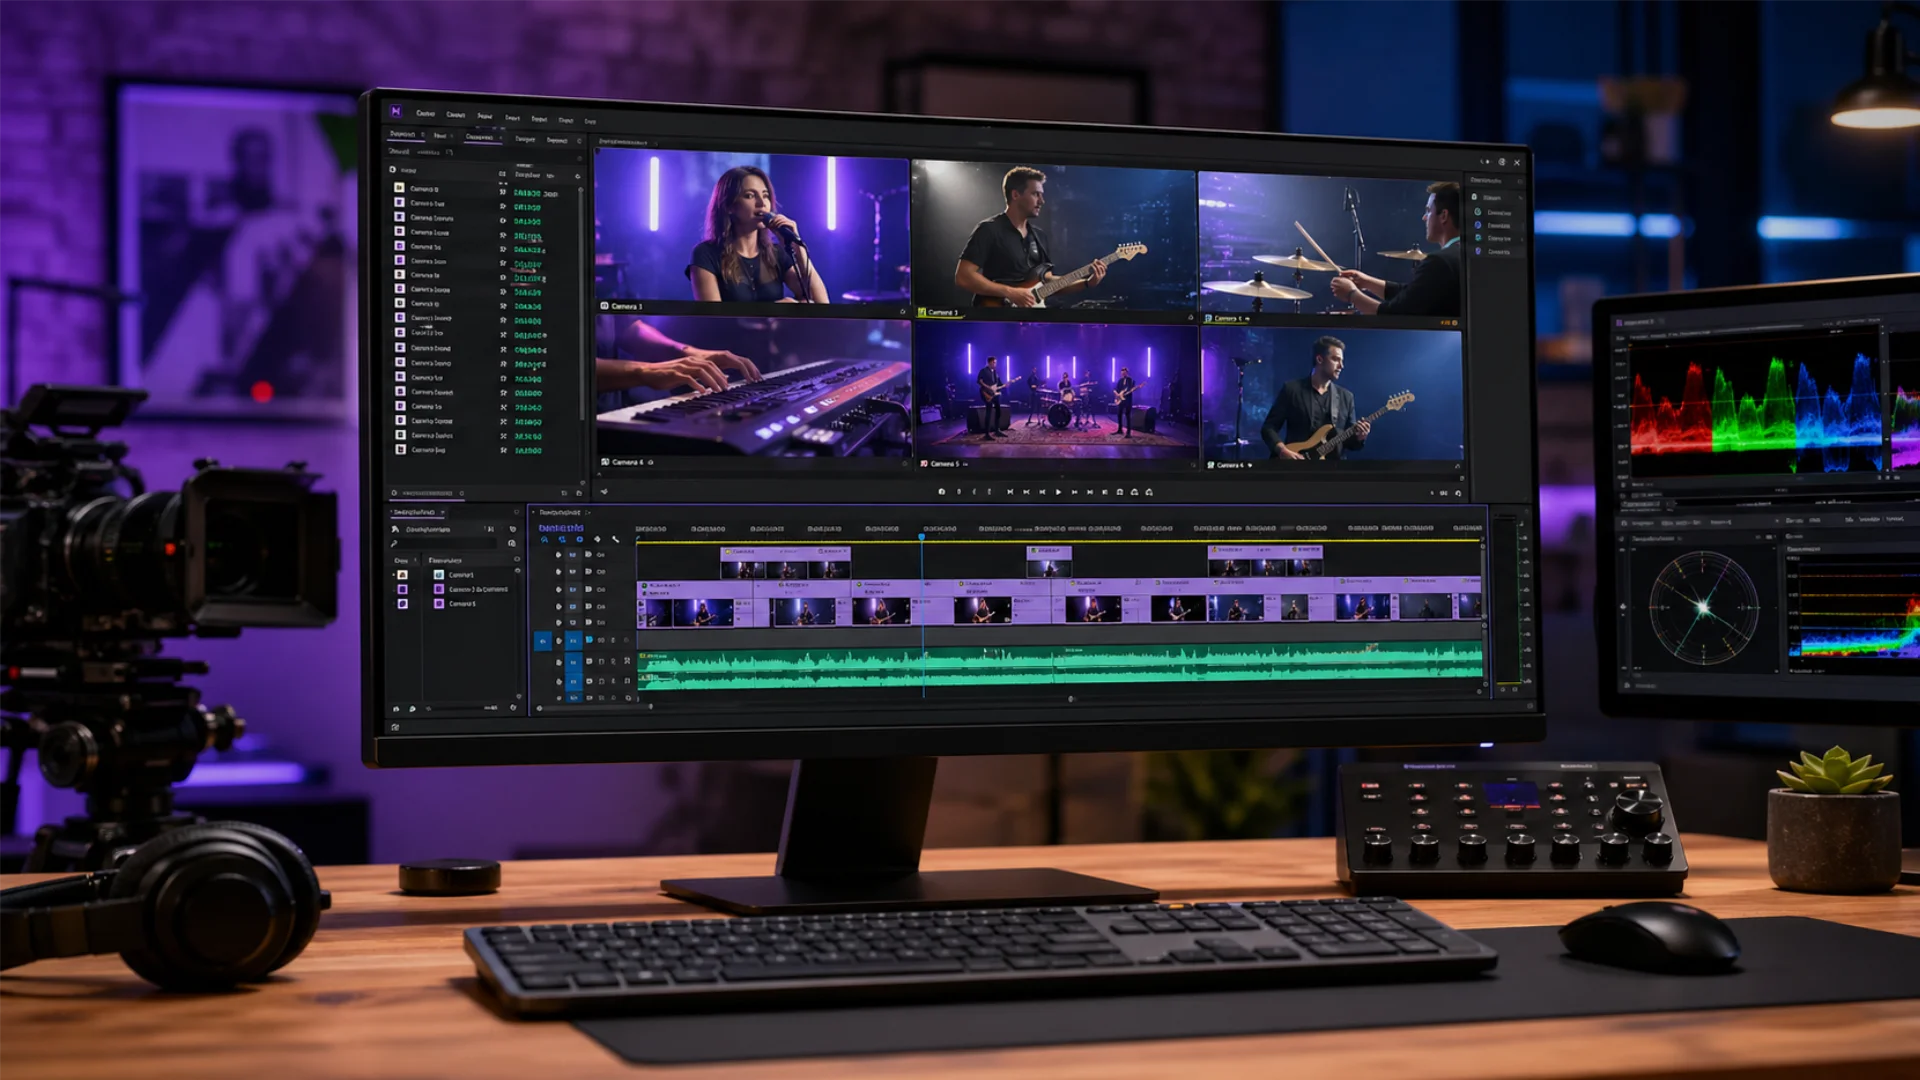
Use multi-camera editing in Premiere Pro to streamline the process. Group your synced angles into a multi-cam sequence and cut between them in real-time.
🤔 How can I sync music and video in Premiere Pro for a music video? Use markers and waveforms to manually align performance footage or let Premiere do the heavy lifting using synchronized clips.
Cutting and Editing to the Beat
Mark the Beats
Use the M key to add markers on the timeline where beats drop. Listen to the music and tap along, placing visual cues for cuts.
Trim, Ripple, and Razor Tools
Mastering basic cutting tools like the Razor Blade (C), Trim Edit (T), and Ripple Edit (B) allows you to keep your edit tight and rhythmic. Use fast cuts on high-energy songs and longer takes for emotional moments.
💡 What is the best way to cut music video footage to the beat in Premiere Pro? Mark the beats, then match your cuts to those markers using ripple or trim edits for clean transitions.
Enhancing Your Edit with Transitions and Effects
Creative Transitions
Go beyond standard cross dissolves. Try:
- Zoom transitions
- Glitch effects
- Whip pans
These are especially effective when cutting to the beat. Don’t overuse them—transitions should support the rhythm, not distract from it.
Visual Effects (VFX)
Use Premiere Pro effects for music videos like:
- Flash effect
- Liquid distortions
- Motion blur
- 3D camera moves
Pixflow’s creative packs can help add unique stylized looks. Check out Pixflow’s effects templates for Premiere Pro to get inspired.
Incorporating B-Roll and Additional Footage
Use B-Roll to Tell a Story
Add footage of the artist preparing, interacting with the environment, or symbolic cutaways to strengthen the narrative.
Integrate Seamlessly
Overlay B-roll on top of performance clips or cut between them using beat-synced timing. Adjust color and scale for visual harmony.
🧠 Adding B-roll to a music video in Premiere Pro is as simple as dragging clips to a new track—but timing and color matching make all the difference.
Giving Your Video a Professional Look (Color Correction and Grading)
Color Correction vs. Grading
- Correction: Fix exposure, white balance, and contrast.
- Grading: Add creative tone—moody, warm, vintage, etc.
Use the Lumetri Color panel to balance and enhance your clips. Start with basic adjustments, then add LUTs or custom looks.
❓ How do I color grade a music video in Premiere Pro to get a professional look? Begin with correction, then layer mood and tone using LUTs or manual adjustments.
Polishing Your Audio (Basic Sound Design)
Balance Your Mix
- Keep the music slightly louder than voice clips (if any).
- Use keyframes to dip volume under dialogue or effects.
Add Subtle SFX
If you added VFX (e.g., glitches or camera impacts), match them with sound effects for extra punch.
✨ Ensure your music video’s audio is clean, consistent, and impactful. Premiere Pro lets you adjust gain, EQ, and fade levels with precision.
Exporting Your Final Music Video
Recommended Export Settings
For YouTube and social media, use:
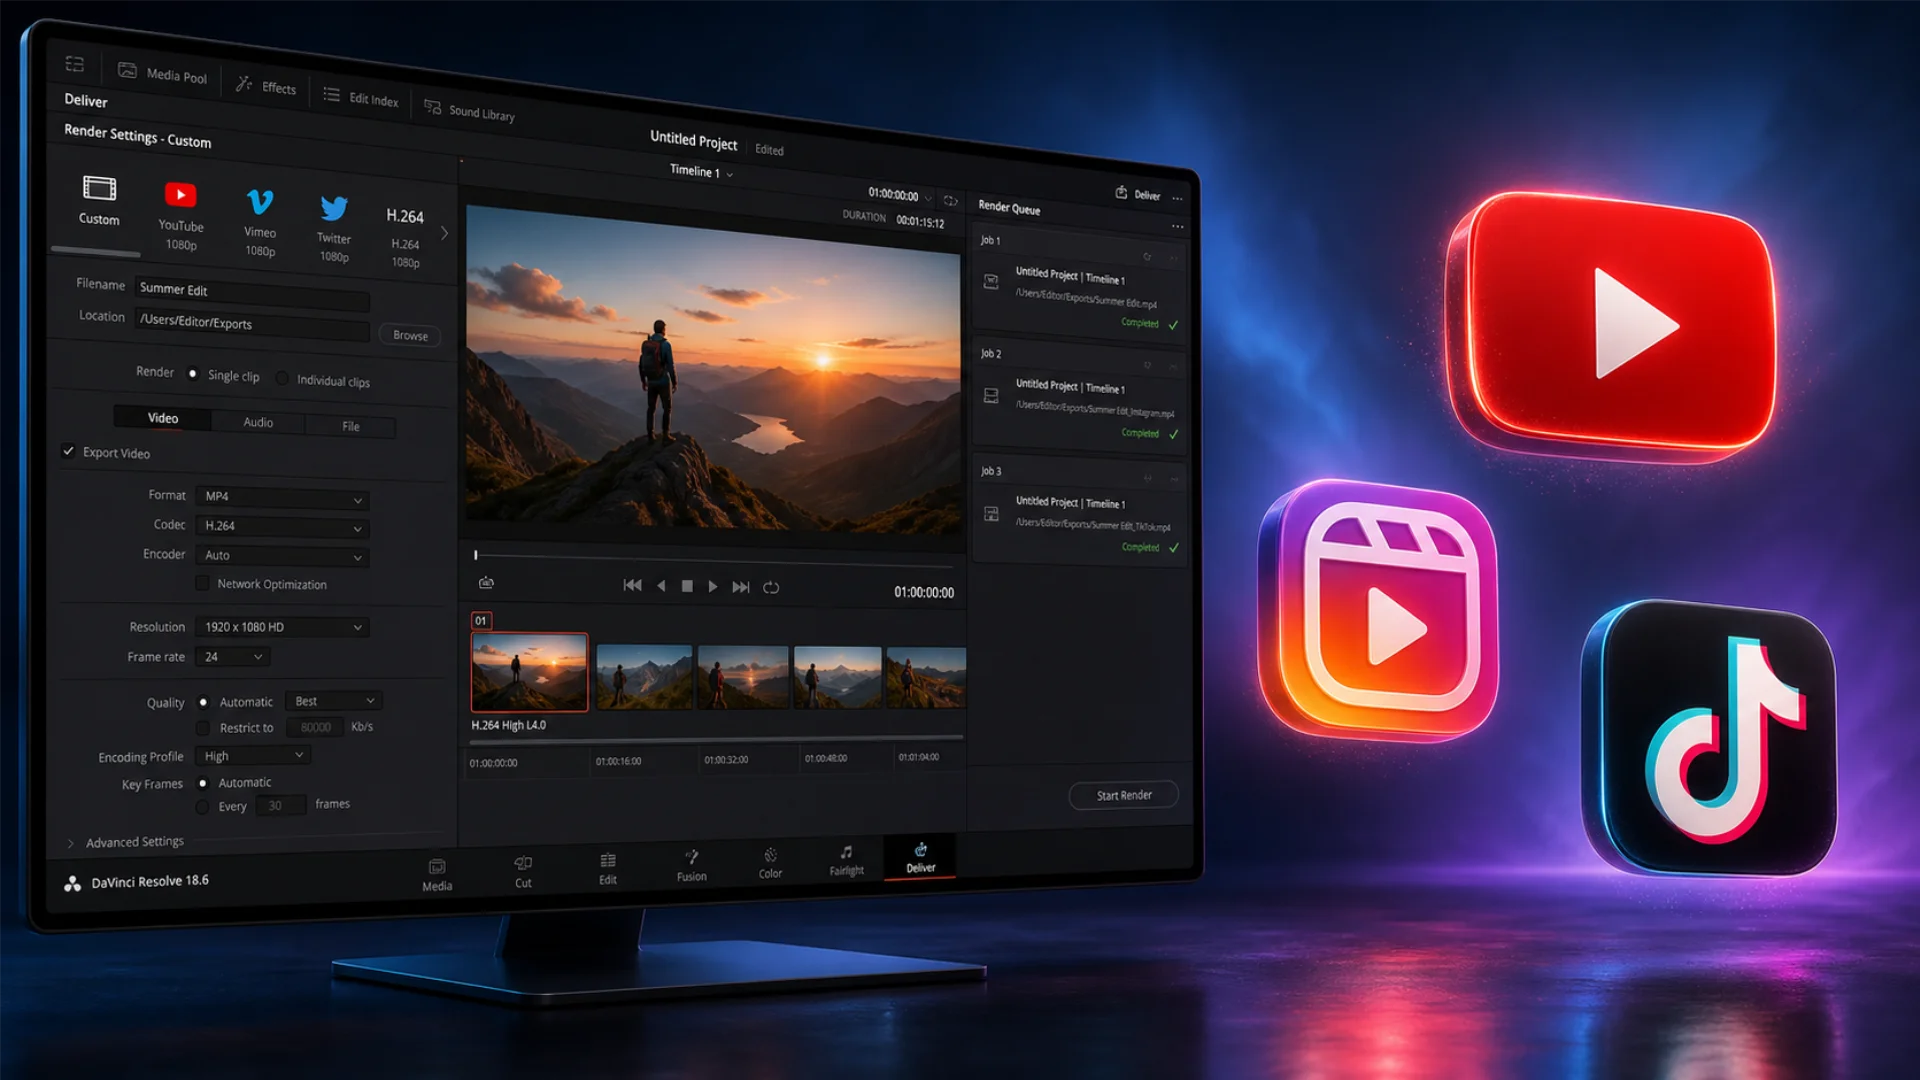
- Format: H.264
- Preset: YouTube 1080p Full HD (or 4K if applicable)
- Bitrate: VBR 2-pass for quality
Make sure to match your original resolution and frame rate to avoid distortion or blurring.
QuickTime for Pro Deliverables
Use ProRes 422 or similar when delivering to clients, TV, or high-quality playback scenarios.
💡 What are the recommended export settings for a music video in Premiere Pro? H.264, high bitrate, and correct resolution are key for sharp, shareable content.
Pro Tips for a Seamless Workflow
- Stay organized from import to export.
- Learn and customize keyboard shortcuts (e.g., J, K, L for playback; Q and W for ripple trim).
- Save frequently and enable auto-save.
- Don’t edit in a vacuum—get feedback and iterate.
Conclusion
Remember, practice is key. Don’t be afraid to experiment with different styles, effects, and pacing. Over time, you’ll develop a signature editing voice that sets your work apart.
Have you edited your first music video using this guide? Share it with us or tag us online—we’d love to see what you create! And if you want even more editing power, be sure to check out these Premiere Pro templates to speed up your workflow and add polished, pro-level assets to your projects.
Disclaimer : If you buy something through our links, we may earn an affiliate commission or have a sponsored relationship with the brand, at no cost to you. We recommend only products we genuinely like. Thank you so much.
Blog Label:
- Advanced editing effects Premiere Pro
- Color grading music video Premiere Pro
- Cut music video to beat Premiere Pro
- Edit music video Premiere Pro
- How to edit music video Premiere Pro
- Music video editing tutorial Premiere Pro
- Premiere Pro
- Sync music video Premiere Pro
- Video editing
- Video editing techniques

Write for us
Publish a Guest Post on Pixflow
Pixflow welcomes guest posts from brands, agencies, and fellow creators who want to contribute genuinely useful content.
Fill the Form ✏


