How to Make a Split Screen Video in After Effects: The Ultimate Guide

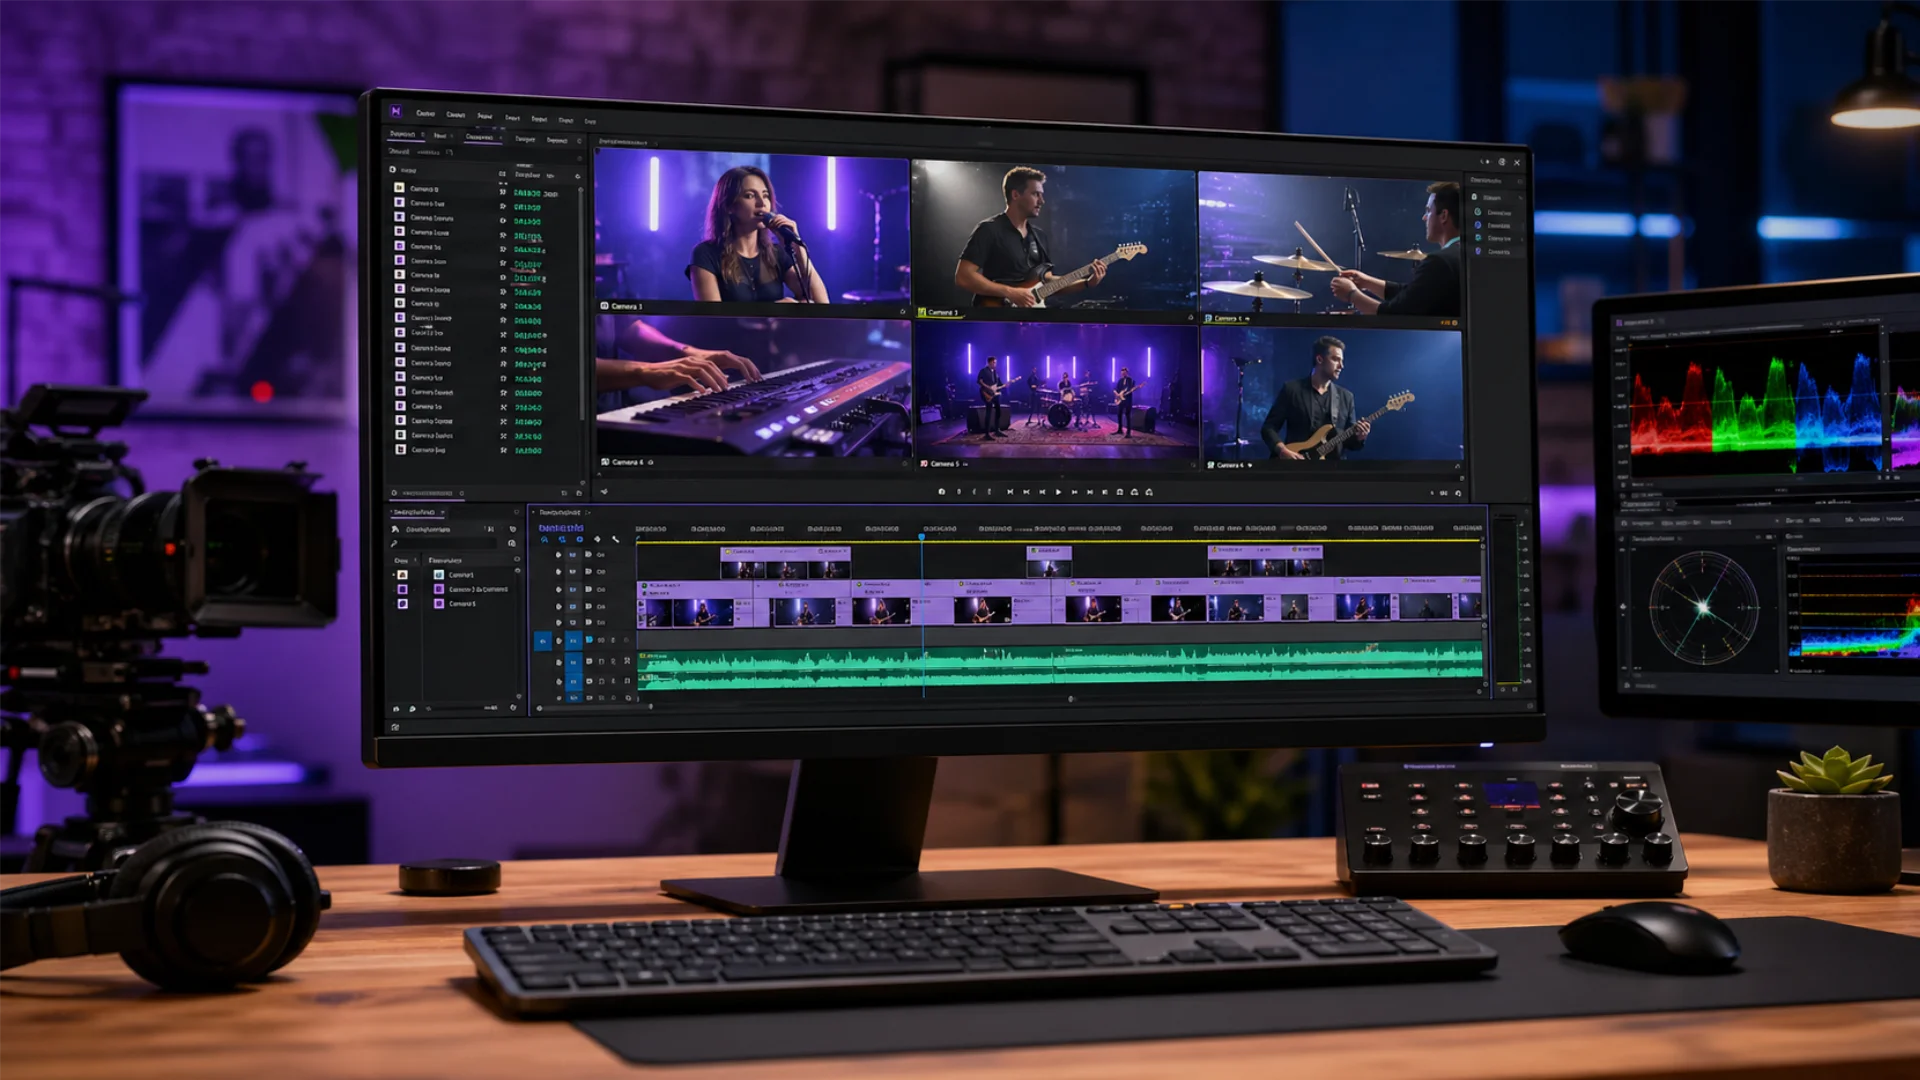
A split-screen effect is where two or more video clips are shown simultaneously within the same frame. It’s a powerful tool used in everything from cinematic sequences and video podcasts to comparison videos and tutorials. The result? More engaging, more informative, and often, more visually compelling content.
If you’re wondering how to make a split-screen video, you’re in the right place. In this guide, we’ll walk you through every step using Adobe After Effects, a professional tool trusted by video editors worldwide. Whether you want to create a clean two-way split for a YouTube interview or a dynamic multi-frame promo for your brand, split screen in After Effects gives you complete control over layout, animation, and effects.
🎥 Want to speed up your process? Explore ready-made After Effects templates that include pre-designed split-screen layouts—perfect for creators looking to save time while keeping things pro.
Professional After Effects Templates
Understanding the Basics
At its core, a split-screen divides the frame into two or more sections, each displaying a different video simultaneously. Whether you’re aiming to compare two scenes, show parallel actions, or enhance storytelling with contrasting visuals, the split-screen effect gives you the freedom to do it all in one composition.
Why Use Split Screens?
- Show multiple perspectives at once
- Compare different moments in time or space
- Add energy and rhythm to edits
- Perfect for tutorials, interviews, music videos, and more
Key After Effects Concepts to Know
To start building a split-screen video, you’ll need a basic understanding of the following After Effects fundamentals:
- Compositions: Think of these as your timeline canvas. Each composition can contain layers of video, audio, and effects.
- Layers: Every video or visual element sits on its own layer, which can be edited independently.
- Transform Properties: These include position, scale, rotation, and opacity, and are crucial for resizing or placing each video section where it needs to be.
Mastering these basics will set you up for success when creating both simple and advanced split-screen designs.
Creating a Basic Split-Screen Effect in After Effects
Step 1: Import Your Video Clips
Open After Effects and import the video files you plan to use:
- Go to File > Import > File…
- Select your video clips
- Drag them into the Project Panel
Step 2: Create a New Composition
- Click on New Composition
- Set your desired resolution (e.g., 1920×1080) and duration
- Click OK
Step 3: Add Your Videos to the Composition
Drag both video clips from the Project Panel into your composition timeline. You’ll see them stacked in layers.
Step 4: Resize and Reposition Video Layers
Now, time to split the video in After Effects:
- Select each video layer and press S to bring up the Scale property.
- Reduce the scale to fit half of the screen (usually 50%).
- Press P to adjust the Position property and move each video to either side of the screen.
You now have a clean, basic split screen in After Effects!
Advanced Split-Screen Techniques
1. Split Screens with More Than Two Videos
Want to show multiple videos at once—like a grid of reactions or simultaneous angles? Here’s how:
- Use a 4-way or 9-way grid by scaling each clip down (e.g., 50% or 33.3%) and repositioning them strategically.
- Use the Align panel to evenly space the clips for a clean, professional layout.
This is one of the best ways to use the split screen effect After Effects offers—perfect for collaborative videos or video showcases.
2. Using Masks for Unique Shapes
Forget rectangles. Use masks to split the screen with diagonal lines, circles, or even custom paths:
- Select a video layer, use the Pen Tool (G) to draw a custom shape
- Animate the mask path for transitions or reveals
This adds a stylish twist and helps you create a dynamic split screen effect in After Effects.
3. Animating Split Screen Elements
Bring your layout to life by animating how clips enter the screen:
- Use position keyframes to slide each clip in
- Add scale animations for a zoom-in effect
- Combine with motion blur for a cinematic feel
4. Borders, Strokes, and Visual Enhancements
To give each frame breathing room, add borders:
- Create a new solid layer or shape layer between clips
- Use the Stroke effect or shape outlines to stylize it
- You can even add glitch effects or glow for more flair
📦 Want professionally designed assets to accelerate this? Grab some high-quality tools from Pixflow’s After Effects library that support advanced layouts and animation presets.
Optimizing Your Split Screen
1. Syncing Audio Across Clips
A common challenge: “How do I sync audio in a split screen After Effects project?”
- Use audio waveforms to align speech or beats visually.
- If multiple audio sources are playing, adjust volumes or mute secondary tracks to maintain clarity.
- Alternatively, sync all clips to a master audio track for cohesion.
2. Export Settings for Split-Screen Videos
When exporting, you want your final file to maintain crisp resolution and smooth playback:
- Use the H.264 codec for high-quality MP4 exports.
- Set your output resolution to match your comp (e.g., 1920×1080).
- Use CBR (Constant Bit Rate) between 10-15 Mbps for web delivery.
3. Professional Tips
- Add subtle color grading to each video to match tones
- Use guides to align videos perfectly—no jagged spacing
- Test playback on different screen sizes for responsive viewing
Troubleshooting and Common Issues
1. Uneven or Misaligned Borders
Problem: You see thin black lines or inconsistent spacing between your clips.
Solution:
- Zoom in to 400% and adjust the Position values precisely.
- Use guides or the Align panel for pixel-perfect alignment.
- If necessary, create a border using a solid or shape layer to mask imperfections.
🔎 A common question is: “How do I fix the black lines in my After Effects split screen?” The answer usually lies in either adjusting scale/position decimals or covering gaps with custom dividers.
2. Resolution Issues or Blurry Video
Problem: One or more video panels look blurry after resizing.
Solution:
- Make sure the Scale property doesn’t exceed 100% (avoid upscaling).
- Use high-resolution footage whenever possible.
- Check that your Render Settings are set to Full Quality.
3. Split Screen Not Working or Clipping
Problem: Your videos aren’t visible or they’re getting cut off.
Solution:
- Check Layer Order—your clips may be hidden beneath others.
- Ensure you haven’t accidentally masked or cropped them.
- Look out for accidental Track Mattes or effects that obscure footage.
Creative Ideas and Inspiration
1. Genre-Based Split Screen Ideas
- Tutorials: Show the instructor on one side, and the demo or screen capture on the other.
- Music Videos: Sync performance shots with B-roll or behind-the-scenes clips.
- Interviews: Place the interviewer and guest side by side in real-time.
- Before/After Comparisons: Show transformation progress across timelines.
- Gaming Content: Display player facecam on one side and gameplay footage on the other.
2. Style & Animation Concepts
- Vertical split screens for TikTok-style or mobile-friendly content.
- Picture-in-picture overlays for commentary or feedback videos.
- Masked transitions between panels that animate in unique shapes.
- Glitch transitions for tech-themed or music-heavy edits.
💡 Curious how others use these styles? Explore templates from Pixflow’s After Effects collection to get fresh layout and animation inspiration.
Conclusion
Now it’s your turn. Experiment. Innovate. Break the rules creatively. Whether you’re aiming for a clean professional layout or an edgy, animated aesthetic—split screen compositions give you a canvas to do more.
Disclaimer : If you buy something through our links, we may earn an affiliate commission or have a sponsored relationship with the brand, at no cost to you. We recommend only products we genuinely like. Thank you so much.

Write for us
Publish a Guest Post on Pixflow
Pixflow welcomes guest posts from brands, agencies, and fellow creators who want to contribute genuinely useful content.
Fill the Form ✏


