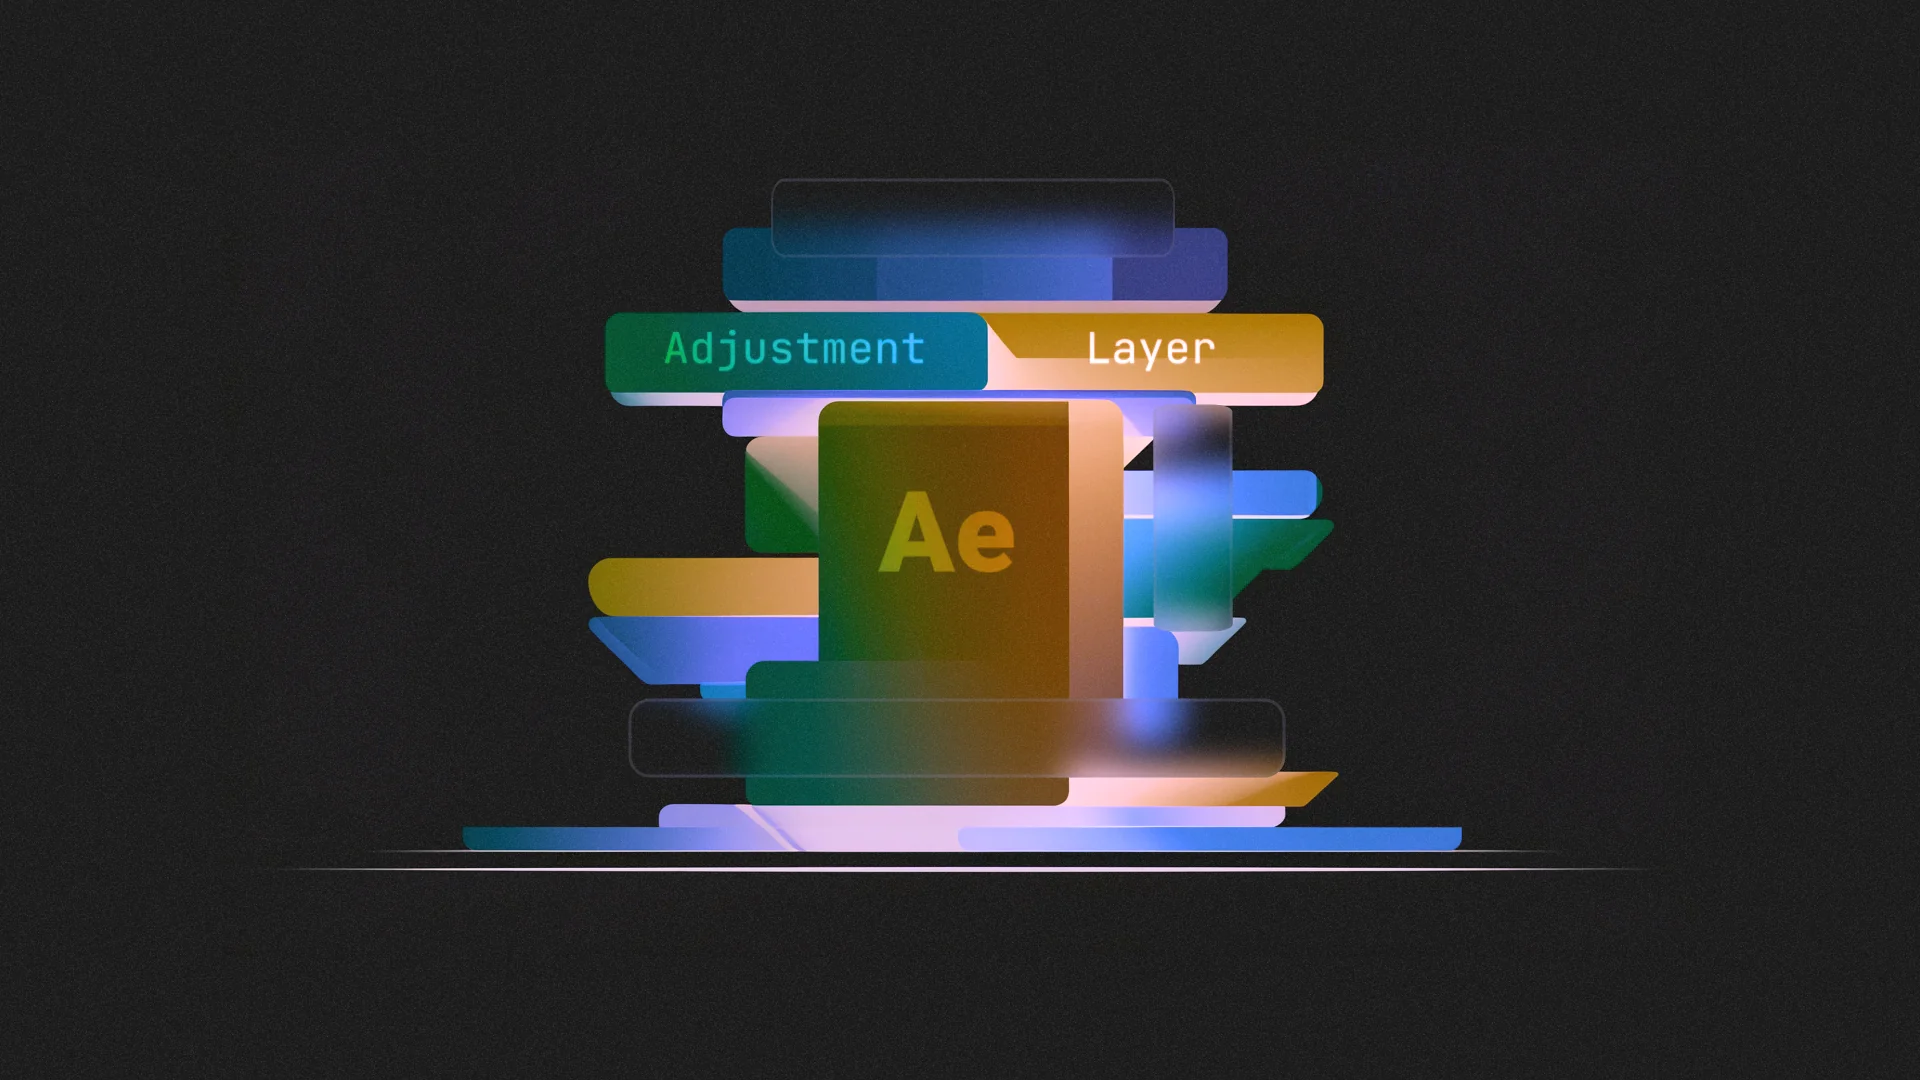
How to Master Adjustment Layers in After Effects: A Beginner’s Guide
What Are Adjustment Layers in After Effects?
Overview
Adjustment layers in After Effects are powerful tools that allow editors to apply effects to multiple clips simultaneously. Acting as a blank canvas, adjustment layers can be positioned on the timeline to impact all underlying layers without altering the original footage. These layers simplify complex compositions, enabling you to manage and fine-tune visual effects effortlessly. By the way, if you’re interested in getting some high-quality video templates, check out Pixflow’s handcrafted templates here, including free and premium templates.
Key Features
One of the key benefits of adjustment layers is their versatility. Whether you’re applying color corrections or creating stylized effects, adjustment layers ensure consistency across your video project. By understanding and leveraging adjustment layers, editors can significantly enhance their workflow and creative capabilities.
Key Benefits of Using Adjustment Layers
Why They Are Indispensable
Adjustment layers offer several advantages that make them indispensable in video editing:
- Apply Effects to Multiple Clips Simultaneously: With adjustment layers, you can overlay effects across several layers without editing each individually, saving time and ensuring uniformity.
- Streamline Workflow: By grouping effects within adjustment layers, you can organize and modify your timeline more efficiently.
- Non-Destructive Editing: Adjustment layers preserve the integrity of the original footage, allowing for flexible adjustments without permanent changes.
- Create Cinematic Effects: Using adjustment layers for color grading or visual effects can elevate the quality of your videos, giving them a professional touch.
Guide to Using Adjustment Layers
Adding an Adjustment Layer
- Navigate to the Menu:
- Select Layer > New > Adjustment Layer.
- Alternatively, right-click on the timeline and choose New > Adjustment Layer.
Positioning the Adjustment Layer
- Placement:
- Drag the adjustment layer to your desired position in the timeline.
- Ensure it spans over the clips you want to affect.
Applying Effects
- Choosing Effects:
- Access the Effects & Presets panel and select your desired effect.
- Drag the effect onto the adjustment layer.
- Customize the settings in the Effects Control Panel.
Fine-Tuning the Layer
- Refinements:
- Adjust opacity, feathering, and expansion settings for precision.
- Use masks to target specific areas within the composition.
By mastering these steps, you can unlock the potential of adjustment layers and create stunning visual effects with ease.
Best Effects to Use with Adjustment Layers
Top Recommendations
Adjustment layers become even more effective when paired with the right effects. Here are some of the best effects to use:
- Tint Effect: Easily create a monochromatic or duo-toned look for a dramatic impact. Check out our duo-toned graphic templates here.
- Hue and Saturation: Adjust color properties for vibrant or stylized visuals.
- Change to Color: Seamlessly replace one color with another for targeted adjustments.
- Distortion Effects: Add creative warping or stretching effects to enhance the overall composition.
Experimenting with these effects can help you achieve a range of professional and cinematic styles.
Advanced Techniques for Adjustment Layers
Refining Your Workflow
For users looking to take their editing to the next level, here are advanced techniques to consider:
- Combining Masks with Adjustment Layers: Use masks to confine effects to specific areas of the frame, creating localized adjustments or highlighting certain elements.
- Feathering and Opacity Settings: Gradually blend effects for a seamless look by adjusting feathering and opacity controls in the effects control panel.
- Understanding Subtract and Expansion: Fine-tune the mask properties using subtract and expansion settings to control the reach and impact of effects precisely.
These advanced techniques open up possibilities for greater control and refinement, enabling you to craft sophisticated video edits.
Tips and Tricks for Professional Adjustment Layer Workflow
Maximizing Efficiency
Maximize your efficiency and output quality with these tips:
- Organize Your Timeline: Group and label adjustment layers for clarity, ensuring a streamlined editing process.
- Leverage the Effects Control Panel: Use this panel to tweak and fine-tune effects quickly, without cluttering your workspace.
- Focus on Layer Hierarchy: Remember that adjustment layers affect all layers below them on the timeline. Place them strategically for the desired impact.
By incorporating these practices into your workflow, you can ensure a polished and professional final product every time.
Conclusion
Disclaimer : If you buy something through our links, we may earn an affiliate commission or have a sponsored relationship with the brand, at no cost to you. We recommend only products we genuinely like. Thank you so much.


Write for us
Publish a Guest Post on Pixflow
Pixflow welcomes guest posts from brands, agencies, and fellow creators who want to contribute genuinely useful content.
Fill the Form ✏

