How to Speed Ramp in Premiere Pro: A Step-by-Step Tutorial for Stunning Video Effects

Speed ramping is more than just speeding up or slowing down footage—it’s a storytelling device. By varying the speed within a single clip, you can guide viewers’ attention, build suspense, or make transitions feel seamless and intentional.
Adobe Premiere Pro stands out as one of the most powerful tools for this effect. It offers precise control through time remapping and keyframes, enabling both beginners and pros to create smooth, dramatic speed ramp transitions with ease.
Professional Premiere Pro Templates
Understanding the Basics of Speed Ramping
What is Speed Ramping?
Speed ramping refers to dynamically changing the playback speed of a clip over time. Unlike static speed adjustments—where a clip is simply sped up or slowed down uniformly—speed ramps introduce gradual or sudden speed transitions within a single shot. This is done using keyframes and time remapping in Premiere Pro.
Why Use Speed Ramping for Dramatic Effects?
Speed ramps can transform basic footage into visual storytelling. Here’s how:
- Creating Emphasis: Slow down key actions to make them stand out.
- Building Tension: Gradually decrease speed to heighten suspense.
- Stylistic Flair: Combine with color grading or motion graphics for a signature style.
- Seamless Transitions: Use ramping to smooth cuts between scenes or locations.
With the right touch, even ordinary footage can become cinematic gold.
Check out these powerful plugins.
How to Speed Ramp in Premiere Pro
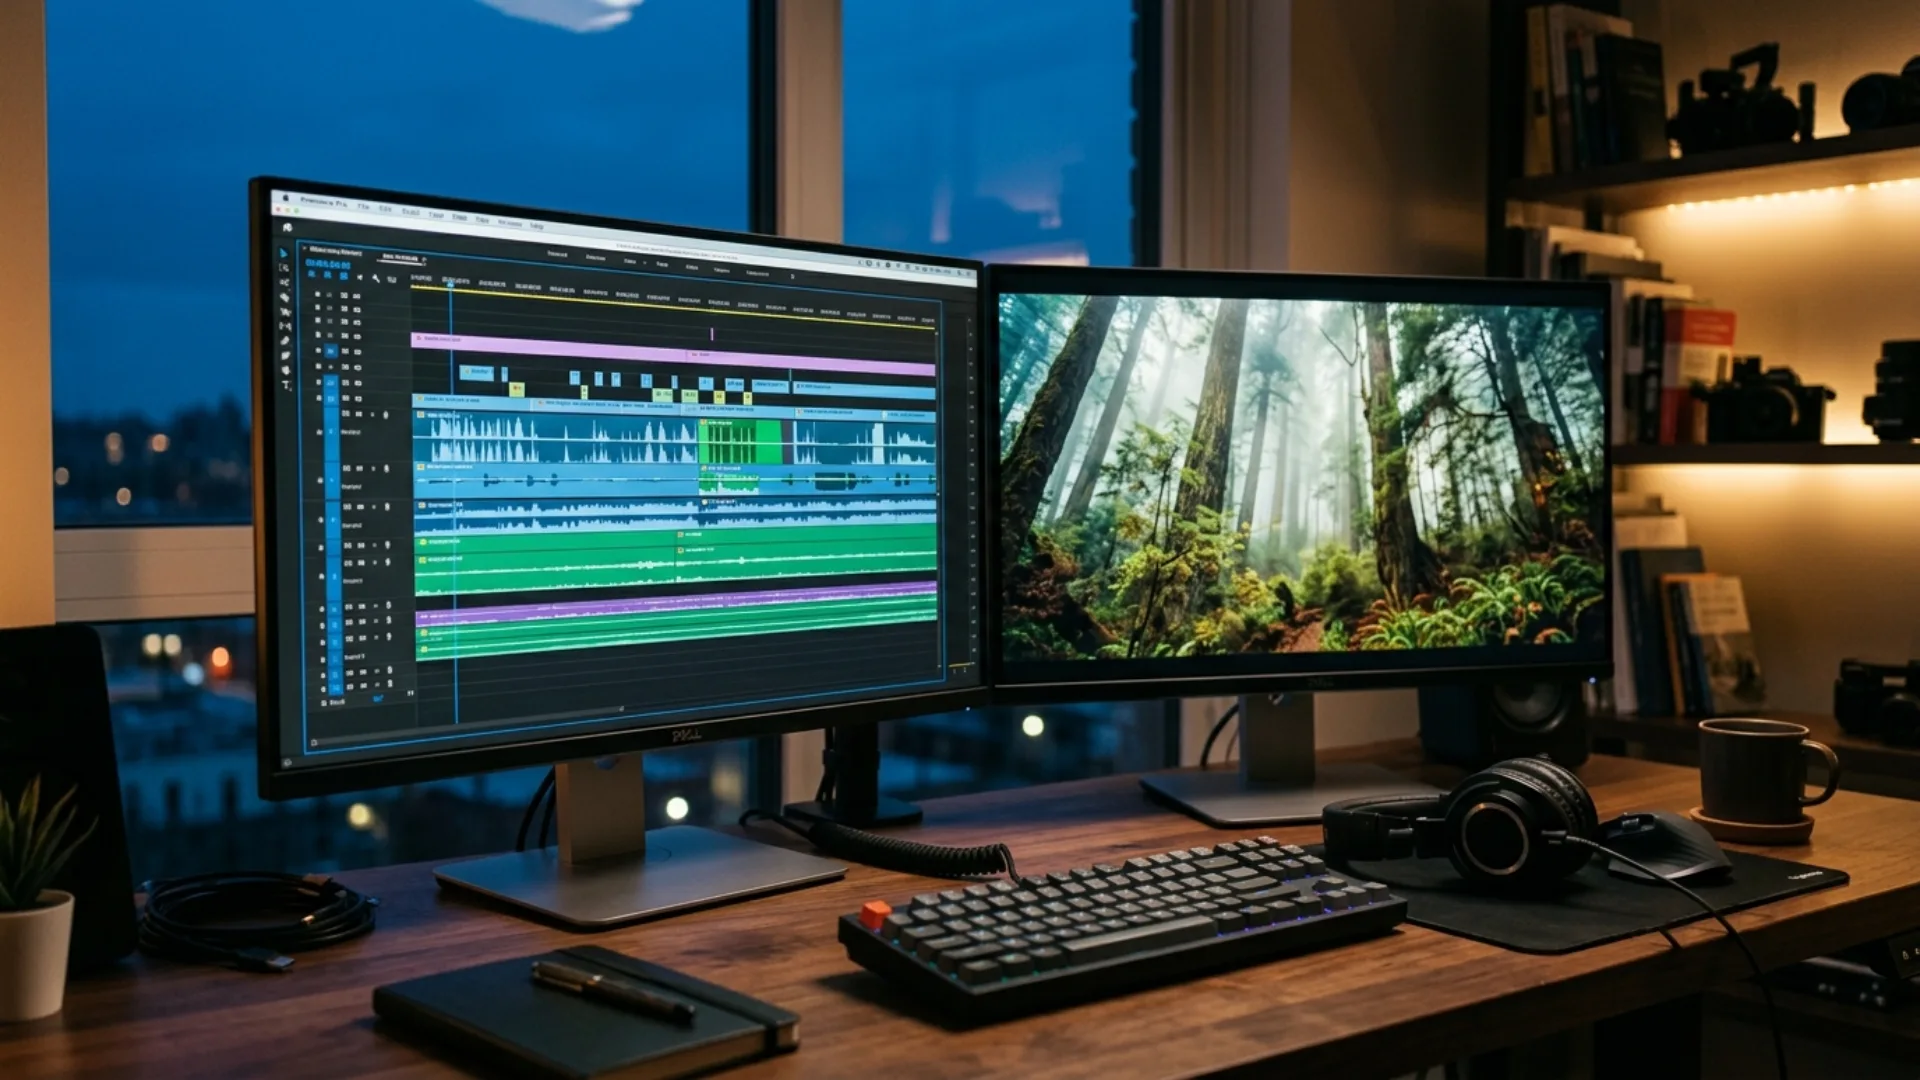
A. Importing and Preparing Your Footage
Start by launching Premiere Pro and creating a new project. Import your footage via File > Import or simply drag and drop your clips into the Project panel.
Choose clips with motion—like action shots, camera movements, or subject transitions—as these work best for dramatic speed changes. For more dynamic assets, you can also check out Premiere Pro templates here.
B. Accessing the Speed/Duration Settings
To begin editing:
- Drag your clip onto the Timeline.
- Right-click the clip and select Speed/Duration.
- Here, you can make basic speed adjustments like setting a fixed speed percentage.
But for real-time manipulation, we’ll need to go deeper.
C. Introducing Time Remapping for Dynamic Speed Changes
To unlock dynamic speed ramping:
- In the timeline, right-click the fx badge on your clip.
- Select Time Remapping > Speed.
- This reveals a white speed line across your clip—this is where the magic happens.
You can now add keyframes and manipulate playback speed over time.
D. Creating Speed Ramps with Keyframes
Here’s how to add and edit speed keyframes:
- Hold Cmd (Mac) or Ctrl (Windows) and click on the white line to add a keyframe.
- Drag the line up to increase speed or down to slow it down.
- To split a keyframe and smooth the transition, drag the two halves apart.
Strategic placement is key: ramp into or out of actions to heighten impact.
E. Smoothing Speed Ramps for a Professional Look
Raw speed changes can feel jarring. Smooth them out using Bezier handles:
- Click the speed graph’s keyframe handles.
- Drag them to curve the transition, creating gradual acceleration or deceleration.
This small tweak makes a huge difference in visual quality.
F. Experimenting with Different Speed Variations
Try different combinations:
- 200% speed into 50% slow-motion for contrast.
- Sharp cuts for edgy transitions.
- Gradual changes for cinematic mood.
There’s no one-size-fits-all—just test, tweak, and trust your eye.
Advanced Speed Ramping Techniques and Tips
A. Combining Speed Ramping with Other Effects
Pair speed ramps with:
- Lens flares
- Color grading
- Motion blur
- Transitions
Templates from this Premiere Pro template collection make it easy to layer these effects for pro-quality results.
B. Speed Ramping and Audio
Speed changes often distort audio. Here’s how to handle it:
- Use the “Maintain Audio Pitch” option in the Speed/Duration panel.
- Or unlink audio, then slow or speed it separately.
- For better results, mute distorted sections and add sound effects or music.
Audio is half the experience—don’t let speed ramping break the immersion.
C. Using Presets and Templates (Optional)
While Premiere Pro doesn’t include built-in speed ramp presets, third-party sources and marketplaces (like Pixflow) offer downloadable transitions and motion packs with pre-designed speed ramps.
D. Performance Considerations
Speed ramping—especially on high-resolution footage—can cause playback lag. To improve performance:
- Render previews using Sequence > Render In to Out
- Work with proxies for smoother editing
Creative Applications of Speed Ramping for Dramatic Effects
- Emphasizing Key Moments: Highlight a reaction or reveal by slowing the motion.
- Building Suspense: Gradually reduce speed before a climactic event.
- Creating Dynamic Transitions: Bridge scenes with sudden ramp shifts.
- Adding a Stylistic Flair: Combine ramping with bold visuals for a signature style.
- Highlighting Impact: Freeze time at the moment of collision or explosion.
These applications work well across genres—from action reels to cinematic vlogs.
Troubleshooting Common Speed Ramping Issues
- Jerky Transitions? Use Bezier handles to smooth keyframe curves.
- Distorted Audio? Unlink and edit separately or apply pitch correction.
- Lagging Playback? Use render previews or proxies for real-time editing.
Even pros run into these issues—the solution often lies in a few extra tweaks.
Conclusion
Now that you know how to speed ramp in Premiere Pro, it’s time to put it into practice. Experiment with different styles, play with timing, and make your next edit pop with motion and energy.
Try out these techniques with your footage—or speed up your process with dynamic Premiere Pro templates that already incorporate powerful ramping effects.
Disclaimer : If you buy something through our links, we may earn an affiliate commission or have a sponsored relationship with the brand, at no cost to you. We recommend only products we genuinely like. Thank you so much.


Write for us
Publish a Guest Post on Pixflow
Pixflow welcomes guest posts from brands, agencies, and fellow creators who want to contribute genuinely useful content.
Fill the Form ✏