The Ultimate Guide to Exporting Files from Adobe Illustrator
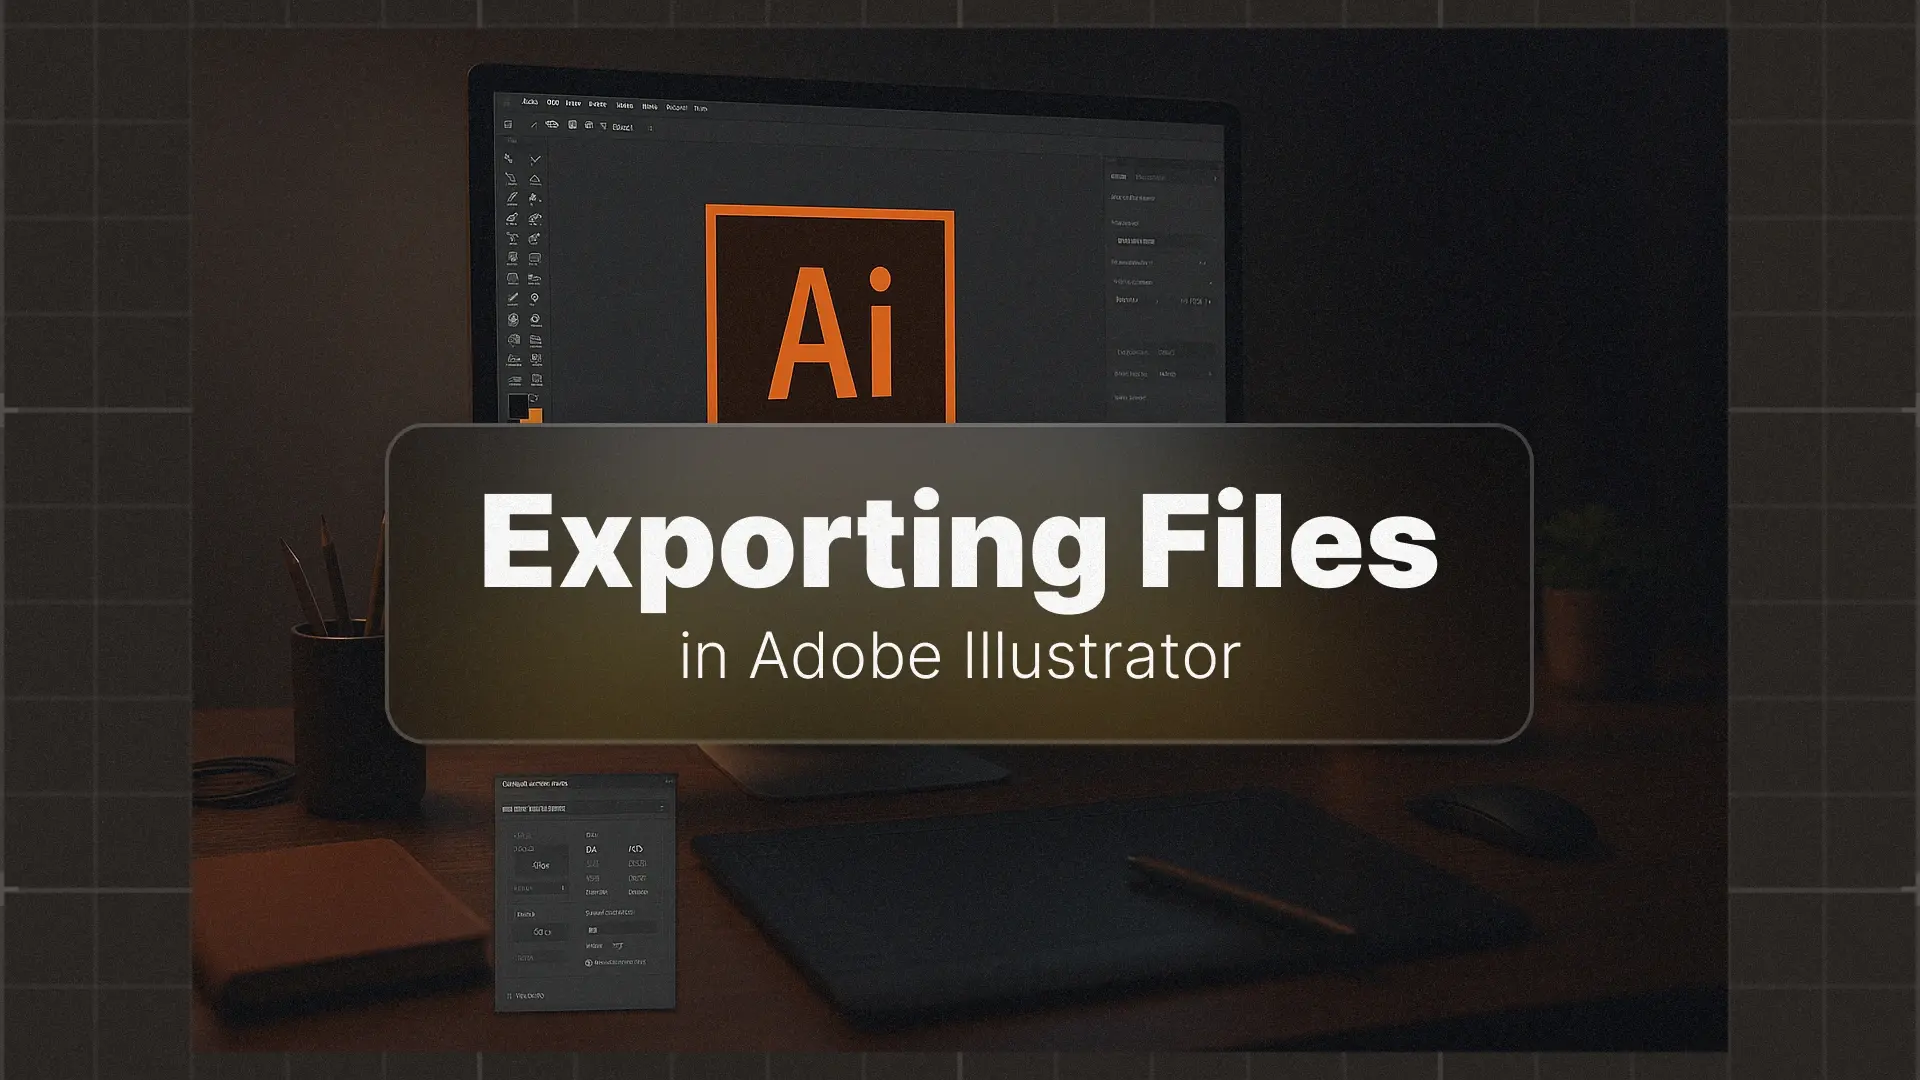
Exporting Files in Illustrator
The export process in Illustrator can feel overwhelming because of the many file formats and settings available. Should you use Save for Web, Export for Screens, or Save As? Which format is best—SVG, PNG, JPG, or PDF? And how do you make sure your design is print-ready?
This guide will make you an expert on exporting from Illustrator. We’ll demystify the different options, explain every important setting, and show you the best workflow for any situation.
Pro tip: if you want a ready-made design pack, check out these Illustrator graphic templates to speed up your workflow.
Professional Illustrator Templates

The Core Concept: Web vs. Print
RGB vs. CMYK Color Modes
- RGB (Red, Green, Blue): This color mode is optimized for screens—websites, social media, apps, and digital presentations. It’s an additive model based on light, meaning colors look vibrant and bright.
- CMYK (Cyan, Magenta, Yellow, Black): This mode is for professional printing—business cards, flyers, posters, and packaging. It’s a subtractive model based on ink, ensuring colors are accurate in physical prints.
👉 Rule of thumb: Use RGB for web, CMYK for print.
PPI vs. DPI (Resolution)
- PPI (Pixels Per Inch): Used for screens. The standard is 72 PPI, which balances quality with file size.
- DPI (Dots Per Inch): Used for printing. A high-quality print requires 300 DPI. Anything lower risks looking blurry or pixelated.

The Modern Workflow: Export for Screens & the Asset Export Panel
Why This is the Best Method for Digital
Go to File > Export > Export for Screens. This tool allows you to:
- Export multiple artboards at once.
- Generate multiple formats and resolutions automatically.
- Save assets optimized for social media, apps, and responsive web design.
This makes it the best method for web graphics and social content.
How to Use the Asset Export Panel
- Open the panel via Window > Asset Export.
- Drag objects, groups, or entire artboards into the panel.
- Choose formats like SVG, PNG @1x, PNG @2x, or JPG.
- Export them all in one click.
This is incredibly useful if you’re working on UI kits, icons, or branding packages.
Pro tip: if you want a ready-made design pack, check out these Illustrator graphic templates to speed up your workflow.
When to Use Save for Web (Legacy)
Although it’s labeled “Legacy,” Save for Web is still valuable. Use it when:
- Exporting a single image with precise file size control.
- Previewing optimization results in real-time (e.g., a website hero image).
Choosing the Right File Format: A Cheat Sheet
SVG (Scalable Vector Graphic)
- Best for: Logos, icons, simple illustrations.
- Why: Scales infinitely with no loss in quality, lightweight file size, perfect for responsive websites.
PNG (Portable Network Graphic)
- Best for: Graphics requiring transparency (e.g., logos with no background).
- Why: High-quality raster, supports transparent background, widely supported across digital platforms.
JPG (Joint Photographic Experts Group)
- Best for: Photos or complex images where file size matters.
- Why: Compressed raster format, small file sizes, but no transparency support.
PDF (Portable Document Format)
- Best for: Professional printing.
- Why: Packages fonts, vectors, and images into a single reliable file. Standard across the print industry.
How to Create a Print-Ready PDF
The Save As Command
- Go to File > Save As.
- Select Adobe PDF as the format.
Essential PDF Settings
- Adobe PDF Preset: Choose [High Quality Print].
- Marks and Bleeds:
- Check Trim Marks.
- Enable Use Document Bleed Settings.
- Output Tab: Confirm color conversion matches printer requirements (usually CMYK).
With these settings, your file will be print-ready and professional.
Conclusion
👉 Challenge yourself: Take a recent design and export it three ways—an SVG icon, a PNG for social media, and a print-ready PDF.
If you want to speed up your workflow with ready-made design elements, explore these Illustrator graphic templates.
For a complete overview of everything Illustrator has to offer, don’t miss our ultimate guide: Mastering Adobe Illustrator: A Comprehensive Guide for Beginners and Beyond.
Disclaimer : If you buy something through our links, we may earn an affiliate commission or have a sponsored relationship with the brand, at no cost to you. We recommend only products we genuinely like. Thank you so much.

Write for us
Publish a Guest Post on Pixflow
Pixflow welcomes guest posts from brands, agencies, and fellow creators who want to contribute genuinely useful content.
Fill the Form ✏