What is Cinematic B-Roll? Premiere Pro Techniques for Stunning Video Sequences

But what exactly is B-roll? Simply put, B-roll refers to the supplemental footage that supports your main shots, known as A-roll. It’s what fills in the gaps, hides jump cuts, enhances visual storytelling, and keeps your audience visually engaged.
To create B-roll that truly enhances your videos, you need the right tools and techniques. That’s where Adobe Premiere Pro comes in. This industry-standard editing software offers a powerful timeline, deep control over effects and transitions, and precision tools for audio, color, and movement—all essential for cinematic B-roll editing.
In this guide, we’ll walk you through the best B-roll editing techniques in Premiere Pro—from organizing your footage and building timelines to applying smooth transitions, sound syncing, and visual enhancements. By the end, you’ll have a clear roadmap to transform raw footage into dynamic, story-rich sequences.
Looking for ready-made assets to enhance your B-roll work? Explore Pixflow’s stunning Premiere Pro templates to jumpstart your edits.
Professional Premiere Pro Templates
Understanding the Fundamentals of B-Roll
There are different types of B-roll, each serving a unique purpose:
- Contextual B-roll: Provides background and setting.
- Cutaway B-roll: Used to cover cuts or edits in the A-roll.
- Insert shots: Focus on specific details or actions.
- Dynamic B-roll: Includes slow motion, drone footage, or stylized visuals.
You can also generate cinematic B-roll with Runway ML when you can’t shoot it in-camera.
The key to effective B-roll starts before you even open Premiere Pro: planning and shooting with intent. Ask yourself what visuals will help tell the story better or smoother. When done right, B-roll footage adds layers of meaning and keeps your viewer immersed.
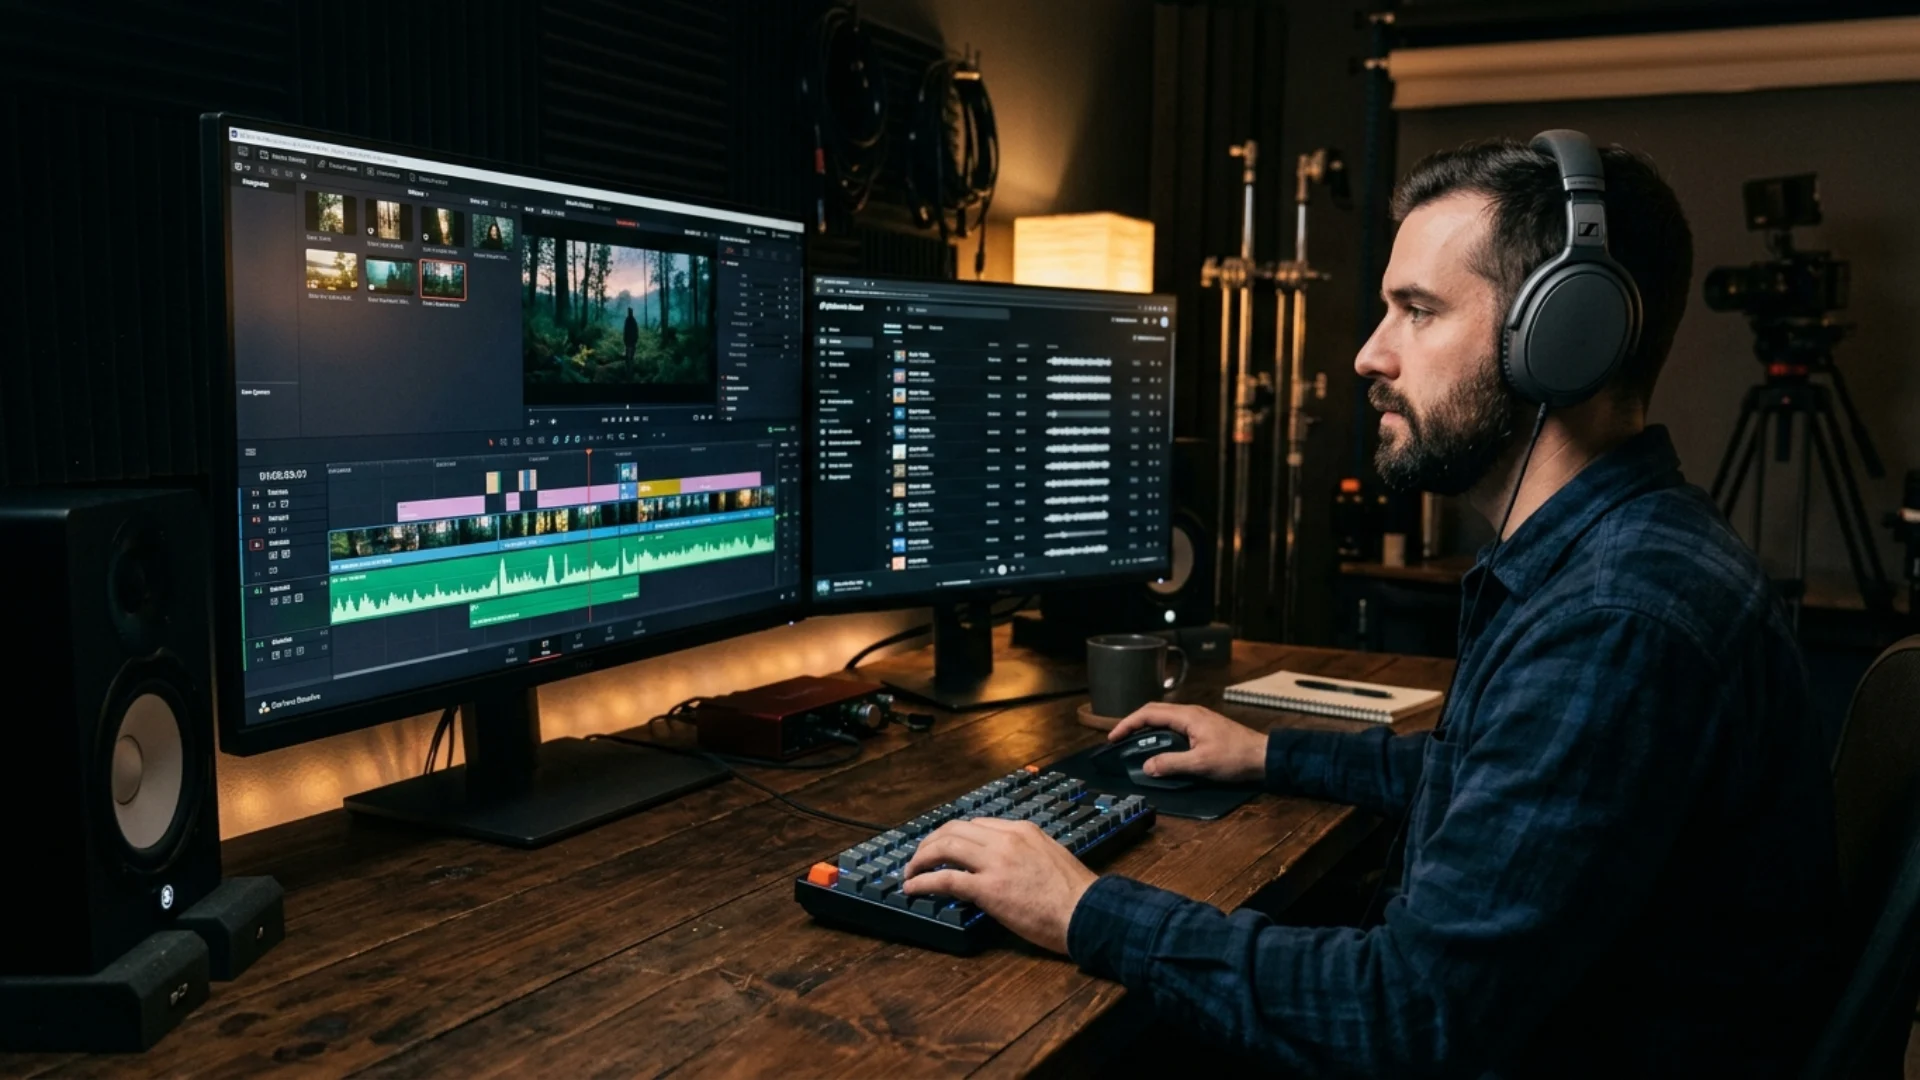
Setting Up Your B-Roll Editing Workflow in Premiere Pro
When adding B-roll, it’s common to place it on video tracks above the A-roll. Use V2, V3, and higher tracks to stack multiple layers of B-roll, transitions, effects, or overlays. Keep your sequences clean by naming tracks or using track colors to differentiate between A-roll, B-roll, and graphics.
Navigating the timeline is another key skill. Premiere Pro allows you to zoom in and out quickly (using + and –), snap clips to markers or edits, and ripple trim without gaps. Mastering these features helps you integrate B-roll precisely, making your edit smooth and professional.
Need to speed things up? Start with high-quality pre-animated assets from Pixflow’s Premiere Pro templates to simplify your timeline workflow and get stunning results faster.
Essential B-Roll Editing Techniques
Basic Clip Manipulation
Start by importing your B-roll into the Project Panel, then drag it onto the timeline above your A-roll. Use the Razor Tool (C) to make cuts or the Trim Tool (T) to fine-tune your edit points. This clip editing process is foundational to shaping the rhythm and pace of your video.
Seamless Transitions
Well-placed transitions between B-roll clips can significantly improve flow. Cross dissolves, dip to black, or even custom transitions can hide hard cuts and smooth out pacing. Be subtle—too many flashy effects can distract rather than enhance.
Controlling the Pace and Flow
Use speed ramping to bring energy or drama to your B-roll. For example, slowing down an action shot or gradually speeding up a landscape can create a cinematic flair. Combine this with rhythmically timed cuts to music for maximum impact.
Enhancing B-Roll Visually
Color Correction and Grading
Matching the look of your B-roll to your A-roll creates visual consistency. Use the Lumetri Color panel in Premiere Pro for both color correction (fixing exposure, white balance, contrast) and color grading (stylizing the look). Apply LUTs or manually adjust curves to give your footage a unique feel.
Stabilization Techniques
Shaky footage? The Warp Stabilizer effect is your best friend. Simply apply it to a clip, and Premiere Pro will analyze and stabilize motion, giving your shots a smoother, more professional appearance. Be cautious—it may crop your footage slightly.
Creative Effects
Use a Zoom Blur for added movement or to transition into a new scene. This effect, when used sparingly, adds visual drama without needing expensive gear. To apply effects consistently, use Adjustment Layers above your B-roll clips. This lets you apply the same look or effect to multiple clips at once, saving time and maintaining a uniform style.
Adding Depth with Audio
Don’t forget sound effects: subtle ambient noises, whooshes, or clicks can make B-roll sequences feel grounded and cinematic. These should support the visuals, not overpower them.
If your B-roll clips include unwanted background noise, simply remove the audio by right-clicking the clip and choosing Unlink, then deleting the audio track. This lets your chosen soundscape shine without distractions.
Advanced Cinematic B-Roll Techniques
Dynamic Sequences & Montage Editing
A montage is a powerful way to condense time, build rhythm, or show a progression of events. By rapidly sequencing related B-roll shots—such as a morning routine or a travel journey—you can evoke emotion and momentum. Use rhythmic cuts, visual motifs, and matching movement between shots to connect them cohesively.
Building Tension and Emotional Arcs
Think of B-roll not just as filler, but as a storytelling tool. You can use it to slowly reveal information, build suspense, or offer emotional depth. For instance, showing close-ups of clenched hands, dark clouds, or slow pans of a scene can subtly signal tension, leading up to a dramatic payoff in the A-roll. A shallow depth of field on those inserts keeps the viewer locked on exactly the detail you want them to notice.
Creative Camera Movement (Simulated in Post)
You can also simulate camera movement during editing. Use keyframes in the Effects Controls panel to add slight push-ins, pans, or tilts to static B-roll footage. This brings life to otherwise still shots, adding a professional cinematic flair without needing expensive equipment.
If you need a shot you’ve never filmed, you can now generate it instead. Our AI-generated B-roll using Runway ML guide covers prompt structure, camera control, and how to match generated clips to your real footage.
For editors short on time or looking for professionally animated sequences, consider using pre-built B-roll sequences from Pixflow’s Premiere Pro templates—these assets are great for integrating into more complex edits quickly.
Exporting Your Edited Video
Premiere Pro offers a variety of exporting video settings depending on your platform (YouTube, Instagram, broadcast, etc.). For cinematic edits with B-roll:
- Use H.264 codec for web-friendly delivery.
- Select Match Source – High Bitrate for a good balance of quality and file size.
- Enable Maximum Render Quality for best visual fidelity, especially if resizing clips.
If you’ve used effects like Warp Stabilizer or Lumetri Color, consider rendering previews before exporting to avoid glitches and reduce export time.
Conclusion
By mastering the techniques outlined in this guide and leveraging the power of Premiere Pro, you’ll transform how you edit and elevate the quality of your videos. Whether you’re enhancing an interview, building a montage, or creating emotional depth, your use of B-roll is what makes your video truly cinematic.
Disclaimer : If you buy something through our links, we may earn an affiliate commission or have a sponsored relationship with the brand, at no cost to you. We recommend only products we genuinely like. Thank you so much.
Blog Label:
- A-roll
- B-roll editing
- Cinematic B-roll
- Cinematic Video
- Clip editing
- Color Correction Guide
- Color Correction in Premiere Pro
- Color grading
- Color Grading in Premiere Pro
- Color Grading Tutorial Premiere Pro
- Effects Controls
- Footage sorting
- Lumetri Color
- Lumetri Color Panel
- Premiere Pro
- Premiere Pro Color Correction
- Premiere Pro Color Grading
- Timeline
- Video editing
- Video editing techniques
- Vignette


Write for us
Publish a Guest Post on Pixflow
Pixflow welcomes guest posts from brands, agencies, and fellow creators who want to contribute genuinely useful content.
Fill the Form ✏