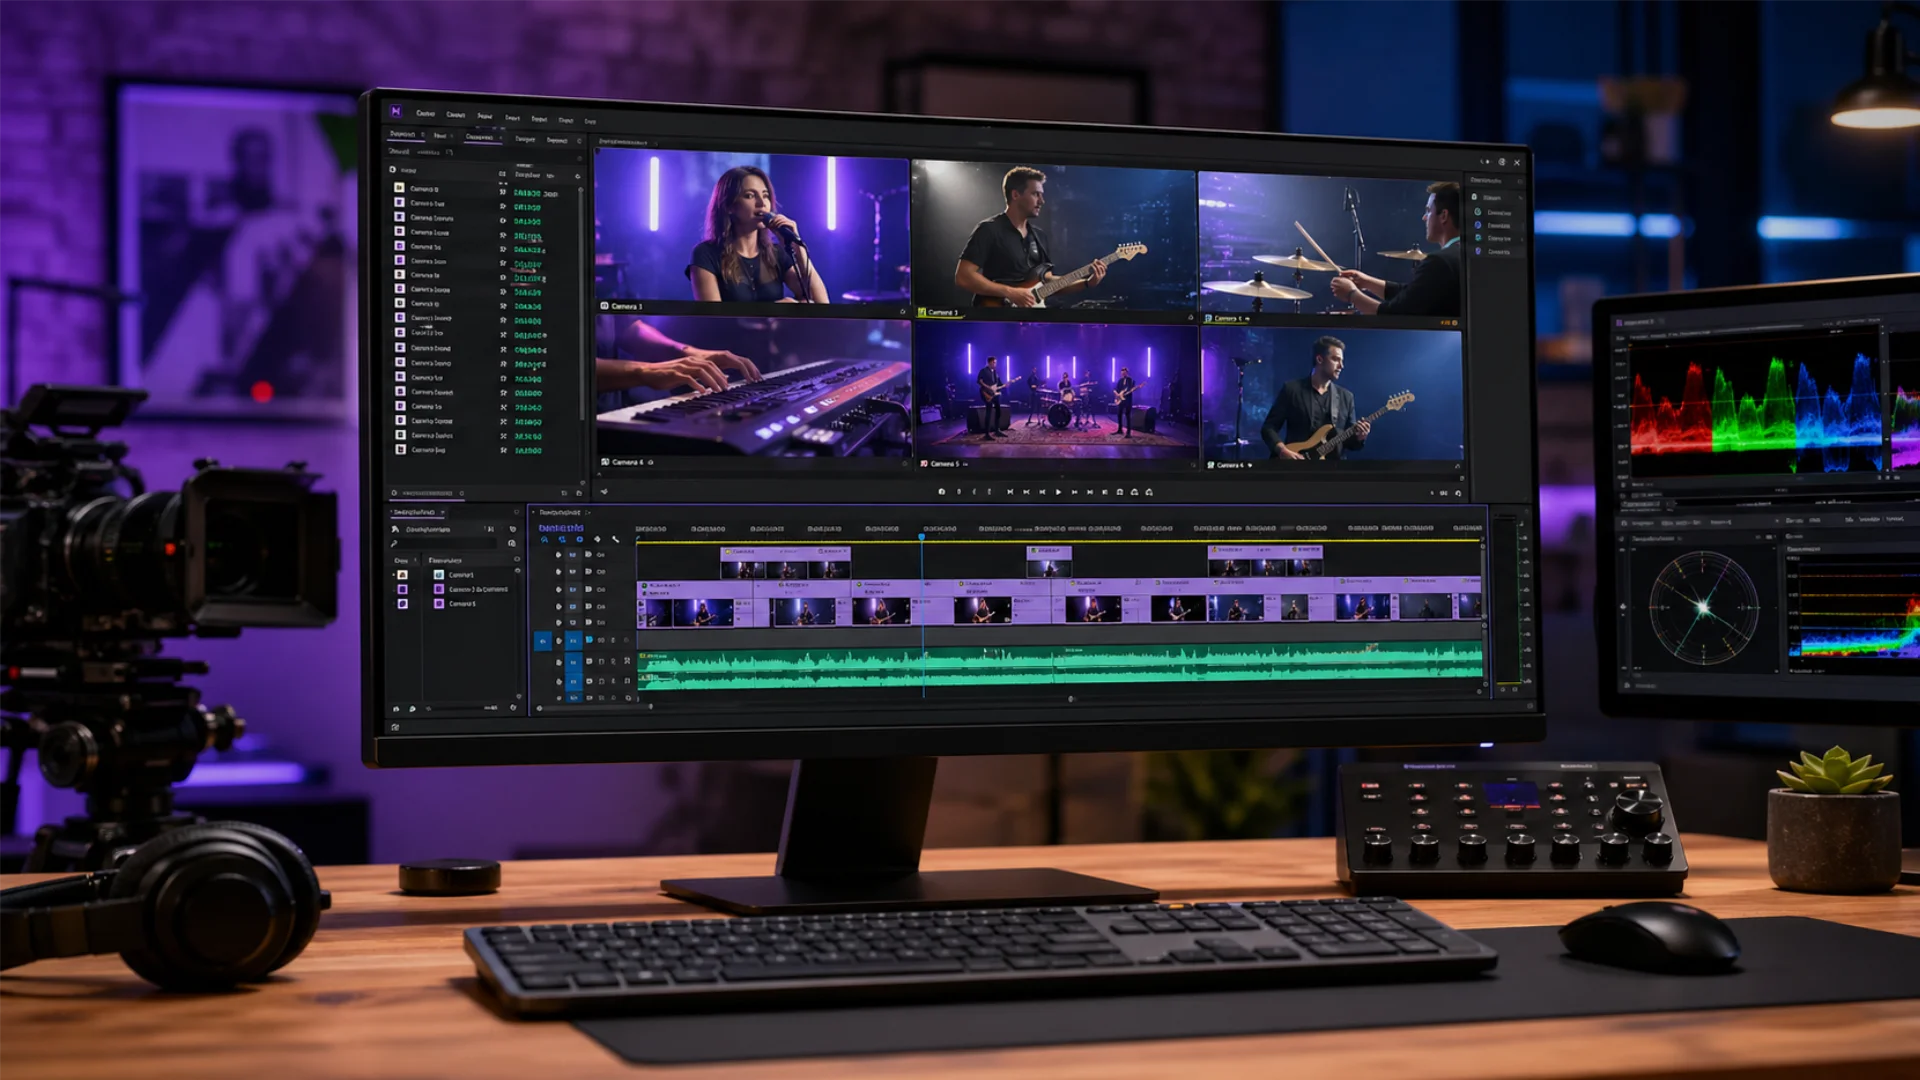
Your Guide to Using Masks in Premiere Pro: Create Pro Effects & Optimize Your Workflow

But what exactly are masks in Premiere Pro? Simply put, masks are custom shapes you draw over your footage to selectively apply effects, hide parts of a layer, or highlight specific areas.
From basic tasks like creating vignettes or blurring faces to advanced editing effects in Premiere Pro like mask tracking, object removal, and rotoscoping, the possibilities are vast.
In this guide, you’ll learn how to use masks in Premiere Pro—from the fundamentals to pro-level applications—so you can unlock your full creative potential and optimize your workflow.
You can also explore our Premiere Pro Templates here.
Professional Premiere Pro Templates
The Fundamentals of Masking in Premiere Pro
A. Accessing Mask Tools
To begin masking, you’ll need to head to either the Effect Controls panel (when applying an effect) or the Opacity section for basic shape masks. Simply click on a clip in your timeline, then access these panels to draw and adjust your masks.
B. Types of Masks
Premiere Pro offers three primary mask tools:
- Ellipse mask (circle or oval)
- Rectangle mask
- Free Draw Bezier (Pen Tool), for custom shapes
These are perfect for crafting everything from a circle mask in Premiere Pro to more custom masks that follow unique contours.
C. Creating Basic Masks
Start by selecting the effect or property you want to mask (e.g., Opacity, Lumetri Color). Use one of the mask tools to draw the shape directly on the Program Monitor.
- Adjust the mask’s size and position by dragging the edges or the central anchor point.
- Fine-tune your selection using mask handles for precision control.
D. Understanding Mask Properties
Masks have several adjustable parameters:
- Feather: Soften edges for a natural blend (essential for vignettes and blending).
- Mask Expansion: Increase or decrease the masked area.
- Mask Opacity: Adjust transparency within the masked zone.
These properties play a key role in achieving clean, professional effects.
Applying Effects with Masks
A. Isolating Areas for Color Grading
Want to color grade only a part of your shot? You can create a mask in Premiere Pro around your subject or area of focus and apply Lumetri Color only to that selection.
- Use masks for targeted color correction, like brightening a subject’s face while leaving the background untouched.
- Add multiple Lumetri effects with different masks for complex corrections.
(Explore more templates with built-in Premiere Pro effects here: Pixflow Premiere Pro Templates)
B. Applying Other Effects
Masks aren’t just for color. You can:
- Blur a background
- Sharpen a subject
- Distort or stylize a masked region
The creative potential is endless when you’re applying effects with masks in Premiere Pro.
C. Creating Vignettes
A common use of opacity masks is the vignette effect:
- Use an ellipse mask, lower the exposure, increase feathering, and you’ve got a cinematic look in seconds.
Advanced Masking Techniques
A. Mask Tracking
With the mask tracking feature in Premiere Pro, your mask can follow a moving object automatically.
- Select your mask, then hit the track forward or track backward button in the Effect Controls panel.
- Great for blurring faces or highlighting subjects on the move.
(Check out Adobe’s full masking and tracking guide for extra detail.)
B. Animating Masks
Bring masks to life with keyframes. Animate parameters like:
- Mask Path – for dynamic reveals
- Feather, Expansion, and Opacity – for evolving effects
This allows you to build intricate, animated masks in Premiere Pro for professional-looking transitions and storytelling elements.
C. Using Multiple Masks
Layer several masks on a single clip to:
- Highlight multiple subjects
- Apply different effects to different zones
- Combine masking techniques in Premiere Pro for unique visuals
D. Inverting Masks
Sometimes, you want to apply effects outside a selected area. That’s where inverting masks comes in. Just check the “Invert” box under the mask settings.
Creative Applications of Masks
A. Removing Unwanted Objects
Need to clean up your shot? Use a static frame (clean plate) and mask out the unwanted object, revealing the clean area underneath. It’s a fast, non-destructive alternative to reshoots.
B. Creating Transition Effects with Masks
Use shape masks and keyframes to design:
- Wipe transitions
- Geometric shape transitions (like squares or circles)
Step-by-Step: Luma Fade Transition Using Gradient Wipe as a Mask Reveal
The Luma Fade is one of the most cinematic mask-based transitions you can build in Premiere Pro. It uses luminance values to progressively reveal or hide a layer, functioning as a luminance-driven mask wipe between two clips.
1. Stack Your Clips
Place the clip you want to transition into on the video track directly above the outgoing clip. Overlap the two clips by the desired transition duration (typically 1-2 seconds).
2. Apply Gradient Wipe
With the top clip selected, go to the Effects panel and search for Gradient Wipe. Drag it onto the top clip. This effect uses luminance data to control which parts of the layer are visible, essentially acting as a brightness-based mask.
3. Keyframe the Transition
In the Effect Controls panel, locate Transition Completion under Gradient Wipe. Set two keyframes:
- At the start of the overlap: Set Transition Completion to 100 (the top layer is fully hidden, so only the bottom clip shows).
- At the end of the overlap: Set Transition Completion to 0 (the top layer is fully revealed, completing the transition).
For a Luma Fade Out, reverse the values: start at 0 and end at 100, and place the overlap at the end of the clip.
4. Fine-Tune the Look
- Check Invert Gradient to reverse the reveal direction (light-to-dark vs. dark-to-light).
- Increase Transition Softness to blend the luminance boundary between the two clips for a smoother, more organic feel.
This technique gives you full creative control over how clips blend together based on their brightness values, making it far more cinematic than a standard cross-dissolve.
You can find professionally designed Premiere Pro masking transitions here.
C. Blending Videos with Masks
Use blending techniques with masks to:
- Seamlessly combine two clips
- Create stylistic effects (e.g., double exposure)
D. Rotoscoping
Use custom masks and keyframes to isolate a subject—a lightweight alternative to full rotoscoping in After Effects.
E. Clone Effect
Want to duplicate a character within the same scene? Create a clone effect in Premiere Pro using masks and two separate takes.
F. Attaching Text to Moving Objects
Track a mask to your subject, then parent your text layer to that tracked movement for an impressive, interactive animation.
G. Creating Text Animations with Masks
Reveal text from behind objects or animate it with shape masks for slick title sequences.
Method 1: Opacity Mask Reveal
This is the quickest way to build a clean text reveal using masks built into Premiere Pro’s Effect Controls.
- Select your text layer in the timeline.
- In the Effect Controls panel, find the Opacity property and click one of the mask icons (Ellipse, Rectangle, or Pen Tool) to create a mask directly on the text.
- Position and shape the mask so it covers (hides) the text completely.
- Enable the stopwatch next to Mask Path to start keyframing.
- At the beginning of the reveal, keep the mask hiding the text. Then move the playhead forward and reposition the mask to expose the text gradually.
The result is a smooth, directional reveal that works perfectly for lower thirds, dramatic openers, or title cards. Adjust Mask Feather to soften the reveal edge for a more polished look.
Method 2: Track Matte Key for Advanced Reveals
For more creative control, use a separate shape or video layer as a matte to drive the reveal.
- Create a shape layer (e.g., a rectangle or custom shape) and place it on the video track directly above your text layer.
- Animate the shape layer’s position, scale, or path so it sweeps across the frame.
- Select your text layer and apply the Track Matte Key effect (Effects panel > Keying > Track Matte Key).
- In the effect settings, set the Matte dropdown to the shape layer above.
- Choose Matte Alpha or Matte Luma depending on whether you want the shape’s transparency or brightness to control the reveal.
The text only becomes visible where the animated shape passes over it. This technique lets you use abstract shapes, gradients, or even video clips as your reveal mask, opening up far more creative possibilities than a simple opacity mask.
Tips for Effective Masking
A. Organizing the Timeline
Label masked layers clearly. Group them using nested sequences to keep your timeline clean.
B. Refining Mask Edges
Feathering and expansion help blend the mask into the footage, especially useful when color grading or removing objects.
C. Using Rulers and Guides
Enable rulers and snapping for precise placement of masks—ideal for UI design or symmetrical compositions.
D. Considering Mask Interpolation
Smooth mask animations by adjusting keyframe interpolation for natural motion and transitions.
Conclusion
We encourage you to dive in, experiment with masking techniques in Premiere Pro, and let your creativity guide your edits. For even more inspiration and tools, explore our curated collection of Premiere Pro templates and effects.
Loved this guide? Share it, bookmark it, and follow our social channels for more hands-on tutorials and professional editing insights.
Disclaimer : If you buy something through our links, we may earn an affiliate commission or have a sponsored relationship with the brand, at no cost to you. We recommend only products we genuinely like. Thank you so much.

Write for us
Publish a Guest Post on Pixflow
Pixflow welcomes guest posts from brands, agencies, and fellow creators who want to contribute genuinely useful content.
Fill the Form ✏


