DaVinci Resolve Titles and Text: How to Create Professional Lower Thirds and Titles
- What Is a Lower Third (and Why Titles Make or Break Your Video)
- The 4 Ways to Add Text and Titles in DaVinci Resolve
- Method 1: Adding Basic Titles on the Edit Page
- Method 2: Text+ Explained (The Tool You Should Actually Use)
- Method 3: Using Built-In Fusion Titles and Title Templates
- Method 4: Building a Custom Lower Third in Fusion (Step by Step)
- How to Animate Your Titles and Lower Thirds
- How to Save Your Titles as Reusable Presets
- Design Tips for Professional Lower Thirds
- Troubleshooting Common Title Problems in DaVinci Resolve
- Conclusion
Here’s the thing: DaVinci Resolve gives you everything you need to create broadcast-quality titles and lower thirds without ever leaving the app. The catch is that the tools are spread across three different pages, and knowing which one to use, and when, is what separates clean professional text from something that screams “default settings.”
In this guide, we’re covering every way to add titles and text in DaVinci Resolve: quick Edit page titles, the far more powerful Text+, built-in Fusion titles, and fully custom lower thirds you build node by node. We’ll also cover animation, saving your titles as reusable presets, design rules the pros follow, and fixes for the most common title problems. If you’re brand new to the editor, start with our complete DaVinci Resolve beginners guide and come back when you’re comfortable with the timeline.
And if you’re on a deadline and need cinematic results today, our Dramatic Movie Title Templates for DaVinci Resolve pack gives you 30 customizable movie-grade titles that drop straight into your project. More on templates later.
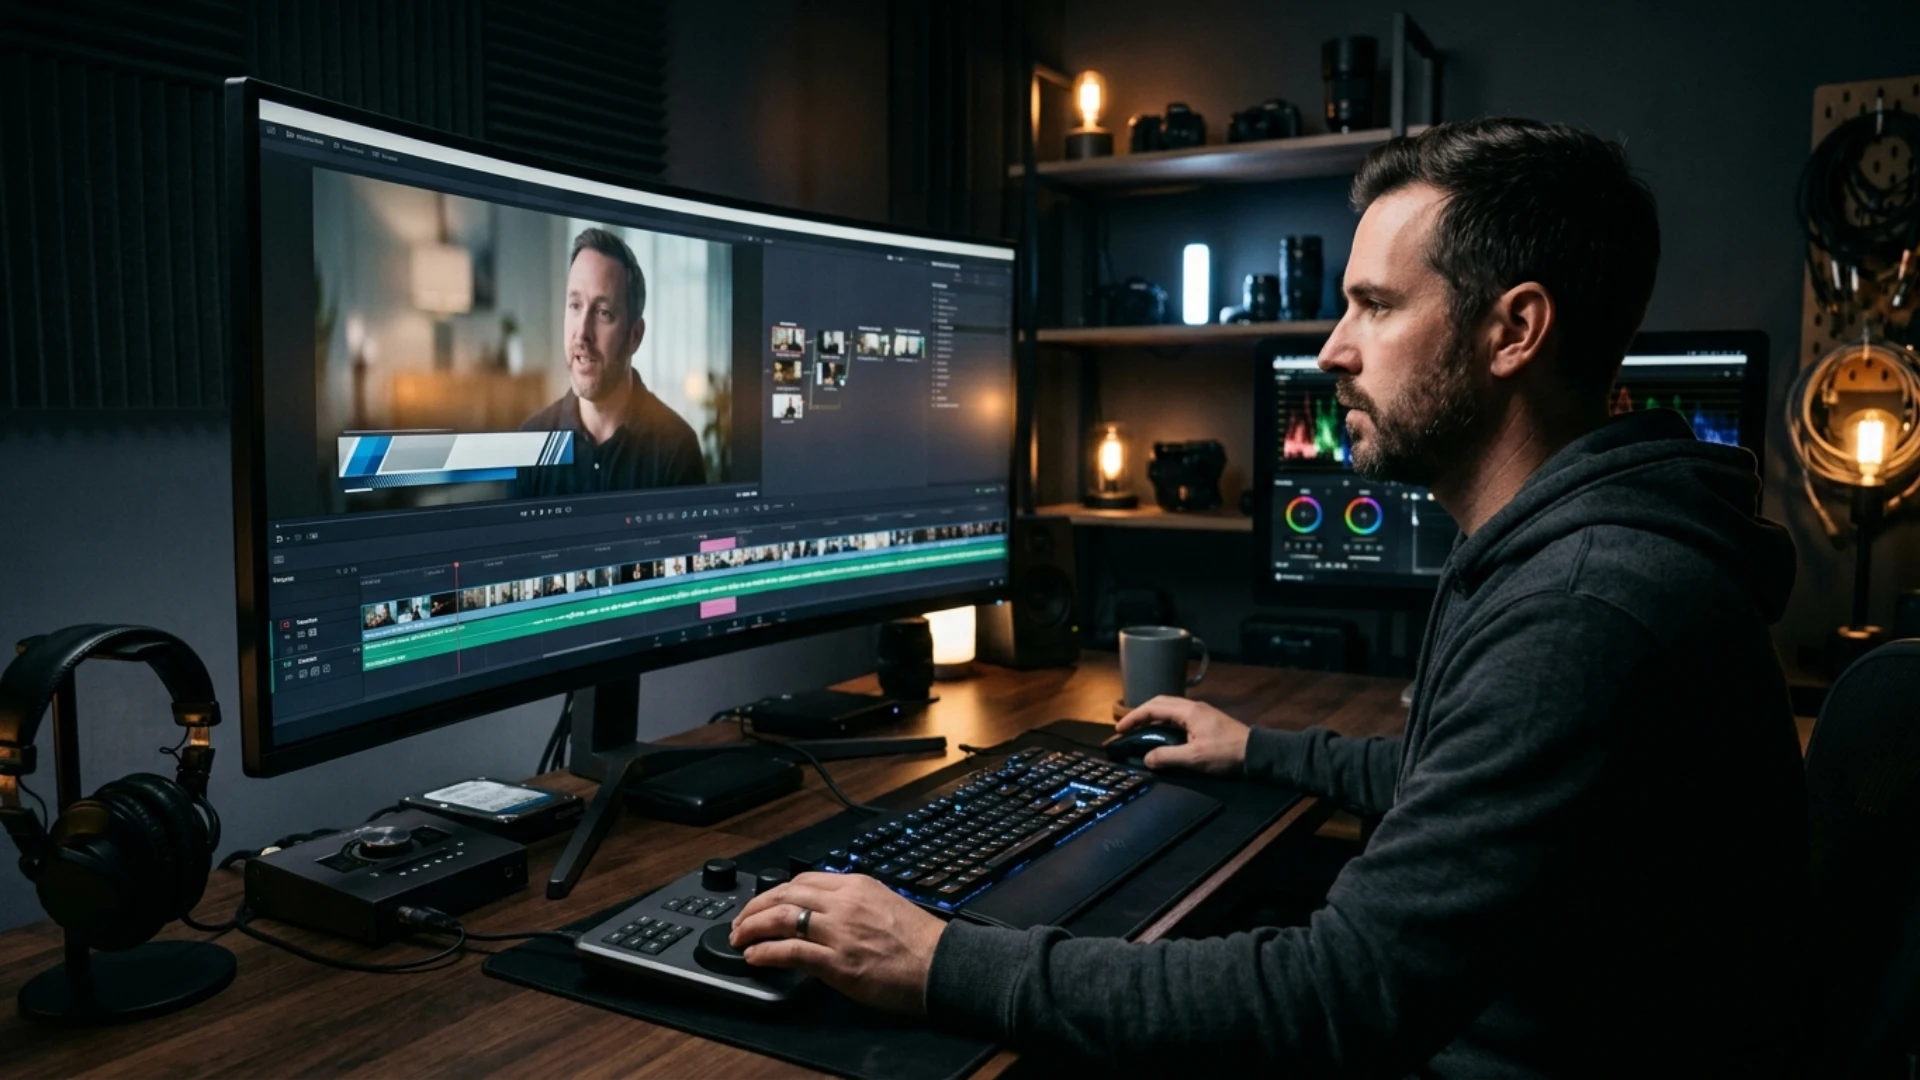
What Is a Lower Third (and Why Titles Make or Break Your Video)
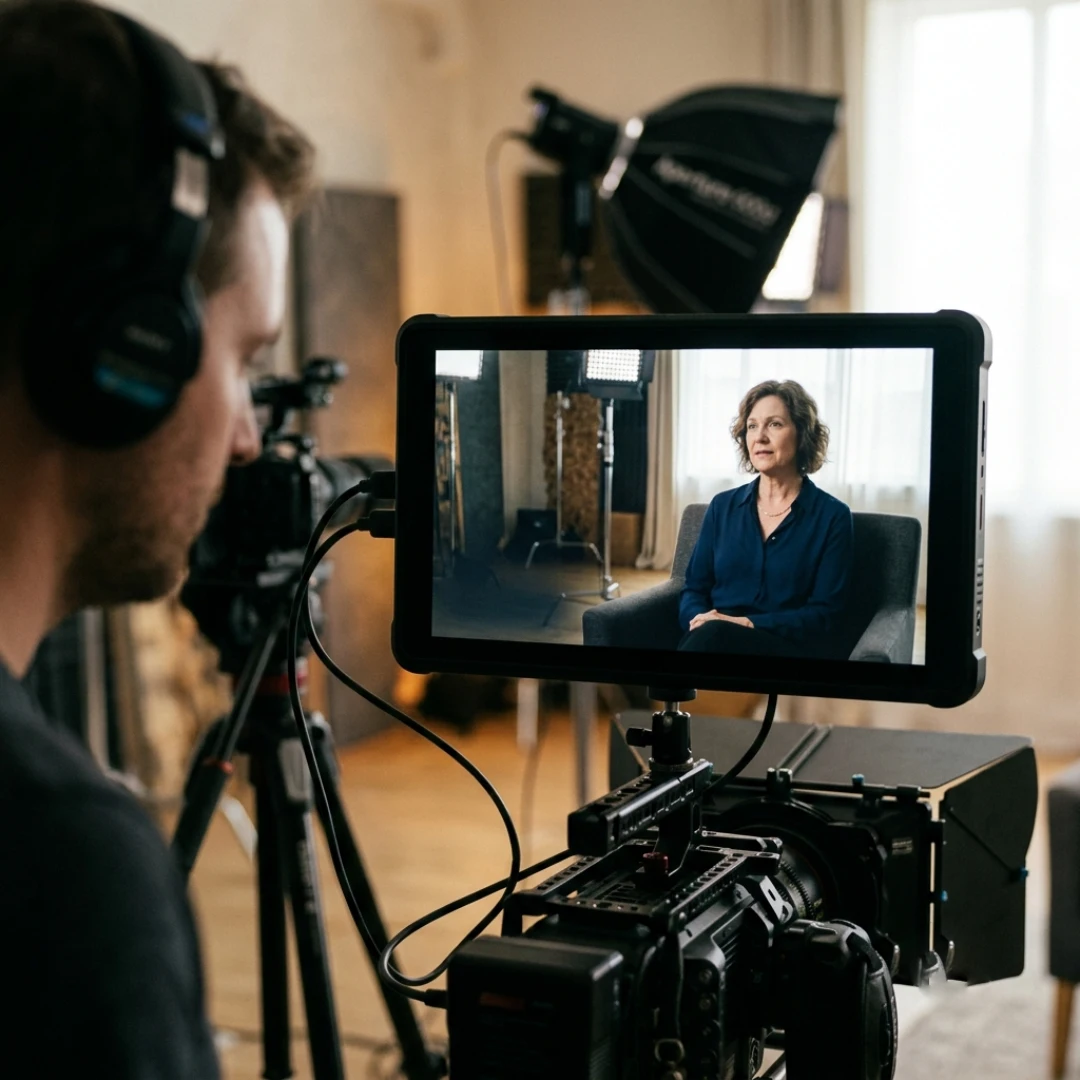
You see lower thirds everywhere: interview names and job titles in documentaries, guest introductions on YouTube, location tags in travel videos, and product callouts in commercial work. They do a lot of quiet storytelling in just a few words.
And they matter more than most editors think. Clean, consistent titles signal to viewers (and clients) that the whole production is trustworthy. Sloppy text does the opposite, no matter how good your footage or your grade is. When your typography, timing, and animation all feel intentional, retention goes up and your brand looks like it has its act together.
The 4 Ways to Add Text and Titles in DaVinci Resolve
Method 1: Adding Basic Titles on the Edit Page
- Open the Edit page and find the Effects Library (top left).
- Go to Toolbox, then Titles.
- Drag the Text title onto a video track above your clip.
- Double-click the title in the timeline, open the Inspector (top right), and type your text.
- Adjust font, size, color, alignment, and position in the Inspector.
That’s it. The basic Text tool covers the essentials: typeface, tracking, line spacing, a simple drop shadow, and a background stroke if you need one.
It’s genuinely fine for quick captions, temporary slates, or a simple end card. But the moment you want gradients, glows, per-character animation, or anything that looks designed rather than typed, you’ll hit the ceiling fast. That’s where the next method comes in.
Method 2: Text+ Explained (The Tool You Should Actually Use)
If you’ve ever wondered why Resolve has two text tools, here’s the honest comparison. It’s the single most asked title question in the Resolve community, and Boris FX’s breakdown of Resolve’s text methods reaches the same conclusion we did:
Our advice: make Text+ your default title tool from day one. It behaves like a normal title in the timeline, renders fast, and grows with you. When you eventually open one on the Fusion page, you’ll realize you’ve been learning Fusion all along without noticing.
Method 3: Using Built-In Fusion Titles and Title Templates
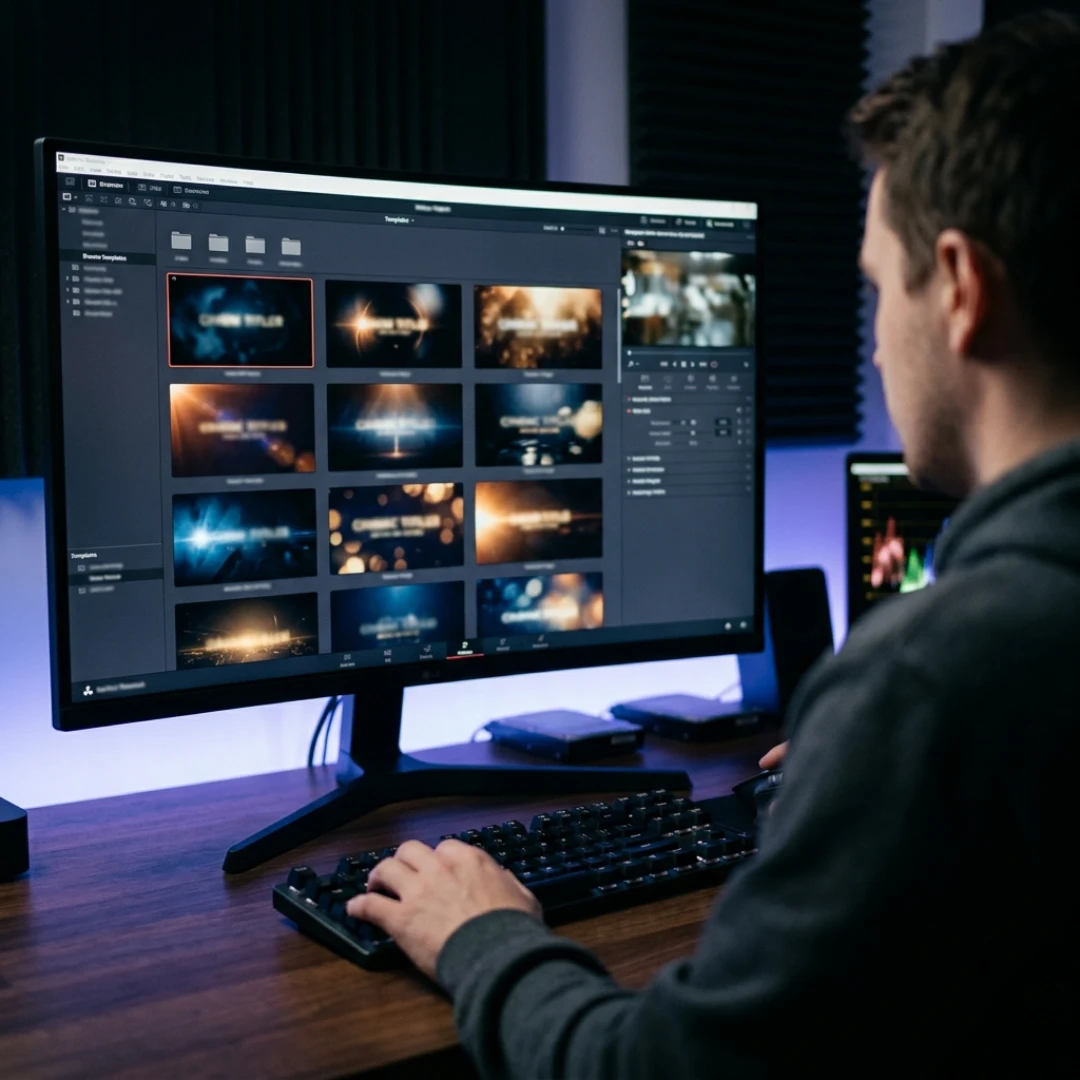
The built-in collection is a decent starting point, but it’s also on every other YouTube video made with Resolve. For client work or a channel with a consistent brand, third-party title templates are the professional shortcut. Sites like Motion Array’s lower thirds roundup show just how big that ecosystem has become.
Installing templates in Resolve is straightforward:
- For .drfx bundles: double-click the file, and Resolve installs the templates automatically. They appear in the Effects Library under Titles or Generators.
- For .setting files: copy them into the Fusion templates folder (Edit > Titles inside Resolve’s template directory), then restart Resolve.
- For macros you use constantly: store them in a Power Bin so they’re available in every project.
If you want titles with real cinematic weight, this is exactly what our Dramatic Movie Title Templates for DaVinci Resolve were built for: 30 dramatic, fully customizable movie titles designed for trailers, films, documentaries, and music videos. You drop them in, change the text, and keep the whole edit inside Resolve. (Your deadline will thank you.)
Method 4: Building a Custom Lower Third in Fusion (Step by Step)
Here’s the classic build, the same approach taught by trainers like DVResolve:
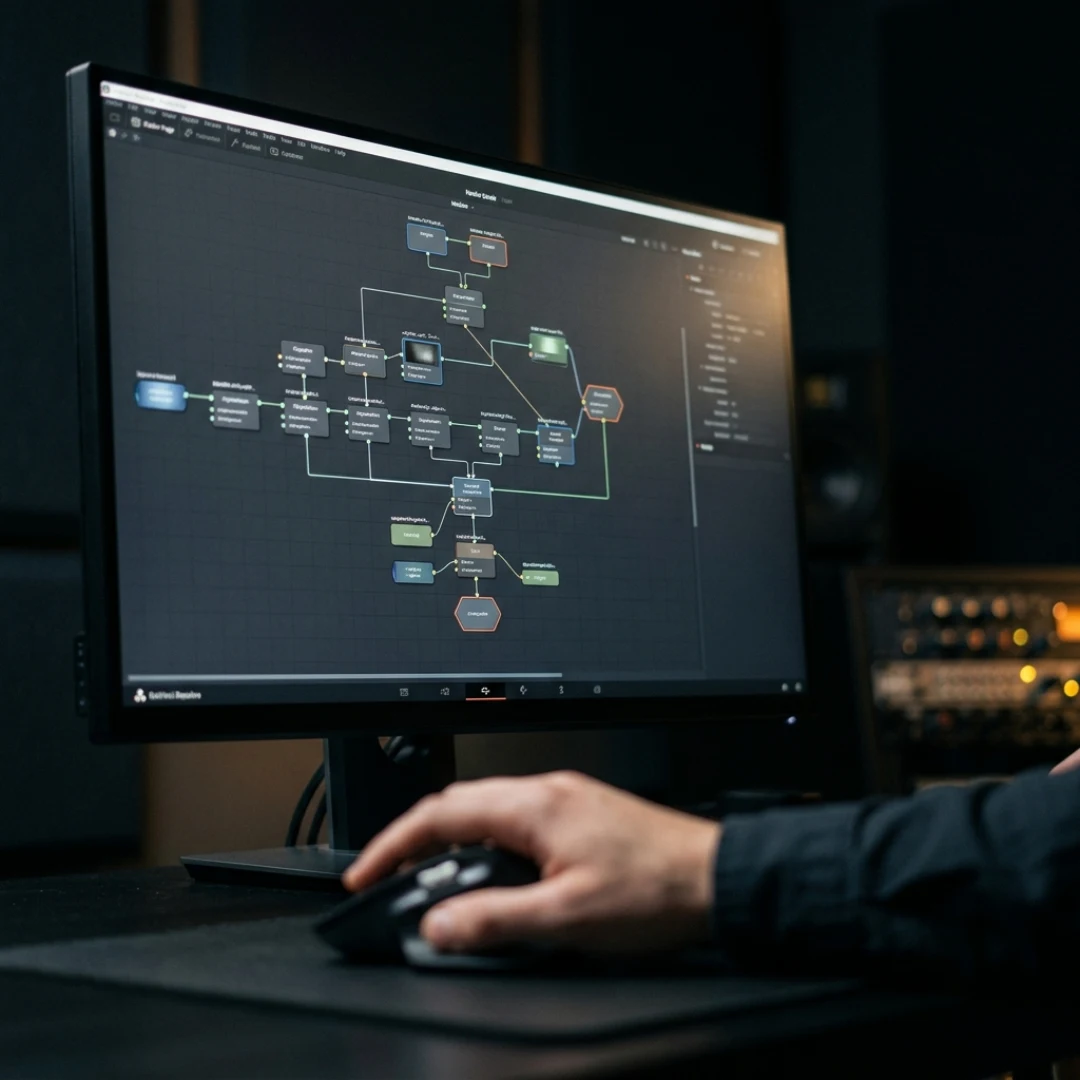
- Add a Text+ title from the Edit page over your clip, then right-click it and choose Open in Fusion Page. You’ll see a Template node connected to a MediaOut.
- Create the bar. Add a Background node for your color, then a Rectangle mask on it to shape the bar. Size and position it in the lower left of the frame.
- Merge it under your text. Add a Merge node: bar as background, text as foreground. Order matters, the foreground draws on top.
- Add a second Text+ node for the subtitle line (job title, location) and merge it in. Two text nodes means you can style and animate name and role independently.
- Position everything using the safe area overlays in the viewer so nothing sits too close to the frame edge.
- Animate the reveal. A rectangle mask on the whole comp makes a great wipe-on: keyframe the mask position so the graphic slides in from behind an invisible edge.
Save the finished node group as a macro or drag it into a Power Bin, and you now own a reusable branded lower third. If you enjoy this kind of node work, Jonny Elwyn’s roundup of high-end finishing techniques in Fusion is a great rabbit hole for going further.
How to Animate Your Titles and Lower Thirds
For Inspector keyframes (the quick way): select your title, park the playhead where the animation should start, and click the small diamond next to any property, like Position or Opacity. Move the playhead, change the value, and Resolve creates the second keyframe automatically. A position slide plus an opacity fade already looks clean. For a proper reveal, animate a crop or rectangle mask so the text appears to wipe on from behind a line.
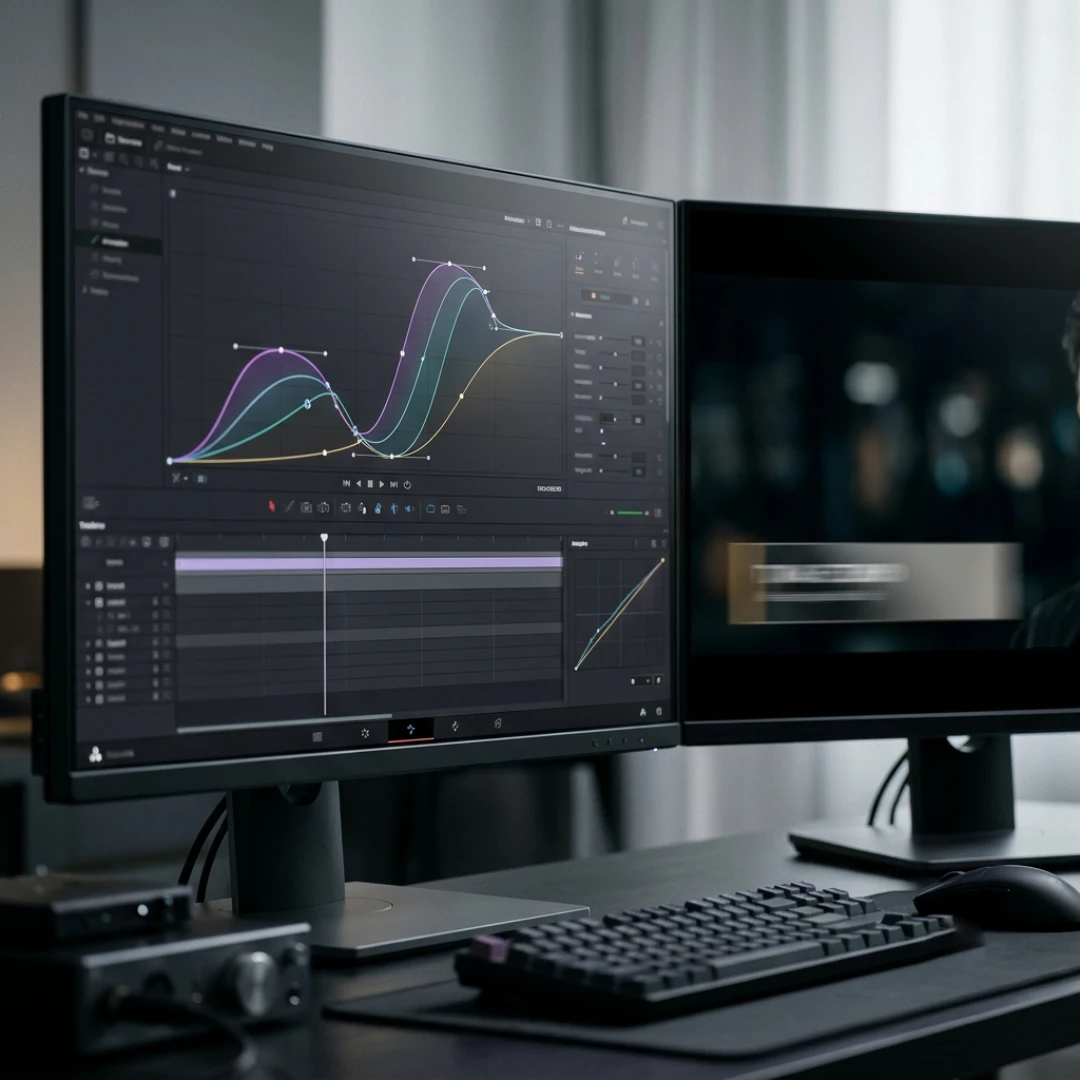
For Fusion animation (the polished way): open the title in Fusion and use the Spline editor to ease your keyframes. Select the keyframe points and hit S for smooth, and the movement stops feeling robotic. Add a motion blur node (or enable motion blur on the Merge) and fast moves become buttery instead of steppy. Timing your title reveals to match your cuts also pairs beautifully with transitions, and our guide to DaVinci Resolve transitions covers that side of the craft.
One more thing the community asks constantly: how do you make an animated Fusion title stop animating? The quick trick is to create a compound clip from the title, park on the frame you like, and use a freeze frame from the Inspector (or retime controls). For full control, open the title in Fusion and delete or flatten the keyframes on the animated properties.
How to Save Your Titles as Reusable Presets
- Save a Text+ style: right-click a styled Text+ node and save the styling as a preset you can apply to any other Text+ with one click.
- Use Power Bins: enable Power Bins in the Media Pool options, then drag your finished title (or compound clip) into one. Power Bins follow you across every project on that machine.
- Export a .setting or macro: in Fusion, save your node group as a macro and export the .setting file. This is how you share titles with teammates or move them to another workstation, and it’s the same format template packs use.
Build yourself a small brand kit: one name-and-title lower third, one location tag, one end card, all saved as presets in your brand fonts and colors. Combined with a fast editing setup (our DaVinci Resolve keyboard shortcuts cheat sheet is the other half of that speed equation), you’ll cut title work from minutes to seconds on every project.
Design Tips for Professional Lower Thirds
- Respect safe areas. Turn on the viewer’s safe area overlay and keep text inside the inner guide, especially for broadcast or TV playback.
- Two lines maximum. Name on line one, role or context on line two. If you need three lines, you need a different graphic.
- Pair fonts deliberately. One strong font for the name, one neutral font for the subtitle. Avoid more than two typefaces in a single graphic.
- Prioritize contrast. Light text needs a dark bar, shadow, or gradient behind it. If you can’t read it on a bright shot, it fails.
- Time it right. A lower third should stay on screen for 3 to 5 seconds, long enough to read twice, short enough to never distract.
- Match your palette. Sample your brand colors, or colors from the graded footage, so graphics feel native to the image. Consistent color across footage and graphics is also why grading matters, as we cover in our color grading for beginners guide.
- Animate in and out symmetrically. If it slides in from the left, let it exit left (or fade). Asymmetric exits read as mistakes.
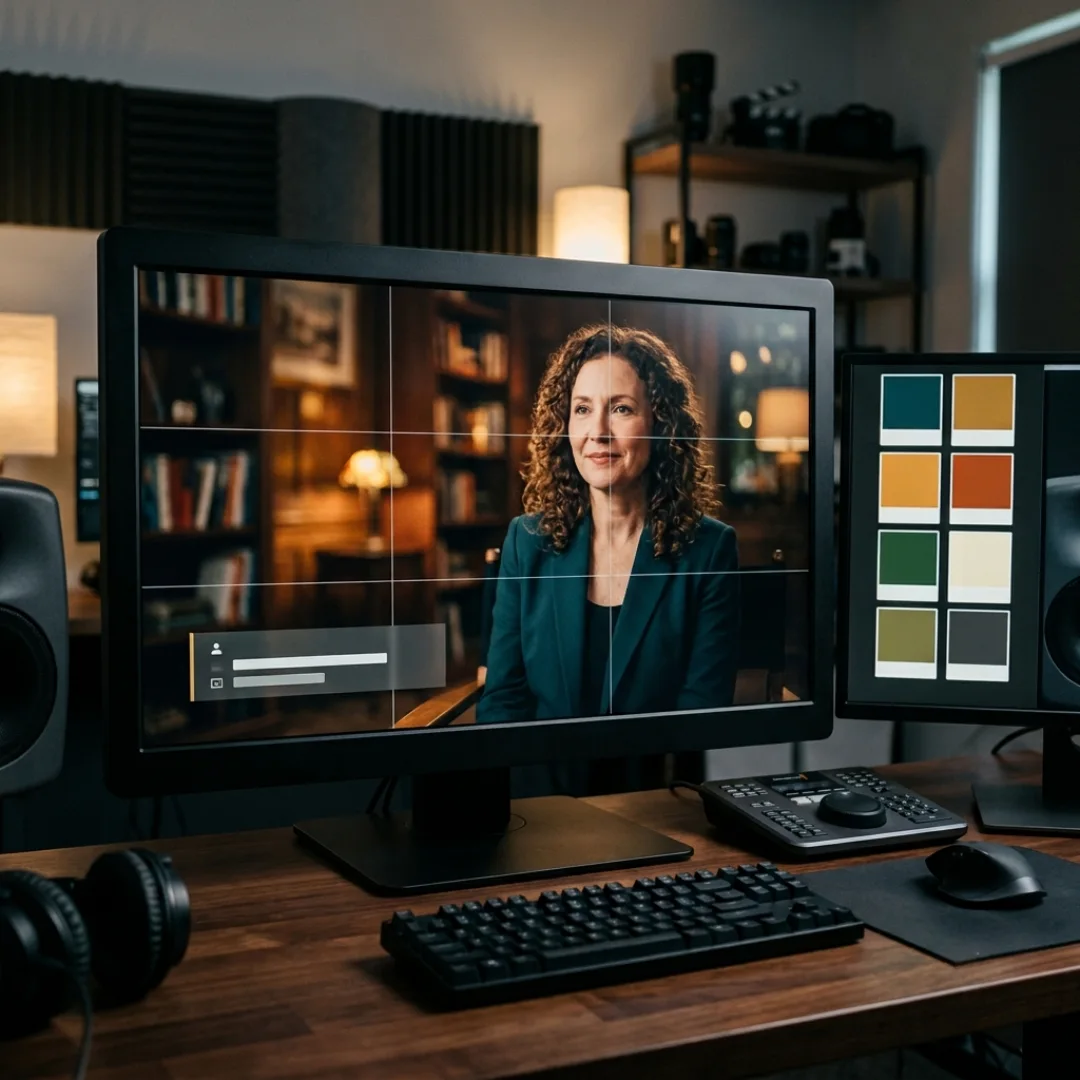
Troubleshooting Common Title Problems in DaVinci Resolve
Conclusion
Start small: rebuild your current lower third in Text+ tonight, save it to a Power Bin, and you’ve already upgraded every future project.
And when the project calls for full cinematic drama, trailer cards, film titles, documentary openers, our Dramatic Movie Title Templates for DaVinci Resolve give you 30 ready-to-customize designs so you can spend your time on the story, not the setup. (Your next project just got easier.)
Disclaimer : If you buy something through our links, we may earn an affiliate commission or have a sponsored relationship with the brand, at no cost to you. We recommend only products we genuinely like. Thank you so much.
Blog Label:



Write for us
Publish a Guest Post on Pixflow
Pixflow welcomes guest posts from brands, agencies, and fellow creators who want to contribute genuinely useful content.
Fill the Form ✏