DaVinci Resolve Keyboard Shortcuts: The Complete Cheat Sheet for Faster Editing
DaVinci Resolve Keyboard Shortcuts: The Complete Cheat Sheet for Faster Editing
If you have ever watched a senior editor cut a sequence in DaVinci Resolve and wondered how their hands move faster than yours, the answer is almost never the mouse. It is the keyboard. Pro editors live on shortcuts, and once you commit a handful of them to muscle memory, your edits feel less like a fight with the software and more like an extension of your thinking.

This guide is the complete, up-to-date cheat sheet for DaVinci Resolve keyboard shortcuts in 2026. It covers Resolve 18, 19, and 20, every page in the app (Media, Cut, Edit, Fusion, Color, Fairlight, and Deliver), both Mac and Windows/Linux modifier keys, and how to customize the entire keyboard to match your old NLE if you are switching from Premiere Pro, Final Cut Pro 7, or Avid. By the end, you will have a printable cheat sheet and a workflow that genuinely is faster.

We also threw in a few things most guides skip: the new Cut page JKL dynamic trim shortcut, hidden Fusion node hotkeys, color page shortcuts that compress hours of grading into minutes, and an honest comparison of keyboard layout presets so you can pick the right one for your brain.

When you are ready to put those new shortcuts to work on a real project, our Dramatic Movie Title Templates for DaVinci Resolve drop into your timeline in seconds, perfectly editable in Resolve, and pair beautifully with the speed you are about to gain.

Why Keyboard Shortcuts Matter More in DaVinci Resolve Than in Any Other NLE

Resolve is unusual among editing apps because it is really seven applications stitched together: Media, Cut, Edit, Fusion, Color, Fairlight, and Deliver. Each page has its own interface, its own logic, and its own set of shortcuts. Some shortcuts are global (they work everywhere). Many are local (they only work on a specific page). And a few mean different things in different pages, which is the single biggest reason editors say Resolve “feels weird” when they first switch over.

Learning the shortcuts is therefore not optional polish. It is the difference between an editor who fights the app and one who flies through it. Studies of professional editors consistently show keyboard-driven workflows are two to four times faster than mouse-driven ones for the same tasks, and Resolve rewards that more than most NLEs because almost every action has a hotkey.

Here is the good news: you do not need to memorize all of them. You need the right 20 to start, the page-specific essentials for the work you actually do, and the custom shortcuts you set up yourself. We will get you there.

Top 20 DaVinci Resolve Shortcuts Every Editor Should Memorize First

If you only learn 20 shortcuts in your first week with Resolve, learn these. They cover 80 percent of daily editing across the Cut and Edit pages and work on every recent version of Resolve.
ActionMacWindows / LinuxPage
Play / PauseSpaceSpaceAll
Play backward / Stop / Play forward (JKL)J / K / LJ / K / LAll
Mark In / Mark OutI / OI / OAll
Blade / Razor at playheadCmd+BCtrl+BEdit, Cut
Ripple delete selectedShift+DeleteShift+BackspaceEdit, Cut
Snap on/offNNEdit, Fairlight
Undo / RedoCmd+Z / Cmd+Shift+ZCtrl+Z / Ctrl+Shift+ZAll
Select clip under playheadShift+VShift+VEdit
Add edit at playheadCmd+\Ctrl+\Edit, Cut
Insert from sourceF9F9Edit
Overwrite from sourceF10F10Edit, Cut
Replace editF11F11Edit, Cut
Trim modeTTEdit
Selection (arrow) toolAAEdit
Zoom timeline to fitShift+ZShift+ZEdit, Fairlight
Switch pages (Media / Cut / Edit / Fusion / Color / Fairlight / Deliver)Shift+1 through Shift+7Shift+1 through Shift+7Global
Render queue (Deliver)Cmd+RCtrl+RDeliver
New node (after current)Option+SAlt+SColor, Fusion
Reset selected controlOption+click on dialAlt+click on dialColor, Fairlight
Full screen viewerCmd+FCtrl+FAll
Drill these for a week. After that, the rest of this guide is just an organized reference you will dip into when you need a specific page or workflow.
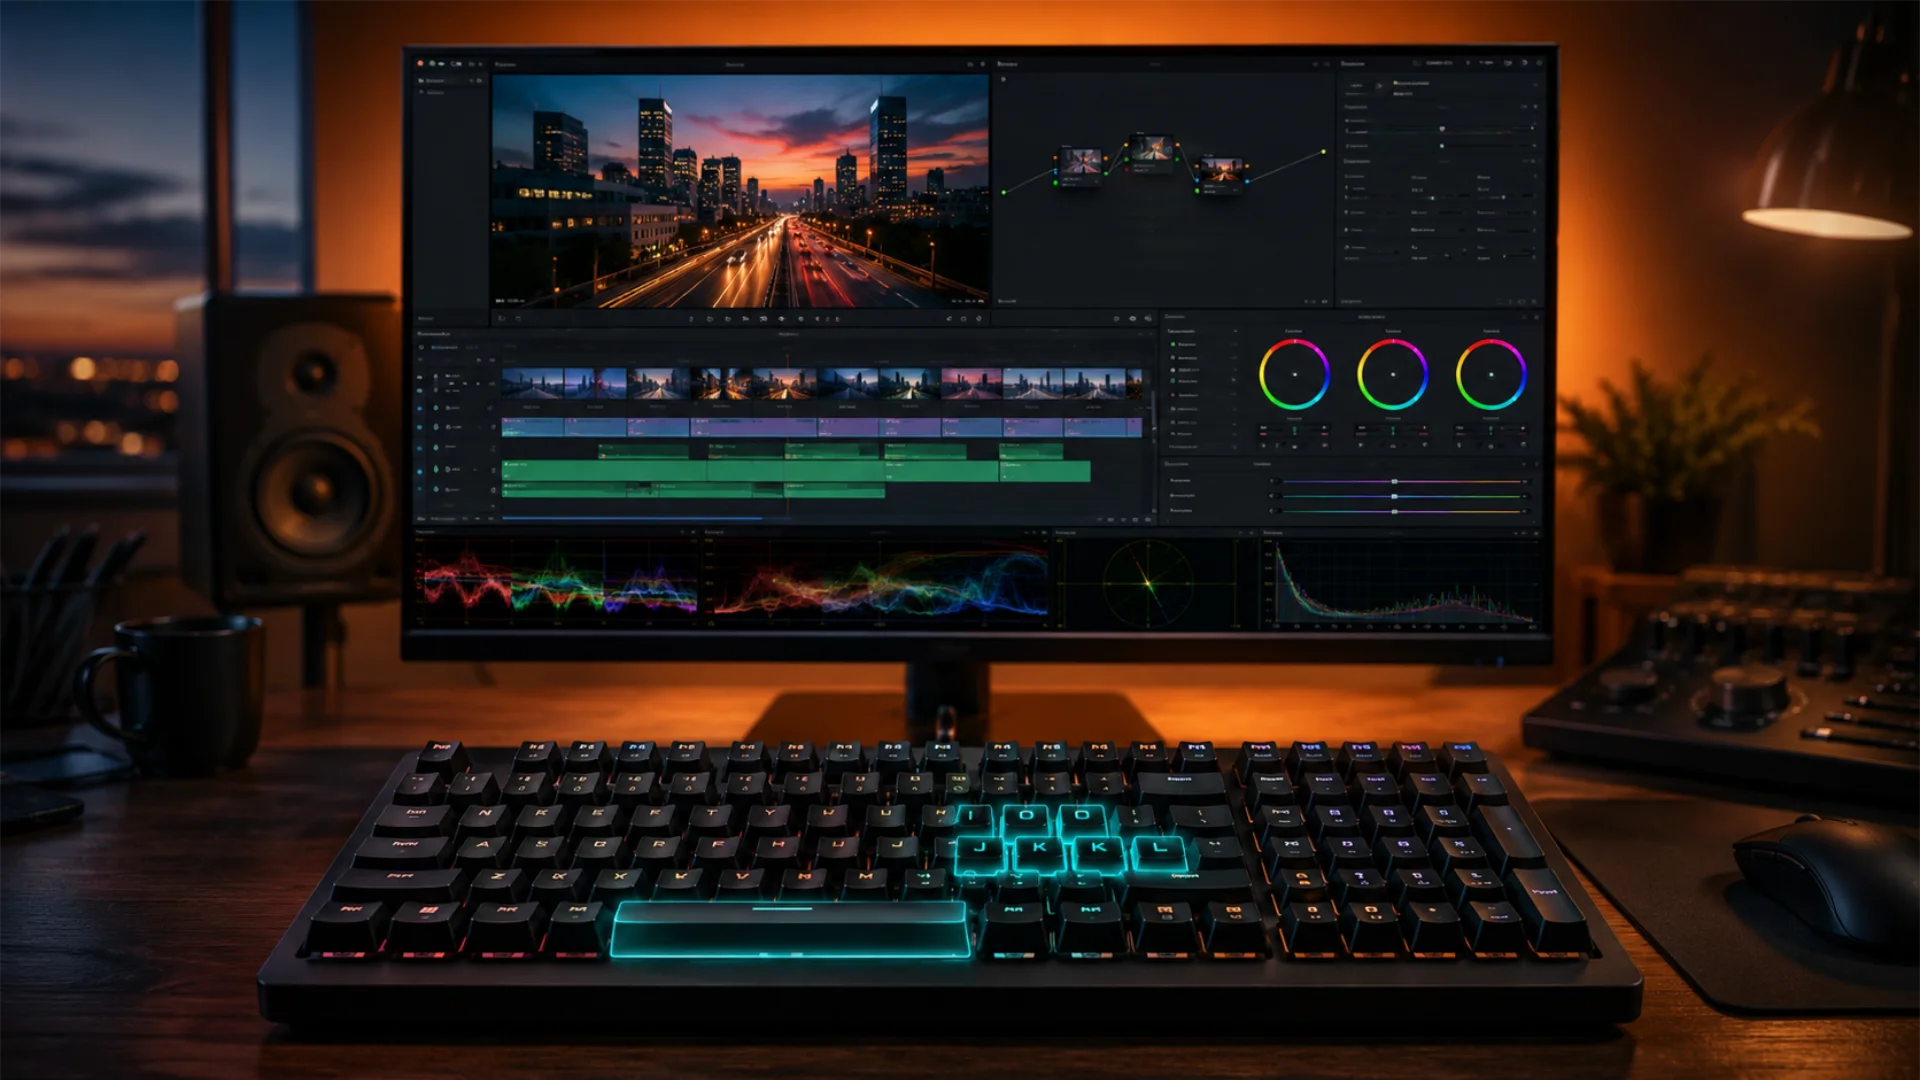
Mechanical keyboard with the JKL, IO, and Space keys highlighted, the essential DaVinci Resolve shortcuts.

How DaVinci Resolve’s Shortcuts Are Organized

Before listing more shortcuts, it helps to understand the system. Resolve groups shortcuts into three buckets:

  1. Global shortcuts that work anywhere, like switching pages, undo, save, full screen viewer, and JKL playback.
  2. Page-specific shortcuts that only work when that page is active. A node shortcut on the Color page will do nothing on the Edit page.
  3. Context-specific shortcuts that depend on what is selected. The Delete key on a selected clip ripples or lifts depending on whether you have a range marked.

Resolve also has two officially supported keyboard layout presets out of the box: DaVinci Resolve (the default) and DaVinci Resolve Cut (optimized for the Cut page and the Speed Editor hardware). On top of that, Resolve ships with importable presets for Premiere Pro, Final Cut Pro 7, and Avid Media Composer. We compare all of them later in this guide.

One more thing to know: Mac and Windows use different modifier keys, but the logic is consistent. Anywhere you see Cmd on Mac, use Ctrl on Windows/Linux. Anywhere you see Option on Mac, use Alt on Windows/Linux. The rest is identical.

DaVinci Resolve’s Universal and Global Shortcuts (Every Page)

These work no matter which page you are on. They are the connective tissue of a Resolve session.
ActionMacWindows / Linux
Switch to Media pageShift+2Shift+2
Switch to Cut pageShift+3Shift+3
Switch to Edit pageShift+4Shift+4
Switch to Fusion pageShift+5Shift+5
Switch to Color pageShift+6Shift+6
Switch to Fairlight pageShift+7Shift+7
Switch to Deliver pageShift+8Shift+8
New projectCmd+NCtrl+N
Save projectCmd+SCtrl+S
Project ManagerShift+1Shift+1
Project SettingsShift+9Shift+9
PreferencesCmd+,Ctrl+,
Quit ResolveCmd+QCtrl+Q
Full screen viewerCmd+FCtrl+F
Cinema viewerCmd+Shift+FCtrl+Shift+F
Undo / RedoCmd+Z / Cmd+Shift+ZCtrl+Z / Ctrl+Shift+Z

DaVinci Resolve’s Media Page Shortcuts: Import, Organize, and Tag Faster

The Media page is where projects start. Most editors think of it as a click-heavy area, but a few shortcuts turn it into a quick keyboard playground for ingest and organization.
ActionMacWindows / Linux
Import mediaCmd+ICtrl+I
Import folderCmd+Shift+ICtrl+Shift+I
New binCmd+Shift+NCtrl+Shift+N
New smart binCmd+Option+NCtrl+Alt+N
Show / Hide Metadata panelCmd+0 (zero)Ctrl+0
Show / Hide Audio panelCmd+Option+1Ctrl+Alt+1
Toggle clip thumbnail viewShift+5Shift+5
Find mediaCmd+FCtrl+F
Add to current timelineCmd+ECtrl+E
Mark flag on selected clipGG
Add clip colorShift+1 to Shift+8 (within color picker)Same
If you ingest from cards, learn Cmd/Ctrl+Shift+I (Import Folder) and Cmd/Ctrl+I in pairs. Most days you will not touch the mouse for media ingest at all.

DaVinci Resolve’s Cut Page Shortcuts: Fast Rough-Cut Editing

The Cut page is Blackmagic’s answer to the question “what if editing was as fast as scrolling through phone footage?” It is designed for speed, and that includes a tight, opinionated shortcut set. Resolve 19 and 20 added several upgrades, including expanded JKL dynamic trim and the much-requested per-track ripple options.
ActionMacWindows / Linux
Source Tape viewShift+3 (within Cut)Shift+3
Append clip to end of timelineEE
Smart Insert (between clips)F9F9
Place on TopF12F12
Source OverwriteF10F10
Close Up editOption+YAlt+Y
Split clip at playheadCmd+BCtrl+B
Trim modeTT
Dynamic JKL Trim (Resolve 19+)W (toggle) then J/K/L on edit pointSame
Roll editCmd+T then drag (or U)Ctrl+T then drag
Toggle Sync BinCmd+B (in viewer area)Ctrl+B
Mark Cut (asymmetric trim)XX
Quick ExportCmd+ECtrl+E
The Cut page is the only page where the Resolve Cut keyboard preset really shines. If you spend most of your time here, switching presets is worth it. We cover how in the customization section.

DaVinci Resolve’s Edit Page Shortcuts: Professional Timeline Editing

The Edit page is where most professional editors live, and it has the deepest shortcut set in the entire application. Learn this list and your timeline work will feel like instinct.

Source and Timeline Navigation

ActionMacWindows / Linux
Go to start of timelineHomeHome
Go to end of timelineEndEnd
Next edit / Previous editDown / Up arrowDown / Up arrow
Forward / Back one frameRight / Left arrowRight / Left arrow
Forward / Back one secondShift+Right / Shift+LeftShift+Right / Shift+Left
Jump to Mark In / Mark OutShift+I / Shift+OShift+I / Shift+O
Clear In and OutOption+XAlt+X

Editing Operations

ActionMacWindows / Linux
InsertF9F9
OverwriteF10F10
ReplaceF11F11
Fit to FillShift+F11Shift+F11
Place on TopF12F12
Ripple OverwriteShift+F10Shift+F10
Append at end of timelineShift+F12Shift+F12
Add EditCmd+\Ctrl+\
Add Transition (Standard)Cmd+TCtrl+T
Add Video-only TransitionOption+TAlt+T
Add Audio-only Transition (cross-fade)Shift+TShift+T
Link / Unlink clipsCmd+Option+LCtrl+Alt+L
Group / Ungroup clipsCmd+G / Cmd+Shift+GCtrl+G / Ctrl+Shift+G

Tools

ActionMacWindows / Linux
Selection (Arrow) toolAA
Trim Edit modeTT
Blade Edit modeBB
Selection Mode (Range)RR
Slip tool (in Trim mode)SS
Slide toolShift+SShift+S
Toggle Live Preview / Trim viewerShift+WShift+W
Editor's hands on a mechanical keyboard with the DaVinci Resolve Edit page timeline visible on a monitor in the background.

Trimming and JKL Playback: The Pro Editor’s Superpower

If there is one set of shortcuts that separates pros from beginners, it is the JKL trimming workflow. JKL by themselves play backward, stop, and play forward. But layered onto trim mode they become a full keyboard-only fine-cutting system. This is the reason senior editors barely touch the mouse.
ActionMacWindows / Linux
Play backward / stop / forwardJ / K / LJ / K / L
Double / triple speed playbackTap J or L twice/three timesSame
Slow scrub backward / forwardK+J / K+L (hold)Same
Frame-by-frameK+J tap / K+L tapSame
Select nearest edit (in Trim mode)VV
Cycle through edit-point sides (Out / Both / In)UU
Trim left edit by one frame,,
Trim right edit by one frame..
Trim by five framesShift+, / Shift+.Same
Dynamic JKL Trim (perform live)W to enable, then J/K/L over the editSame
The pro workflow is: navigate with JKL, hit V to grab the nearest cut, hit U until the right side is selected, then dynamic-trim with J or L until it feels right. With practice you will cut a sequence end to end without your hand leaving home row.

DaVinci Resolve’s Fusion Page Shortcuts: VFX, Compositing, and Nodes
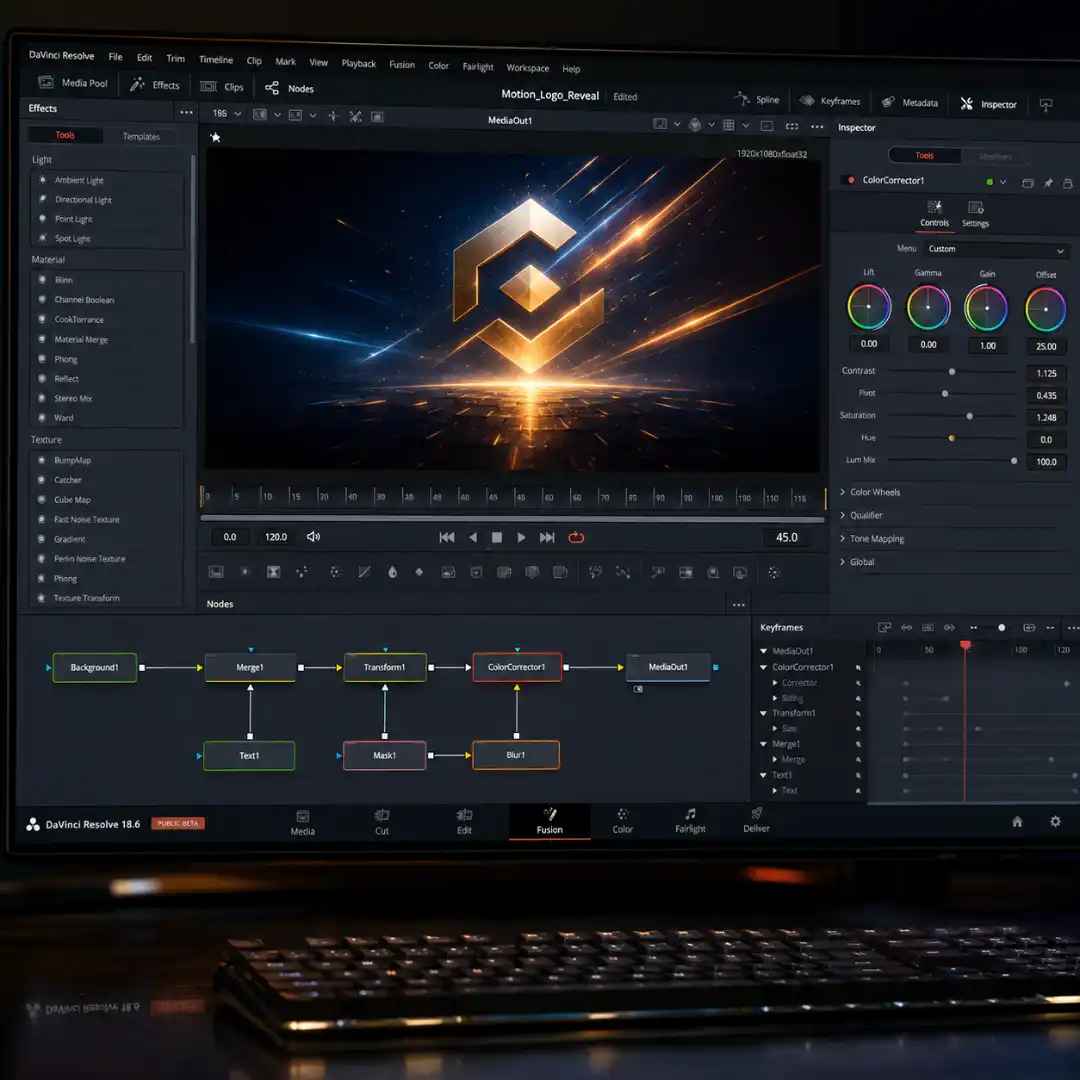
Fusion is a node-based compositor with its own shortcut universe. These are the ones that pay back the fastest.
ActionMacWindows / Linux
Add Background nodeCmd+Space then type "bg"Ctrl+Space then type "bg"
Add tool / search nodesShift+SpaceShift+Space
Add Merge node between selectedShift+M (with two nodes selected)Shift+M
Add Transform nodeShift+TShift+T
Add Color Corrector nodeShift+CShift+C
Add Paint nodeShift+PShift+P
Add Polygon maskShift+GShift+G
Add Bezier maskShift+BShift+B
Add B-Spline maskShift+NShift+N
View node in Viewer 1 / 21 / 2 (on selected node)1 / 2
Disconnect viewersCmd+1 or Cmd+2Ctrl+1 or Ctrl+2
Pan node graphMiddle-mouse drag or hold MSame
Zoom to fit graphCmd+F (in node area)Ctrl+F
Set keyframeSpline editor: KSame
Disable nodeCmd+PCtrl+P
Lock selected nodeCmd+LCtrl+L
Rename selected nodeF2F2
If you do a lot of motion graphics inside Resolve, the node-structure habits we cover here apply in Fusion too: smaller, named, single-purpose nodes age far better than one big tangled tree.
DaVinci Resolve Fusion page node graph and viewer showing a clean compositing setup for a logo reveal.
DaVinci Resolve Fusion page node graph and viewer

DaVinci Resolve’s Color Page Shortcuts: Nodes, Power Windows, Qualifiers, and Comparisons

The Color page is where Resolve’s reputation was built, and it is the page where shortcuts deliver the biggest speed gain because so many controls are buried behind icons.

Nodes

ActionMacWindows / Linux
Add Serial node (after current)Option+SAlt+S
Add Parallel nodeOption+PAlt+P
Add Layer nodeOption+LAlt+L
Add Outside nodeOption+OAlt+O
Add Serial node beforeOption+Shift+SAlt+Shift+S
Add Splitter / CombinerOption+YAlt+Y
Disable / enable current nodeCmd+DCtrl+D
Disable all gradesShift+DShift+D
Reset current nodeCmd+HomeCtrl+Home
Reset all gradesCmd+Shift+HomeCtrl+Shift+Home
Toggle Bypass color gradesShift+DShift+D

Power Windows, Qualifiers, and Tracking

ActionMacWindows / Linux
Show / Hide Windows panelCmd+0Ctrl+0
Show / Hide Qualifier panelCmd+8 (varies, customize)Same
Highlight (show qualifier selection)Shift+HShift+H
Track forward (Window)Option+TAlt+T
Track backwardOption+Shift+TAlt+Shift+T
Add keyframe (Dynamic)Cmd+[Ctrl+[
Add static keyframeCmd+]Ctrl+]

Stills, Versions, and Comparison

ActionMacWindows / Linux
Grab stillOption+GAlt+G
Wipe still on/offCmd+WCtrl+W
Next / Previous stillOption+N / Option+BAlt+N / Alt+B
Add new versionCmd+YCtrl+Y
Apply grade from one clip upCmd+Option+UpCtrl+Alt+Up
Apply grade from two clips upCmd+Option+DownCtrl+Alt+Down
Compare with reference (offline)Cmd+Shift+WCtrl+Shift+W
If you grade for a living, pair these with the techniques in our DaVinci Resolve color grading for beginners guide, and learn to color match footage from different cameras using the same shortcut-driven node workflow.
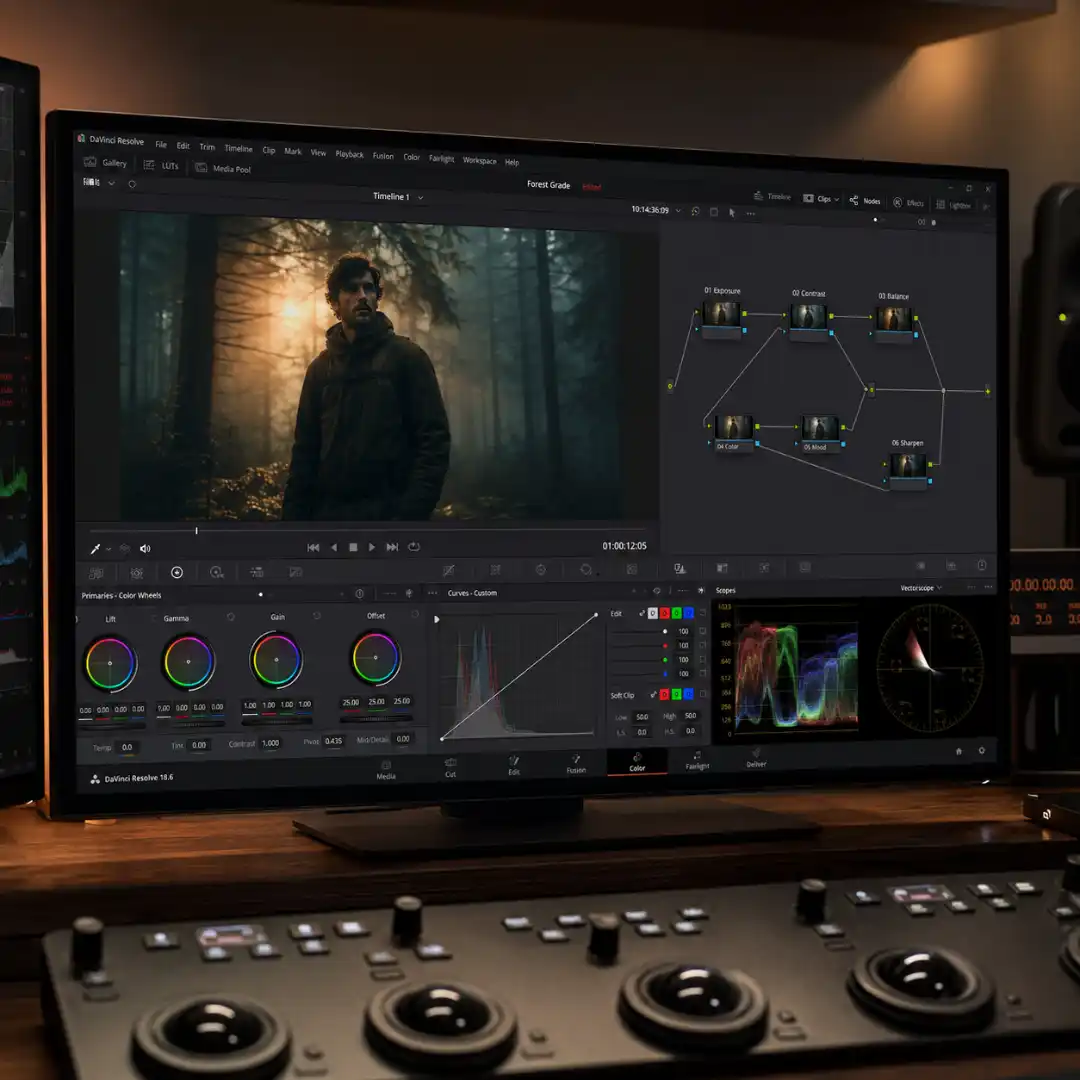
DaVinci Resolve Color page showing a cinematic portrait grade with multiple nodes, color wheels, and scopes.
DaVinci Resolve Color page

DaVinci Resolve’s Fairlight Page Shortcuts: Audio Editing, Mixing, and Keyframes

Fairlight is Resolve’s full DAW. Even if you only use it for dialogue cleanup, these shortcuts save enormous time.
ActionMacWindows / Linux
Toggle MixerOption+1Alt+1
Toggle IndexShift+F4Shift+F4
Toggle MetersOption+2Alt+2
Add Track (mono / stereo / 5.1)Cmd+Option+T (then choose)Ctrl+Alt+T
Solo selected trackSS
Mute selected trackMM
Add keyframe at playheadOption+\Alt+\
Trim by frame, and ., and .
Slip audioComma / Period with selectionSame
Toggle Auto-track SelectorOption+AAlt+A
Toggle SnappingNN
Record Arm selected trackRR
Record / StopCmd+R / Cmd+. (period)Ctrl+R / Ctrl+.
Loop playback/ (forward slash)/
Bounce selected clipOption+BAlt+B

DaVinci Resolve’s Deliver Page Shortcuts: Render Queue and Export

The Deliver page has fewer shortcuts but they matter at the end of every project.
ActionMacWindows / Linux
Add to Render QueueCmd+Shift+R (varies, set in prefs)Ctrl+Shift+R
Start / Stop RenderCmd+RCtrl+R
Toggle Render SettingsCmd+0Ctrl+0
Switch between Individual Clips / Single Clip modeClick in render settings (no default hotkey, easy to map)Same
Quick Export (any page)Cmd+ECtrl+E
When you reach the Deliver page, lean on our best DaVinci Resolve export settings for YouTube, Instagram, and TikTok guide to dial in the right codec, bitrate, and resolution before you hit Cmd/Ctrl+R.

Keyboard Layout Presets Compared

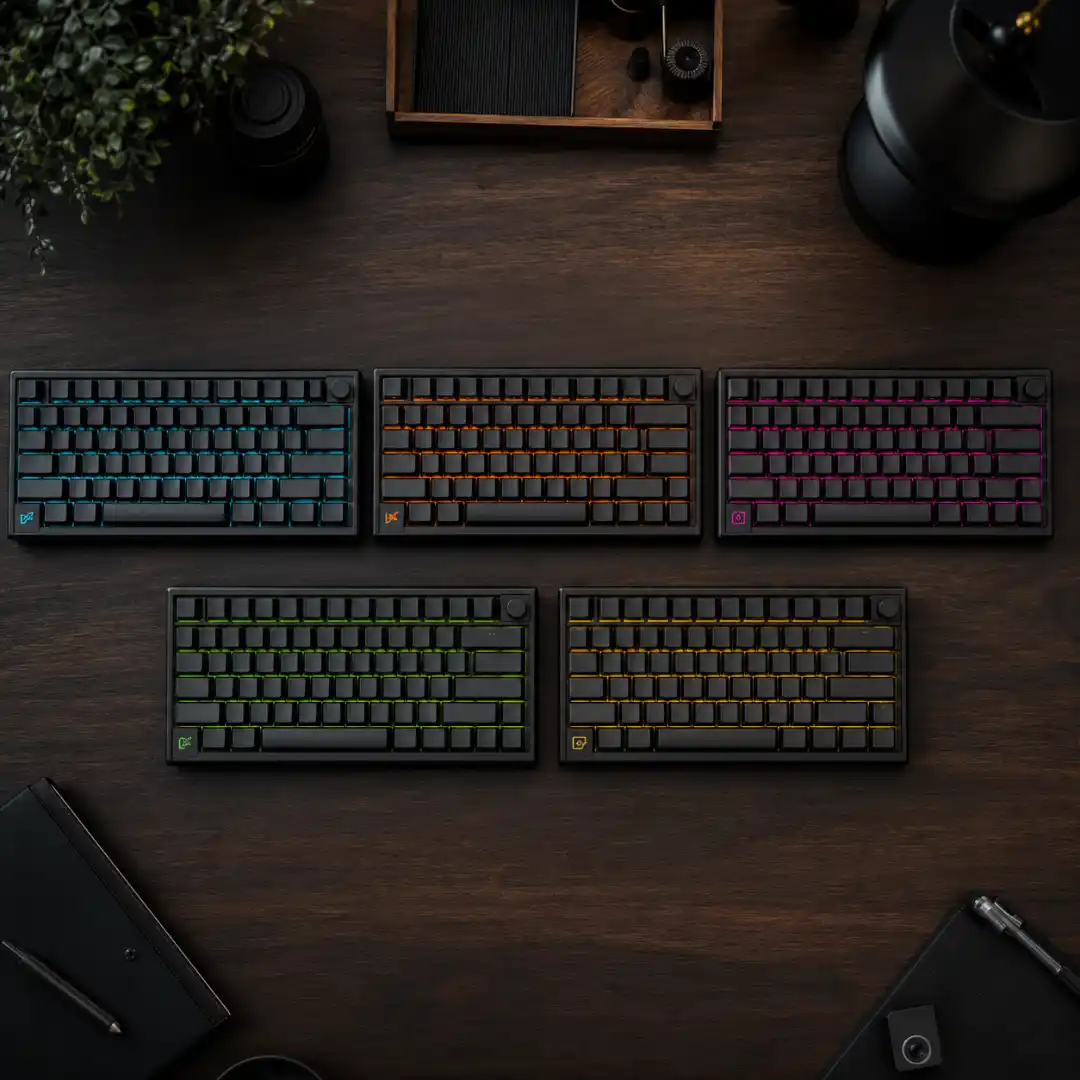
Resolve ships with five keyboard layout presets you can choose between in Keyboard Customization. Picking the right one cuts learning time dramatically if you are coming from another NLE.
PresetBest ForKey DifferencesSwitch Cost
DaVinci Resolve (default)New editors, colorists, anyone learning Resolve freshJKL standard, F9/F10/F11 for edits, Cmd+B for blade, T for trimNone
DaVinci Resolve CutCut-page-first editing, Speed Editor users, news/sports/socialEmphasizes append, source-tape, smart insert; fewer modifier-heavy combosLow if you mostly use Cut page
Adobe Premiere ProEditors switching from PremiereCtrl+K for blade, Ctrl+D for transitions, V/A/C tool keysLowest for ex-Premiere users; some color-page shortcuts still differ
Final Cut Pro 7Editors from legacy FCP7 / classic film cuttersBCV tool keys, classic trim modelNiche but excellent if FCP7 was your home
Avid Media ComposerEditors from broadcast / feature Avid backgroundsThree-button trim, source/record decks, IN/OUT logicSmooth if you grew up in Avid
To switch: DaVinci Resolve menu (Mac) or File menu (Windows) > Keyboard Customization > Preset dropdown in the top-right. Pick a preset, then Save As your own copy so you can edit on top of it without losing the original.
Five mechanical keyboards arranged on a dark desk representing the five DaVinci Resolve keyboard layout presets.

How to Switch DaVinci Resolve to Premiere Pro Shortcuts

If you are migrating from Premiere Pro and the cognitive load of relearning shortcuts is what is keeping you from making the jump (a common reason editors hesitate, as we cover in DaVinci Resolve vs Premiere Pro), here is the fix.

  1. Open DaVinci Resolve > Keyboard Customization (Cmd+Option+K on Mac, Ctrl+Alt+K on Windows).
  2. In the top-right Preset dropdown, choose Adobe Premiere Pro.
  3. Click Save As, name your preset something like “Premiere + my tweaks”.
  4. Edit any individual shortcut by clicking it and pressing the new combo.
  5. Click Save.

This instantly remaps Ctrl/Cmd+K to blade, V/A/C to tool keys, and dozens of other Premiere-flavored bindings. The Color and Fusion pages stay Resolve-native because Premiere has no equivalent, which is good because those are the pages where Resolve actually outclasses Premiere.

If you ever want to revert, just choose DaVinci Resolve from the same Preset dropdown.

How to Create Your Own Custom Keyboard Shortcuts

Custom shortcuts are where editors stop being users and become craftsmen. Here is the workflow.

  1. Open Keyboard Customization (Cmd+Option+K / Ctrl+Alt+K).
  2. In the left pane, choose the page you want to customize (Edit, Color, Fairlight, and so on). Each page has its own shortcut layer.
  3. Type a command name into the search box (for example: “trim”, “node”, “render”).
  4. Click the command, then click the keyboard combo field on the right.
  5. Press your desired combo. If the combo is in use, Resolve will warn you and offer to reassign.
  6. Click Save As to create a new preset (do not overwrite the originals).
  7. Export the preset (gear icon) so you can carry it between machines.

A few high-leverage custom shortcuts most pros set:

  • Single-key shortcut for Add Edit (default Cmd+\ is awkward). Map it to a function key.
  • Single-key shortcut for Append at End (Shift+F12 by default).
  • One-key Render Queue add.
  • A modifier-free Render Cache toggle for big timelines.
  • A custom “Reset all color grades” key (only useful for colorists, dangerous for editors).

For an external resource, the Blackmagic forum has long threads of community-shared keymaps, and a few editors share their .txt keymap files on GitHub for direct import.

DaVinci Resolve Keyboard Customization window open on a monitor in a professional editing suite.
DaVinci Resolve Keyboard Customization window

What Is New in DaVinci Resolve 20 Shortcuts (and Unique Shortcuts from Earlier Versions)

Resolve 20 (released late 2025) refined rather than overhauled the shortcut set, but there are a few additions worth knowing, plus a few legacy shortcuts unique to specific older versions.

New in Resolve 20

  • Dedicated AI-assist shortcuts for the new generative panel (default Option+M / Alt+M, customizable).
  • Improved per-track ripple shortcut grouping on the Cut page.
  • New Fusion Quick Export macro shortcuts (still customizable, no defaults in some installs).
  • Updated Fairlight Voice Isolation toggle hotkey.

Notable in Resolve 19

  • Dynamic JKL Trim properly works on every edit point, not just the closest.
  • A new Shift+W toggle for the Trim Preview viewer.
  • Color page Magic Mask received a tracking shortcut (Option+T behavior expanded).

Unique to Resolve 18

  • Several Object Mask shortcuts that were renamed in 19 and 20.
  • A different default for the Render In Place command.

Resolve 17 and earlier

  • Older Fairlight ADR shortcuts that were partially reassigned in 18.
  • The Resolve 14 era PDF cheat sheets (often shared online via Logickeyboard) reference some shortcuts that no longer exist, including legacy Edit Index hotkeys. Be wary of those cheat sheets if you are on a modern version.

When in doubt, the source of truth is your own Keyboard Customization panel. If a key is listed there, it works in your version.

Best Shortcuts for Beginners

If you are brand new, do not try to learn the whole list. Drill these in your first two weeks:

  • Space (Play/Pause), J/K/L (Playback), I/O (Mark In/Out)
  • Cmd/Ctrl+B (Blade), Shift+Delete (Ripple Delete), N (Snap)
  • A (Selection), T (Trim), B (Blade), R (Range)
  • F9/F10/F11 (Insert/Overwrite/Replace)
  • Cmd/Ctrl+Z (Undo), Cmd/Ctrl+S (Save), Shift+1 through Shift+8 (Switch pages)
  • Shift+Z (Zoom timeline to fit)

That is 15 to 20 keys. They will carry you through the entire foundational learning curve described in our DaVinci Resolve for Beginners pillar.

Best Shortcuts for Intermediate Editors

Once the basics are in your fingers, layer these in:

  • U (cycle edit-side in trim), V (select nearest edit), W (dynamic JKL trim)
  • Cmd/Ctrl+T (transition), Option/Alt+T (video-only transition), Shift+T (audio crossfade)
  • Cmd/Ctrl+\ (add edit), Cmd/Ctrl+G (group), Cmd/Ctrl+Option/Alt+L (link)
  • Option/Alt+S (new serial node), Cmd/Ctrl+D (disable node), Shift+D (bypass grades)
  • Option/Alt+G (grab still), Cmd/Ctrl+W (wipe still)
  • Cmd/Ctrl+E (Quick Export)

These shortcuts unlock real timeline performance and clean color work.

Best Shortcuts for Advanced Colorists and Finishers

For finishing artists, this list compresses days of grading into hours:

  • All node operations (Option/Alt+S, P, L, O, Y, Shift+S)
  • Cmd/Ctrl+[ and Cmd/Ctrl+] (dynamic and static keyframes)
  • Option/Alt+T and Option/Alt+Shift+T (Window tracking forward/back)
  • Cmd/Ctrl+Option/Alt+Up/Down (apply grade from previous clips)
  • Cmd/Ctrl+Y (new version), Option/Alt+N and Option/Alt+B (next/previous still)
  • Shift+H (highlight qualifier selection)
  • Fairlight: Option/Alt+\ (audio keyframe), R (record arm), Cmd/Ctrl+R (record)

Layer these with custom-mapped macros for your most repetitive looks and you will outpace any mouse-driven colorist in your timezone.

DaVinci Resolve Speed Editor Shortcuts (and Keyboard Equivalents)
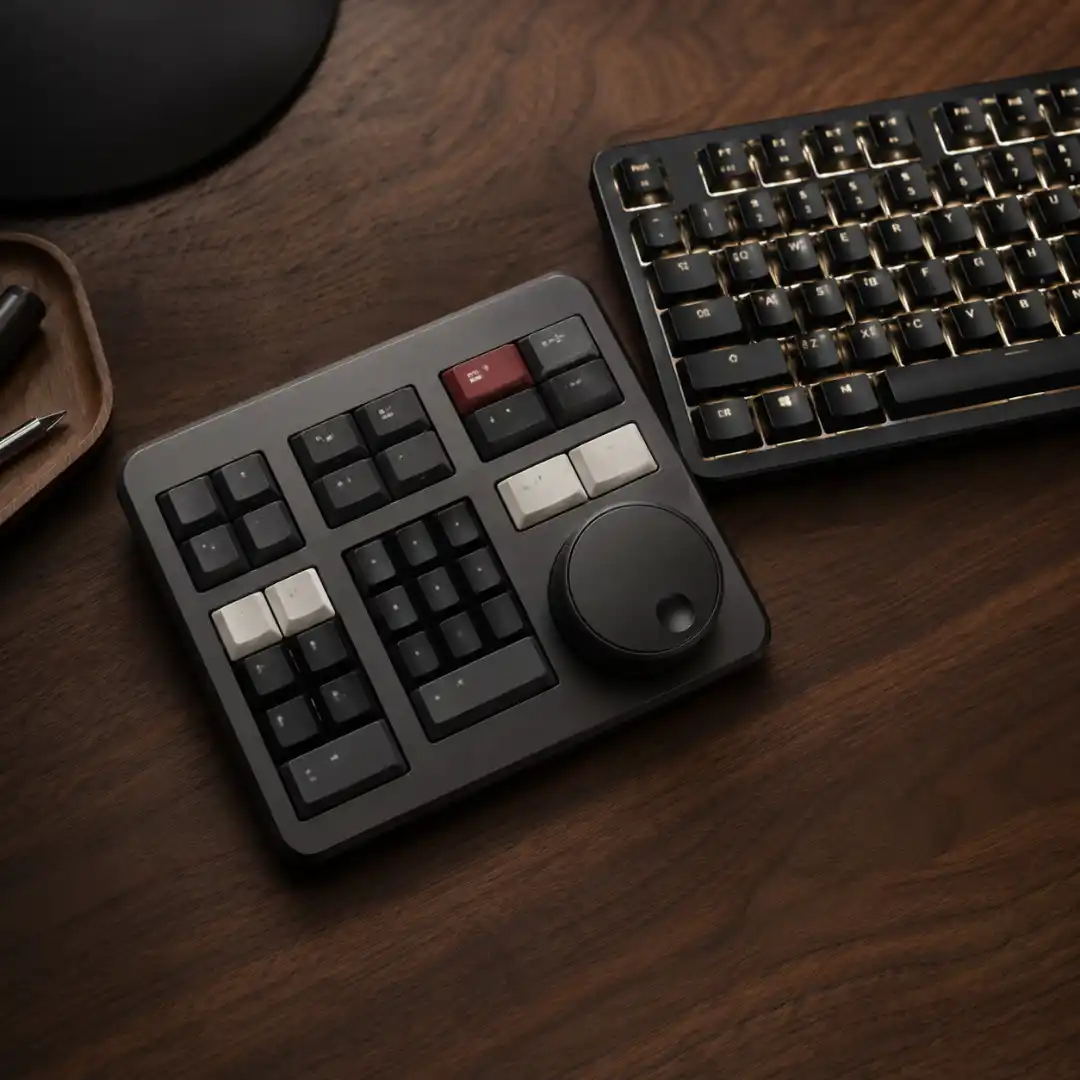
The DaVinci Resolve Speed Editor is a hardware controller designed for the Cut page. Its buttons are essentially the Cut page shortcut set, with a dedicated search dial and trim shuttle. If you do not own the Speed Editor, every action it performs has a keyboard equivalent.
Speed Editor buttonKeyboard equivalent
SOURCE / TIMELINEQ (toggle viewer)
SMART INSERTF9
APPENDE
RIPL OVERWRITEShift+F10
CLOSE UPOption/Alt+Y
PLACE ON TOPF12
SOURCE OVERWRITEF10
IN / OUTI / O
TRIM IN / TRIM OUTU (cycle), then ,/.
ROLLU + drag (or arrow keys in Trim mode)
SLIP SOURCE / DESTS in Trim, Shift+S Slide
CAM 1 to CAM 9 (Multicam)1 to 9 in multicam viewer
LIVE OVERWRITECustom map; default uses transport
SEARCH DIALJ / K / L
We go deeper on the hardware itself in our upcoming DaVinci Resolve Speed Editor review.
The DaVinci Resolve Speed Editor controller next to a backlit mechanical keyboard on a dark wooden desk.
The DaVinci Resolve Speed Editor controller

How to Troubleshoot Shortcuts That Do Not Work

Five of the most common reasons a Resolve shortcut suddenly stops working, and the fix for each.

  1. You switched to a different page. Most shortcuts are page-specific. Check that you are on the right page (Shift+1 through Shift+8).
  2. You loaded a different keyboard preset. Open Keyboard Customization and confirm the preset name at the top.
  3. The focus is in a text field. If a clip name or search box has focus, your keystrokes go there. Click on the timeline first.
  4. The operating system claimed the combo. macOS Mission Control or Windows Game Bar can grab function keys. Reassign or disable the OS combo.
  5. A localized keyboard layout broke the combo. Some shortcuts assume a US QWERTY layout. Open Keyboard Customization and remap to keys that exist on your layout.

If none of these fix it, reset to defaults: Keyboard Customization > preset dropdown > DaVinci Resolve > Save. Then reapply your custom layer on top.

Printable DaVinci Resolve Shortcut Cheat Sheet (PDF Download)

The printable version is designed to live next to your monitor. It is organized by page (Media, Cut, Edit, Fusion, Color, Fairlight, Deliver) with the most-used shortcuts at the top of each section.

If you want to add Pixflow’s title templates to your render workflow right after you build a great timeline, our Dramatic Movie Title Templates for DaVinci Resolve collection drops into the timeline in a single drag, and once you have a hotkey mapped to it, in a single keystroke.

If shortcuts are the speed layer, these guides are the depth layer:

Conclusion

The single best investment you can make in your editing speed is learning the keyboard. Not all of it at once, just the right 20 first, then the page-specific ones for the work you actually do, then your own custom set. Within a month you will move through DaVinci Resolve like a touch typist moves through a document.

Print the cheat sheet. Tape it to the wall next to your monitor. Use it for a week, then put it away because you will not need it anymore. That is the goal.

And when you save those hours of fiddling, spend a few of them learning what to do with the time: build a better grade, refine your edit, polish your titles. We make a few of the templates that help you get there.

Disclaimer : If you buy something through our links, we may earn an affiliate commission or have a sponsored relationship with the brand, at no cost to you. We recommend only products we genuinely like. Thank you so much.

Blog Label:

Write for us

Publish a Guest Post on Pixflow

Pixflow welcomes guest posts from brands, agencies, and fellow creators who want to contribute genuinely useful content.

Fill the Form ✏
Frequently Asked Questions

JKL playback. If you only learn one, learn this one. Combined with I and O for Mark In and Mark Out, it is the foundation of every keyboard-driven workflow in the application.
Open DaVinci Resolve > Keyboard Customization (Cmd+Option+K on Mac, Ctrl+Alt+K on Windows), find the command in the search field, click it, then press your new combo. Save As to a new preset so you do not overwrite the defaults.
In Keyboard Customization, choose the Adobe Premiere Pro preset from the top-right dropdown. Resolve has the preset built in, no import file needed. Save As to a new preset if you want to layer custom changes on top.
Yes. Both presets are built into Resolve. Open Keyboard Customization and choose either Final Cut Pro 7 or Avid Media Composer from the preset dropdown.
Cmd+B on Mac, Ctrl+B on Windows or Linux. You can also press B to enter Blade tool mode, then click on the timeline to cut.
Press M to add a marker at the playhead. Press M twice to add the marker and immediately open the marker dialog to name and color it. Markers can be added in the source viewer or the timeline.
Select the clip and press Delete (or Backspace on Windows). This leaves a gap. Shift+Delete (Shift+Backspace on Windows) ripples the delete and removes the gap.
Cmd+ on Mac, Ctrl+ on Windows. This is the equivalent of the Add Edit command and works on all enabled tracks at the current playhead position.
Use Shift+1 through Shift+8 to switch between Project Manager, Media, Cut, Edit, Fusion, Color, Fairlight, and Deliver. The mappings are consistent across Mac and Windows.
J plays backward, K stops, L plays forward. Tap J or L multiple times to increase playback speed. Hold K and tap J or L for slow scrub. In Trim mode with W enabled, JKL becomes a dynamic trimming controller for live edit-point adjustment.
Open Keyboard Customization, click the preset dropdown at the top right, choose DaVinci Resolve (default), then click Save. This restores the original shortcut set.
In Keyboard Customization, click Save As after making changes, give your preset a name, and confirm. To carry the preset between machines, click the gear icon and export the preset file.
Usually one of: you are on the wrong page (most shortcuts are page-specific), the focus is in a text field, your operating system has claimed the combo, or you have loaded a different preset. Confirm each, then if needed reset the preset to DaVinci Resolve default and reapply your custom shortcuts on top.
Yes. Use the printable PDF link in the Cheat Sheet section above. The PDF is formatted for A4 and Letter paper with Mac and Windows columns side by side.
Option+S on Mac, Alt+S on Windows adds a new serial node after the current one. Option+P (Alt+P) adds a parallel node. Option+L (Alt+L) adds a layer node.
Cmd+E on Mac, Ctrl+E on Windows opens Quick Export from any page. Choose a preset (H.264, H.265, ProRes, and others) and click Export. For full control, switch to the Deliver page with Shift+8 instead.
No, it complements them. The Speed Editor is optimized for the Cut page and adds a dedicated search dial and trim shuttle, but every action it triggers has a keyboard equivalent. Many editors use both at the same time.
The layout is identical. The only difference is the modifier keys: Mac uses Cmd and Option where Windows and Linux use Ctrl and Alt. Function keys, letter keys, and number keys are the same on both platforms.