DaVinci Resolve Node Structure Explained: Serial, Parallel, and Layer Nodes
- What Are Nodes in DaVinci Resolve?
- Serial Nodes: The Backbone of Your Node Tree
- Parallel Nodes: Independent Corrections from a Clean Feed
- Layer Nodes: Priority, Stacking, and Composite Modes
- Serial vs Parallel vs Layer Nodes: Quick Comparison
- Beyond the Big Three: Outside, Keyer, and CST Nodes
- How to Structure Your Node Tree: Order of Operations
- Keyboard Shortcuts and Pro Tips
- Conclusion: Think in Ideas, Not Effects
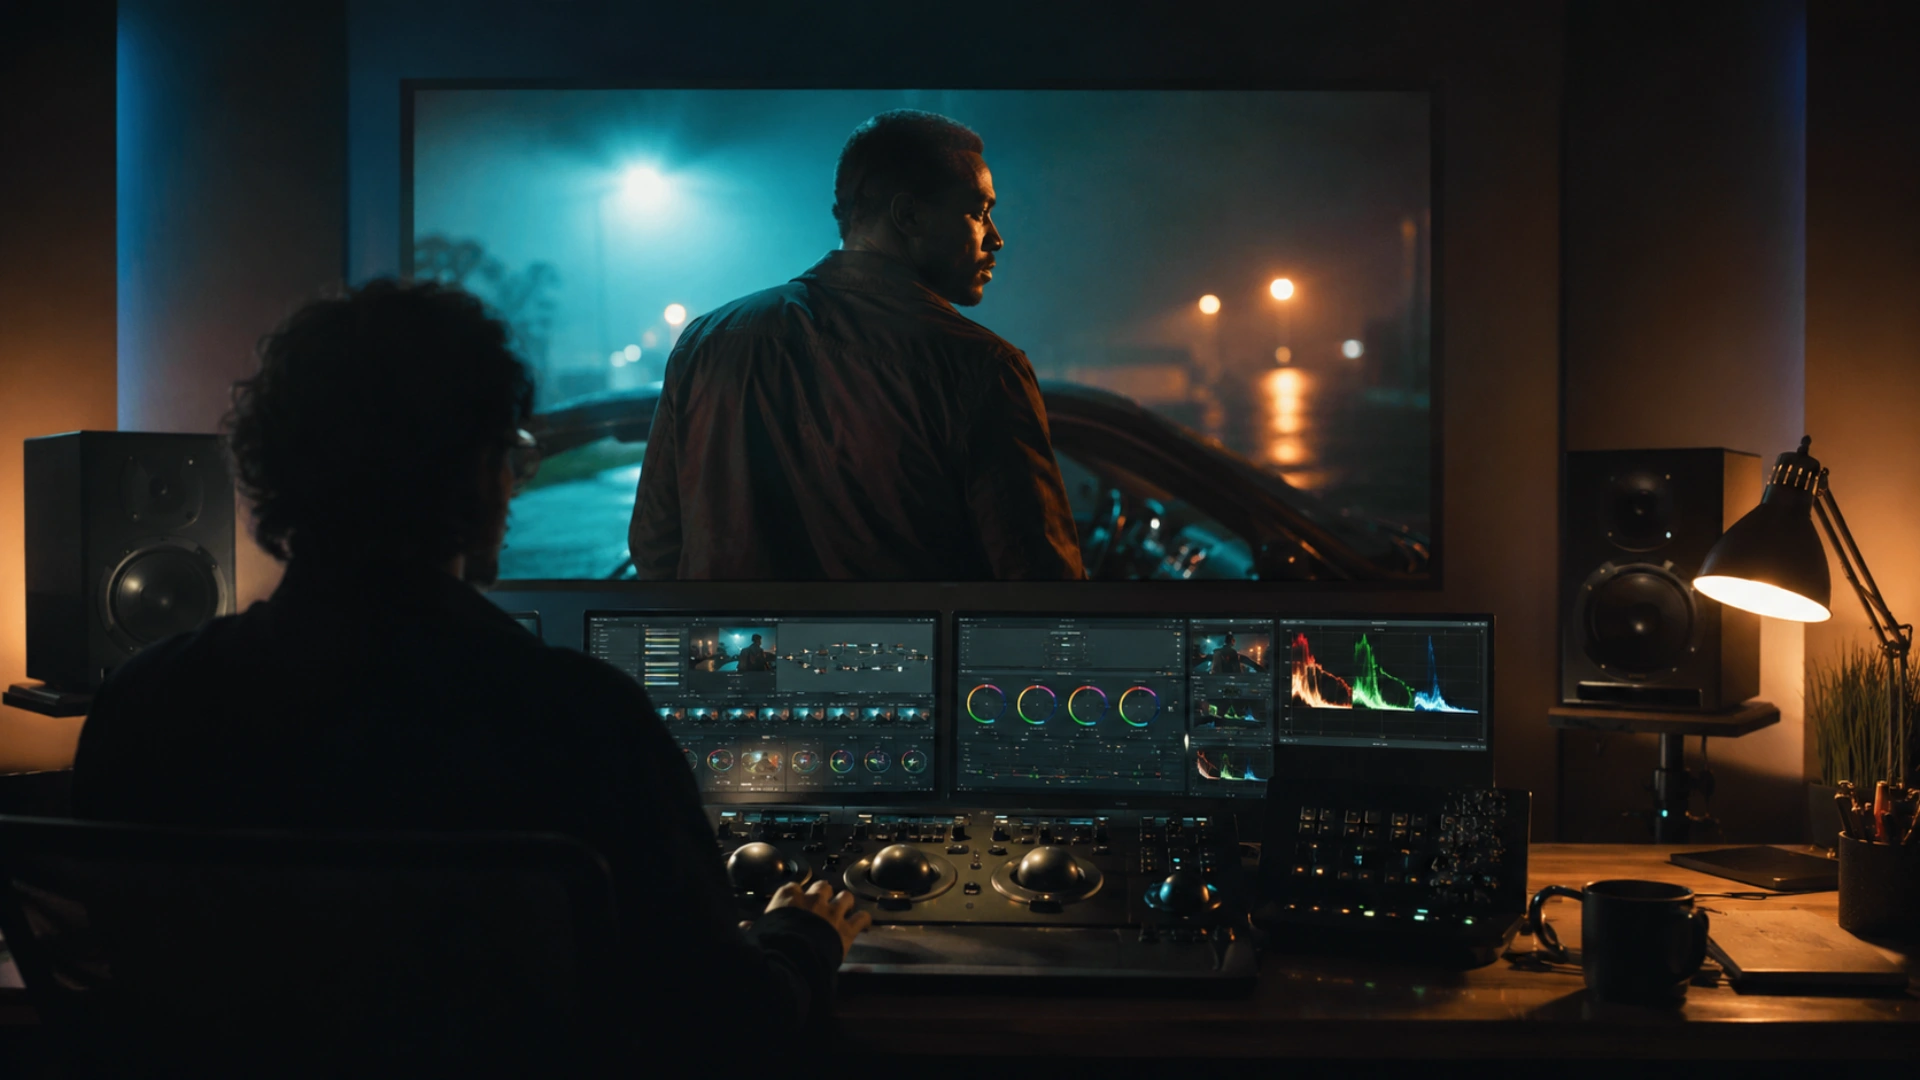
Here’s the thing: DaVinci Resolve’s node structure isn’t just a way to keep your grade tidy. It’s the actual signal path your image travels through. Understanding how serial, parallel, and layer nodes handle that signal is the difference between a node tree that falls apart when the client asks for “just one small change” and a grade you can adjust with total confidence.
In this guide, we’re breaking down exactly how each node type works, when to use each one, and how professional colorists structure a node tree from the first balancing pass to the final look. If you’re brand new to Resolve, start with our complete DaVinci Resolve beginner’s guide and come back here when you’re ready to level up your Color page game. And if you’re building full cinematic projects, assets like our Dramatic Movie Title Templates for DaVinci Resolve sit perfectly on top of a well-structured grade.
Quick answer
Serial nodes process your image one after another, so order matters. Parallel nodes feed the same source image into several corrections at once and mix the results equally. Layer nodes also run corrections side by side, but the bottom input of the Layer Mixer wins wherever adjustments overlap, and it unlocks composite modes for creative blending. Start serial, use parallel for secondaries, and reach for layers when you need priority or blend modes.
What Are Nodes in DaVinci Resolve?
Every node has four connection points:
- Green input (top left): the RGB image coming in
- Green output (top right): the processed RGB image going out
- Blue input (bottom left): the key (alpha) coming in, which limits where the correction applies
- Blue output (bottom right): the key going out, so other nodes can reuse the same selection
The node graph in the top-right corner of the Color page reads like a flowchart: your source clip enters at the left, flows through each correction, and exits at the right. One crucial mental model before we go further: nodes don’t combine corrections, they combine images. Each node outputs a fully processed image, and the structure you build decides how those images merge. That single idea explains almost everything that follows.
Two quick ground rules that professional colorists swear by:
- One node, one job. Cramming five adjustments into one node makes your grade impossible to revisit later.
- Label everything. Right-click a node, choose Node Label, and name it for the idea it contains (Exposure, Contrast, Skin, Sky).
One clarification for anyone coming from other software: these are Color page nodes for grading. The Fusion page uses its own node system for compositing and VFX, and the two work quite differently. We cover that world in our Fusion for beginners guide. And if wheels, curves, and qualifiers are still new to you, our DaVinci Resolve color grading for beginners guide covers those fundamentals.

Serial Nodes: The Backbone of Your Node Tree
That means order matters, a lot. Desaturate your image in node 1, and you can’t qualify a vibrant red in node 2, because the color information is already gone. Push a heavy creative look in node 1, and every qualifier you pull afterward is fighting that look instead of reading clean image data.
To add a serial node, press Alt+S (Opt+S on Mac). A classic starting chain looks like this:
- Exposure: set overall brightness with the Offset wheel or HDR palette
- Contrast: shape the tonal range (a pivot around 0.435 for Rec.709, or set to taste, keeps the seesaw balanced)
- Balance: neutralize color casts by adjusting the relationship between red, green, and blue
Because each idea lives in its own node, you can audition any adjustment by selecting the node and pressing Cmd/Ctrl+D to toggle it on and off. It’s the fastest way to check whether your contrast move is actually helping (trust us, your eyes adapt faster than you think).
When to use serial nodes: foundational, sequential corrections where each step should build on the last. For the majority of adjustments in most grades, serial nodes are all you need.
Parallel Nodes: Independent Corrections from a Clean Feed
Press Alt+P (Opt+P) and Resolve creates a vertical stack plus a Parallel Mixer node. Every node in the stack receives the same input image, applies its correction independently, and the mixer adds the results together mathematically before passing one combined image downstream.
Three behaviors define parallel nodes:
- Equal mixing. No node dominates; overlapping corrections blend (and opposite corrections cancel each other out).
- Order doesn’t matter. Top or bottom of the stack, the result is identical.
- Clean feeds. Each node sees the same source, so a qualifier pulled in one parallel node is never affected by changes in its siblings.
That last point solves one of the most common frustrations in Resolve. Say you qualify skin tones in a serial node, then later change the contrast in the node before it. Your carefully pulled key suddenly stops working, because it was built on an image that no longer exists. Rebuild those secondaries as parallel nodes and the problem disappears: skin, sky, and foliage each get the same stable image to key from.
So should you just build everything in parallel? It’s a genuinely debated question among colorists, and the answer is no. Primary corrections like exposure, balance, and contrast are sequential by nature: you want your contrast decision to build on your exposure decision, not fight it in an additive mix. The professional pattern is simple: serial for primaries, parallel for secondaries.
When to use parallel nodes: multiple secondary corrections (skin tones, sky, background, product color) that need to work together harmoniously from one clean source.

Layer Nodes: Priority, Stacking, and Composite Modes
Press Alt+L (Opt+L) to create a layer stack with a Layer Mixer. The rule to memorize: the node connected to the bottom input of the Layer Mixer has the highest priority. Its output sits on top of everything above it, king-of-the-hill style. Rewire the inputs and the priority follows the connection, not the node’s visual position.
That priority behavior unlocks setups that parallel nodes simply can’t do:
- Skin protection. Apply a bold creative look in the top layer, isolate clean skin tones in the bottom layer, and the skin stays untouched by the look. Dial the node’s key output down to blend it back in tastefully.
- The Sin City look. Desaturate the whole image in one layer, key a single color (that red dress) in the higher-priority layer, and it punches through the black and white.
- Selective replacement. As the classic Blackmagic forum rule of thumb puts it: parallel nodes mix corrections, layer nodes replace them.
Layer nodes come with one more superpower: composite modes. Right-click the Layer Mixer and you can blend layers with Add, Multiply, Overlay, Soft Light, and more. A favorite trick for a dreamy, diffusion-filter glow: duplicate your image into a layer node, blur the high-priority layer heavily, then set the Layer Mixer’s composite mode to Soft Light. Tame the intensity with curves and you’ve built a Pro-Mist style bloom without leaving the Color page.
Pro tip: you don’t have to choose your mixer forever. Right-click a Parallel Mixer and choose “Morph Into Layer Mixer” (or the reverse), and right-click either mixer to add more inputs. Same stack, different mixing math.
When to use layer nodes: whenever corrections must have a pecking order, when you need to protect one element from a global look, or when you want composite modes for creative blending.

Serial vs Parallel vs Layer Nodes: Quick Comparison
Beyond the Big Three: Outside, Keyer, and CST Nodes
The Outside Node
Select a node that contains a power window or qualifier and press Alt+O (Opt+O). Resolve adds an Outside node that automatically inverts the previous node’s selection: whatever the first node affected, the Outside node affects everything else.
The classic use: soften a subject’s face inside a circular window, then use the Outside node to darken everything around it and guide the viewer’s eye. The best part is that the two stay linked. Reposition or retrack the window in the first node and the Outside node updates instantly, no duplicate windows to babysit. Press Shift+H to toggle the highlight view and see exactly what each node is selecting.
The Keyer Node
Pull the same qualifier three times across a node tree and you’ll get three slightly different keys (and triple the maintenance). A Keyer node solves this: build your qualification once in a dedicated node, then feed its blue key output into the key inputs of any number of correction nodes.
One selection, shared everywhere, updated everywhere. For anything you’ll grade repeatedly across a scene, like a brand color or recurring skin tone, this keeps your node structure clean and consistent.
Color Space Transform (CST) Nodes
A CST node is a regular node carrying the Color Space Transform effect, and it’s the backbone of node-based color management. The professional pattern is a grading sandwich:
- CST In (first node): converts your camera’s log footage (S-Log3, C-Log, D-Log) into a wide working space like DaVinci Wide Gamut / DaVinci Intermediate
- Your grade: every correction happens in the wide, latitude-rich middle
- CST Out (last node): converts the finished grade to your delivery space, usually Rec.709
This is also the neighborhood where LUTs live: creative LUTs generally belong in a dedicated node near the end of the chain, after your corrections and before the output transform. We break down importing, applying, and building LUTs in our DaVinci Resolve LUTs guide, and the deeper science of ACES and wide-gamut workflows in our color management guide.
How to Structure Your Node Tree: Order of Operations
The three-stage plan almost every professional node tree follows:
- Global balancing (serial): normalize, expose, and neutralize the image to build a solid foundation
- Local corrections (parallel): fix and enhance specific regions with qualifiers and windows
- Global look (serial/layer): apply the creative grade on top, tying everything together
The most common beginner mistake is applying the creative look too early, sometimes in the very first node. Every qualifier downstream then has to fight the look, and keys get fragile or impossible. Keep the look at the end, where nothing depends on what comes after it.
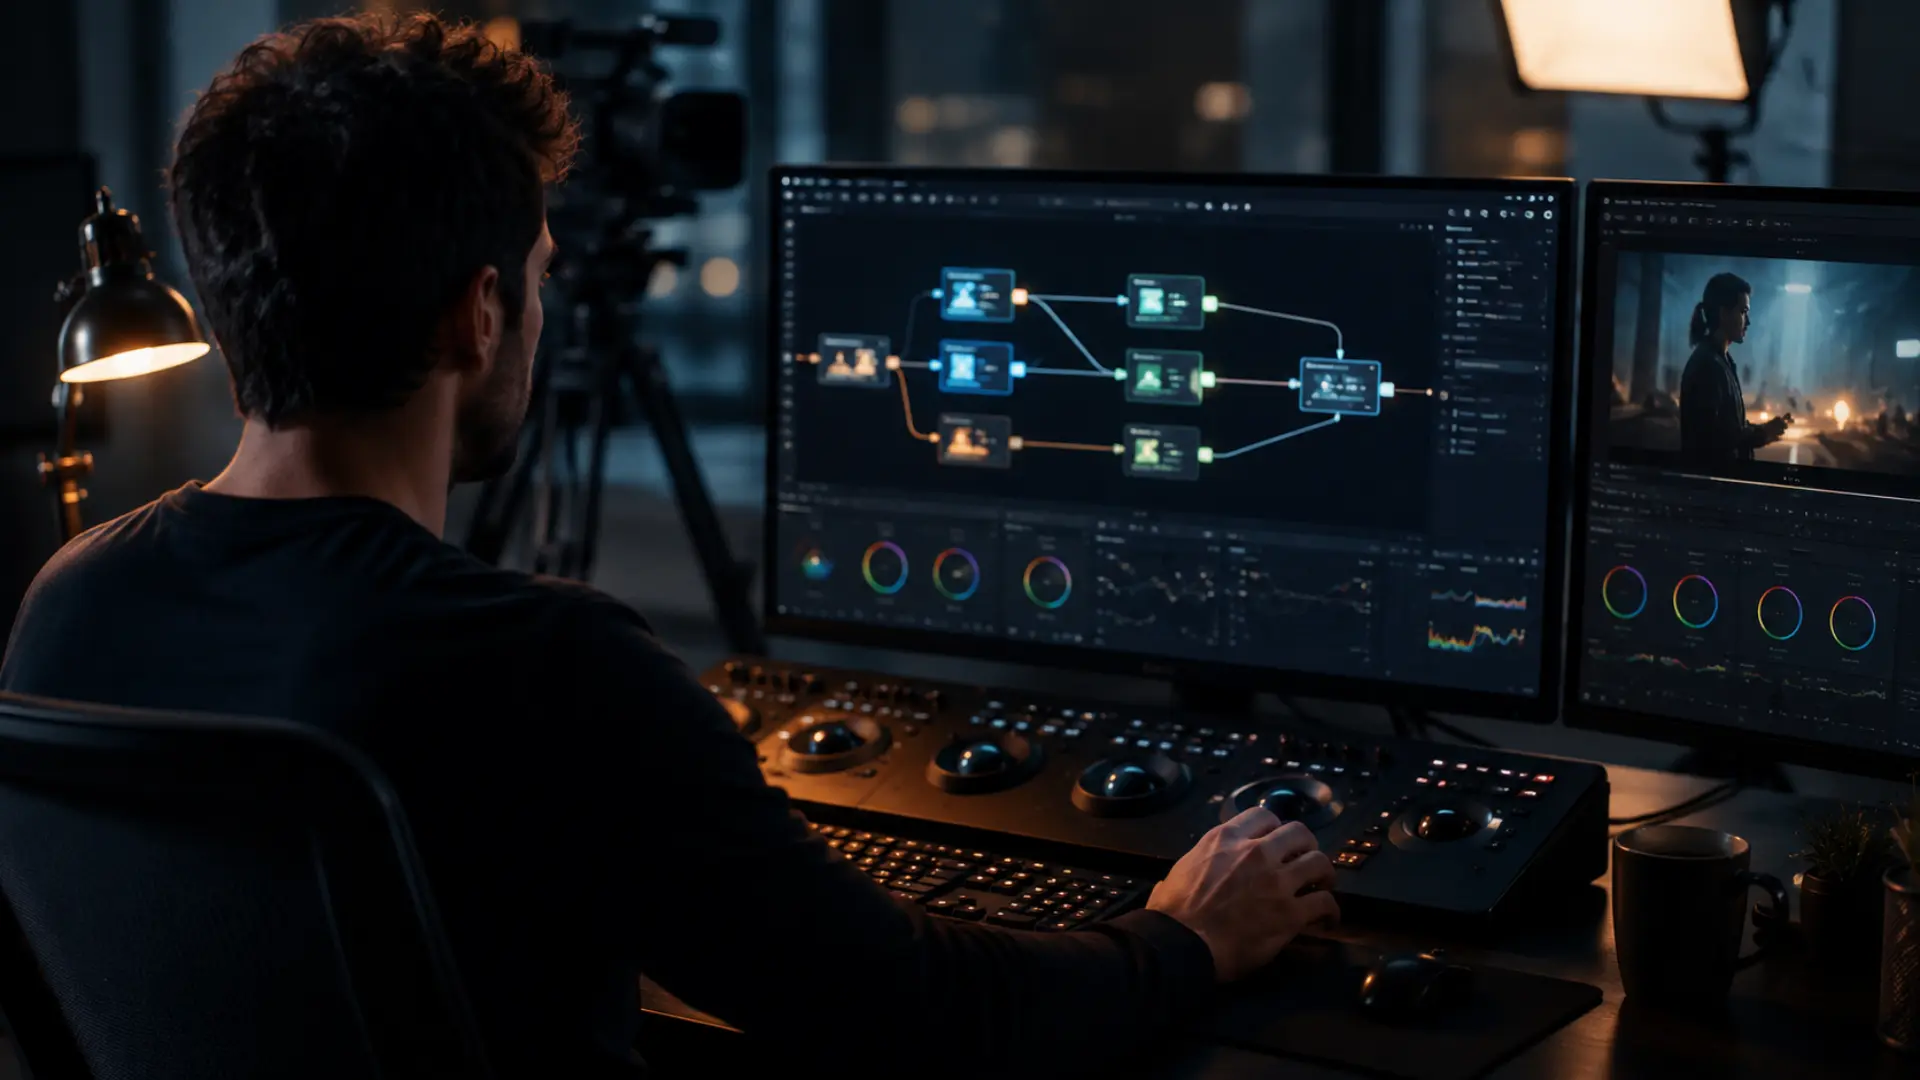
Here’s a complete node tree template you can rebuild in five minutes:
How many nodes should a grade have? Exactly as many as you have ideas. A simple interview might need four; a stylized commercial might need fifteen. What matters is that each node contains one labeled, auditable decision. And remember that a polished grade is only part of a cinematic delivery: openers and title sequences carry the same weight in the final impression, which is where our Dramatic Movie Title Templates for DaVinci Resolve slot straight into a finished timeline.
Keyboard Shortcuts and Pro Tips
- Label every node the moment you create it. Future you (and your clients’ revision rounds) will thank you.
- Use grade versions before experiments. A new version keeps your current grade safe while you try a risky idea.
- Audition constantly. Toggle individual nodes with Cmd/Ctrl+D to confirm each idea is actually earning its place.
- Morph, don’t rebuild. Right-click a mixer to convert parallel to layer (or back) and to add extra inputs.
- Save your structure. Grab a still of a finished node tree in the Gallery and apply it to new clips as a starting template.
Conclusion: Think in Ideas, Not Effects
Start your next project with the template above: balance first, secondaries in parallel, look at the end. Your grades will be cleaner, faster to revise, and far more resilient when feedback arrives. And when the grade is locked and the project needs its cinematic finishing touch, explore our Dramatic Movie Title Templates for DaVinci Resolve: 30 customizable, drama-ready titles that drop straight onto your freshly graded timeline. (Your credits sequence is waiting.)
Disclaimer : If you buy something through our links, we may earn an affiliate commission or have a sponsored relationship with the brand, at no cost to you. We recommend only products we genuinely like. Thank you so much.
Blog Label:



Write for us
Publish a Guest Post on Pixflow
Pixflow welcomes guest posts from brands, agencies, and fellow creators who want to contribute genuinely useful content.
Fill the Form ✏