DaVinci Resolve Proxy Workflow: Edit 4K and 8K Footage Smoothly on Any Computer
- What Is a Proxy Workflow in DaVinci Resolve?
- Why Your 4K and 8K Footage Stutters
- Proxy Media vs Optimized Media vs Timeline Playback Resolution
- Choose the Right Proxy Format and Resolution First
- Set Up Your Proxy Workflow (Project Settings and Preferences)
- Method 1: Generate Proxies Manually Inside Resolve
- Method 2: Batch Create Proxies with the Blackmagic Proxy Generator
- Enable and Switch Between Proxies and Originals
- Use Camera Proxies and Third-Party Proxies
- Proxies for Collaboration and Remote Editing
- Exporting: Does Resolve Use Proxies or Originals?
- Pro Tips and Troubleshooting
- Conclusion
This guide walks you through the complete DaVinci Resolve proxy workflow so you can edit heavy 4K and 8K footage smoothly on almost any computer, from a maxed-out workstation to an aging laptop. We will cover what proxies really are, why your footage stutters in the first place, which proxy format and resolution to pick, and every way to create, enable, link, and deliver proxies like a pro. If you are brand new to the software, start with our complete DaVinci Resolve beginner’s guide first, then come back here to speed things up. And when your edit is flying, you can spend your energy on storytelling and polish, adding cinematic titles from packs like the Dramatic Movie Title Templates for DaVinci Resolve instead of waiting on a spinning cursor.
What Is a Proxy Workflow in DaVinci Resolve?
Here is the key part that makes the whole thing painless: you edit with proxies, but when you export, Resolve automatically switches back to your original camera files for full quality. You get buttery-smooth playback while cutting, and a full-resolution master on delivery.
Why Your 4K and 8K Footage Stutters
Intraframe (all-I) compression
In an intraframe codec, every single frame is stored as a complete, self-contained image, like a strip of film where frame 15 is simply frame 15. Nothing needs to be reconstructed. This makes scrubbing and playback smooth, though file sizes can be larger. Common examples: Apple ProRes and Avid DNxHR.
Interframe (long-GOP) compression
Interframe codecs store groups of frames and only save what changes between them. You get three frame types:
- I-frame: a full image (largest).
- P-frame: stores only the changes from a previous frame (smaller).
- B-frame: stores changes using both previous and future frames (smallest, most complex to decode).
Common examples: H.264 and H.265 (HEVC). These make wonderfully small files, which is why cameras love them. But to show you one frame in the middle of a group, your computer has to rebuild it from the surrounding frames. That decoding work is why highly compressed 4K and 8K footage can stutter even on powerful machines.
In short: many cameras record in interframe formats because they save space, but editing software prefers intraframe formats because they are easier to decode. A proxy workflow lets you convert heavy, hard-to-decode footage into light, edit-friendly proxies. If shrinking file sizes without wrecking quality is a recurring headache for you, our guide on how to compress large video files without losing quality is a useful companion read.

Proxy Media vs Optimized Media vs Timeline Playback Resolution
Choose the Right Proxy Format and Resolution First
Best proxy format
The free version versus paid version difference matters here, because Studio unlocks better hardware decoding and higher resolutions. If you are weighing the upgrade, our DaVinci Resolve free vs Studio comparison breaks down exactly what you get.
Best proxy resolution
Set Up Your Proxy Workflow (Project Settings and Preferences)
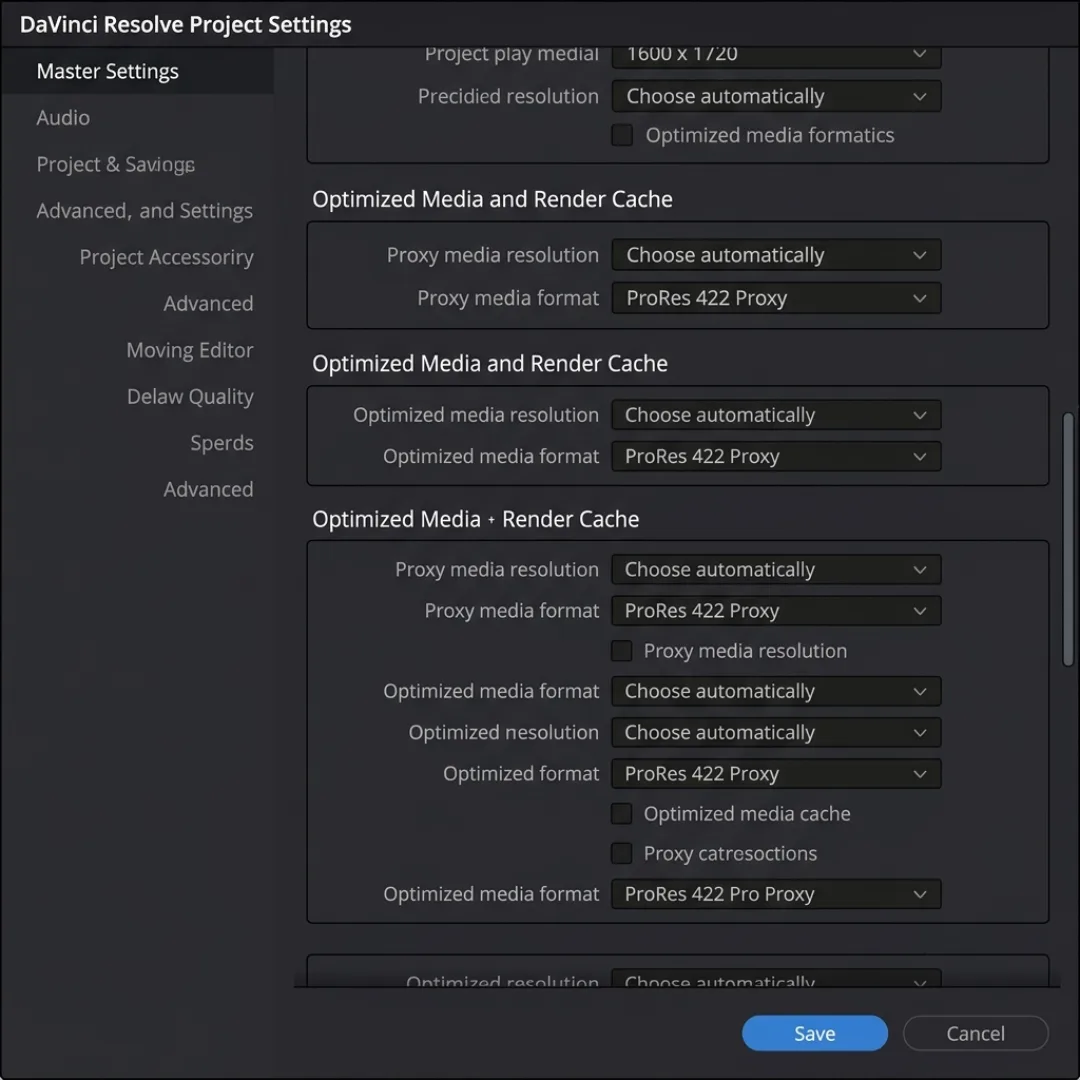
Step 1: Project Settings
- Click the gear icon in the bottom-right corner (or press Shift + 9) to open Project Settings.
- Go to Master Settings and scroll to Optimized Media and Render Cache.
- Set Proxy media resolution (Choose automatically is a good start).
- Set Proxy media format (ProRes 422 Proxy or DNxHR LB for smoothness, H.265 for tiny files).
Step 2: Preferences (where proxies get saved)
Open Preferences (top menu, or Command/Control + comma), go to System, then Media Storage, and find Proxy generation location. You get three options:
- Proxy subfolders in media file locations: saves proxies in a tidy
Proxyfolder right next to the original clips. Resolve auto-links them, and you always know where they are. This is the recommended choice for most editors. - Use project setting: follows the folder you set in Project Settings.
- Ask when creating: lets you pick a new location every time.
Keeping proxies next to your originals means Resolve can automatically relink them, and cleanup later is as easy as deleting one Proxy subfolder.
Method 1: Generate Proxies Manually Inside Resolve
- Import your footage into the Media Pool.
- Select the clips you want to convert.
- Right-click and choose Generate Proxy Media.
- Wait for the progress bar. Time depends on clip count, length, and your computer’s power.
When finished, each clip shows a small PXY icon, and a Proxy folder appears next to your footage on disk. The one downside: this method locks up Resolve while it works, so you cannot edit until it finishes. That is fine for a few clips, but painful for hundreds, which is exactly what the next method solves.
Method 2: Batch Create Proxies with the Blackmagic Proxy Generator
- Open Blackmagic Proxy Generator (search your Start menu on Windows, or Applications on Mac).
- Click Add and select the folder that holds your footage. This becomes a watch folder.
- Choose your proxy format from the menu.
- Click Start.
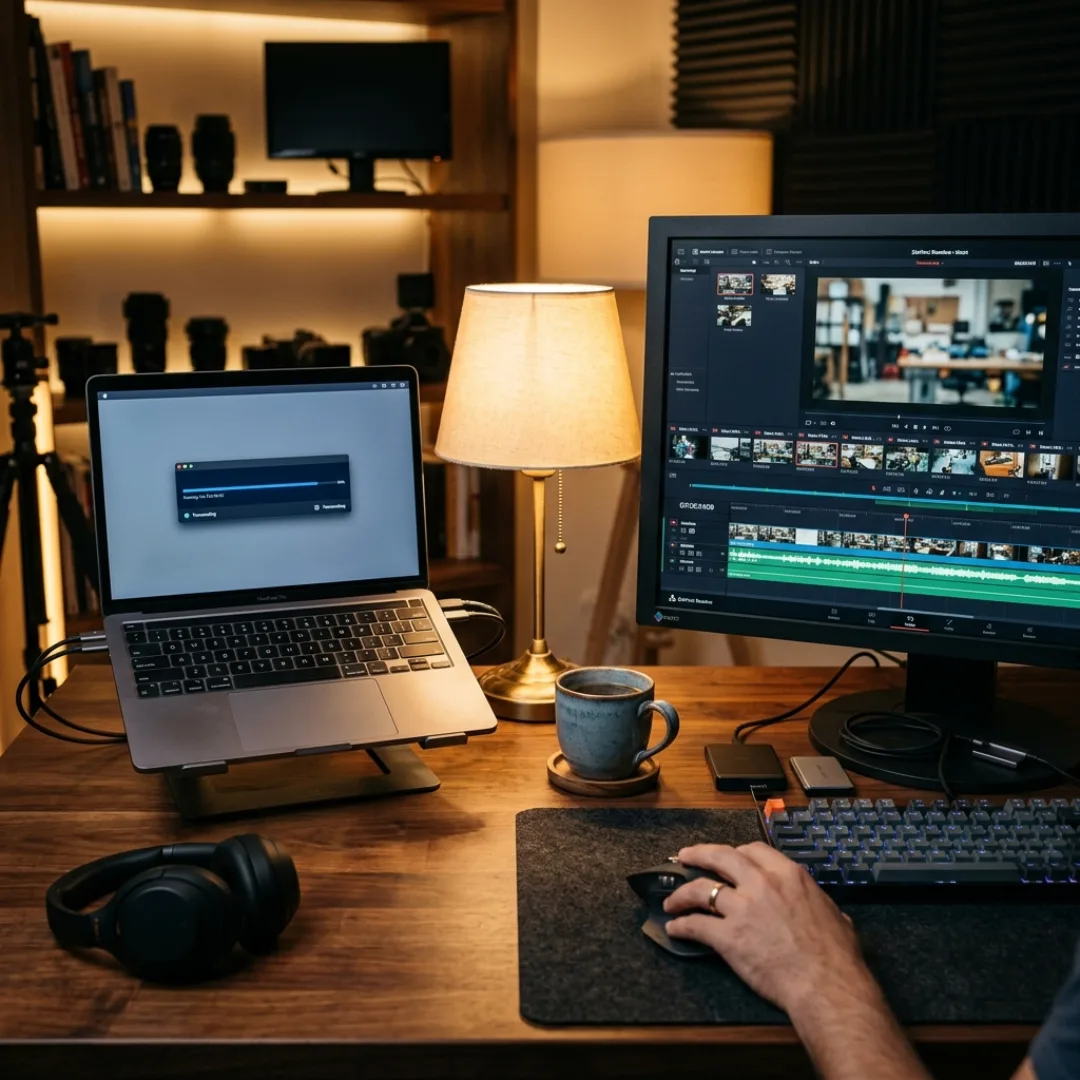
From then on, any new video dropped into that watch folder is automatically transcoded into a Proxy subfolder next to the originals, and Resolve links them for you with no manual steps. It also includes Delete Proxies (to reclaim space) and Extract Proxies (to copy proxies to a drive for a remote editor).
Enable and Switch Between Proxies and Originals
Use Camera Proxies and Third-Party Proxies
External proxies must follow three strict rules, because the whole system is driven by metadata:
- Same file name as the source (excluding the extension).
- Matching start and end timecode.
- Exactly the same frame rate.
You can also Unlink Proxy Media (this only removes the link, it does not delete the file) and Relink Proxy Media if you move proxies to a new location. Note that Resolve falls back to the original media for any clip that has no proxy, such as title cards or graphics. That is one more reason to keep drop-in assets like the Dramatic Movie Title Templates for DaVinci Resolve organized alongside your footage, so your titles stay online while your heavy clips ride on proxies.
Proxies for Collaboration and Remote Editing
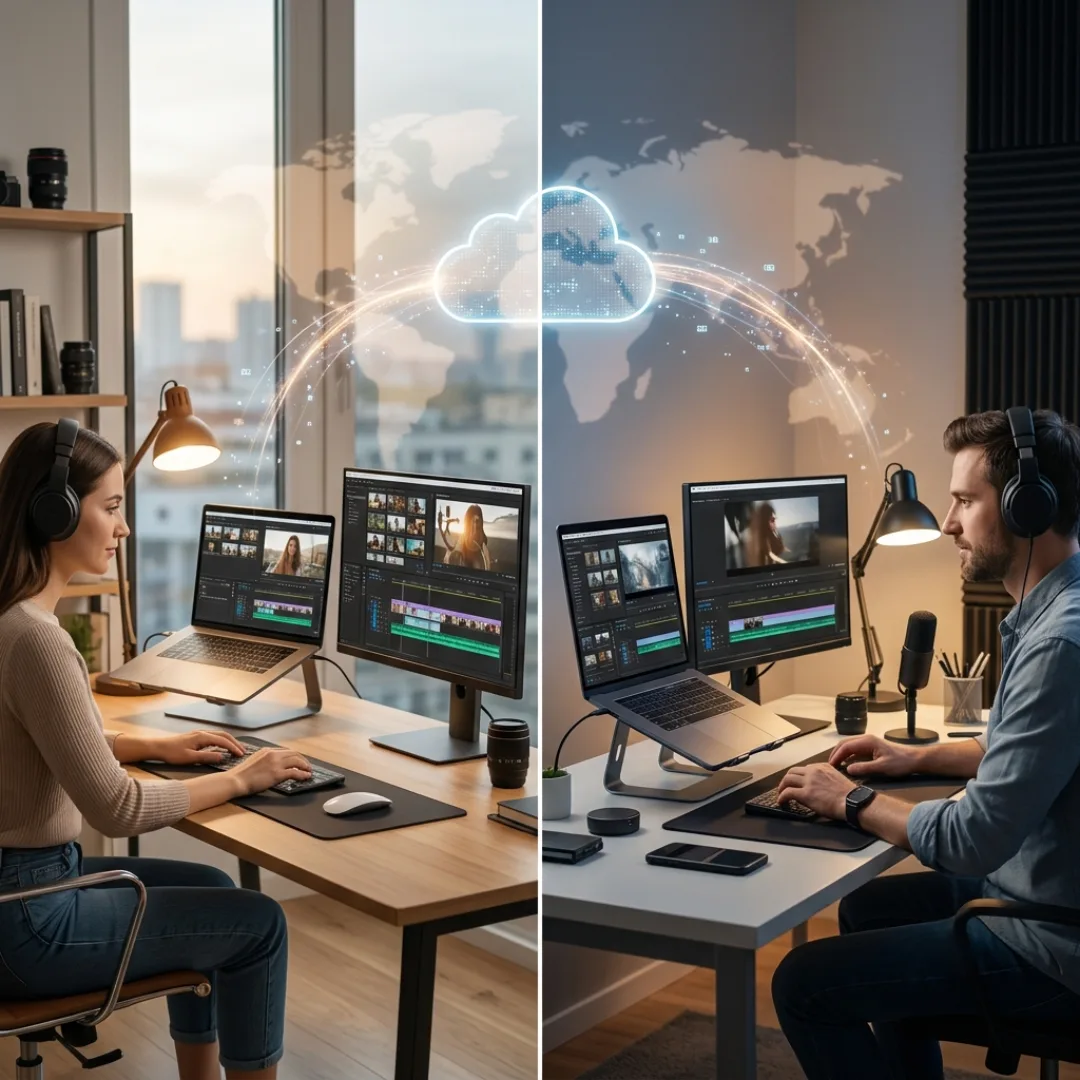
For teams, Resolve can export a proxy-only project archive:
- In the Project Manager, right-click the project and choose Export Project Archive.
- In the dialog, check Proxy Media, and uncheck Media Files (the originals) and Render Cache.
- Click OK.
Resolve builds a compact archive with the project and its proxies. If a clip has no proxy, Resolve automatically includes its original so nothing goes offline. Your collaborator downloads it, chooses Restore Project Archive, and starts editing immediately without ever touching the multi-terabyte originals. Post-production platforms such as Frame.io document similar proxy-based review and collaboration flows if you want to go deeper on team workflows.
Exporting: Does Resolve Use Proxies or Originals?
The one exception is deliberate. On the Deliver page, under a render job’s Advanced Settings, there is a checkbox labeled Use Proxy Media. Turn it on only when you want a fast, lower-quality export, for example a quick rough cut for client review under deadline. Leave it off for finals. When you are ready to lock delivery settings for YouTube, Instagram, or TikTok, our guide to the best export settings in DaVinci Resolve has you covered.
Pro Tips and Troubleshooting
One more efficiency tip: keep proxies for everything, even on a capable machine. Small files, effortless playback, and Resolve swaps them for originals on export automatically. Pair that with learning the essential keyboard shortcuts and your editing pace stops being limited by your hardware. If your slowdowns come from heavy noise reduction or effects rather than raw footage, resources like the Neat Video performance guide for Resolve are worth a look.
Still deciding whether Resolve is even the right editor for your machine and workflow? Our DaVinci Resolve vs Premiere Pro comparison lays out the trade-offs.
Conclusion
Do that, and even a modest laptop can cut 8K like butter. With smooth playback handled, the fun part is yours again: shaping the story and finishing with a professional look. Give your edits that cinematic polish with the Dramatic Movie Title Templates for DaVinci Resolve, and get back to creating instead of waiting.
Disclaimer : If you buy something through our links, we may earn an affiliate commission or have a sponsored relationship with the brand, at no cost to you. We recommend only products we genuinely like. Thank you so much.
Blog Label:



Write for us
Publish a Guest Post on Pixflow
Pixflow welcomes guest posts from brands, agencies, and fellow creators who want to contribute genuinely useful content.
Fill the Form ✏