How to Compress Large Video Files in Premiere Pro Without Losing Quality

The good news? You don’t have to sacrifice quality to reduce your video file size. This guide shows you how to compress videos in Adobe Premiere Pro without losing quality and also provides bonus tips for Final Cut Pro and DaVinci Resolve users.
We’ll break down exactly what settings to use, what compression really means, and how to get high-quality output with smaller files, perfect for sharing, uploading, or archiving. Let’s dive in!
🎬 Check out these high-quality Premiere Pro templates to elevate your videos even further before export.
Professional Premiere Pro Templates
Understanding Video Compression Basics
- Resolution: Higher resolutions (like 4K) mean more pixels per frame.
- Frame Rate: More frames per second (e.g., 60fps vs 30fps) means more data.
- Bitrate: The amount of data processed per second of video.
- Codec: The method used to encode and decode the video (e.g., H.264 or H.265).
Video compression is the process of reducing this data — through smarter encoding and bitrate control — while trying to maintain visual quality.
Key Terms:
- Codec: H.264 is the most widely supported. H.265/HEVC offers better compression but may have compatibility issues.
- Bitrate: Variable Bitrate (VBR) adapts based on the scene’s complexity. Constant Bitrate (CBR) doesn’t. Not sure whether to choose VBR or CBR? Our VBR vs CBR guide breaks down exactly which setting to use.
- Resolution & Frame Rate: 1080p at 24 or 30fps is often enough unless you need 4K.
Bottom line: The right mix of bitrate, resolution, frame rate, and codec is key to shrinking video file size while keeping it crisp.
Compressing Video Files in Adobe Premiere Pro
Accessing Export Settings in Premiere Pro
- Finish editing your timeline.
- Go to File > Export > Media or hit Ctrl + M (Windows) / Cmd + M (Mac).
- The Export Settings window will open.
Choosing the Right Format and Codec
- Format: Select H.264 for most platforms. It offers a good balance between compression and quality.
- For higher compression and better efficiency (especially for 4K): choose H.265 (HEVC).
💡 Tip: Some older devices and platforms don’t support H.265. If compatibility is a concern, stick with H.264.
Bonus: Pair your exports with professionally designed Premiere Pro templates to get high-quality visuals with minimal effort.
Optimizing Bitrate Settings
Go to the Video tab in the Export Settings panel:
- Encoding Settings > Performance: Use Hardware Encoding if available (faster).
- Bitrate Encoding:
- Choose VBR, 2 Pass for best results.
- Target Bitrate:
- 1080p: 8–12 Mbps
- 4K: 20–40 Mbps
- Maximum Bitrate: Slightly higher than target (e.g., 12 Mbps target, 16 max for 1080p).
Adjusting Resolution and Frame Rate
- If you’re exporting for mobile or web, consider changing 4K to 1080p.
- Reduce frame rate from 60fps to 30fps or 24fps unless the high frame rate is essential.
Step-by-Step Guide: Export for Smaller File Size
- Select Format: H.264 (or H.265 for advanced users).
- Set Preset to “Match Source – High Bitrate” as a starting point.
- Scroll down to Bitrate Settings:
- Choose VBR, 2 Pass
- Enter target and max bitrates
- Set Use Maximum Render Quality for best results.
- Click Queue to export via Adobe Media Encoder (great for batch processing).
Premiere Pro-Specific Tips
- Smart Rendering: Speeds up export and avoids quality loss if your preview format matches output.
- Clean Project: Remove unused clips, sequences, and effects before export.
- SSD Storage: having a good internal or external SSD to export to will directly affect the speed of the export process and make it much faster.
Compressing Video Files in Final Cut Pro
Accessing Export Settings:
- Go to File > Share > Master File (Default).
- In the export dialog, click Settings.
Recommended Settings:
- Format: Computer
- Video Codec: H.264 (or HEVC for higher compression)
- Resolution: Reduce from 4K to 1080p if needed
- Enable Faster Encode (Single-Pass) for quicker results or Better Quality (Multi-Pass) for higher fidelity
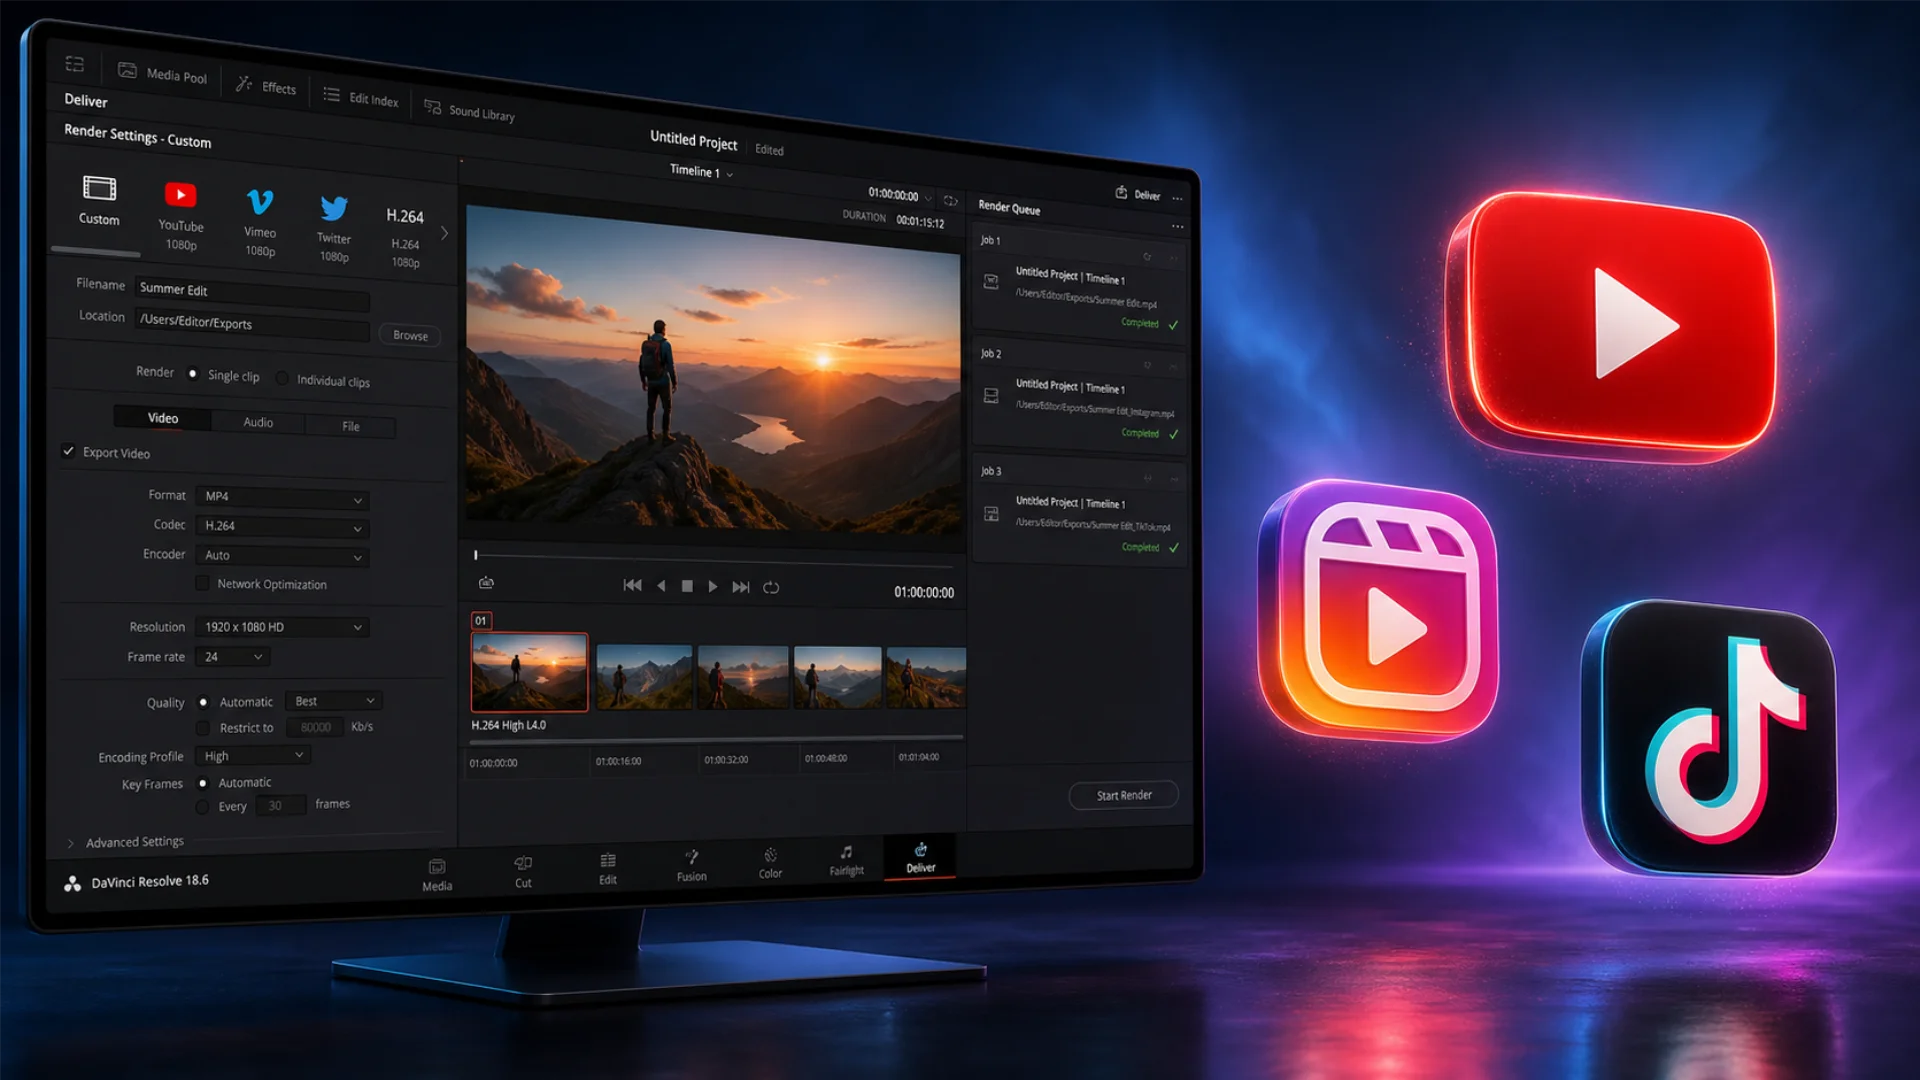
Compressing Video Files in DaVinci Resolve
Accessing Export Settings:
- Switch to the Deliver page.
- Choose Custom Export.
Recommended Settings:
- Format: MP4
- Codec: H.264 (or H.265 for more compression)
- Resolution: 1080p or lower
- Quality: Use Restrict to (e.g., 10,000 Kb/s for 1080p)
- Encoding: Use Automatic or Best
Speed up the whole Deliver round-trip with our DaVinci Resolve keyboard shortcuts, Shift+8 to jump to Deliver and Cmd/Ctrl+R to start the render.
General Tips for Reducing Video File Size
- Trim unnecessary footage before exporting.
- Record at optimal resolution and frame rate from the start.
- Use proxy files when editing 4K to improve performance and streamline the final export.
- Always preview your exports to find the best balance of size and quality.
Conclusion
By the way, If you are exporting compressed versions for YouTube tutorials or client previews, you can generate a clean voiceover from your script with ElevenLabs so you spend more time on edit and export tweaks, not recording takes.
Of course, it is understandable if you want to keep and store the original footage untouched and at the highest quality. For that, my suggestion is investing in a high-quality NAS storage.
Start experimenting with the settings we’ve covered, and find what works best for your workflow and audience.
Disclaimer : If you buy something through our links, we may earn an affiliate commission or have a sponsored relationship with the brand, at no cost to you. We recommend only products we genuinely like. Thank you so much.
Blog Label:
- Advanced editing effects Premiere Pro
- compress premiere pro video without losing quality
- compress video premiere pro
- export settings in DaVinci Resolve for reduced file size
- how to compress video in premiere pro
- Premiere Pro
- premiere pro compress video
- reduce video file size premiere pro
- smaller file size in Final Cut Pro
- vbr 1 pass vs 2 pass premiere pro
- video compression settings
- Video editing
- Video editing techniques

Write for us
Publish a Guest Post on Pixflow
Pixflow welcomes guest posts from brands, agencies, and fellow creators who want to contribute genuinely useful content.
Fill the Form ✏


