Convertio for Audio Editors: When to Convert MP3, WAV, and M4A
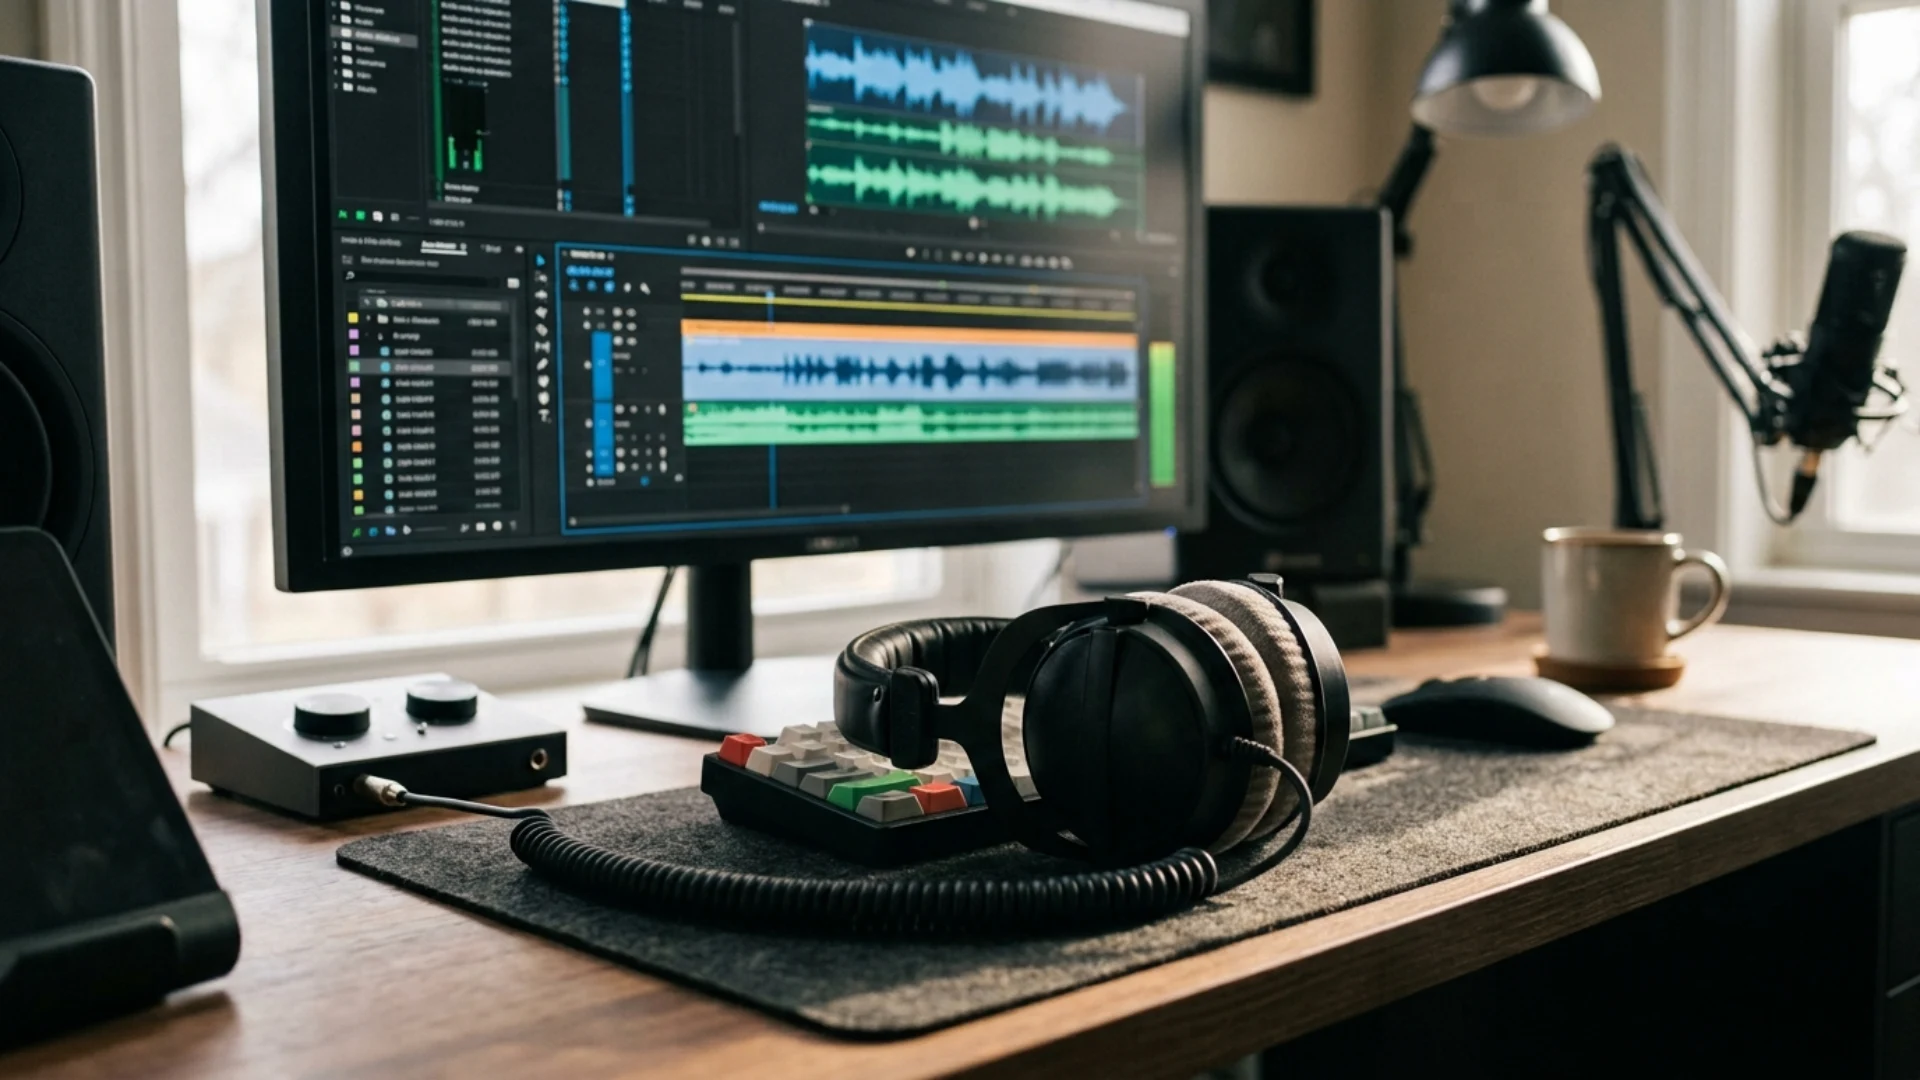
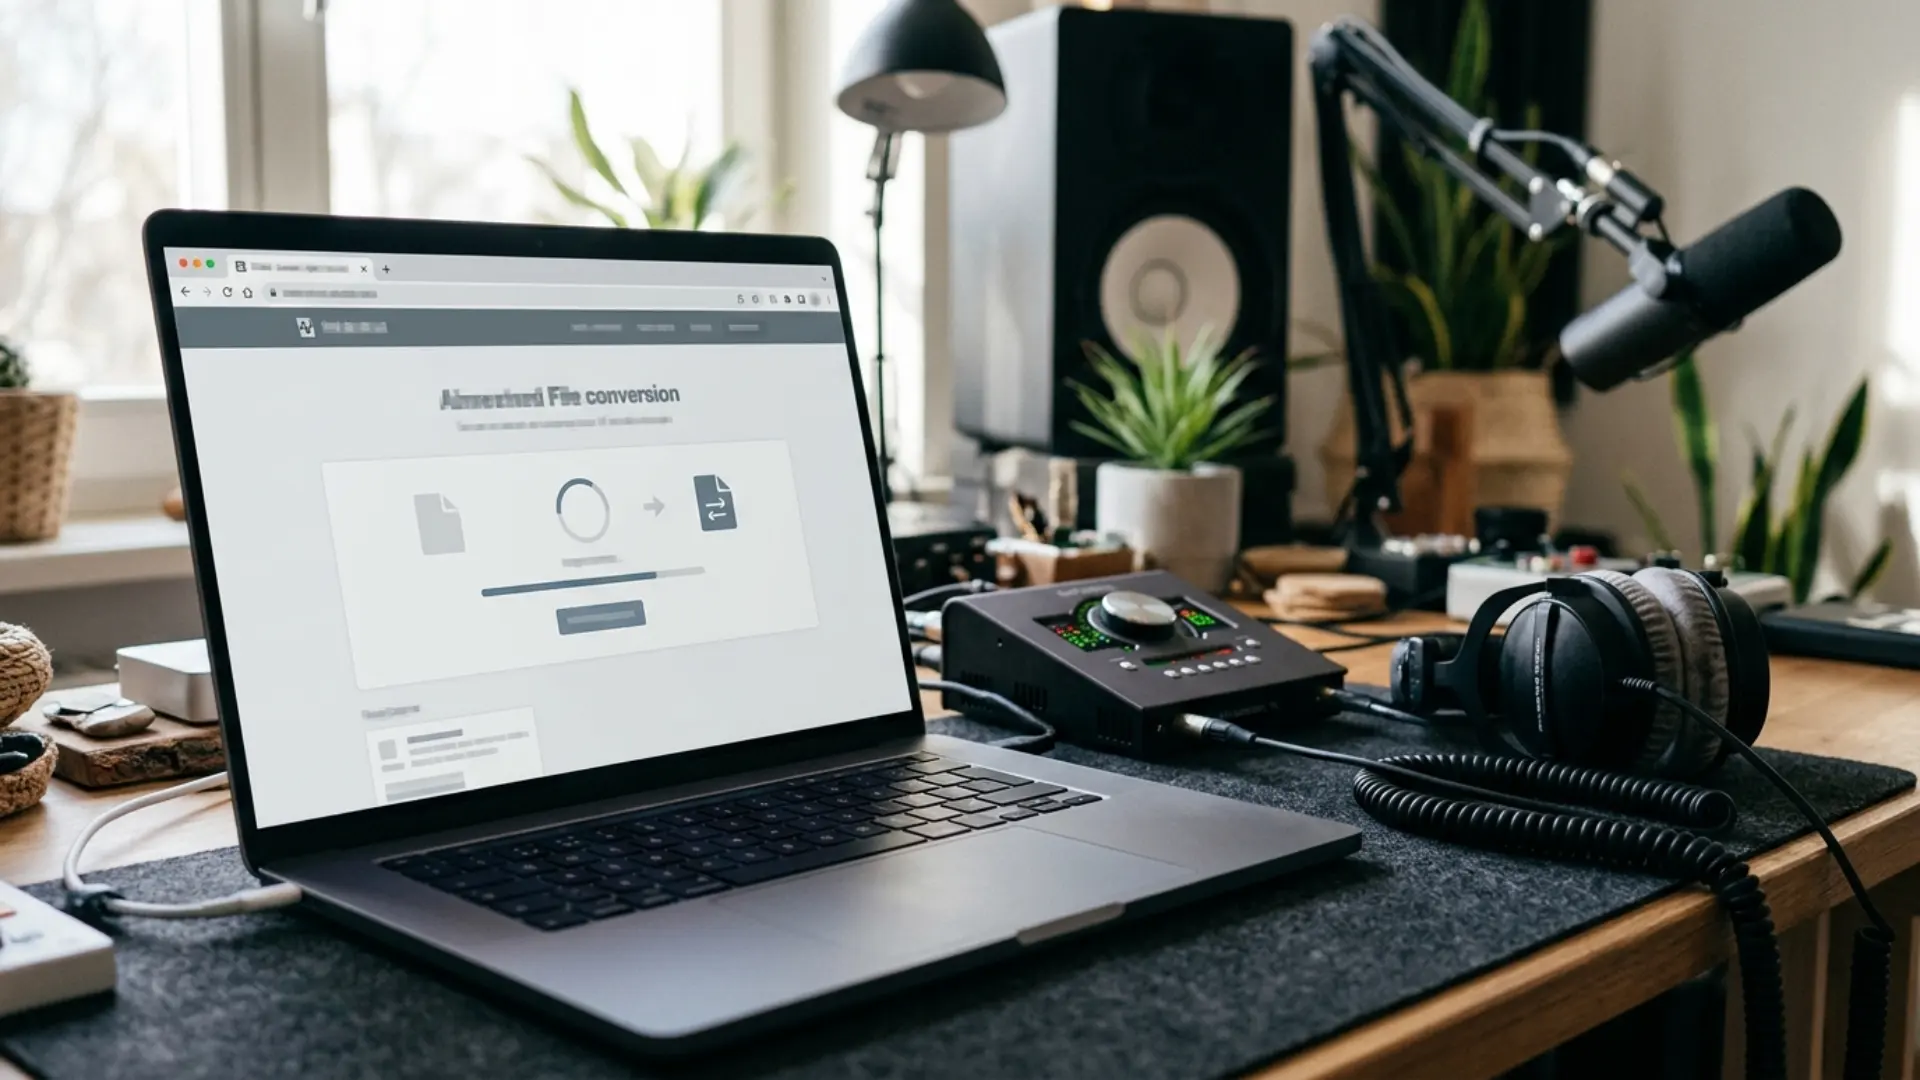
Convertio runs mp3 to wav in the browser, decoding a compressed track into an uncompressed working file that an editor can cut, stretch, and process without stacking another round of compression. Going the other direction, Convertio handles m4a to mp3 with adjustable bitrate and channel settings, producing a file that plays on almost any device, CMS, or review platform.
This guide explains which format belongs at which stage of an edit, what each conversion can and cannot fix, and which settings actually change the result.
What Convertio actually does
Convertio reports coverage of more than 300 formats across over 25,600 conversion routes, with more than a million files processed daily. For an editor, the useful part is narrower: the audio routes expose real encoding controls rather than a single fixed preset, so the output matches the project instead of a generic default.
Two practical habits come out of that. Batches move as one job, so an entire folder of location recordings converts in a single pass instead of file by file. Sources can be pulled straight from Google Drive, Dropbox, or a URL, which keeps a shared production folder as the single source of truth and skips the download and re-upload round trip.
Because the processing happens server side, an aging laptop finishes a batch as fast as a workstation does, and the same workflow runs on Windows, macOS, Linux, or a phone between shoots.
MP3, WAV, and M4A at a glance
Preservation practice points the same way for masters. The Library of Congress recommended formats statement places uncompressed files above compressed ones, and lossless compression above lossy compression, for audio works intended to last.
When converting MP3 to WAV is the right move
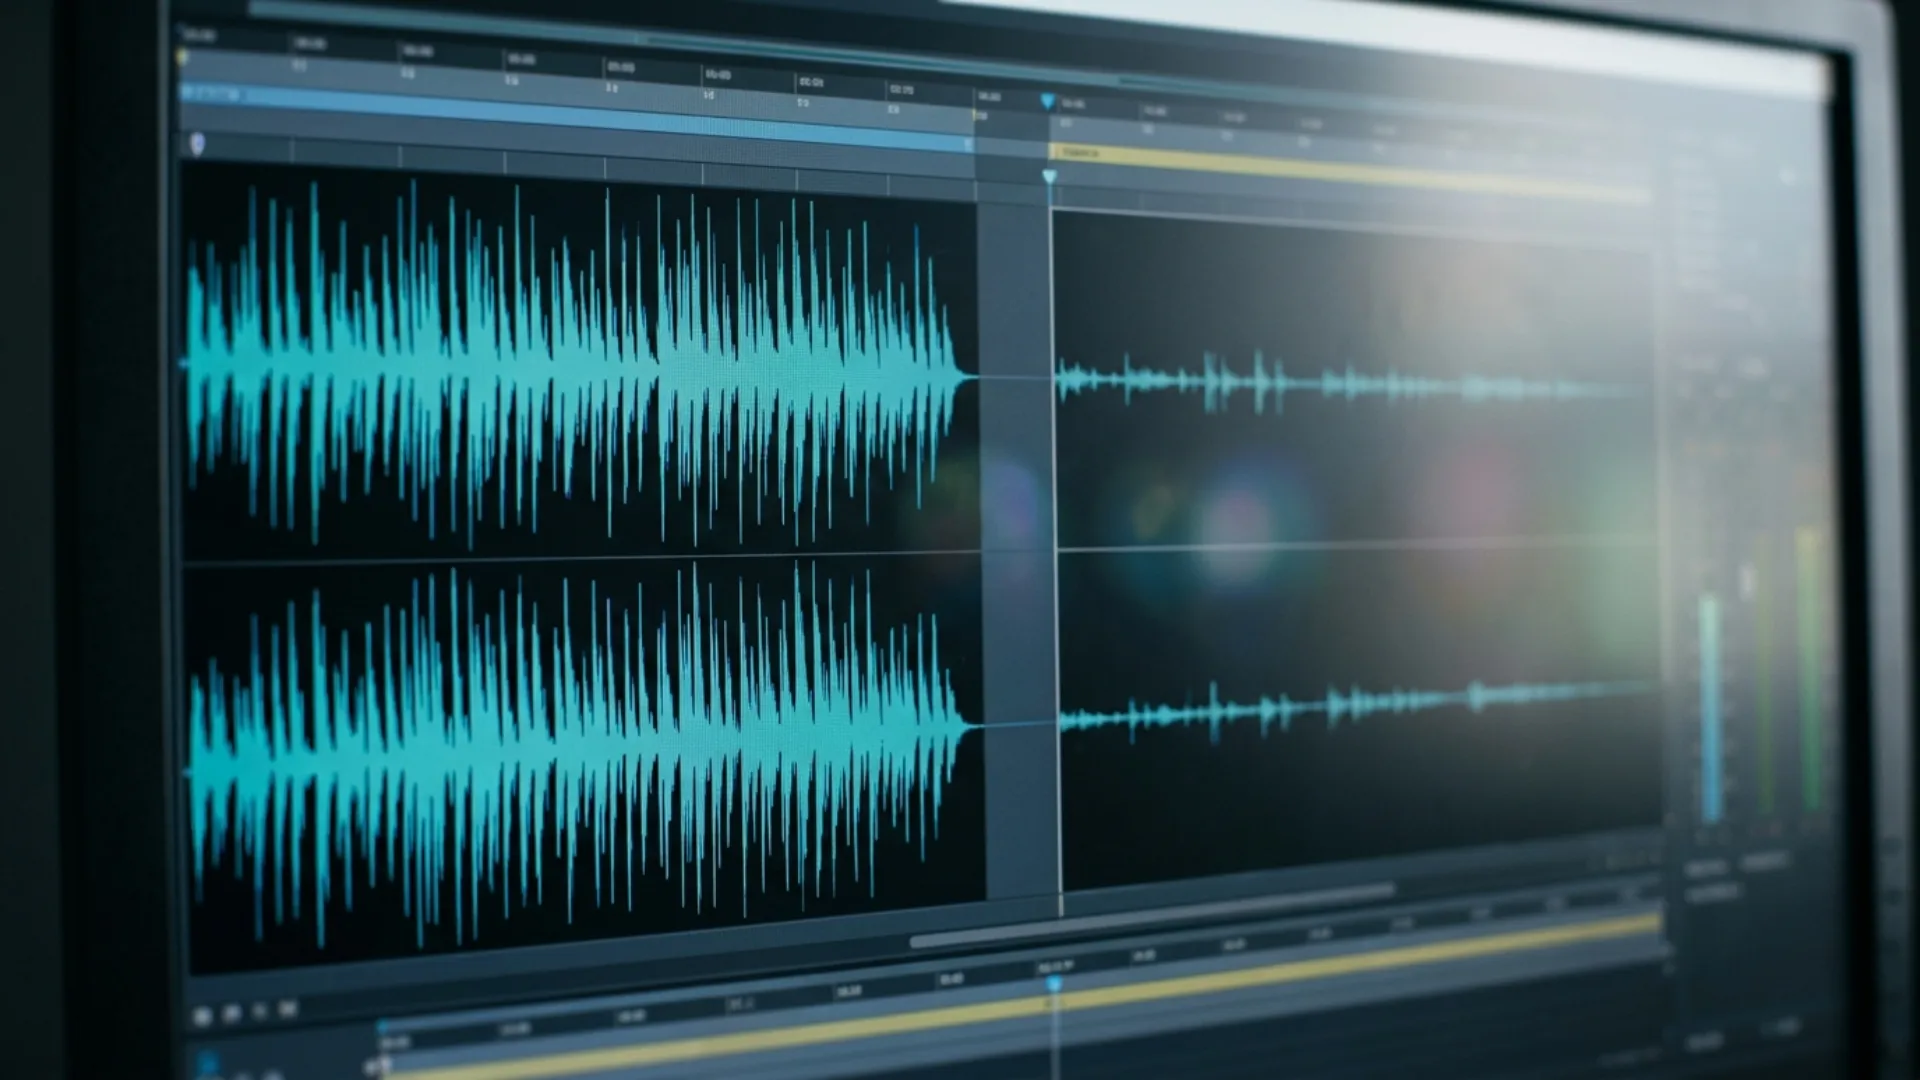
- Your editor or DAW behaves better with PCM. Time stretching, spectral repair, and loudness analysis all run on decoded samples. Starting from an uncompressed file removes one decode step and one source of inconsistency between applications.
- You are going to process the clip repeatedly. Every export back to a lossy format re-encodes what is already encoded, and small artifacts compound. A WAV intermediate breaks that chain.
- You need control over sample rate and channels. The conversion settings let you force a sample rate or downmix to stereo before the file ever reaches the timeline, which prevents silent resampling inside the project.
The settings that actually change your result
- Bitrate. For MP3 delivery, 192 kbps is a reasonable floor for music and dense mixes, and 320 kbps is the safe choice when the file has already been through one lossy encoder. Spoken word tolerates less.
- CBR versus VBR. Variable bitrate spends data where the audio is complex and usually sounds better per megabyte. Constant bitrate is the safer pick for legacy players, some of which report the wrong duration on VBR files, which matters when someone is giving you timecoded notes.
- Sample rate. Match the project. Resampling 48 kHz production audio to 44.1 kHz for a web deliverable is normal, but doing it twice, or letting the NLE do it silently, is how sync drift and dull high end creep in.
- Bit depth. Work at 24 bit where the format allows it. The extra headroom matters while you are still adjusting levels, not after the mix is locked.
- Channels. Downmix to mono deliberately when the source is a single voice, and check the result. An automatic downmix of material with phase differences can thin out or partially cancel content.
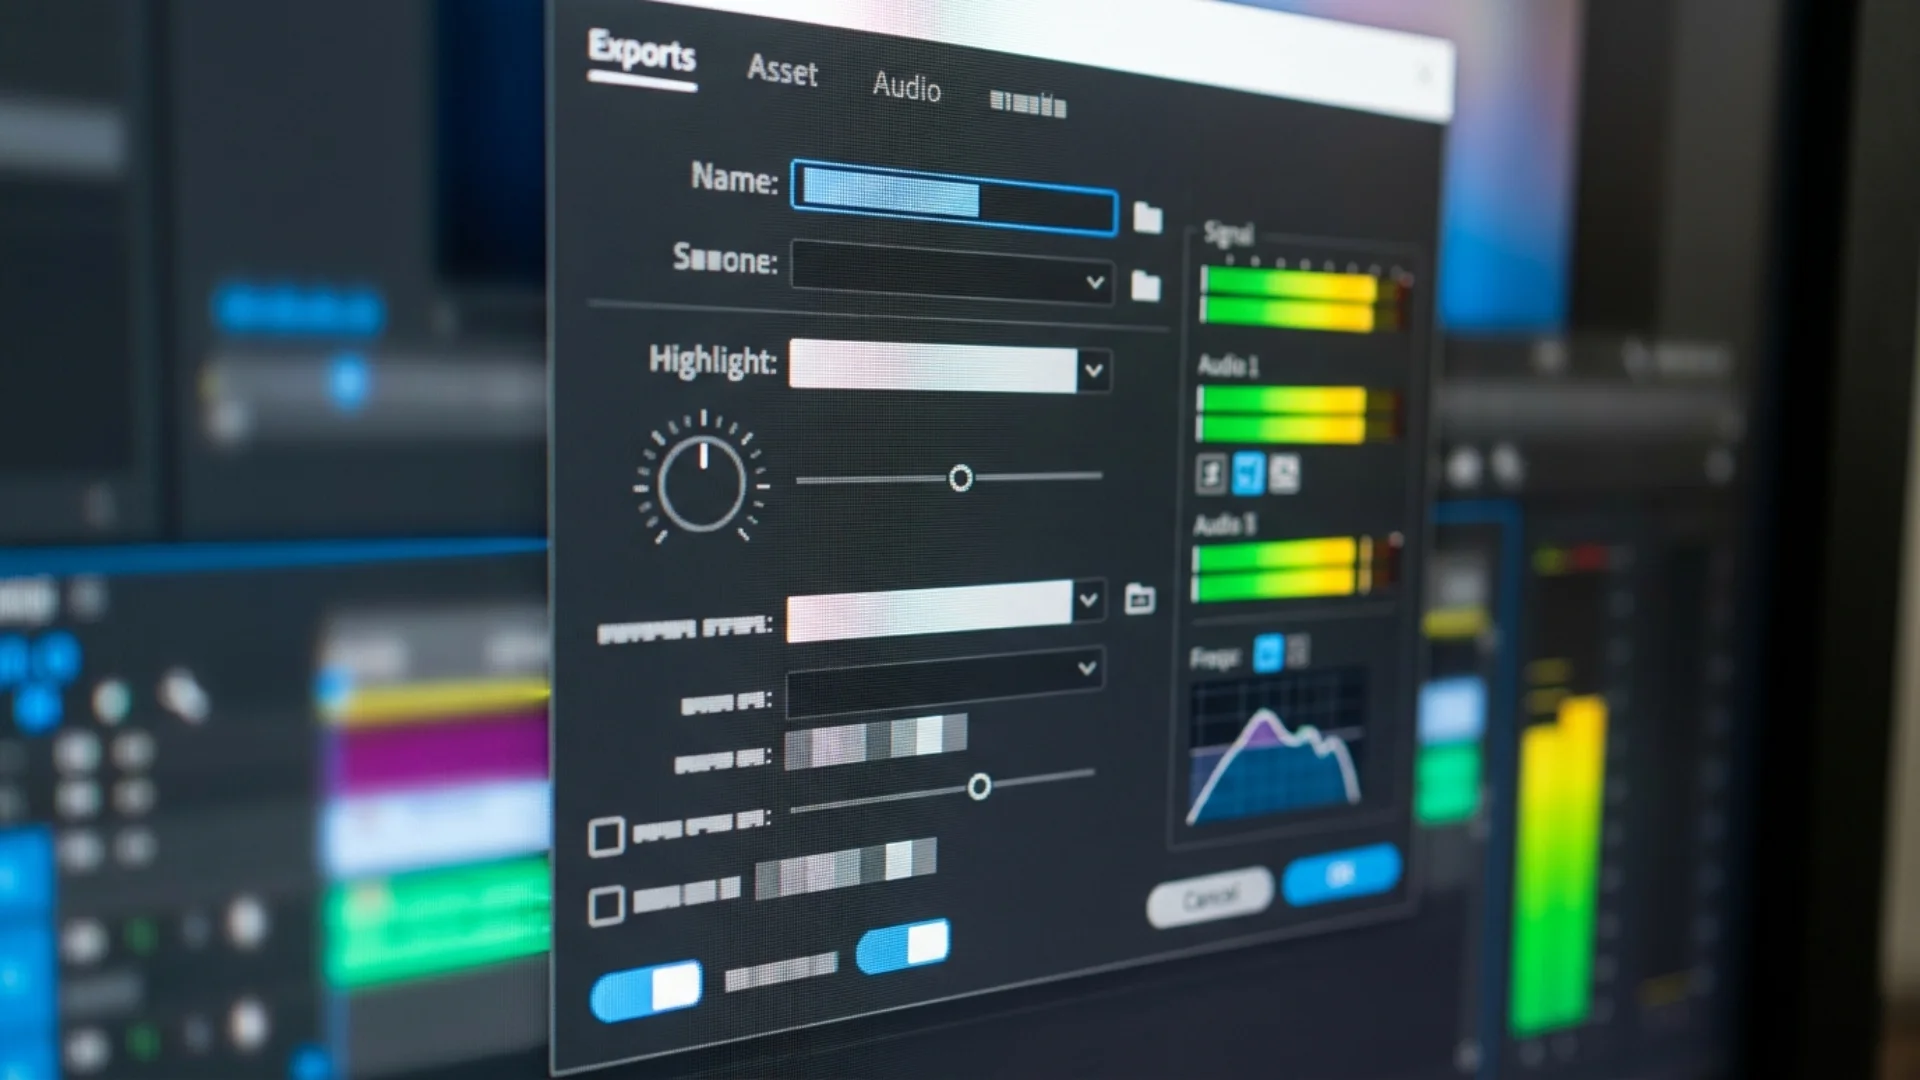
Each of these controls sits on the conversion page itself, including PCM bit depth for WAV output, sample rate, bitrate range for MP3, and mono or stereo handling, so a file can be prepared correctly before it reaches the timeline rather than fixed afterwards.
These choices only pay off if the mix underneath them is solid. Our guide to mixing dialogue, music, and sound effects in Premiere Pro covers the balancing work that happens before any export dialog opens.
Privacy and file handling
That level of detail is more than most converters publish, and it lines up with how a professional pipeline is supposed to work: files that exist only as long as the job needs them, on infrastructure with a recognized security standard behind it.
A conversion checklist for editors
- Identify the stage. Working file or deliverable? That single answer usually decides between WAV and MP3.
- Check what is inside the container. Especially with M4A, know whether you are starting from AAC or ALAC.
- Set bitrate, sample rate, and channels deliberately. Auto is a fallback, not a decision.
- Convert once. Go from the best available source to the target format instead of chaining conversions.
- Verify the output. Confirm duration, channel count, and level, and listen to at least one loud passage.
- Keep the original. Archive the source file before replacing anything in the project folder.
- Fill gaps with licensed audio rather than reprocessing. When a converted file simply lacks quality, a clean replacement from a royalty-free sound effects library is a faster fix than any amount of repair work.
Conclusion
A converter is worth using when it gives you those controls and gets out of the way. Decide what the file is for, set the output deliberately, convert once, and keep the master.
Disclaimer : If you buy something through our links, we may earn an affiliate commission or have a sponsored relationship with the brand, at no cost to you. We recommend only products we genuinely like. Thank you so much.
Blog Label:



Write for us
Publish a Guest Post on Pixflow
Pixflow welcomes guest posts from brands, agencies, and fellow creators who want to contribute genuinely useful content.
Fill the Form ✏