How to Create High-Quality Game Assets in 5 Minutes with an AI 3D Maker
What if you could bypass the tedious manual labor entirely?
Enter the AI 3D Maker—a revolutionary technology transforming how indie studios and solo creators build game worlds. In this guide, we will show you how to leverage 3DMaker to generate game-ready assets in under 5 minutes, taking your project from concept to engine-ready with zero traditional modeling experience required.
What You Need Before You Start
- A Concept in Mind: A clear idea of the game prop you want to create (e.g., a sci-fi chest, a medieval sword, or a cyberpunk vehicle), or a 2D concept sketch.
- Your Secret Weapon: A free account on 3DMaker, the leading AI 3D Maker designed specifically for creators who value speed and quality.
Step-by-Step Guide: From Prompt to Game Engine
Using an advanced AI 3D Maker is much easier than traditional 3D modeling. Follow these 5 simple steps to bring your game assets to life using 3DMaker.
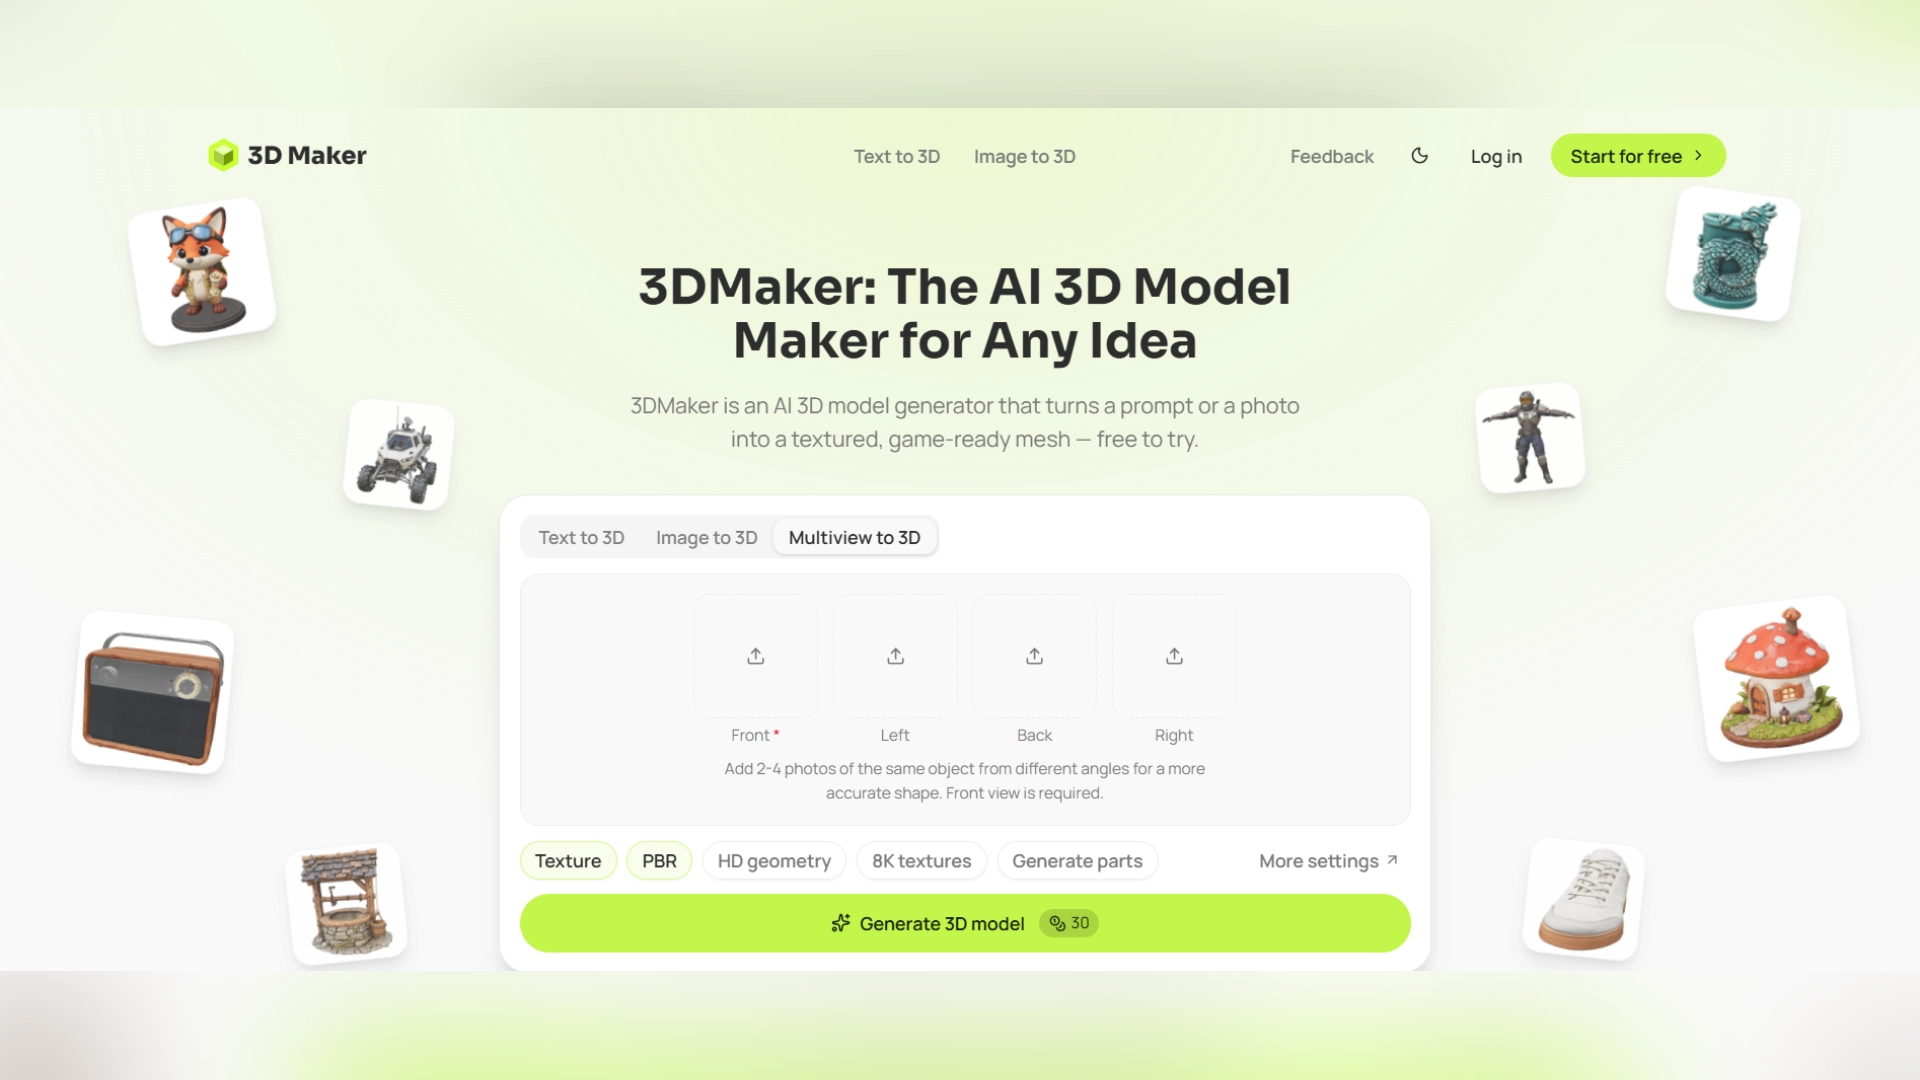
Step 1: Choose Your Input Method
- Choose Text to 3D if you only have a creative vision and want the AI to interpret your descriptive words.
- Choose Image to 3D if you have already drawn a concept art sketch or found a reference image you want to convert into a 3D mesh.
Step 2: Input Your Prompt or Upload Your Image
- For Text to 3D: Write a descriptive prompt. Instead of just typing “sword,” try: “A glowing magical fantasy sword, medieval style, intricate runic engravings on the blade, leather-wrapped hilt, game asset, PBR textures.” Mentioning the art style and adding keywords like “game asset” helps the AI 3D Maker optimize the geometry for gaming.
- For Image to 3D: Upload a clean, high-contrast image (preferably on a plain background). The AI will analyze the contours and silhouettes to build an accurate 3D representation.
Step 3: Adjust the Mesh Detail and Settings
- Fast Draft Mode: Use this setting during the initial brainstorming phase. It generates a rough 3D mesh in just a few seconds, allowing you to quickly test whether the shape fits your game scene.
- Ultra Detail Mode: Once you are happy with the concept, switch to Ultra Detail. This maximizes polygon accuracy and prepares the asset for production-grade rendering.
Step 4: Generate and Preview
Step 5: Export and Import to Your Game Engine
- Click the download button in 3DMaker and export your file in standard formats like GLB or FBX (complete with embedded textures).
- Open your preferred game development software—whether it’s Unity, Unreal Engine, or Blender.
- Drag and drop the downloaded file directly into your project assets folder. The model is immediately ready to be placed into your scene, scripted, or rigged.
Conclusion
Ready to populate your game world in minutes instead of months? Head over to 3DMaker today and start creating your first AI-generated 3D game assets for free!
Disclaimer : If you buy something through our links, we may earn an affiliate commission or have a sponsored relationship with the brand, at no cost to you. We recommend only products we genuinely like. Thank you so much.
Blog Label:

Write for us
Publish a Guest Post on Pixflow
Pixflow welcomes guest posts from brands, agencies, and fellow creators who want to contribute genuinely useful content.
Fill the Form ✏