How to Direct AI-Generated Shots That Editors Can Actually Use
Editors need more than visual quality. They need shots with a clear purpose, consistent screen direction, usable timing and technical specifications that match the rest of the project. A clip may look cinematic in isolation but become difficult to use if the subject changes position unexpectedly, the camera crosses the action axis or the movement leaves no natural place for a cut.
Imagine a 30-second product ad assembled from AI-generated shots created across several models and generation rounds. The hero product must remain recognisable, the presenter must face the same screen direction, close-ups must match the wider composition, and each action must leave enough time for voiceover and clean cuts. If those decisions are not planned before generation, the editor may receive attractive clips that cannot be assembled into a coherent video.
The solution begins before generation. By approaching AI-generated shots with the same planning principles used in conventional production, creators can produce footage that is easier to assemble, revise and hand over to post-production.
Start With the Edit, Not the Prompt
Is it an establishing shot that introduces the location? A medium shot that communicates a character’s reaction? An insert that draws attention to a product detail? A transition between two scenes?
The answer affects framing, duration and movement. If creators generate footage without knowing its editorial role, they often end up with several visually interesting clips that do not connect.
A basic shot brief should identify:
- The purpose of the shot
- The subject and action
- The intended shot size
- The camera angle
- The direction of movement
- The expected duration
- The preceding and following shots
- Any continuity requirements
- The delivery format
This does not require a lengthy production document. A few precise lines can provide more control than an elaborate visual prompt with no editorial context.
Example Shot Brief for a Product Insert
- Purpose: reveal the product label immediately before the call to action
- Shot size: tight insert close-up with the product filling roughly two-thirds of the frame
- Camera angle: three-quarter front angle at label height
- Duration: four seconds, including at least 12 stable frames at the beginning and end
- Preceding shot: medium shot of the presenter placing the product on a table from screen left
- Following shot: close reaction shot of the presenter looking down and right towards the product
- Continuity requirements: preserve the label design, table surface, warm key light, product orientation and left-to-right movement established in the previous shot
This example gives the generation team an editorial target rather than only a visual description. It also gives reviewers objective criteria for deciding whether the AI-generated shot can connect to the surrounding sequence.
Plan Shot Size and Composition
AI generation can produce appealing compositions, but the output may not match the intended edit unless the framing is stated clearly. It is useful to specify both the shot size and the amount of space required around the subject.
For example, an editor may need negative space on one side for titles or product information. A vertical social video may require the subject to remain near the centre so the image can be adapted safely across platforms. A close-up may need enough space above the head to prevent awkward cropping.
Creators should also avoid filling every frame with complex movement. A stable composition can be more valuable than constant visual activity, particularly when the shot must support dialogue, narration or on-screen text.
Maintain Screen Direction
If a character walks from left to right in one shot and suddenly appears to move from right to left in the next, the audience may interpret the change as a reversal in direction. Similar confusion occurs when two characters appear to look away from each other during a conversation.
Traditional filmmaking uses an imaginary axis, often called the 180-degree line, to preserve screen direction. Keeping the camera on one side of that line helps maintain consistent spatial relationships.
For AI-assisted production, creators should record:
- Which direction each character faces
- Where each subject is positioned in the frame
- The direction of entrances and exits
- The camera side established by the first shot
- The eyeline required for the next angle
Reference frames are often more effective than repeating these details in text. Once a composition is approved, it can guide related shots and reduce contradictory interpretations.
Distinguish Camera Movement From Subject Movement
Creators should separate these instructions. State what the subject does, then describe what the camera does.
Common camera movements include:
- Pan: the camera rotates horizontally from a fixed position
- Tilt: the camera rotates vertically
- Dolly: the camera physically moves towards or away from the subject
- Tracking shot: the camera travels alongside or follows the subject
- Crane movement: the camera moves vertically through the scene
- Orbit: the camera moves around the subject
- Zoom: the focal length changes without physically moving the camera
These choices have different visual effects. A dolly movement changes perspective and spatial depth, while a zoom changes the apparent size of the subject without the same perspective shift. Describing the intended movement accurately gives the generation system a clearer target and helps adjacent shots feel deliberately directed.
Use Spatial Planning for Complex Scenes
Complex AI-generated shots often need a visual planning layer, because a text prompt alone cannot reliably communicate blocking, distance, eyelines, prop placement and camera relationships at the same time.
Spatial planning allows creators to define the approximate arrangement before generating the final shot. Pixmax AI, for example, combines AI cinematic control with a 3D Stage Editor that can be used to position characters, props, environments and cameras within a three-dimensional space.
This type of preparation is useful for dialogue scenes, product advertising and sequences involving several characters. It provides a visual reference for blocking and composition instead of relying entirely on written descriptions.
A spatial layout does not guarantee that every generated detail will remain identical. Creators still need to inspect the output. However, it can reduce uncertainty by establishing where important elements should appear and how the camera should view them.
Generate Coverage, Not Just a Hero Shot
For a simple conversation, useful coverage might include:
- An establishing or master shot
- A medium two-shot
- Individual close-ups
- Over-the-shoulder angles
- Reaction shots
- Inserts of important objects
AI production should follow a similar principle. Rather than spending the entire budget on one elaborate clip, create a planned set of complementary shots.
In a multi-model workflow, routing should follow the editorial function of each shot. A model with stronger identity consistency may be preferred for dialogue close-ups and reaction shots; one with believable body mechanics may handle walking or action coverage; a model with precise image-reference control may be better for product inserts; and one with reliable camera paths may suit tracking, orbit or reveal shots.
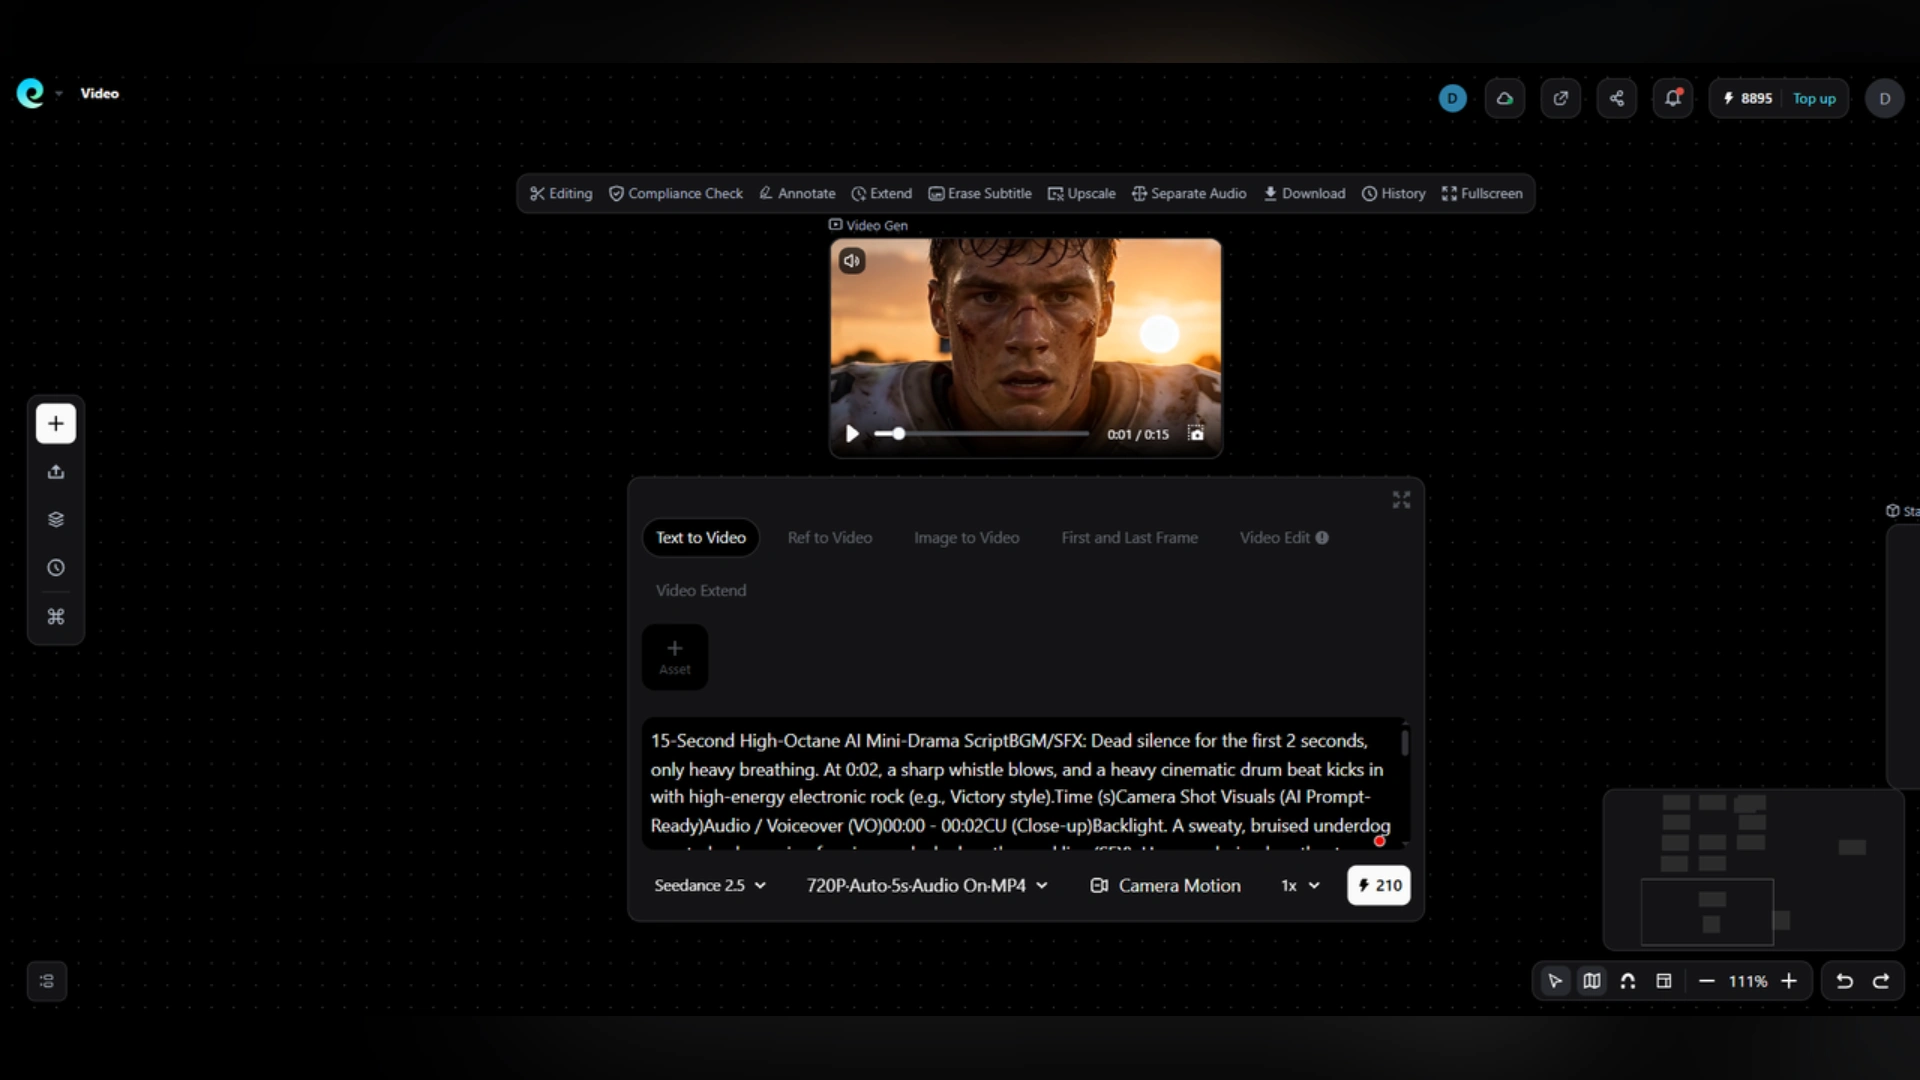
When using an AI video generator, teams can select different models for different needs, such as character motion, stylised imagery or particular camera behaviour. The important point is to keep the underlying scene references, visual direction and delivery requirements consistent.
A platform that brings these models into one workspace is most useful when the team carries the same approved character references, product assets, composition rules and technical specifications across every route. The model can change, but the shot brief and continuity target should not. This makes the resulting AI-generated shots easier to compare and cut together.
Leave Room for the Edit
Whenever possible, allow a short period of relative stability before the main action begins and after it finishes. These extra frames are often called handles. They give editors space to adjust timing, add transitions or align the cut with audio.
Creators should also avoid placing essential action at the exact beginning or end of a clip. If the shot must be shortened, the important moment may be lost.
For scenes that require dialogue or sound design, it is useful to consider timing before generation. The visual action should leave room for the intended line, narration or sound effect rather than forcing the editor to stretch or compress the footage later.
Standardise Technical Specifications
This should cover:
- Aspect ratio
- Resolution
- Frame rate
- Colour treatment
- Approximate shot duration
- File format
- Naming convention
- Audio requirements
Not every platform exposes the same controls, and generated footage may still require conversion during post-production. Establishing a target specification nevertheless reduces unnecessary variation, makes cross-model AI-generated shots easier to organise and gives the editor a clear delivery expectation.
Upscaling should happen after the shot has passed creative review. Improving the resolution of footage that will later be rejected wastes time and generation resources.
Review Continuity Before Final Export
Review:
- Character appearance and wardrobe
- Prop placement
- Background and location details
- Lighting direction and colour
- Screen direction
- Eyelines
- Camera movement
- Speed of action
- Shot scale progression
- Visual style
A contact sheet or storyboard view can help identify obvious changes, while a rough edit reveals problems with timing and movement.
If something changes, determine whether it is a distracting error or a detail the audience is unlikely to notice. Complete visual identity across every frame may be unrealistic, but the elements important to the story or brand should remain stable.
Prepare a Clear Post-Production Handover
A useful handover package includes:
- The latest script
- An ordered shot list
- Approved reference frames
- Clearly named video files
- Notes on the intended sequence
- Model and generation details where relevant
- Known defects or limitations
- Audio, voiceover and subtitle files
- Required aspect ratios and deliverables
- Rights and approval information
Generated clips should be separated from approved assets so editors do not accidentally use a rejected version. If multiple variations are provided, the preferred take should be identified clearly.
Direct First, Generate Second
The most useful AI-generated shot is not always the most spectacular one. It is the shot that performs a clear role, connects with the footage around it and gives the editor enough flexibility to shape the final sequence.
When creators plan composition, blocking, camera movement, continuity and technical delivery before pressing Generate, AI-generated shots become more than a collection of attractive experiments. They become production-ready material that can participate in a professional editing and post-production workflow.
Disclaimer : If you buy something through our links, we may earn an affiliate commission or have a sponsored relationship with the brand, at no cost to you. We recommend only products we genuinely like. Thank you so much.
Blog Label:



Write for us
Publish a Guest Post on Pixflow
Pixflow welcomes guest posts from brands, agencies, and fellow creators who want to contribute genuinely useful content.
Fill the Form ✏