What Is CGI? Computer-Generated Imagery Explained with Examples
- What Does CGI Stand For?
- How CGI Is Made: The Pipeline Step by Step
- Types of CGI You See in Creative Work
- Landmark CGI Examples in Movies and Television
- CGI vs VFX vs Animation: What's the Difference?
- Why Filmmakers and Creators Use CGI
- Software Used for CGI
- How to Start Using CGI in Your Own Edits
- Conclusion
You’ve probably used a digital element in an edit and wondered how far it is from the work behind a movie creature or a virtual city. The tools and budgets might be different, but the creative questions are familiar: What should the audience see, and how do you make it feel like it belongs in the shot?
In this guide, we’ll walk through the CGI pipeline, explore examples and tools, and show you where to start as an editor or motion designer. If you’re looking for ready-made elements while you experiment, explore Pixflow’s VFX templates. They’re a shortcut for adding digital effects, not a replacement for building a 3D scene from scratch.
What Does CGI Stand For?
Not all CGI aims for photorealism. A stylized animated character or a graphic visualization can be just as computer-generated as a convincing digital creature. And while 3D is a common association, computer-generated imagery is a broader term that can include 2D graphics.
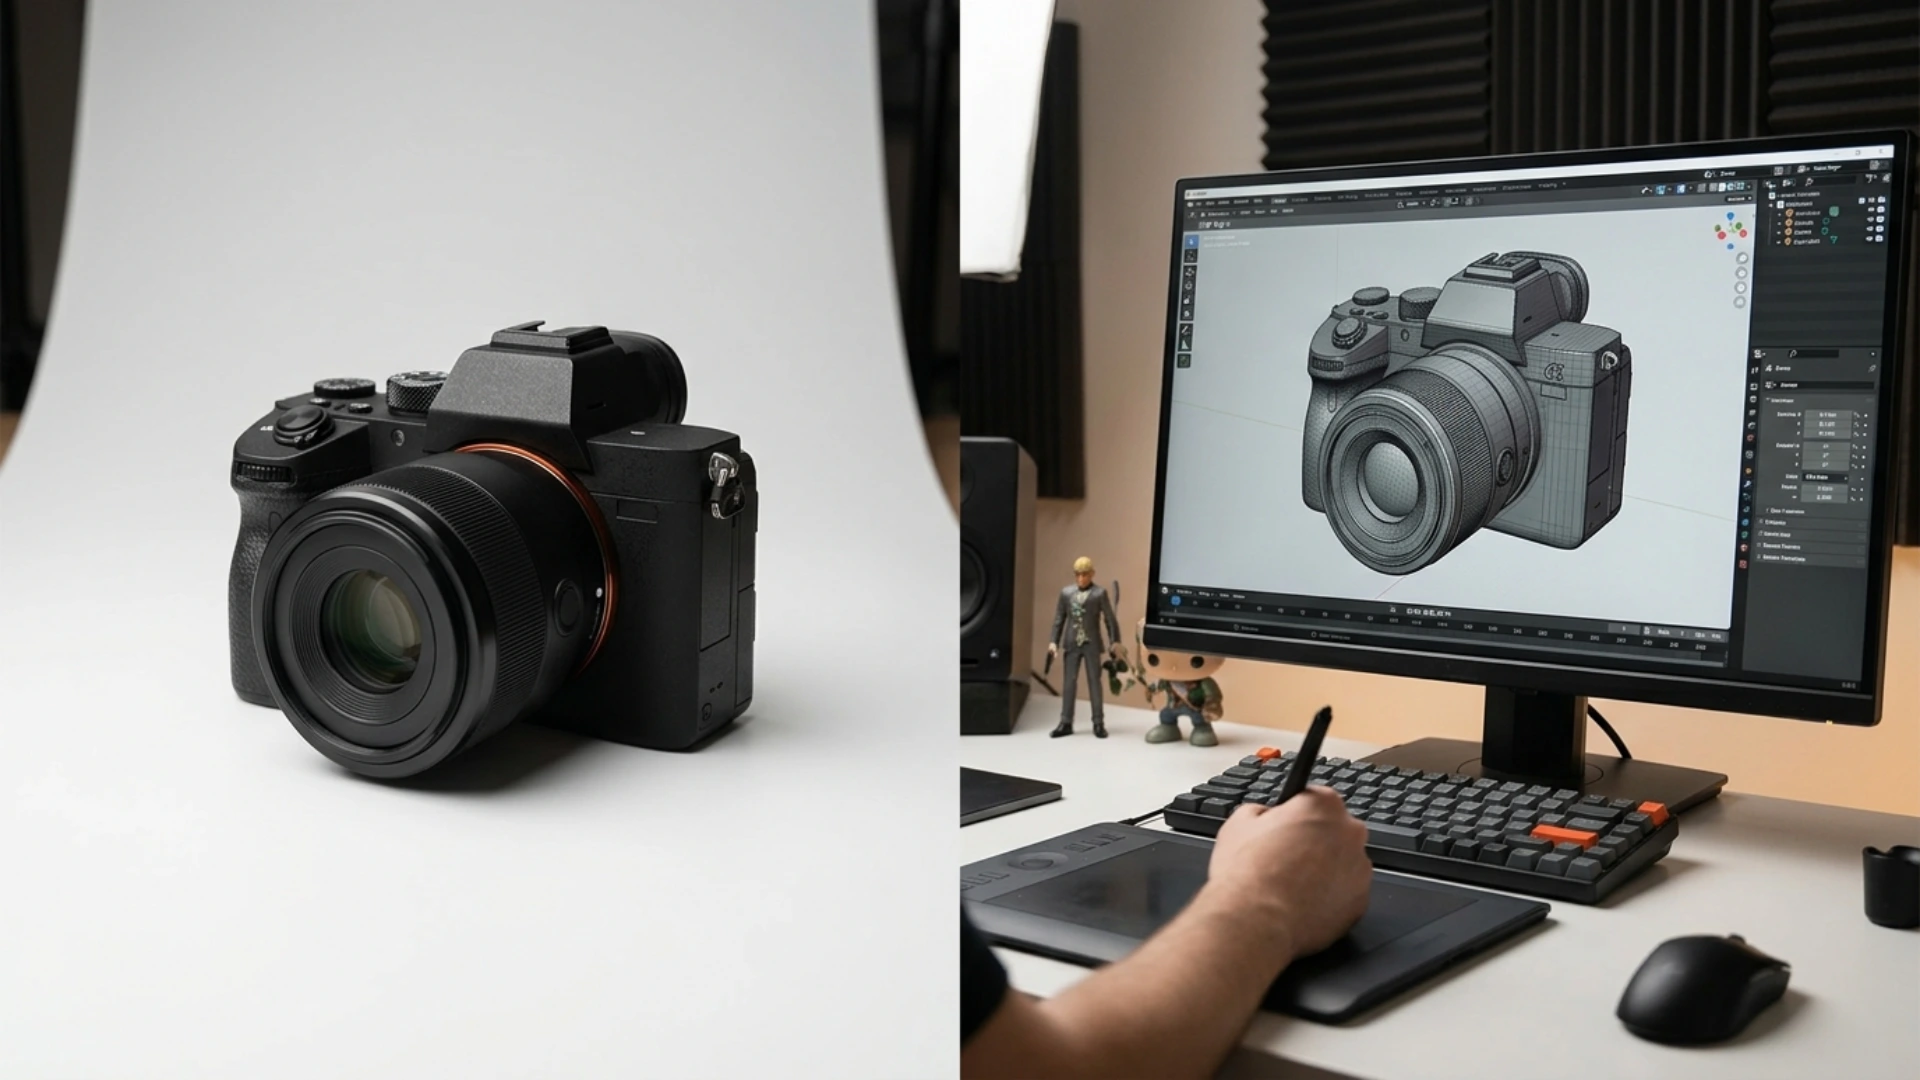
The important distinction is how the image is made. A camera records light from a physical scene. CGI uses software to create visual elements, which may then be placed alongside that footage.
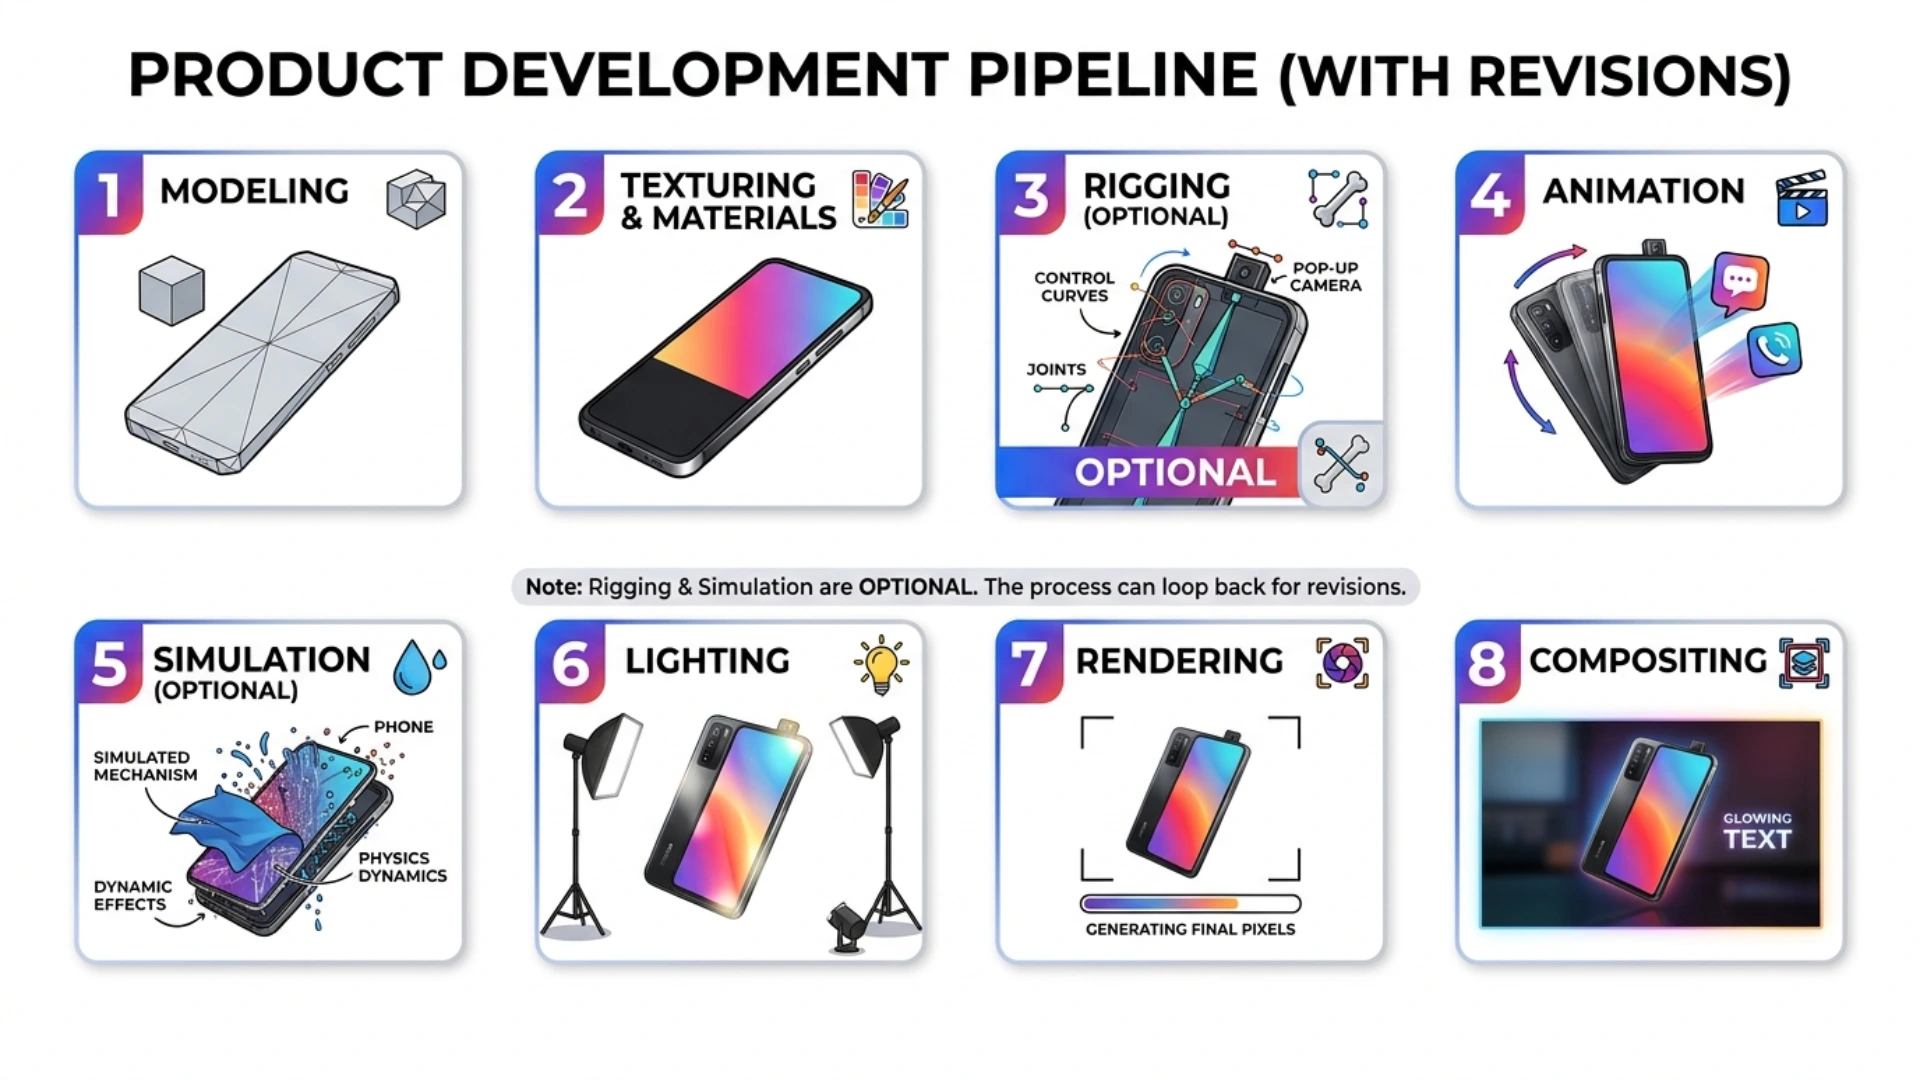
How CGI Is Made: The Pipeline Step by Step
Let’s imagine you’re creating a short product shot: a headphone model rotates above a desk while a soft light moves across its surface.
1. Modeling: Build the object
The artist creates the shape of the headphones in 3D software using geometry, often made up of vertices, edges and polygons. Good proportions matter more than tiny details at this stage. If the silhouette looks wrong, a shiny material won’t fix it.
For a video project, think about how close the camera will get. A background object can use a simpler model than one filling the frame.
2. Texturing and materials: Give it a surface
Materials tell the software how a surface responds to light. Textures add details such as color, scratches, stitching or surface variation. The headphone cushions might use a matte material, while the metal hinge needs a more reflective one.
Small imperfections can help a render feel believable, but don’t add wear just because you can. The surface should support the story and match the intended product.
3. Rigging: Prepare objects to move
A rig is a set of controls used to pose or move a model. Characters often need complex rigs for limbs and facial expressions. A pair of headphones might only need simple controls for the headband and ear cups.
Static images and simple objects don’t always need this step. The right rig is the one that makes the required motion manageable.
4. Animation: Create the movement
Artists set poses or keyframes and adjust timing to create movement. For our product shot, a slow rotation could reveal the headphones from several angles while keeping the silhouette readable.
This is where editing instincts help. Timing, anticipation and a clean pause at the end of a move can make a simple animation feel intentional.
5. Simulation: Add complex motion
Simulation calculates behaviors that would be difficult to animate by hand, such as cloth, smoke, water or particles. You might add a light fabric surface under the product, for instance, or simulate dust catching the light.
Simulations can take time to calculate and revise, so start with a low-resolution test before committing to a detailed result. Not every shot needs one.
6. Lighting: Shape the image
Virtual lights reveal the object’s form and set the mood. A broad light can give the headphones a soft commercial look, while a narrow rim light separates the dark ear cups from the background.
When combining CGI with real footage, study the direction, softness and color of the original light. A beautifully rendered object can still feel pasted in if it doesn’t match the scene.
7. Rendering: Produce the frames
Rendering calculates the final image from the scene’s geometry, materials, lights and camera. A renderer can output a still image or a sequence of frames for video. Some workflows render in real time; others prioritize detailed calculations and take longer.
Before producing the full sequence, render a few representative frames. Check reflections, shadows and edges at the actual delivery size. Our guide to 3D rendering in creative production goes deeper into this stage.
8. Compositing: Bring the pieces together
In compositing, an artist combines the rendered elements with other layers or footage and makes final adjustments. That might mean integrating a product into a filmed desk scene, softening edges, matching color or adding atmospheric depth.
Save separate render passes when your workflow allows it. They give you more control over elements such as shadows and reflections without starting the entire render again.
Types of CGI You See in Creative Work
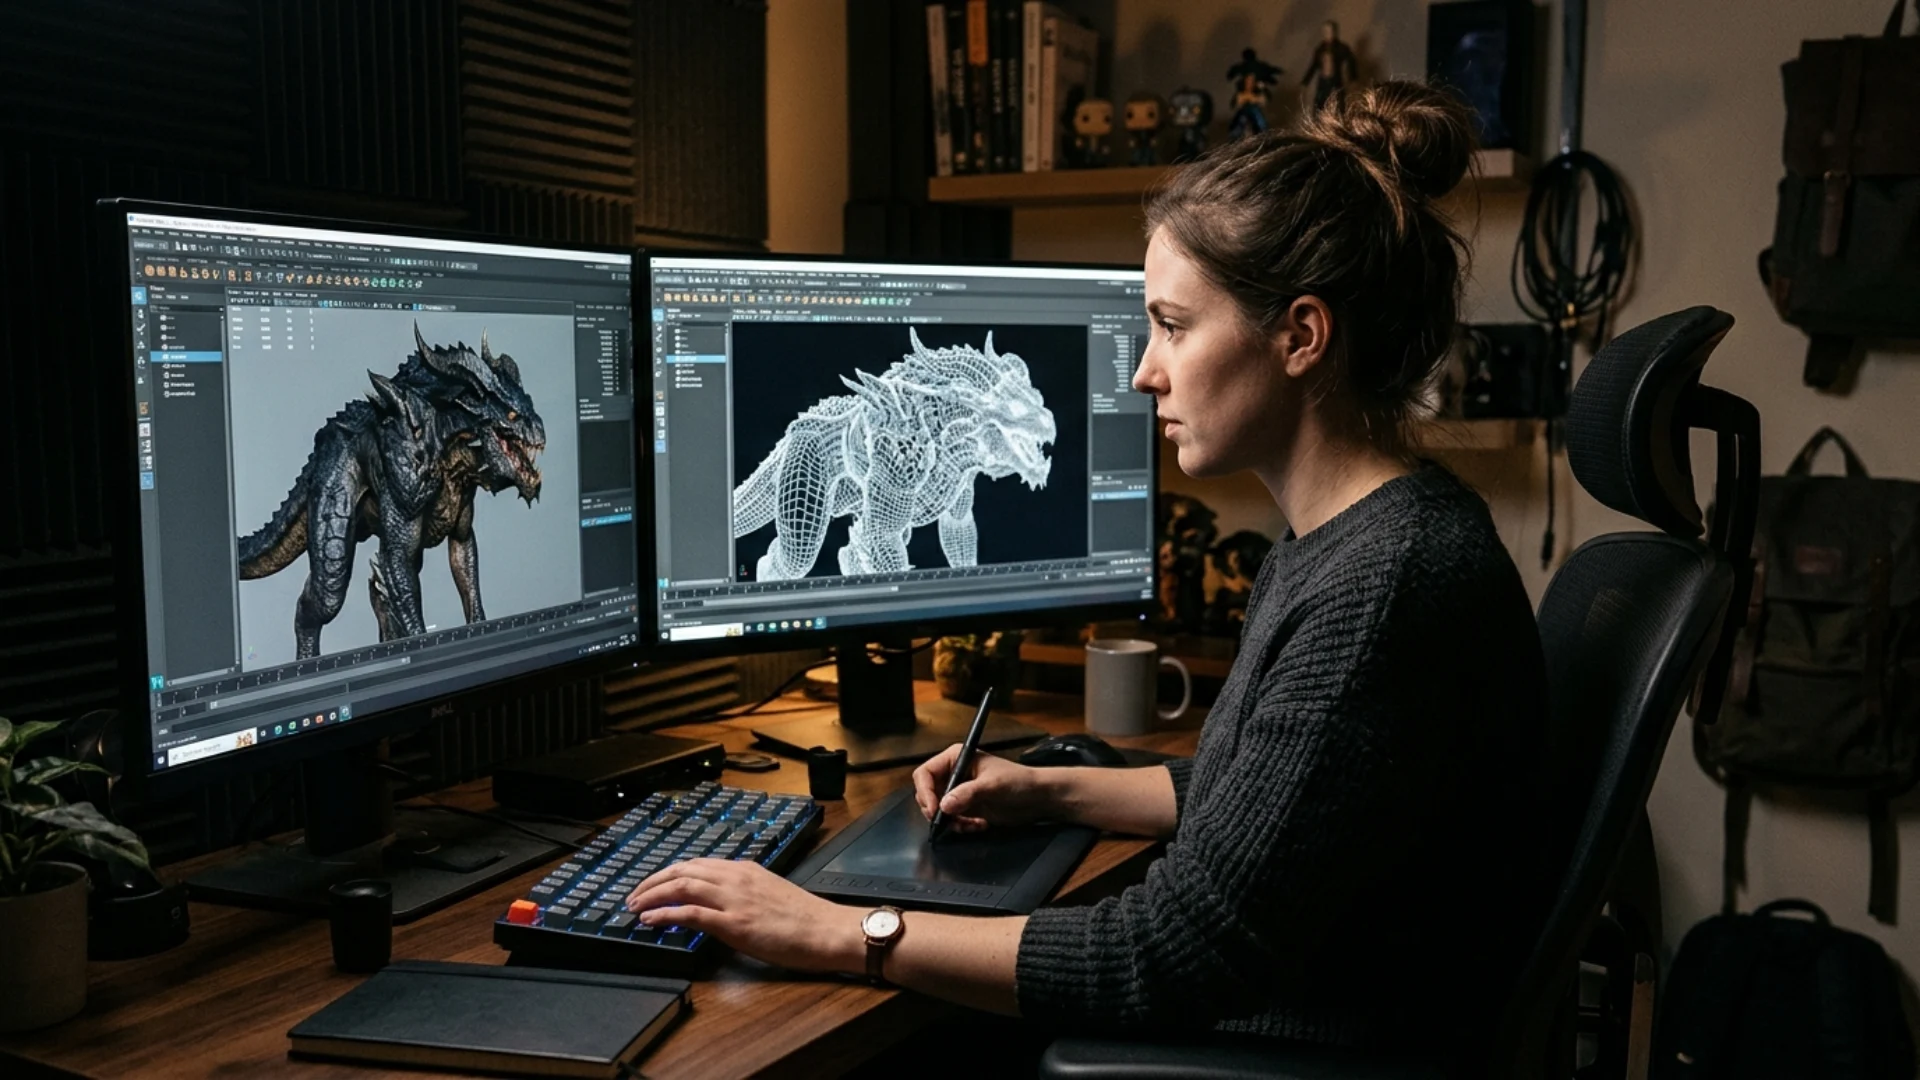
- Characters and creatures: Digital models can be animated for a stylized short or placed into live-action scenes. Their design, movement and lighting all need to work together.
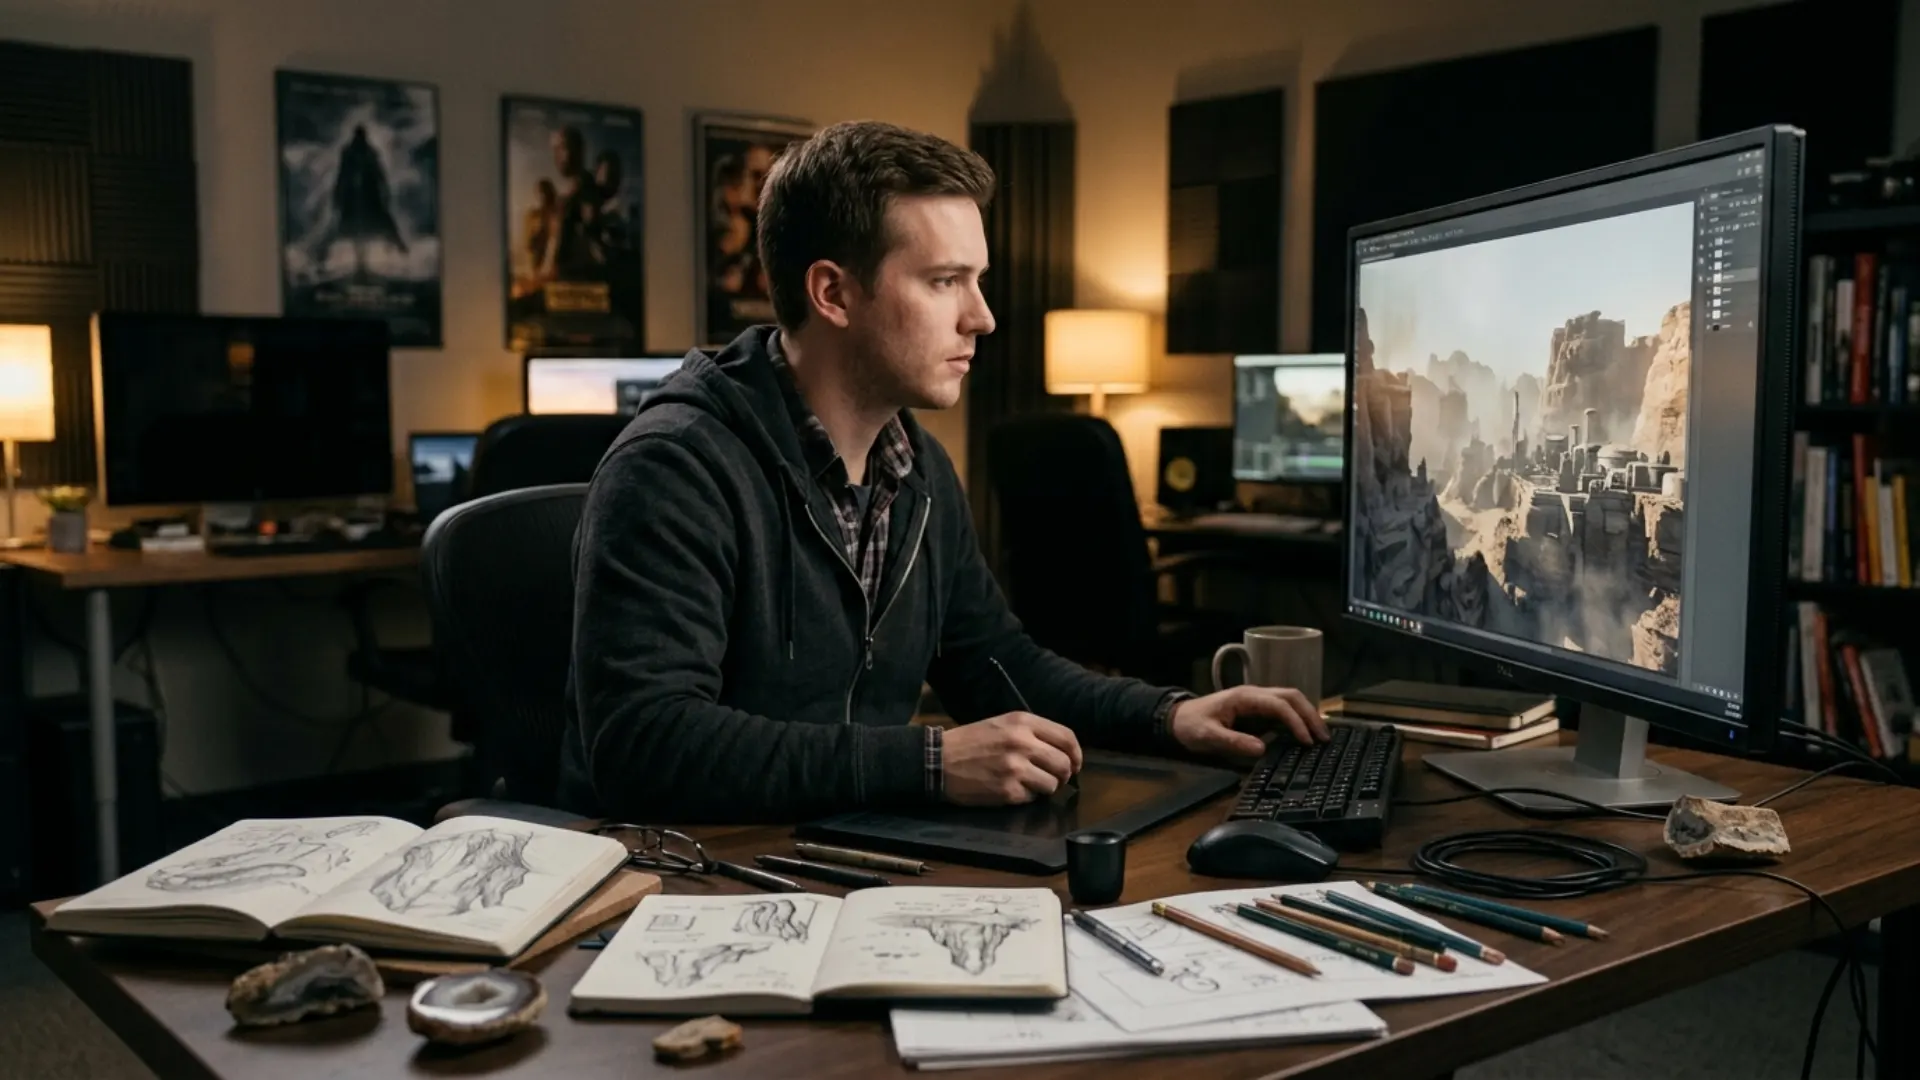
- Environments and set extensions: Artists create landscapes, architecture or backgrounds that extend a filmed location. Even a subtle addition, such as extra buildings beyond a real street, can change the scale of a scene.
- Simulations: Fire, water, smoke, fabric and crowds can be generated or controlled digitally. The challenge is making their behavior fit the surrounding shot, not simply filling the frame with movement.
- Digital humans: Artists build or alter human features for characters, doubles or other visual storytelling needs. Faces are especially demanding because viewers notice small inconsistencies in expression and lighting.
- Product and advertising visuals: A brand can show an object in different colors, settings or camera angles without photographing every variation. Good reference photos and accurate materials still matter.
- Real-time CGI: Game engines can display and update 3D scenes interactively. They can help teams preview camera moves or produce graphics without waiting for a traditional offline render, although the right approach depends on the project.
If you’re curious about newer asset workflows, our article on AI-generated 3D assets for motion design explores how generated models can fit into production. Always inspect and refine a generated asset before using it in a final shot.
Landmark CGI Examples in Movies and Television
CGI vs VFX vs Animation: What’s the Difference?
These categories overlap, but they aren’t interchangeable. A CGI creature added to a live-action shot is part of that shot’s VFX work; a fully computer-animated film is also CGI, even when it isn’t being added to live-action footage. For the broader terminology, see our guide to the difference between VFX, CGI and SFX.
Why Filmmakers and Creators Use CGI
That flexibility comes with trade-offs. Detailed models, believable lighting and repeated revisions can take substantial time and specialist skills. A practical object or filmed element may be quicker or more convincing for a particular shot, and many productions combine methods. For the deeper discussion of longevity and film examples, read practical effects vs CGI.
The useful question isn’t “Can we do this with CGI?” It’s “Does CGI solve this shot’s problem better than the alternatives?”
Software Used for CGI
How to Start Using CGI in Your Own Edits
Try a simple 3D layer setup
In After Effects, create a composition, add a few text or shape layers, enable their 3D switches and separate them along the Z axis. Add a camera and make a small move through the layers. This is a useful way to learn depth and camera movement, even though the layers themselves are flat planes.
Our guide to 3D layers in After Effects covers the setup. Once you’re comfortable, practice a controlled move with the 3D camera animation tutorial.
Combine a 3D render with real footage
Choose a short locked-off clip and a simple object. Render the object against transparency if your workflow supports it, then place it above the footage in your compositor. Match its scale and position first, then work on light direction, color and a believable shadow.
A locked camera removes tracking from the first exercise, leaving you free to focus on integration. Later, try a moving shot and learn motion tracking in After Effects to help attach an element to the scene.
Use ready-made elements thoughtfully
A ready-made effect can be useful when the edit needs a finishing touch and the deadline doesn’t leave room for a full 3D build. Browse the Pixflow VFX templates collection for options, then check each item’s software requirements and customization details before using it.
Match the element’s timing, color and apparent depth to your footage. If it pulls attention away from the subject, scale it back. The best effect is often the one that supports the edit without asking to be noticed.
Conclusion
Start small, test the result in context and build on what works. When you need a practical starting point for your next edit, explore Pixflow’s VFX templates and find an effect that fits the story you’re telling.
Disclaimer : If you buy something through our links, we may earn an affiliate commission or have a sponsored relationship with the brand, at no cost to you. We recommend only products we genuinely like. Thank you so much.
Blog Label:


Write for us
Publish a Guest Post on Pixflow
Pixflow welcomes guest posts from brands, agencies, and fellow creators who want to contribute genuinely useful content.
Fill the Form ✏