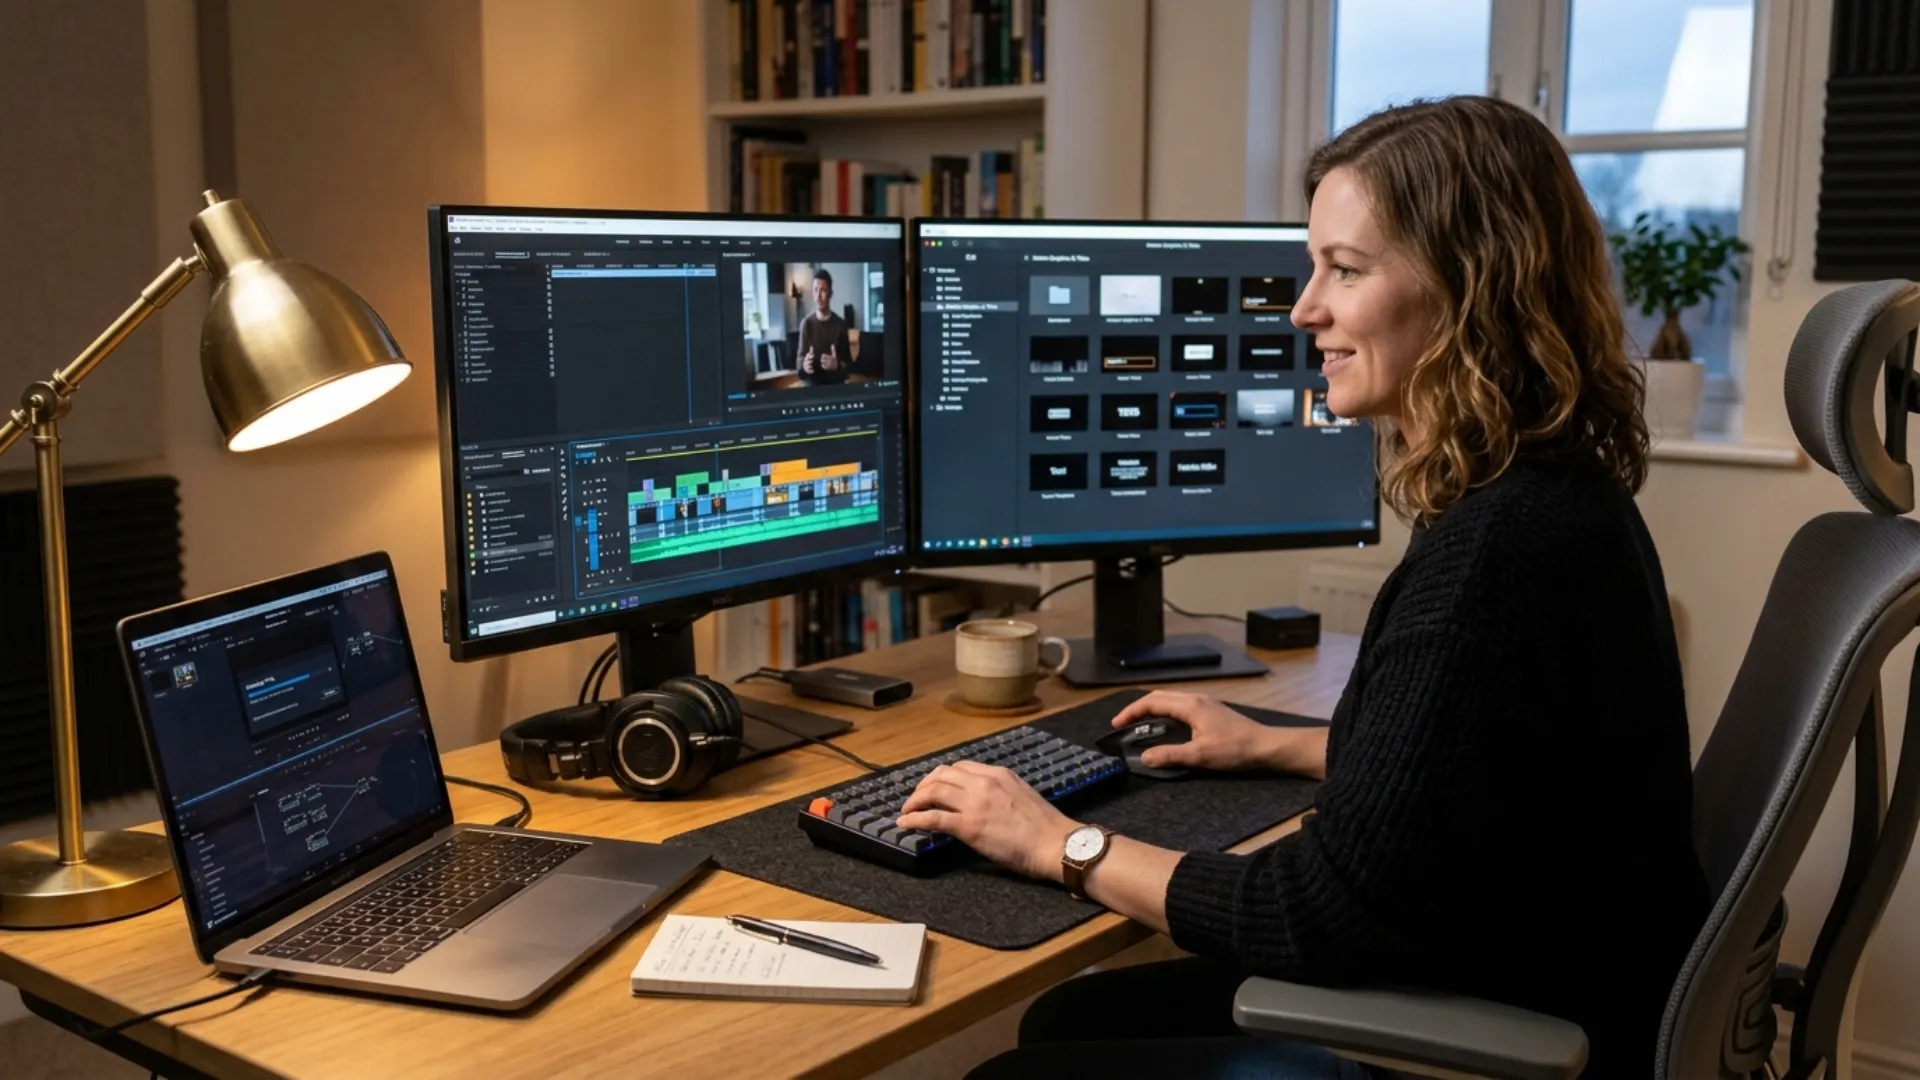
From Blueprint to Cinematic Fly-Through: Post-Processing Renders for Real Estate Promos

Core Post-Processing Techniques for Enhancing 3D Renders
Adding Dynamic Motion Blur and Depth of Field for 3d rendering services Toronto
A sharp frame helps check materials, but it can look synthetic during movement. In 3d rendering in Toronto, vector motion passes should be exported with enough precision to let the compositor adjust blur after rendering. Start near a conventional cinema shutter angle, then reduce it if façades or signage lose definition. Depth of field should follow physical camera logic: set a believable focal distance, aperture, and sensor relationship rather than applying a uniform blur. Adobe’s current After Effects tools support in-engine depth of field for Advanced 3D, including subjects seen through transparent surfaces. That is useful for interior spaces viewed through glazing. The aim is not maximum softness. It is controlled attention. A gentle focus pull can move the eye from a front exterior detail to the residential complex beyond, while preserving high-quality renderings and keeping fast pans comfortable.
Atmospheric Effects: Lens Flares, Lighting, and Particle Overlays
Atmosphere gives scale and physical presence to otherwise clinical imagery. A subtle flare can connect the virtual lens to a visible sun or practical light, but it must share the source’s angle, color, and intensity. Random flares make complex designs look cheaper. The same rule applies to fog, dust, rain, and light leaks. Use depth maps to place particles behind foreground architecture and in front of distant elements. For 3d architectural rendering in Toronto, local cues can support the story: cool haze over Lake Ontario, warm street lighting in the Distillery District, or reflected traffic near downtown Toronto. Keep mirror reflections consistent with the scene and avoid overlays that flatten the image. Photorealistic renderings do not require heavy effects. A restrained exterior render may need only a thin atmospheric layer and mild halation. A commercial space may benefit from floating dust in a sunbeam. These tailored solutions create high-quality visualizations while protecting the original architectural design and the final product’s credibility.
Cinematic Color Grading and Visual Polish
Applying Color LUTs and Matching Spatial Lighting
Colour grading should unify shots, not force every scene into the same look. Begin by normalizing exposure, white balance, and contrast across render passes. Then apply a creative LUT at low intensity and refine it shot by shot. Daylight exteriors, twilight views, and warm interiors usually need different corrections before they can share one visual language. In architectural visualization in Toronto, the grade may also need to account for overcast skies, glass-heavy towers, brick heritage areas, and waterfront light. Monitor skin tones if people appear, and protect neutral walls from color casts. For standard digital delivery, YouTube recommends BT.709 for SDR uploads, so a BT.709 monitoring pipeline is a practical baseline. Review the same grade on a calibrated workstation, a normal laptop, and the sales-center display. That process helps visualization services deliver high-quality results across devices while enabling clients to make informed decisions about mood, materials, and design concepts before final renderings are approved.
Integrating Animated Callout Graphics and Motion Typography
Callouts should answer a sales question when the relevant feature appears. Track a stable point on the geometry, solve the camera, and attach a null or 3D layer to that position. Then design the label with enough contrast to remain readable without covering the feature. For 3d rendering services Toronto and 3d rendering and animation Toronto, callouts can identify floor area, finish packages, transit access, or a private terrace. Keep typography slower than the camera move, with easing that makes labels feel anchored. A short hierarchy is usually enough: feature name, one supporting fact, and a clear action. This supports effective communication with prospective buyers while preserving the immersive experience.
Key Callout Types for Real Estate Trailers
- 3D spatially tracked amenity labels for countertops, cabinetry, balconies, and other design ideas.
- Lower thirds that show floor plan dimensions, Lake Ontario views, or neighborhood benefits.
- Dynamic transitions that connect interior spaces, a site plan, and the wider real estate market.
- Call-to-action cards with pricing tiers, pre-sale availability, or a free consultation.
Use callouts selectively. Too many labels compete with the design visualization and reduce buy-in. The best motion systems can also be adapted for virtual staging, virtual tours, and virtual reality, giving potential buyers more context without presenting a fictional feature as a real object.

Optimizing the Post-Production Pipeline for Commercial Delivery
Export Settings, Frame Rates, and Platform Delivery
Create one master before making platform versions. A 4K master at 3840 × 2160 contains four times the pixel detail of 1080p, which gives editors room to crop vertical and square formats. For a cinematic property film, 24 or 25 fps often works well; 30 fps can suit smoother corporate project presentations. Keep the export frame rate consistent with the source rather than resampling. YouTube’s current SDR guidance recommends H.264 in an MP4 container, progressive scan, BT.709, and about 35–45 Mbps for standard-frame-rate 4K or 8 Mbps for 1080p. Build separate 16:9, 9:16, and 1:1 timelines. Check every exterior render and text safe area in each format. High-quality visuals may still fail if a tower is cut off on mobile or a price card is hidden by interface controls. This export discipline supports high-quality services, competitive pricing, and predictable rendering services across various industries.
Workflow Efficiency Tips for Tight Production Timelines
Fast delivery depends more on organization than on rushing. Set folders for source renders, passes, proxies, audio, graphics, approvals, and final outputs. Use a project manager to lock naming rules before editing starts. Shot names such as front exterior, custom house kitchen, or product concept lobby should be clear to the expert team. A CRM note such as found endesign online or a legacy code such as embee residential belongs in metadata, not in the visible title. Pre-build compositing templates for flares, grain, callouts, and colour management. Use advanced software and cutting edge technology where they reduce manual work, but do not rerender a full scene to fix an edit that can be handled safely in post. Modular timelines let the design process continue while one shot is revised. This approach helps teams meet tight deadlines, manage tight timelines, and account for the project’s complexity. It also supports saving time when architects or clients provide positive feedback late in the rendering process.
The approval path should be equally clear. First confirm camera movement and geometry, then materials and lighting, then graphics and final polish. Mixing those stages creates expensive revisions. For the next project, record what caused delays and update the template. Deep local expertise can guide location details, while extensive experience helps separate useful realism from decorative noise. Clear review gates keep project goals visible and help projects stand out without promising more than the design can deliver.
Conclusion
Disclaimer : If you buy something through our links, we may earn an affiliate commission or have a sponsored relationship with the brand, at no cost to you. We recommend only products we genuinely like. Thank you so much.
Blog Label:



Write for us
Publish a Guest Post on Pixflow
Pixflow welcomes guest posts from brands, agencies, and fellow creators who want to contribute genuinely useful content.
Fill the Form ✏