Video Templates
Video Packs
Graphic Packs
Plugins
in Video Templates
in Graphic Templates
in Video Packs
in Graphic Packs
in
Articles
Browse All
Industry News
Filmmaking
Video Editing
Color Grading
Creative AI
Motion Design
Graphic Design
Premiere Template
After Effects Template
Plugins
Articles
Browse All
Industry News
Filmmaking
Video Editing
Color Grading
Creative AI
Motion Design
Graphic Design
Premiere Template
After Effects Template
Plugins
Daily Tips, Templates, and Industry News for After Effects & Premiere Pro Users.
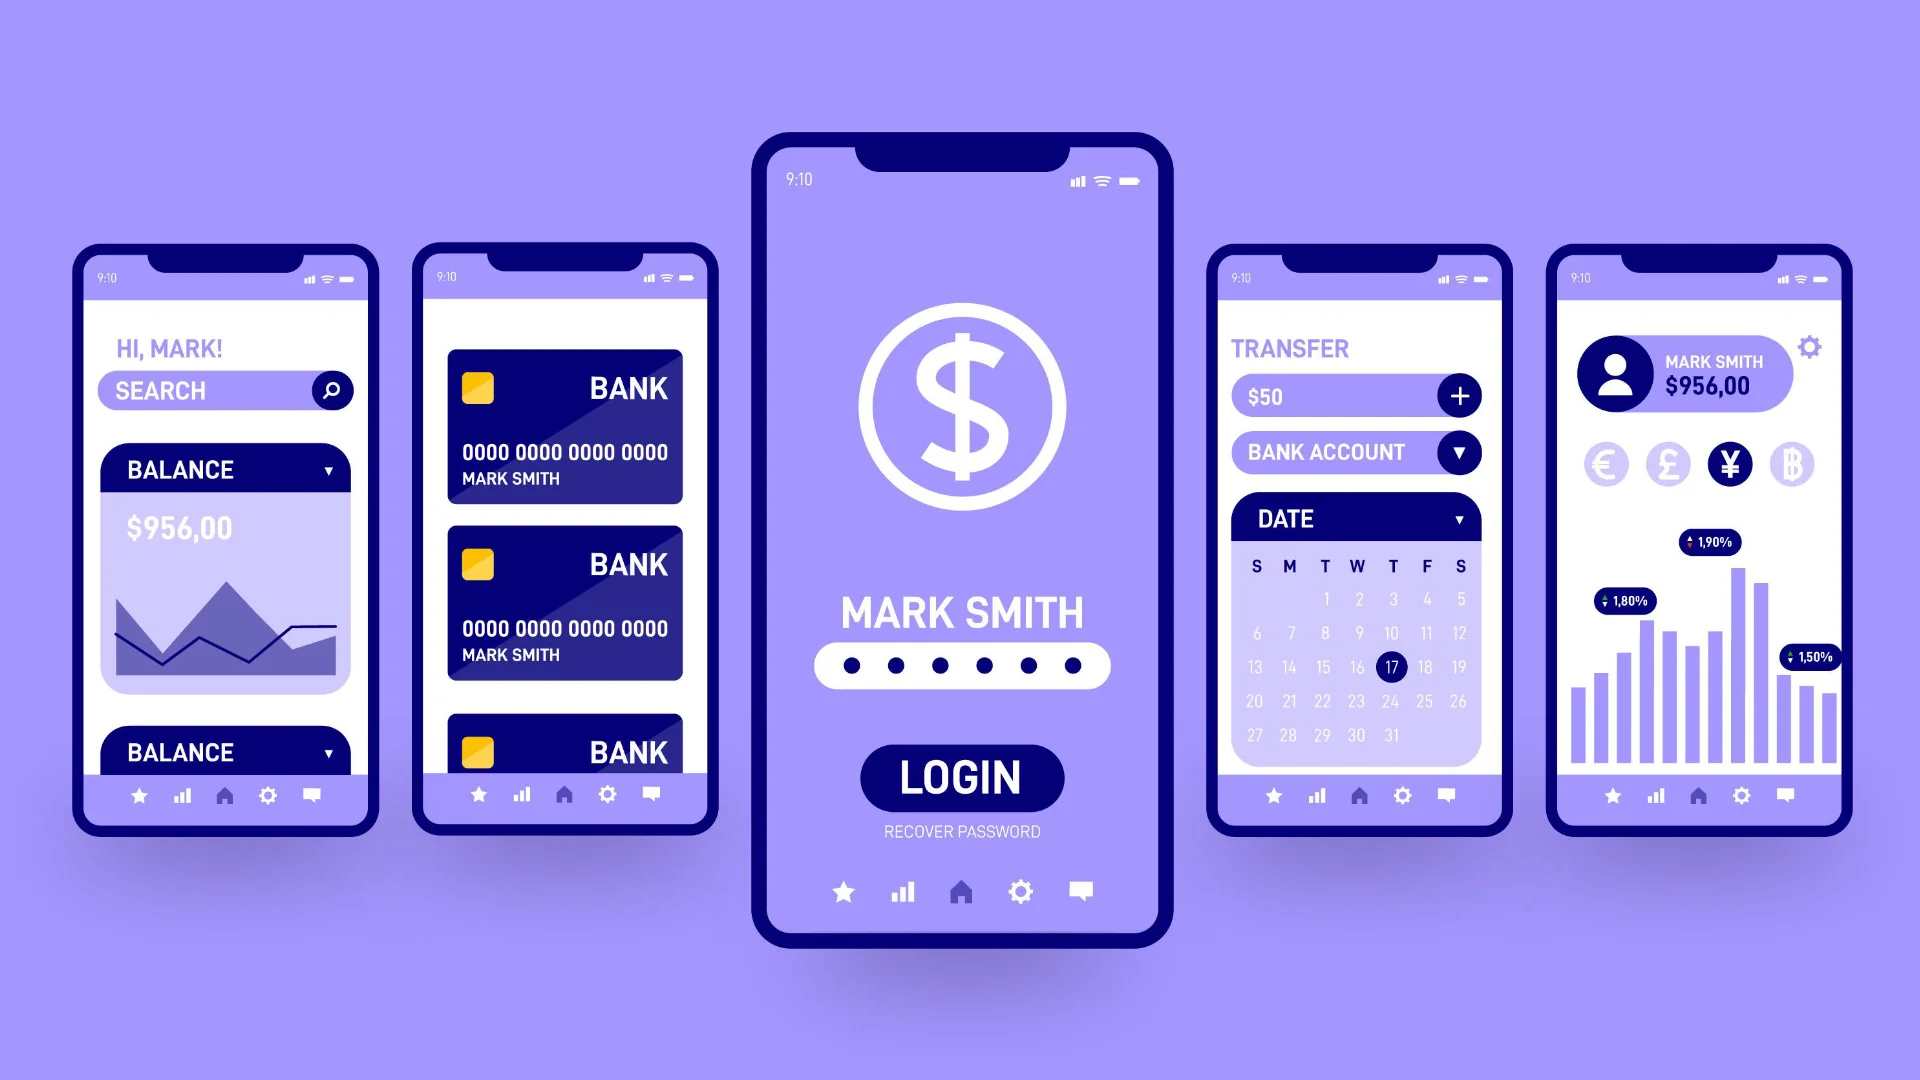
Emotional Design and Financial Risk: How UI Visual Cues Influence User Decision-Making in FinTech Apps
18 Mar,2026
Featured
7 Minutes
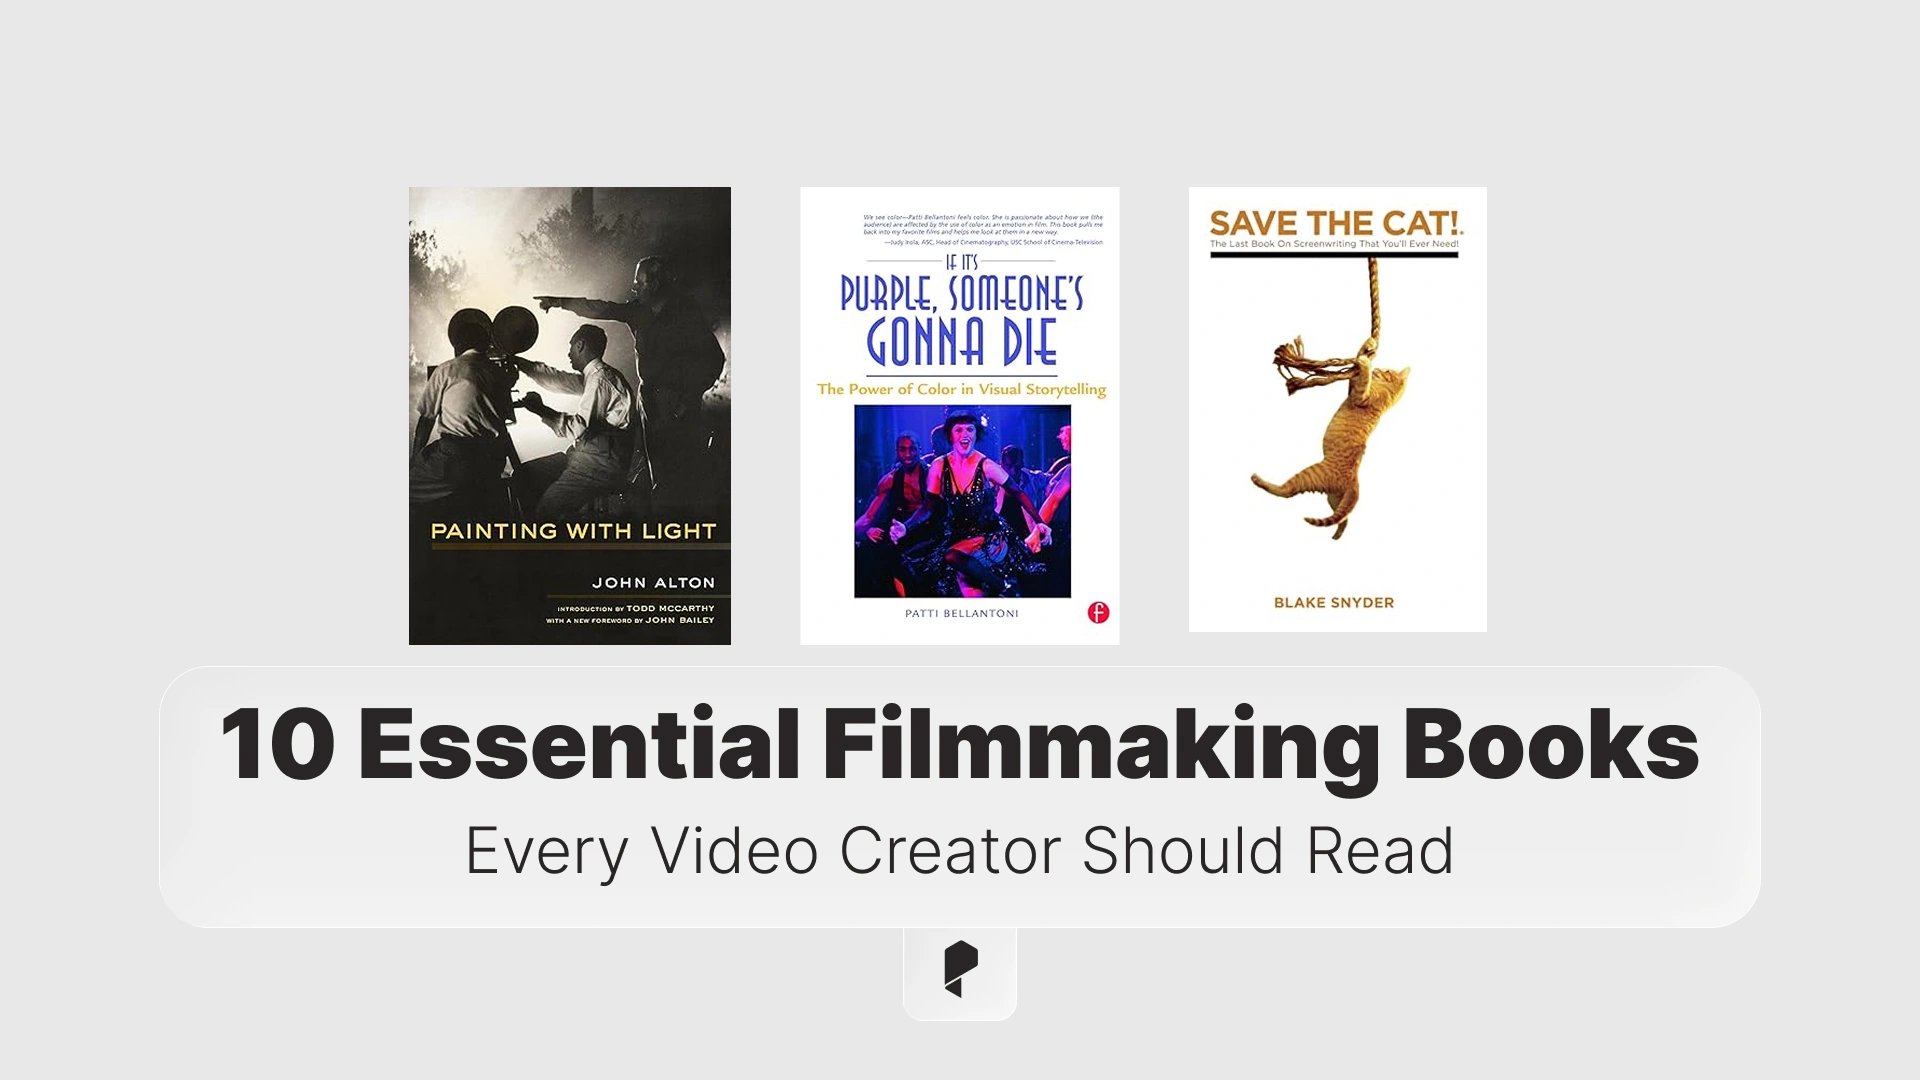
10 Essential Filmmaking Books Every Video Creator Should Read
31 Dec,2025
Featured
9 Minutes
Effortless AI Voiceovers: A Guide to Using the Pixflow Plugin in After Effects & Premiere Pro
11 May,2025
After Effects
6 Minutes
The Ultimate Guide to Film Credits: Examples, Templates, and Best Practices for 2025
12 Mar,2026
Featured
15 Minutes
Top 7 Motion Design Trends of 2025
10 Mar,2025
Featured
6 Minutes
Most recent
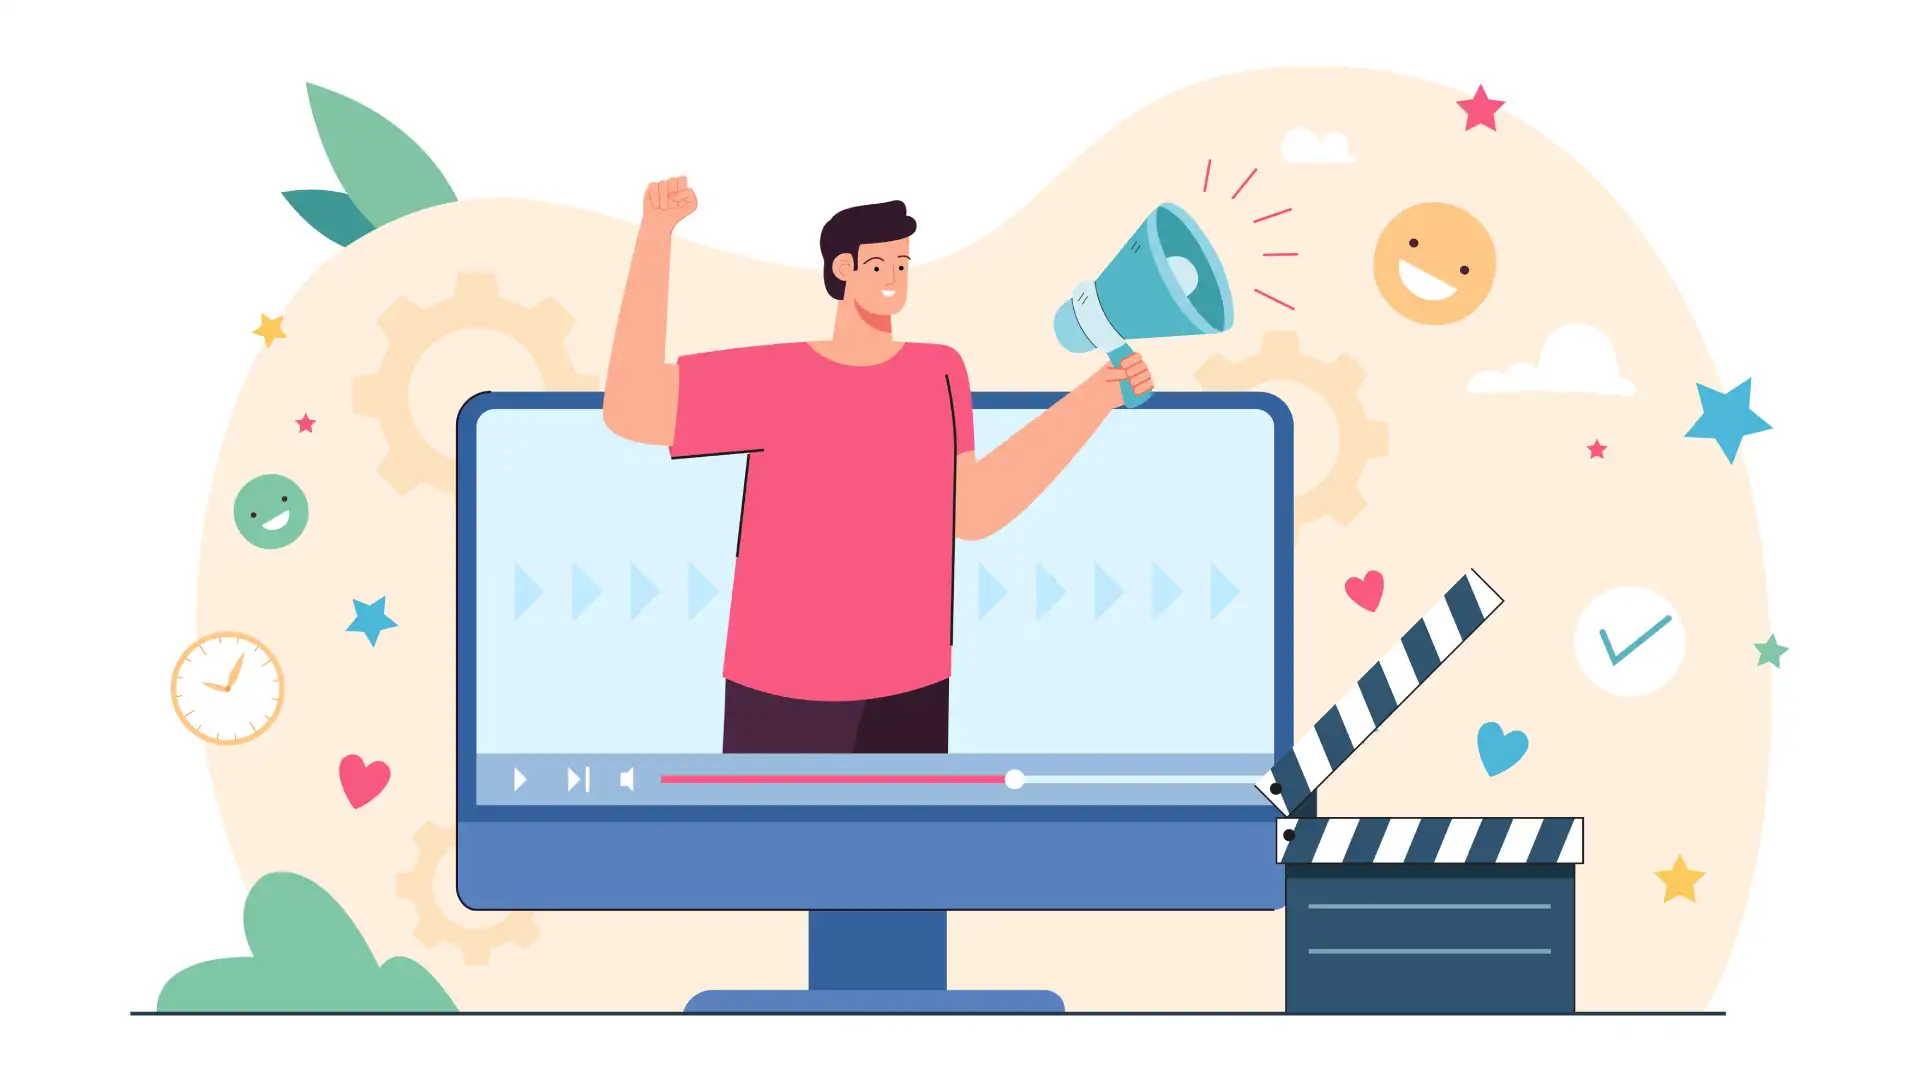
How AI Voice Helps Creators Save Time in Video Production
02 Apr,2026
Color Grading
8 Minutes
How to Analyze a Movie Color Palette Step by Step
30 Mar,2026
Color Grading
8 Minutes
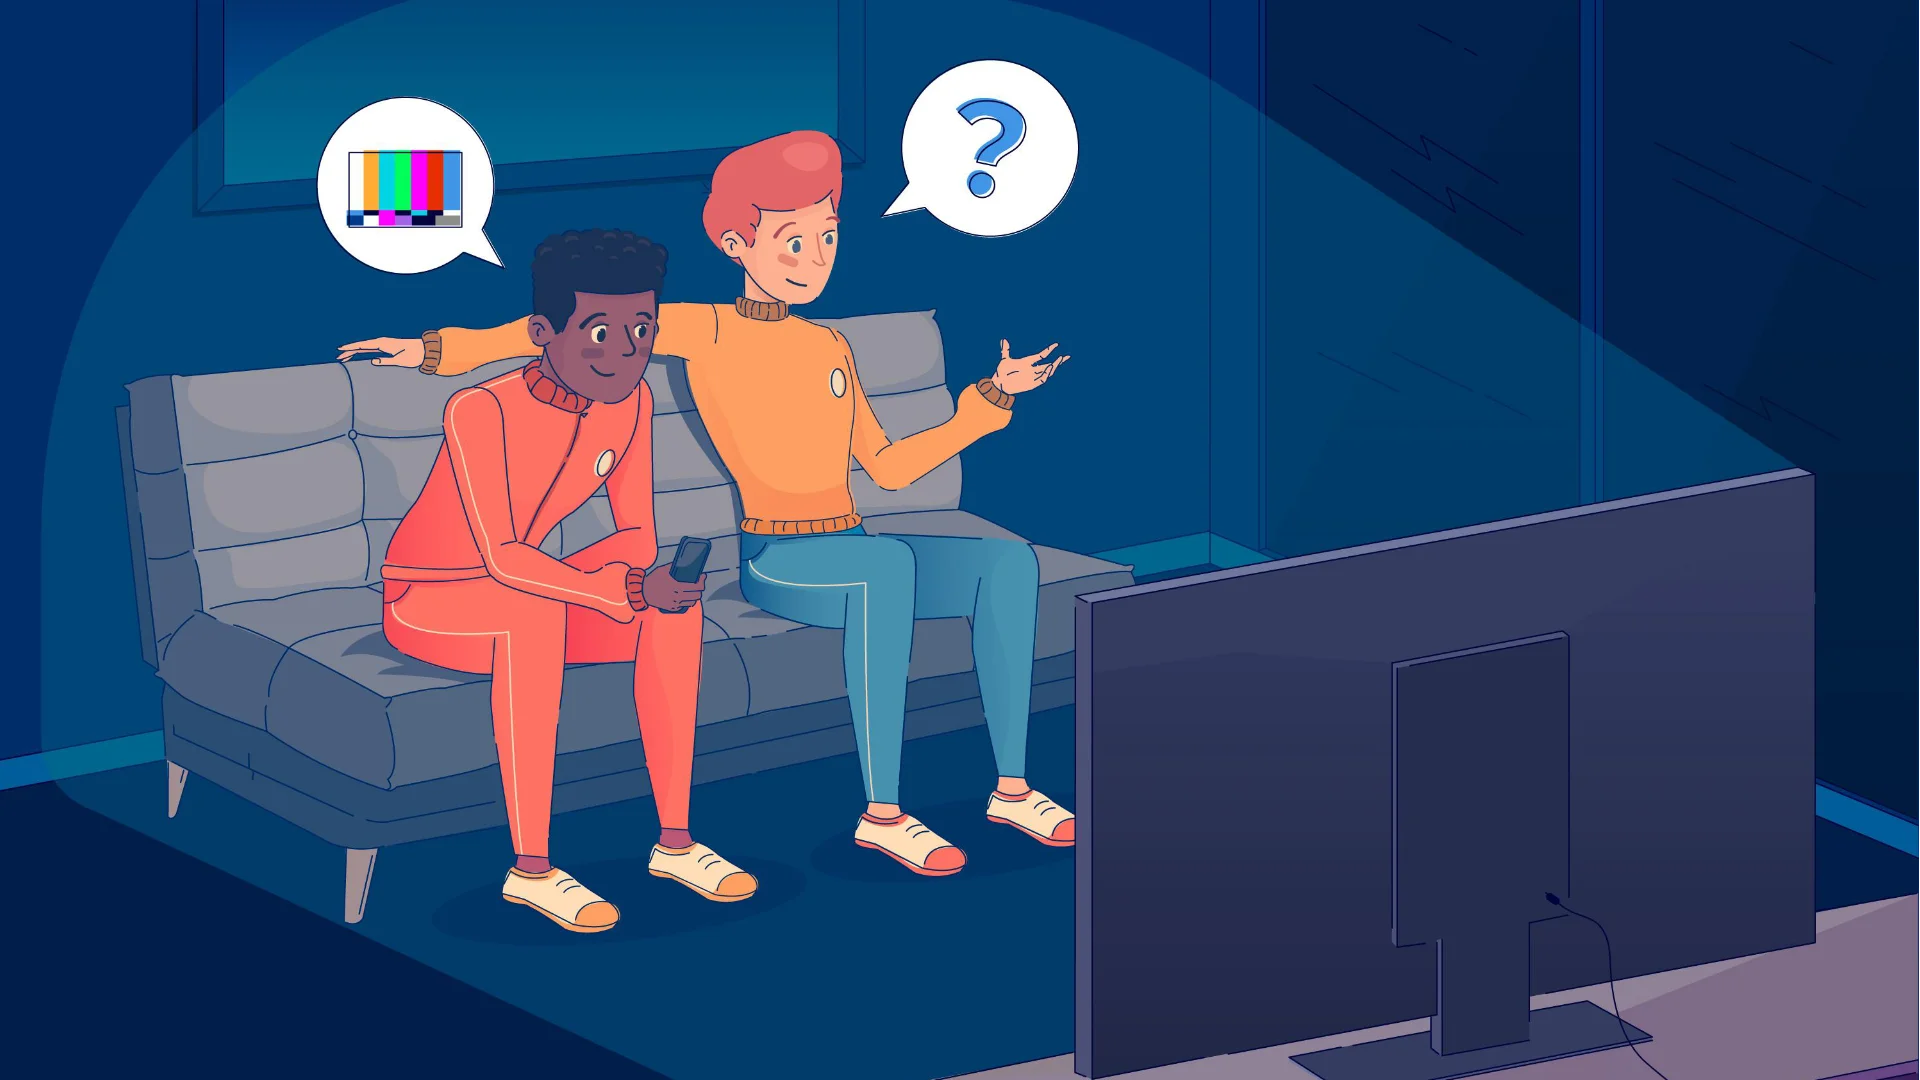
HDR10 vs Dolby Vision: What Video Creators Need to Know
30 Mar,2026
Color Grading
8 Minutes
Best Color Space for YouTube, Instagram, and TikTok Exports
29 Mar,2026
Color Grading
8 Minutes
Freelance Video Editor Success: How to Build a Sustainable Creative Business Online
30 Mar,2026
Filmmaking
5 Minutes
How to Use a Script to Produce Videos at Scale Through AI
30 Mar,2026
Creative AI
5 Minutes
How computer vision is changing the way video creators review footage
25 Mar,2026
Filmmaking
5 Minutes
How AI Tools Can Help Gamers
25 Mar,2026
Creative AI
5 Minutes
How to Start a Career in Remote Gaming Jobs with No Experience
25 Mar,2026
Filmmaking
7 Minutes
Enhancing motion graphics with cinematic transition sounds
25 Mar,2026
Filmmaking
7 Minutes
Understanding Key Video Editing Concepts: A Practical Introduction
25 Mar,2026
Filmmaking
7 Minutes
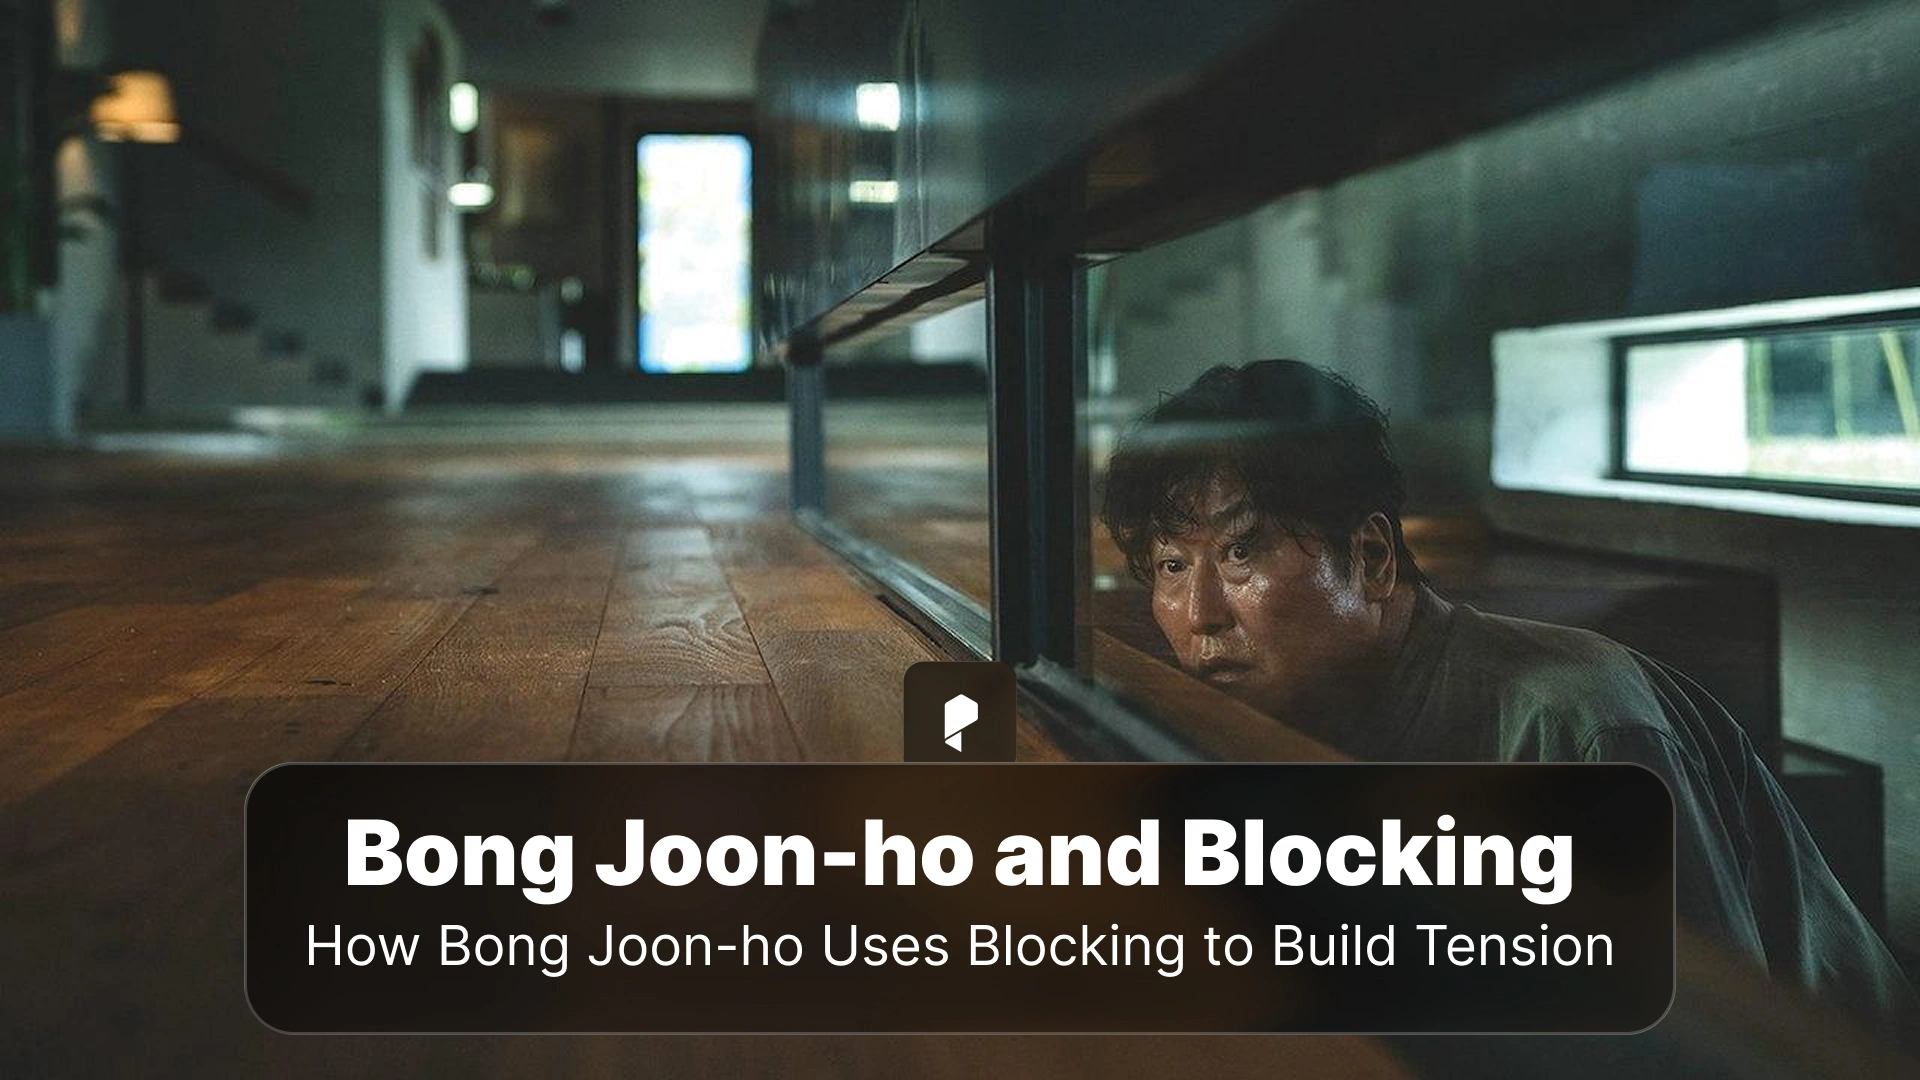
How Bong Joon-ho Uses Blocking to Build Tension
16 Mar,2026
Filmmaking
8 Minutes
How to Create Cinematic Titles for Student Films Without Advanced Skills
25 Mar,2026
Filmmaking
7 Minutes
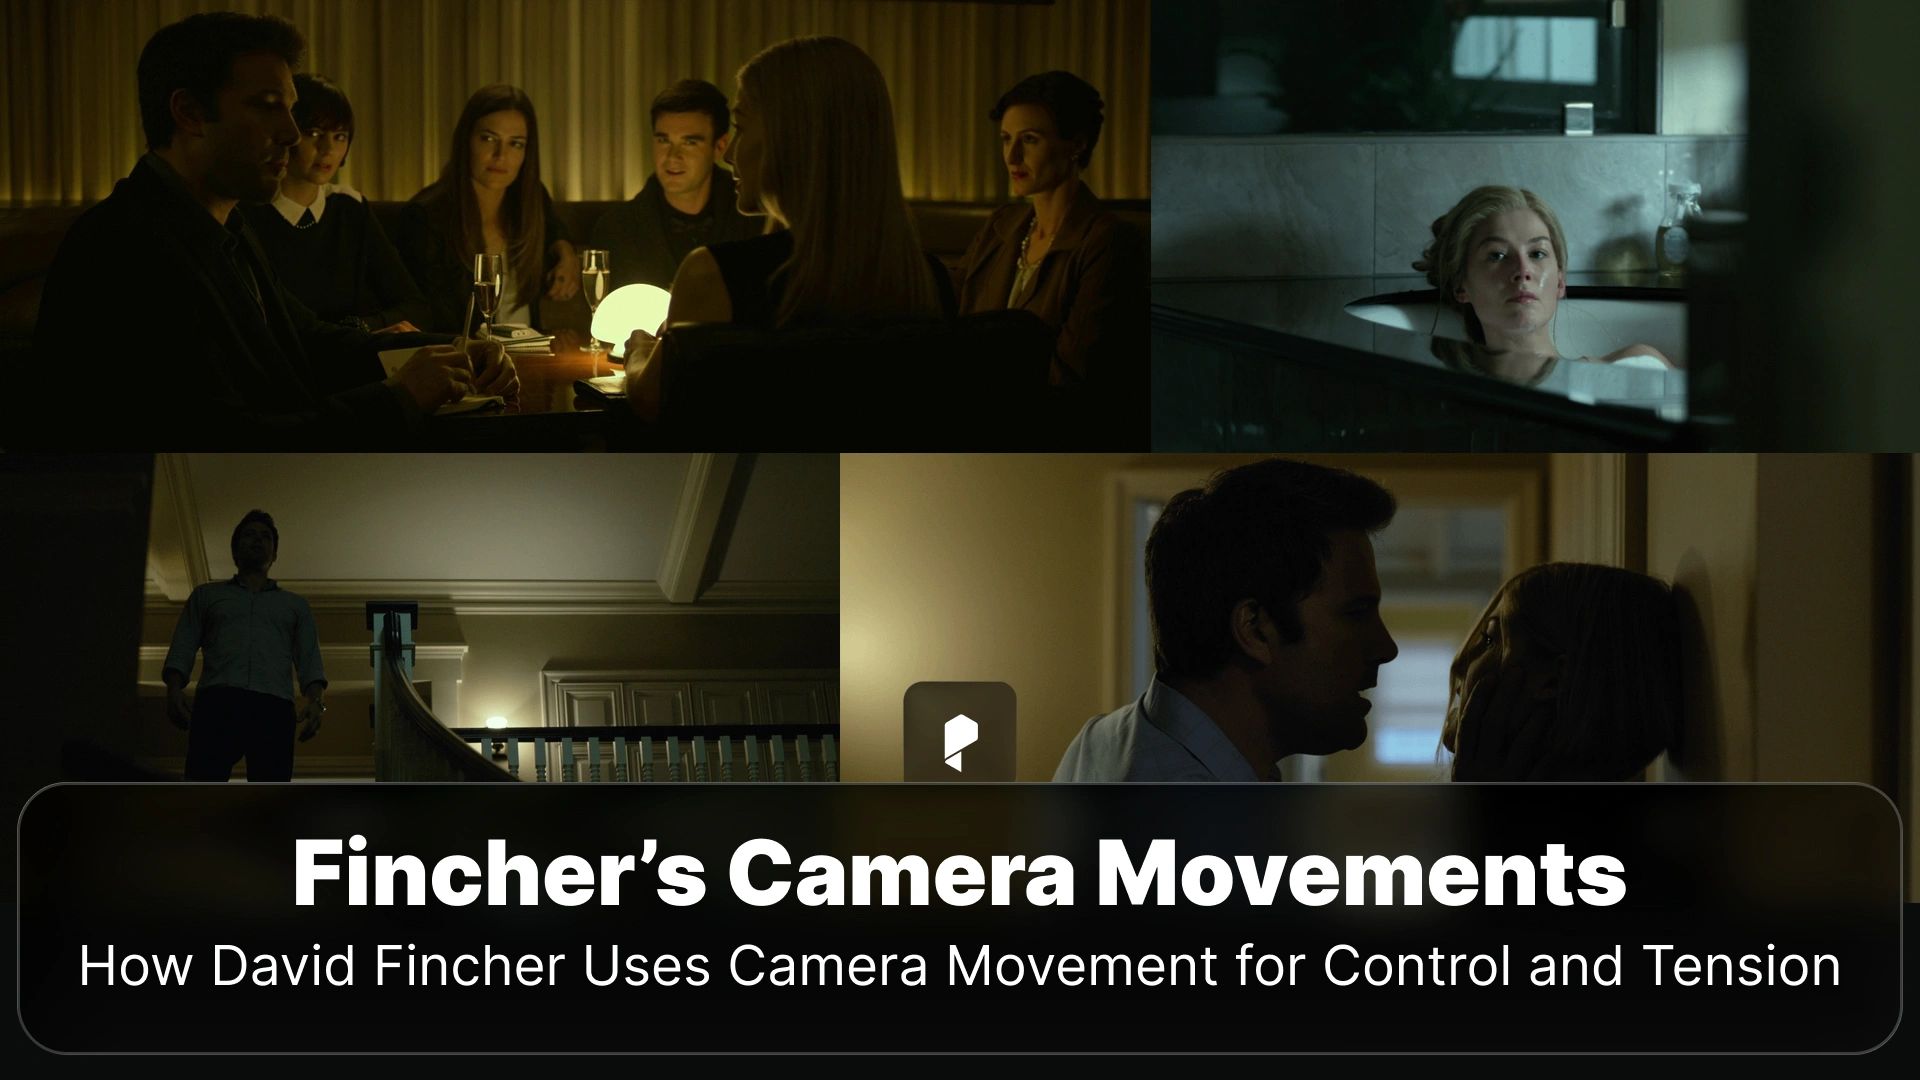
How David Fincher Uses Camera Movement for Control and Tension
12 Mar,2026
Filmmaking
7 Minutes
Remote Design Tools That Boost Creativity in 2026
24 Mar,2026
Tips & Tricks
4 Minutes
How Spielberg Uses Reaction Shots to Guide Emotion
11 Mar,2026
Filmmaking
7 Minutes
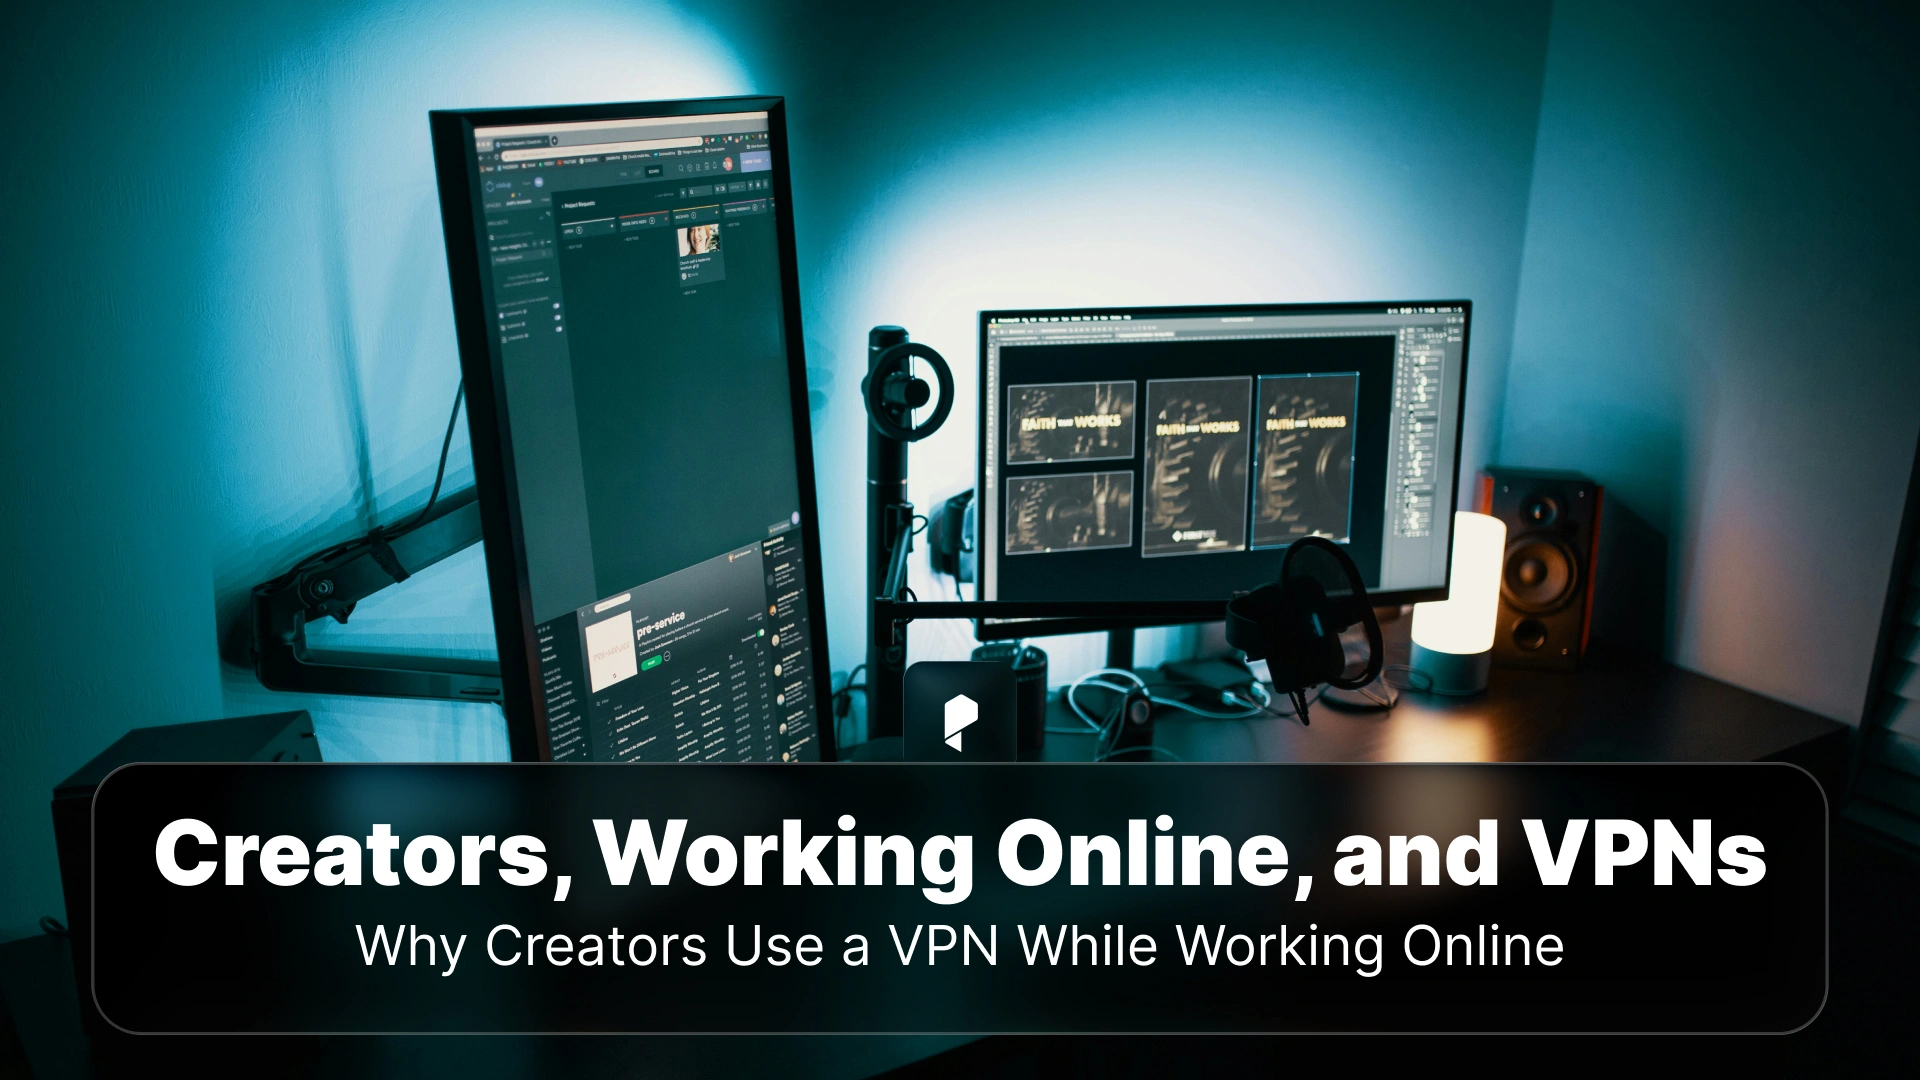
Why Designers and Creators Should Use a VPN While Working Online
12 Mar,2026
Tips & Tricks
4 Minutes
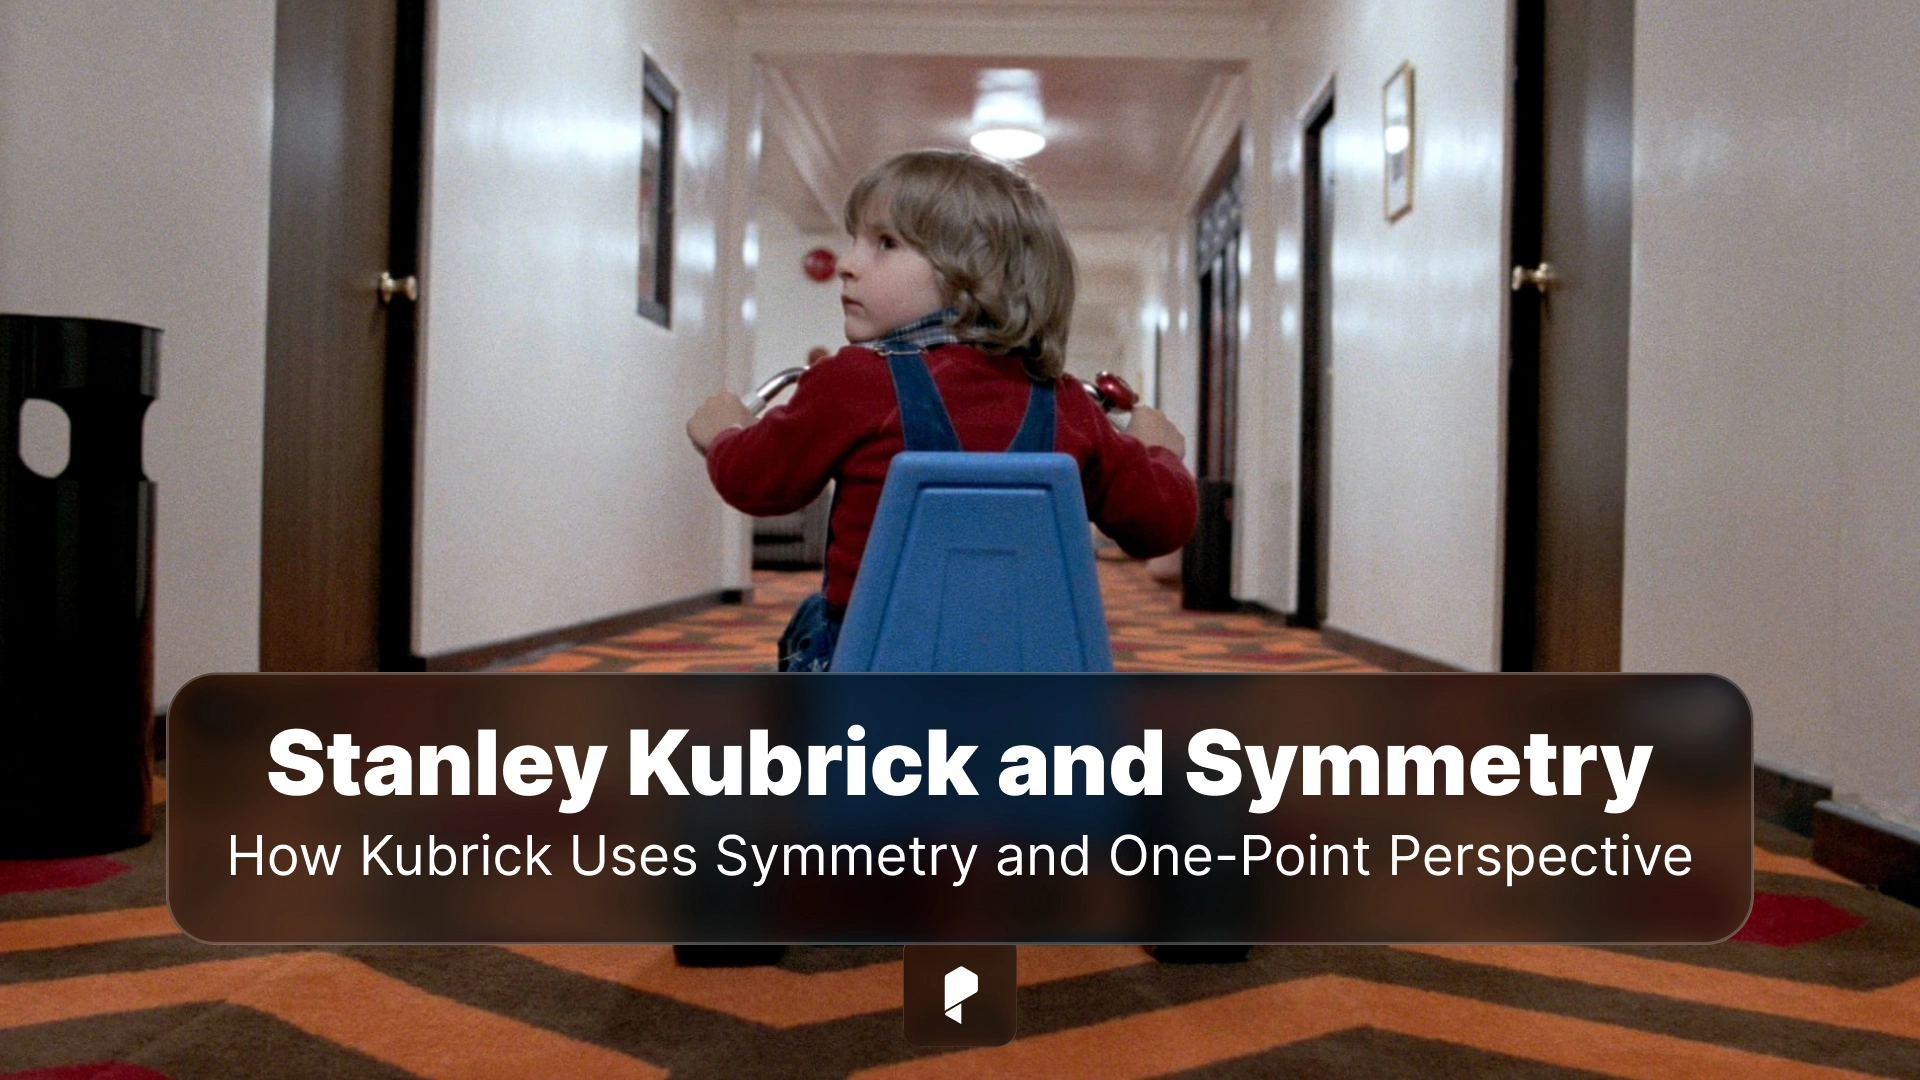
How Stanley Kubrick Uses Symmetry and One-Point Perspective
11 Mar,2026
Filmmaking
8 Minutes
7 Language Learning Apps for Content Creators Working with International Clients and Multilingual Audiences
05 Mar,2026
Tips & Tricks
4 Minutes
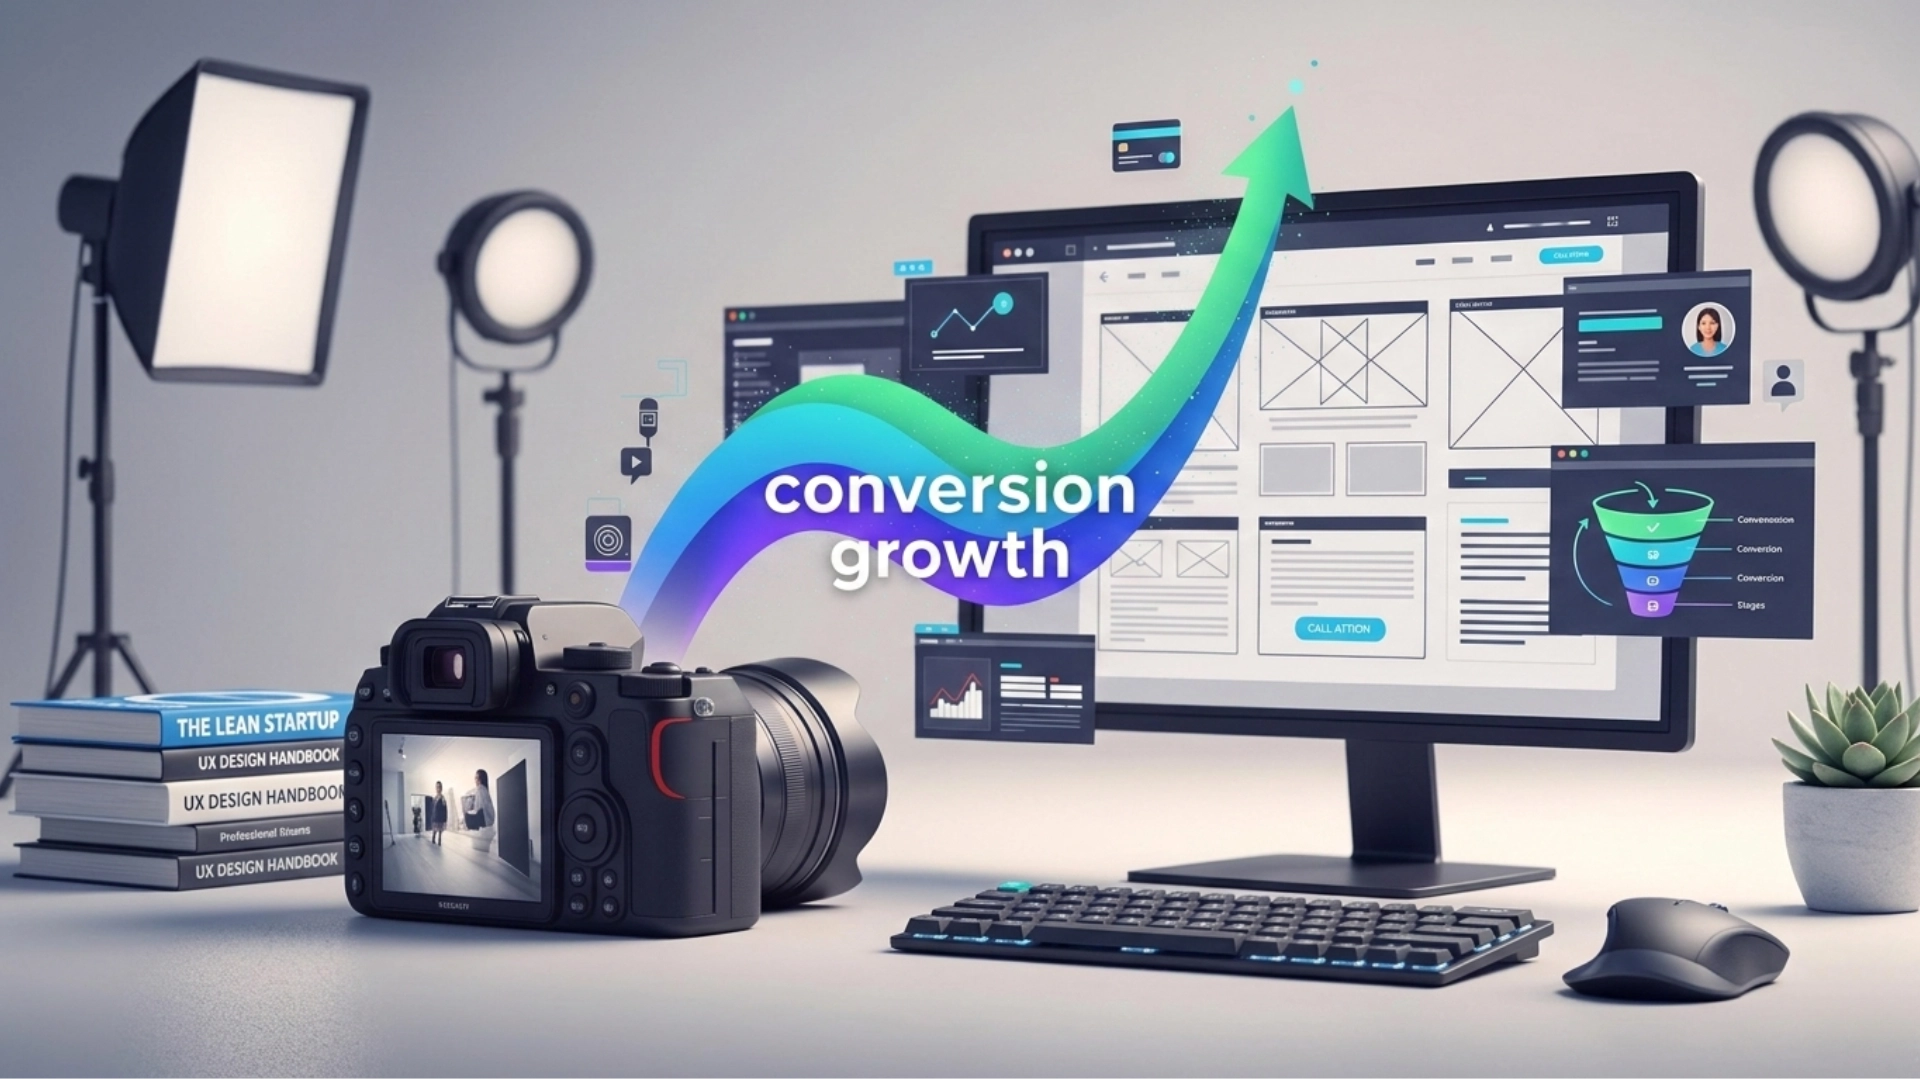
How Strategic Video Placement Turns Your Website Into a Conversion Engine
04 Mar,2026
Tips & Tricks
4 Minutes
Designing Interactive Experiences for Retail & CPG Brands
16 Feb,2026
Tips & Tricks
4 Minutes
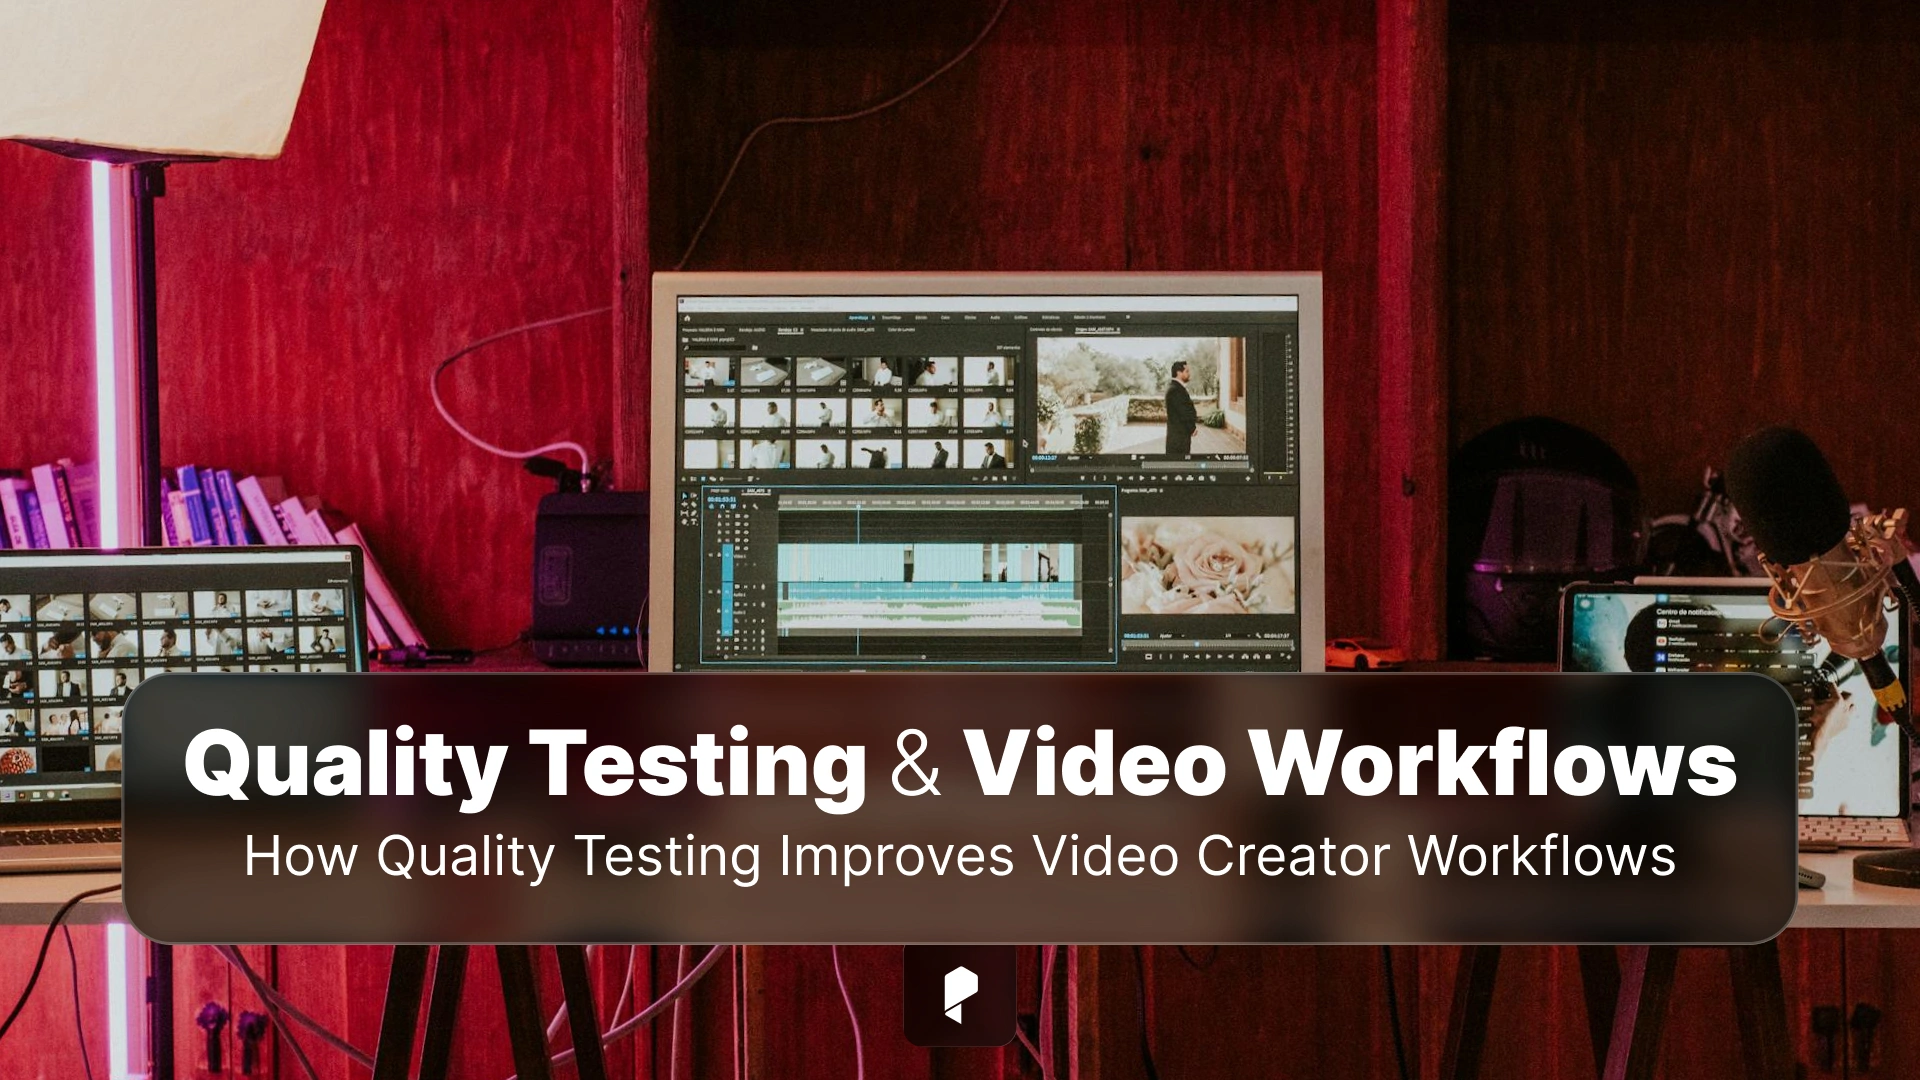
Behind the Scenes: How Quality Testing Improves Video Creator Workflows
16 Feb,2026
Tips & Tricks
5 Minutes
The 5 Best Places to Outsource Wedding Video Editing
08 Mar,2026
Tips & Tricks
3 Minutes
Performance Matters: How VPS Hosting Improves Readability of News Platforms
16 Feb,2026
Tips & Tricks
3 Minutes
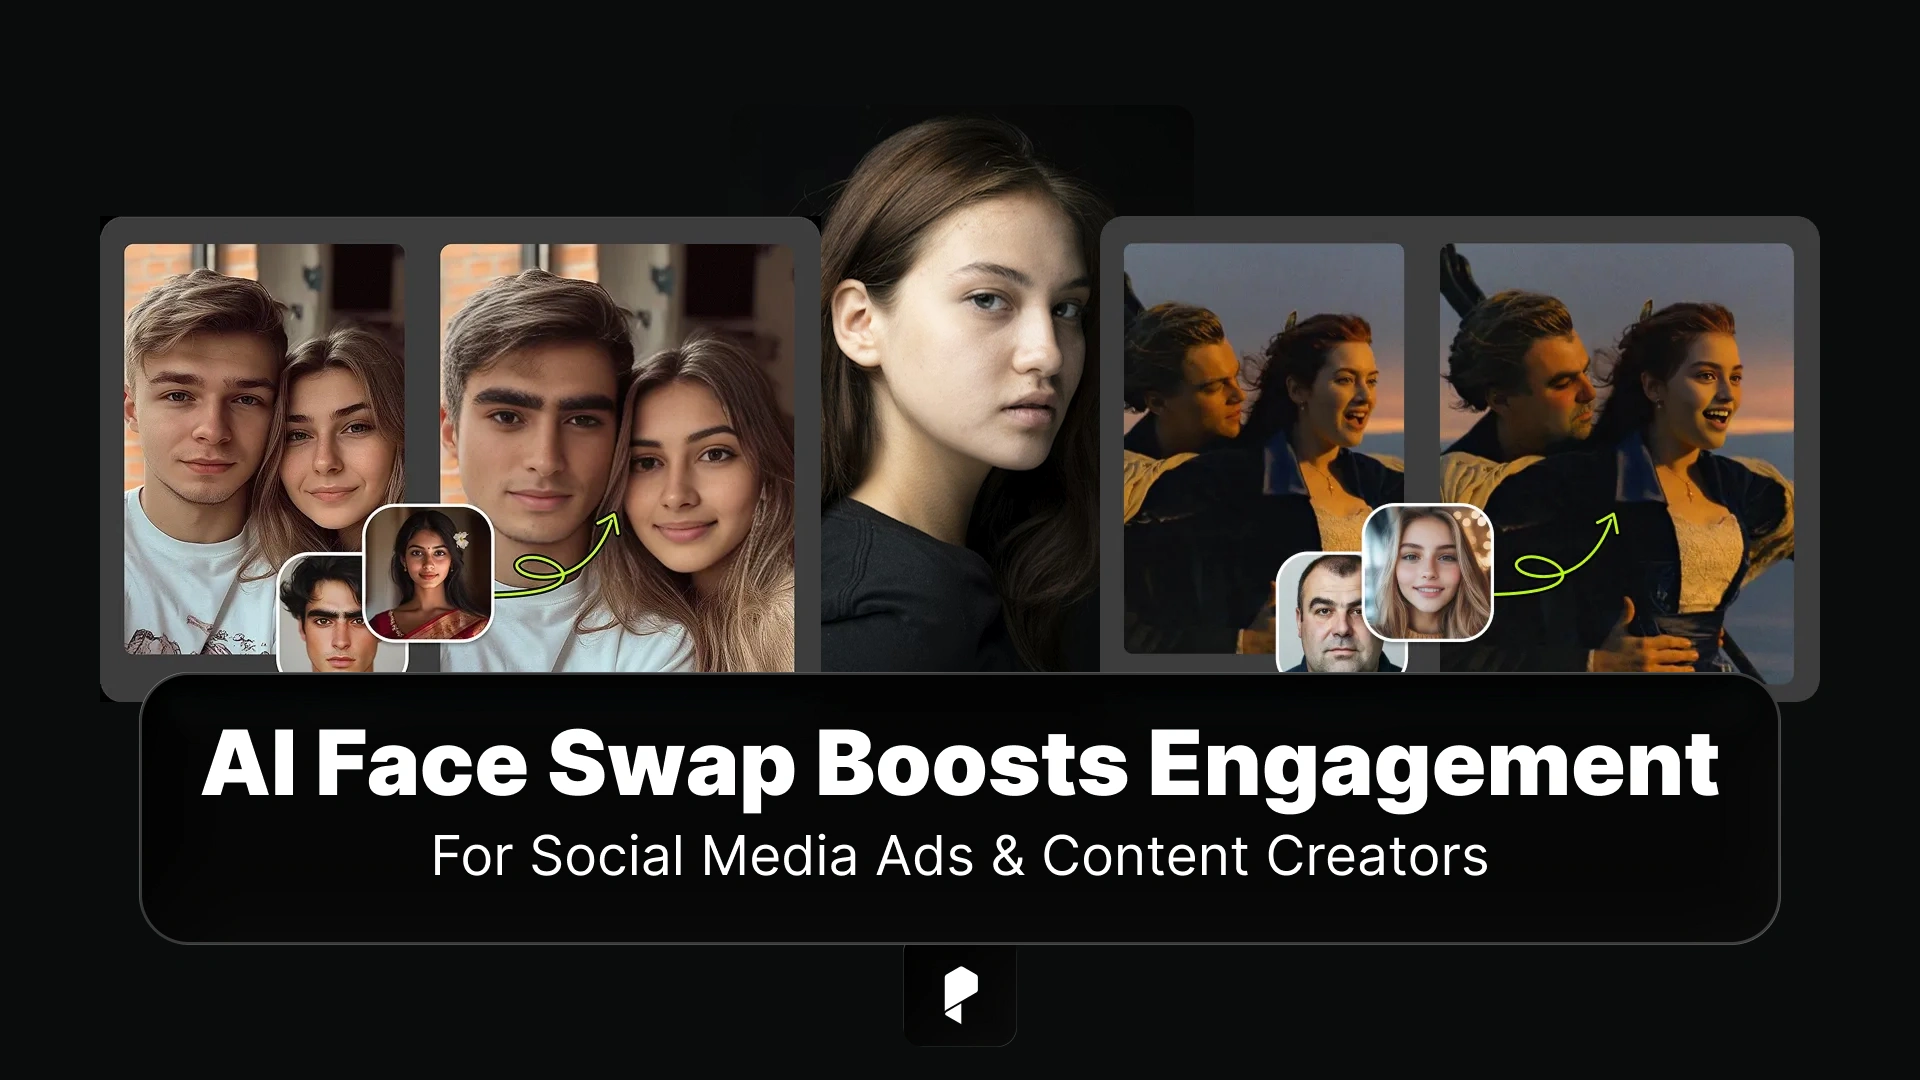
Enhancing Social Media Ads: How AI Face Swap Boosts Engagement for Content Creators
12 Feb,2026
Creative AI
6 Minutes
Load More Posts