Mastering Audio and Video Sync in Premiere Pro: Your Step-by-Step Blueprint

Common issues like out-of-sync dialogue, drifting audio, or misaligned effects can stem from a variety of sources — from inconsistent frame rates to improper recording setups. These problems can quickly derail an otherwise great edit if not addressed properly.
Thankfully, Adobe Premiere Pro provides powerful and flexible tools that allow editors to sync audio and video accurately and efficiently. Whether you’re using automated features like Merge Clips, manual waveform alignment, or timecode-based synchronization, Premiere Pro audio sync features offer solutions for every scenario — from solo creators to full post-production teams.
In this guide, you’ll learn how to sync audio and video in Premiere Pro, explore various methods depending on your project’s complexity, and discover best practices to ensure flawless synchronization every time.
Professional Premiere Pro Templates
Understanding the Basics of Audio and Video Sync
What is Timecode?
At the heart of professional audio and video synchronization is timecode — a timestamp recorded into media files that tells your editing software exactly when every frame or sound sample was captured. There are two primary types used in production:
- Embedded Timecode: This is recorded directly into the metadata of your video and audio files. It’s the most reliable way to sync multiple sources because Premiere Pro reads and aligns this information automatically.
- Linear Timecode (LTC): A form of timecode that’s recorded as an audio signal. While it’s more common in broadcast setups or advanced productions, Premiere Pro can sometimes work with LTC using third-party tools.
Using Waveforms for Manual Syncing
When your footage lacks timecode, waveforms become your best friend. Every audio file visualized in Premiere Pro has a waveform — a visual representation of sound. These help editors synchronize audio and video by manually matching peaks in waveforms, such as claps, slate snaps, or loud noises.
Common Syncing Challenges
Even with great tools, editors face a few recurring issues:
- Drift: This happens when audio slowly goes out of sync over time, often due to mismatched recording frame rates or sample rates.
- Missing Metadata: Footage without embedded timecode or clear audio can make syncing a headache.
- Recording Glitches: Drops, skipped frames, or distorted sound can disrupt automatic syncing and force manual fixes.
Understanding these challenges sets you up for success as we explore multiple ways to sync audio and video in Premiere Pro, regardless of your production scale.
Methods for Syncing Audio and Video in Premiere Pro
A. Using the “Merge Clips” Feature
One of the most commonly used methods for Premiere Pro audio sync is the Merge Clips feature.
How to Use It:
- Select both your video file and the corresponding external audio track in the Project panel.
- Right-click and choose “Merge Clips.”
- In the dialog box, choose “Audio” as the synchronization point.
- Optionally, check “Remove Audio from AV Clip” to discard the lower-quality in-camera audio.
- Click OK, and Premiere will create a new merged clip with synced audio.
When to Use:
This method works best when you’re working with simple setups — like one camera and one external audio source — and want a fast, no-fuss sync. It’s especially helpful if you’re batch processing multiple clips.
✅ Pro Tip: If your original audio is low quality or just a scratch track, removing it can declutter your timeline.
🔗 Try enhancing your post-sync edit with high-quality elements from Pixflow’s Premiere Pro templates to bring your visuals to life.
B. Synchronizing with the “Synchronize” Function
Another fast and flexible method is using the Synchronize function in the timeline.
Steps:
- Select your video and external audio clips in the timeline.
- Right-click and select “Synchronize.”
- Choose “Audio” as the sync method.
- Premiere will align the clips based on waveform matching.
This method doesn’t create a new merged clip — it simply aligns them in the timeline, allowing for more flexibility. It’s ideal for multi-track timelines or when you want to preserve all original elements.
🔗 Want to clean up your synced audio? Learn how to fix bad audio in Premiere Pro for professional-quality results.
C. Manual Syncing with Audio Markers
When automatic syncing fails, audio markers are your go-to tool.
How It Works:
- Scrub through your audio and video clips to find a visual/audio cue — like a clap or a slate.
- Set a marker at the same sync point on both the video and audio tracks.
- Drag the clips so the markers align perfectly on the timeline.
This method gives you pinpoint control and is especially useful in tricky situations, like noisy environments or unslated takes.
🎯 Pro Tip: Zoom in on your waveforms to ensure precise alignment.
D. Syncing with Timecode
If you’re working with high-end cameras and audio recorders, timecode sync is the most accurate method.
Using Embedded Timecode:
- In the Project panel, select all clips.
- Go to Clip > Create Multi-Camera Source Sequence.
- Under Synchronization Point, choose Timecode.
- Premiere will use embedded timecode metadata to sync all selected clips automatically.
Using Linear Timecode (LTC):
If your system recorded LTC as audio, you’ll need to decode it using a tool like PluralEyes or Tentacle Sync Studio before importing into Premiere. Once decoded, follow the same multi-camera workflow as with embedded timecode.
E. Multi-Camera Syncing
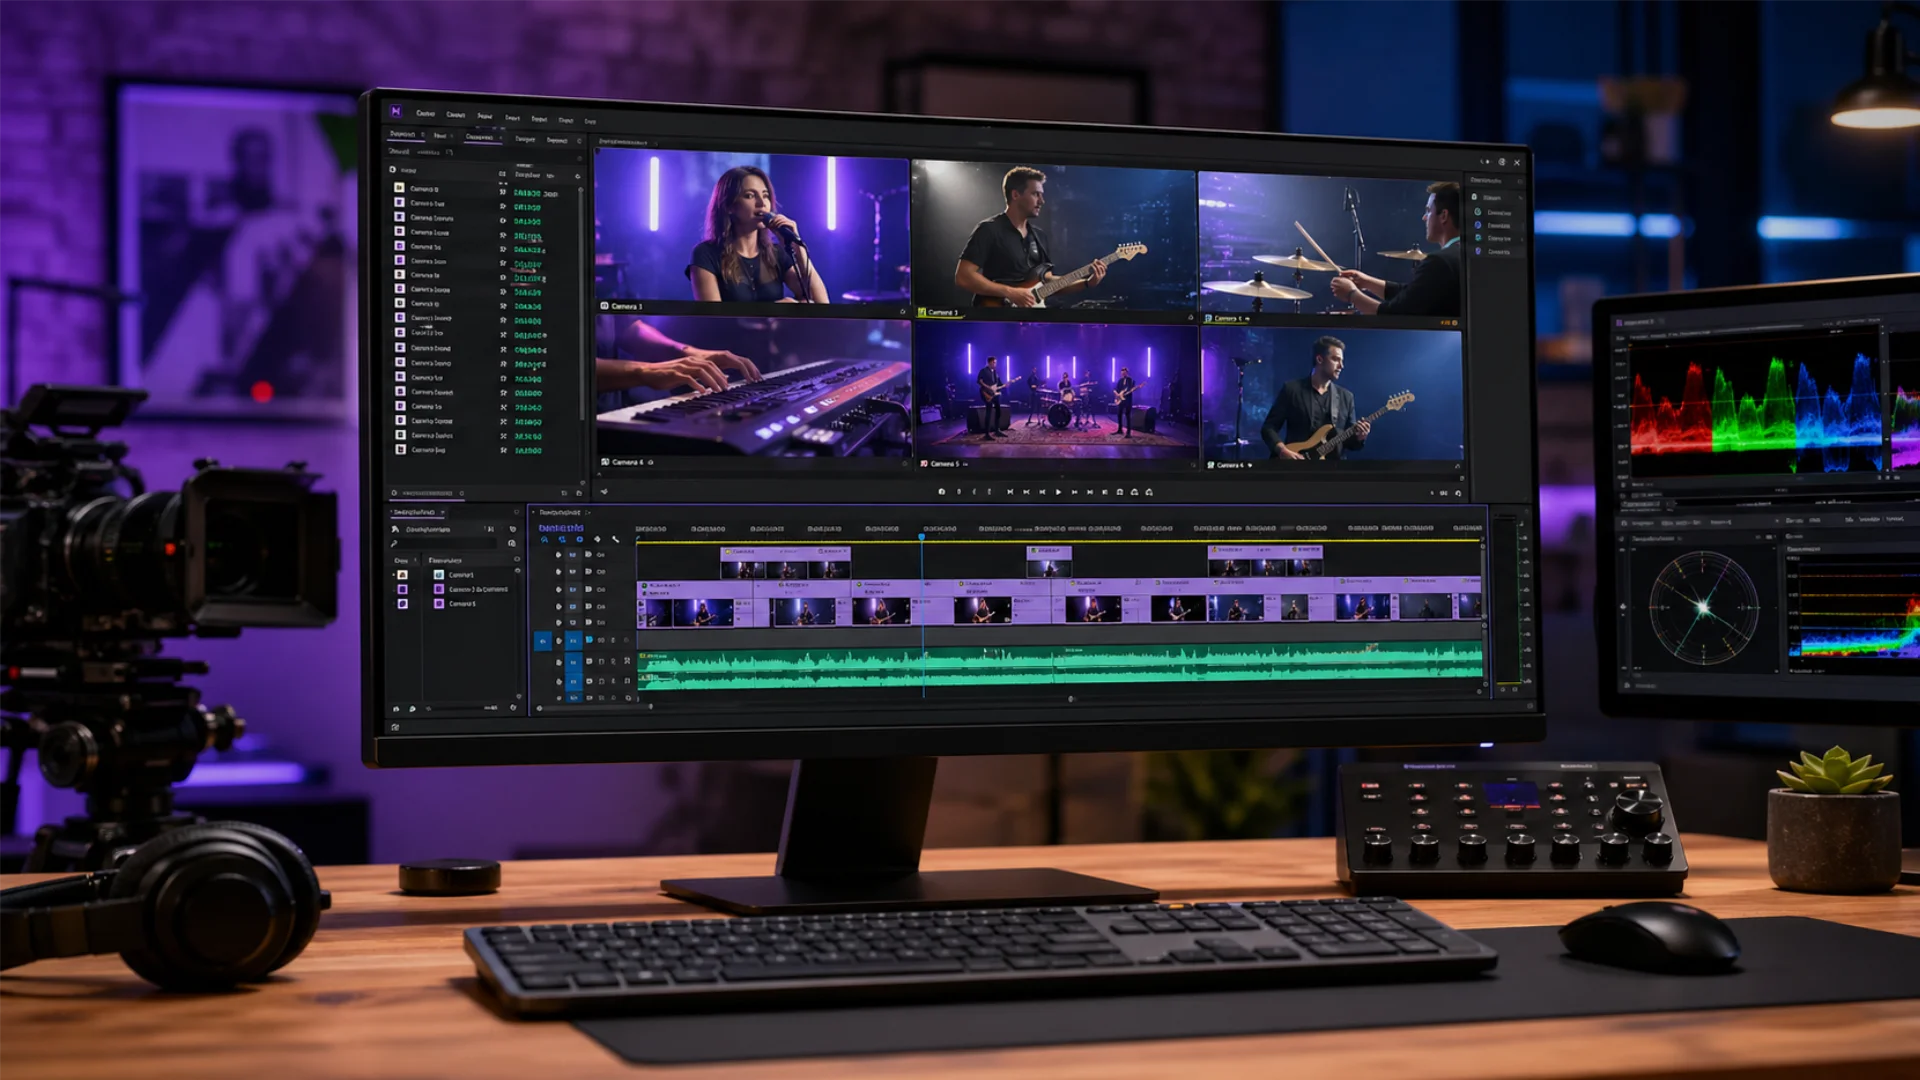
Shooting with multiple cameras? Premiere’s Multi-Camera Source Sequence feature makes syncing effortless.
Workflow Overview:
- Select all camera and audio clips.
- Right-click > Create Multi-Camera Source Sequence.
- Choose your sync method: Audio, Timecode, or Markers.
- Premiere will generate a multicam sequence you can edit dynamically in the timeline.
This feature is a game-changer for interviews, live performances, or any multi-angle shoots.
🔗 Need creative elements for your synced multicam footage? Browse Premiere Pro video templates to speed up your post-production process.
Advanced Tips and Troubleshooting
Dealing with Audio Drift
Audio drift happens when your audio and video slowly fall out of sync over time, often due to recording with different frame rates or devices that don’t stay in sync.
How to Fix It:
- Check frame rates: Make sure both your audio and video devices were recording at compatible settings.
- Use time-stretching: If one track is slightly shorter/longer, use Premiere Pro’s Rate Stretch Tool to realign the duration.
- Re-export problematic files: Sometimes re-exporting the audio through Adobe Audition or another DAW helps correct timing issues.
🎧 Audio drift is especially common in long takes—concerts, interviews, or events. Spot-check sync points every few minutes.
🔗 If your audio quality is also poor, don’t miss our guide on removing background noise in Premiere Pro.
Troubleshooting Common Sync Problems
Sometimes sync fails, even when you follow every step correctly. Here’s what to look out for:
1. Mismatched Clip Durations
If Premiere can’t sync clips automatically, it could be because one clip is trimmed, corrupted, or incomplete. Recheck the original media files.
2. Incorrect Sync Point
Automatic syncing relies on clean, loud waveforms. Background noise, echoes, or a missing clap can throw Premiere off. In those cases, switch to manual syncing with markers.
3. Outdated Metadata
If you’re syncing using timecode and it doesn’t work, check that your clips include accurate embedded timecode or external LTC audio. Sometimes, metadata can be stripped during transfer.
4. Codec-Related Drift
Certain compressed codecs, especially heavily compressed formats like H.265 or screen recording codecs, can introduce gradual timing drift over the duration of a project. The longer the clip, the more noticeable the offset becomes. If you suspect codec issues, transcode your footage to an editing-friendly format like ProRes or DNxHR using Adobe Media Encoder before importing into your project.
5. Variable Frame Rate (VFR) Footage
Footage recorded on smartphones, tablets, or screen recording software (such as OBS) often uses variable frame rate, meaning the frame rate fluctuates throughout the clip. This is one of the most common causes of sync failure in Premiere Pro, because the software expects a constant frame rate. The fix is to convert VFR footage to constant frame rate (CFR) before editing. Use Adobe Media Encoder or a free tool like Handbrake to transcode to a fixed frame rate that matches your sequence settings.
6. Preview Lag from Heavy Effects
Timelines loaded with effects, color grades, or nested sequences can cause playback to stutter during preview, making it difficult to accurately judge sync alignment. If your playback is choppy, try muting effects temporarily (click the “fx” badge on individual clips), reducing playback resolution to 1/2 or 1/4 in the Program Monitor, or using proxy files for smoother real-time review.
Speed Up Sync with Keyboard Shortcuts
Use shortcuts to streamline your process:
- M – Add Marker
- Shift + S – Snap clips to markers
- Option/Alt + Drag – Fine-tune clip alignment manually
- Command/Ctrl + K – Add edit (if you want to split synced segments)
💡 Create custom shortcuts in Premiere Pro > Keyboard Shortcuts to match your editing style.
Use Proxy Files for Accurate Sync Review
If you’re working with 4K or higher-resolution footage, choppy playback can make it nearly impossible to spot sync issues, even a 1-2 frame offset between audio and video. Proxy files solve this by creating lower-resolution copies of your clips for smooth real-time playback during editing.
To set up proxies:
- Right-click your media in the Project panel.
- Go to Proxy > Create Proxies.
- Choose a preset (such as ProRes Proxy or GoPro CineForm) and click OK.
- Toggle proxies on or off using the Toggle Proxies button in the Program Monitor.
Premiere Pro automatically switches back to your full-resolution files during export, so your final output quality is never affected. This is especially useful when reviewing lip sync, verifying waveform alignment, or spot-checking drift on long takes shot in high resolution.
Bonus: Consider External Tools for Batch Syncing
If you’re dealing with dozens of clips or complex timelines, you may want to use tools like:
- PluralEyes (by Red Giant) – Automatically syncs multiple clips and audio tracks far more efficiently than manual methods.
- Tentacle Sync Studio – Great for LTC workflows and converting timecode audio into usable sync data.
These tools can save you hours when syncing multiple audio tracks in Premiere Pro or editing long-form content.
🔗 After you’ve solved your sync issues, elevate your footage with premium visuals from Pixflow’s Premiere Pro library.
Best Practices for Audio and Video Sync
1. Capture Clean Audio from the Start
Even the best syncing methods rely on clear, usable sound. Here’s how to improve recording quality:
- Use an external mic rather than relying on the camera’s built-in audio.
- Record with proper mic placement to reduce ambient noise and distortion.
- Monitor sound levels during recording to prevent clipping.
🔊 Clean audio isn’t just easier to sync—it also improves final production quality. If issues arise, follow our 7-step guide to fix bad audio in Premiere Pro.
2. Use a Slate or Sync Point
A simple clapboard or hand clap creates both a visual and audio cue. This sync point makes it easy to align audio tracks and video tracks manually or using Premiere Pro’s automatic features.
- Make the clap visible on camera.
- Ensure the sound is loud and isolated from background noise.
3. Label and Organize Your Files
Keeping your assets tidy can drastically improve your video production workflow.
- Rename files consistently (e.g., Scene_01_CamA.mov, Scene_01_Audio.wav).
- Use bins or folders in Premiere Pro to separate raw footage, synced clips, and audio.
- Tag takes with good sync points using metadata or color labels.
🗂 Efficient organization helps you avoid syncing the wrong clips or duplicating efforts across a large project.
4. Record with Matching Settings
Prevent sync issues before they start:
- Ensure all recording devices (cameras, audio recorders) share the same frame rate and timecode format.
- Enable timecode jam sync if supported, especially for multi-camera setups.
- Use linear timecode (LTC) where available for precise syncing in post.
5. Review and Double-Check Sync Early
Before you dive deep into editing:
- Scrub through your timeline to verify sync alignment at the beginning, middle, and end.
- Pay attention to lip sync, footsteps, and other visual-sound moments.
- Lock synced clips together to prevent accidental desyncing.
🎬 Good sync habits save hours of rework later in the editing process.
🔗 Once everything is perfectly synced, take your edits to the next level with professionally designed Premiere Pro templates from Pixflow.
Conclusion
Throughout this guide, you’ve explored multiple methods—Merge Clips, Synchronize, manual markers, timecode, and multi-camera syncing—all designed to help you find the right solution for any project type. From understanding waveforms and timecode to using audio cues like claps or slates, you now have the blueprint to sync audio and video in Premiere Pro like a pro.
Disclaimer : If you buy something through our links, we may earn an affiliate commission or have a sponsored relationship with the brand, at no cost to you. We recommend only products we genuinely like. Thank you so much.

Write for us
Publish a Guest Post on Pixflow
Pixflow welcomes guest posts from brands, agencies, and fellow creators who want to contribute genuinely useful content.
Fill the Form ✏


