Phone Gimbal Techniques: How to Get Smooth Cinematic Footage on Mobile
- Why Your Gimbal Footage Still Looks Shaky
- Set Up Your Phone and Gimbal Before You Shoot
- Understand Your Gimbal Modes (And When to Use Each)
- Master the Ninja Walk (Movement Fundamentals)
- 10 Cinematic Phone Gimbal Moves (Step by Step)
- Add Depth: Foreground, Parallax, and Focal Length
- Shoot Like an Editor: Habits That Make Sequences Cinematic
- Fix the Last 10% in Post
- Conclusion: Smooth Is a Skill, Not a Purchase
Here’s the thing: a gimbal is not a magic smoothness button. It’s an instrument, and technique is what makes it sing. The creators getting silky, drone-like shots on a phone aren’t using better gear than you. They’re using better habits.
In this guide, we’re breaking down the phone gimbal techniques that turn shaky clips into smooth cinematic footage: the setup that prevents most problems before you press record, the ninja walk, the right gimbal modes, and 10 named moves you can copy on your next shoot. And when your shots are ready for that widescreen finish, Letterbox Film Frames JPG V.2 drops true film-style cinematic bars over your footage in seconds.
Let’s dive in.
Why Your Gimbal Footage Still Looks Shaky
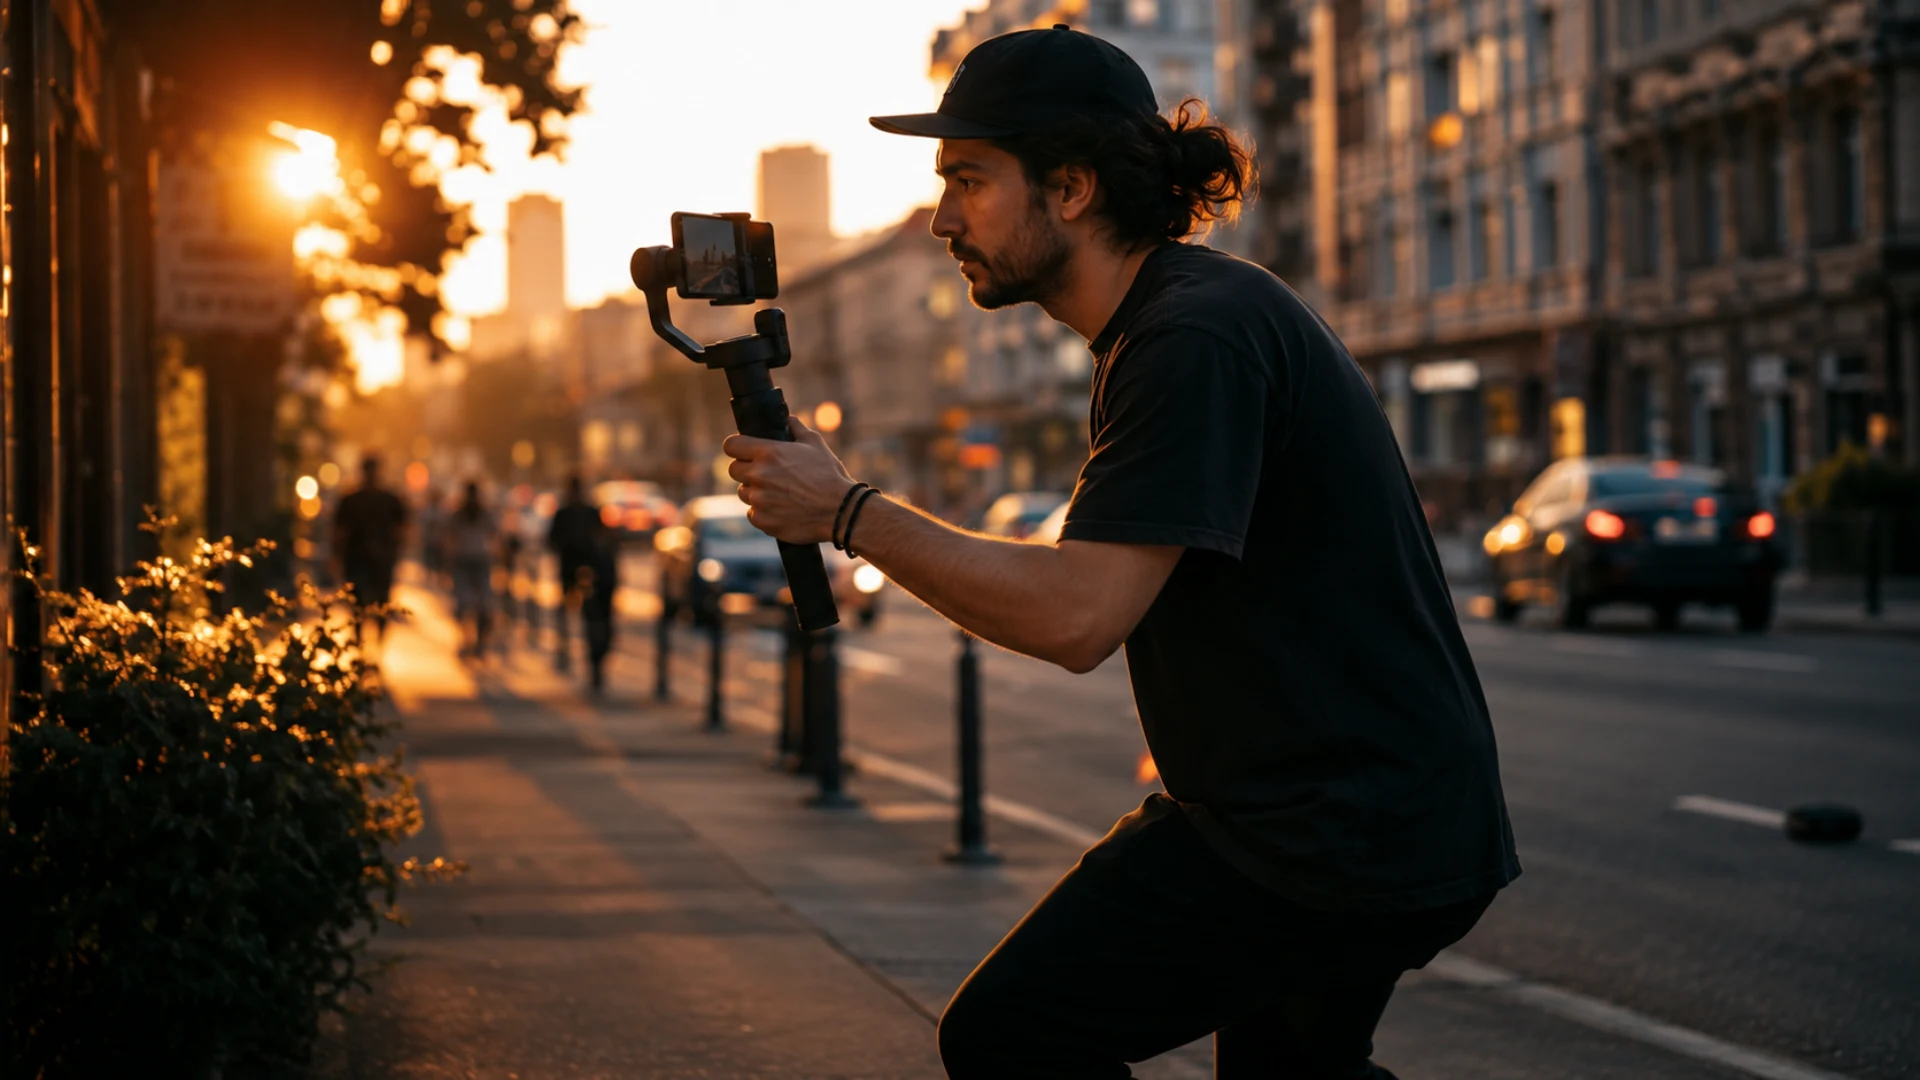
That’s why your clips can feel floaty and bobbing at the same time. The horizon stays level (the gimbal is doing its job), but the whole frame rises and falls with your footsteps (that part is on you). If you’re curious how dedicated rigs handle this differently, we compared the physics in our breakdown of Steadicam vs gimbal stabilization.
In practice, shaky gimbal footage almost always comes down to three culprits:
- Footstep bounce. Normal walking transfers vertical shock straight into the frame.
- Unlocked focus and exposure. Focus hunting and brightness jumps mid-move read as “shaky” even when the motion is smooth.
- Moving too fast. Quick pans and rushed walks amplify every tiny error.
The good news? All three are fixable with technique, not money. The rest of this article handles them one by one.
Set Up Your Phone and Gimbal Before You Shoot
Balance first, power second. Mount and balance your phone while the gimbal is off. Powering on an unbalanced gimbal strains the motors and introduces micro-jitters that no amount of careful walking will hide. Experienced shooters on the StudentFilmmakers forum call this the most skipped step for a reason.
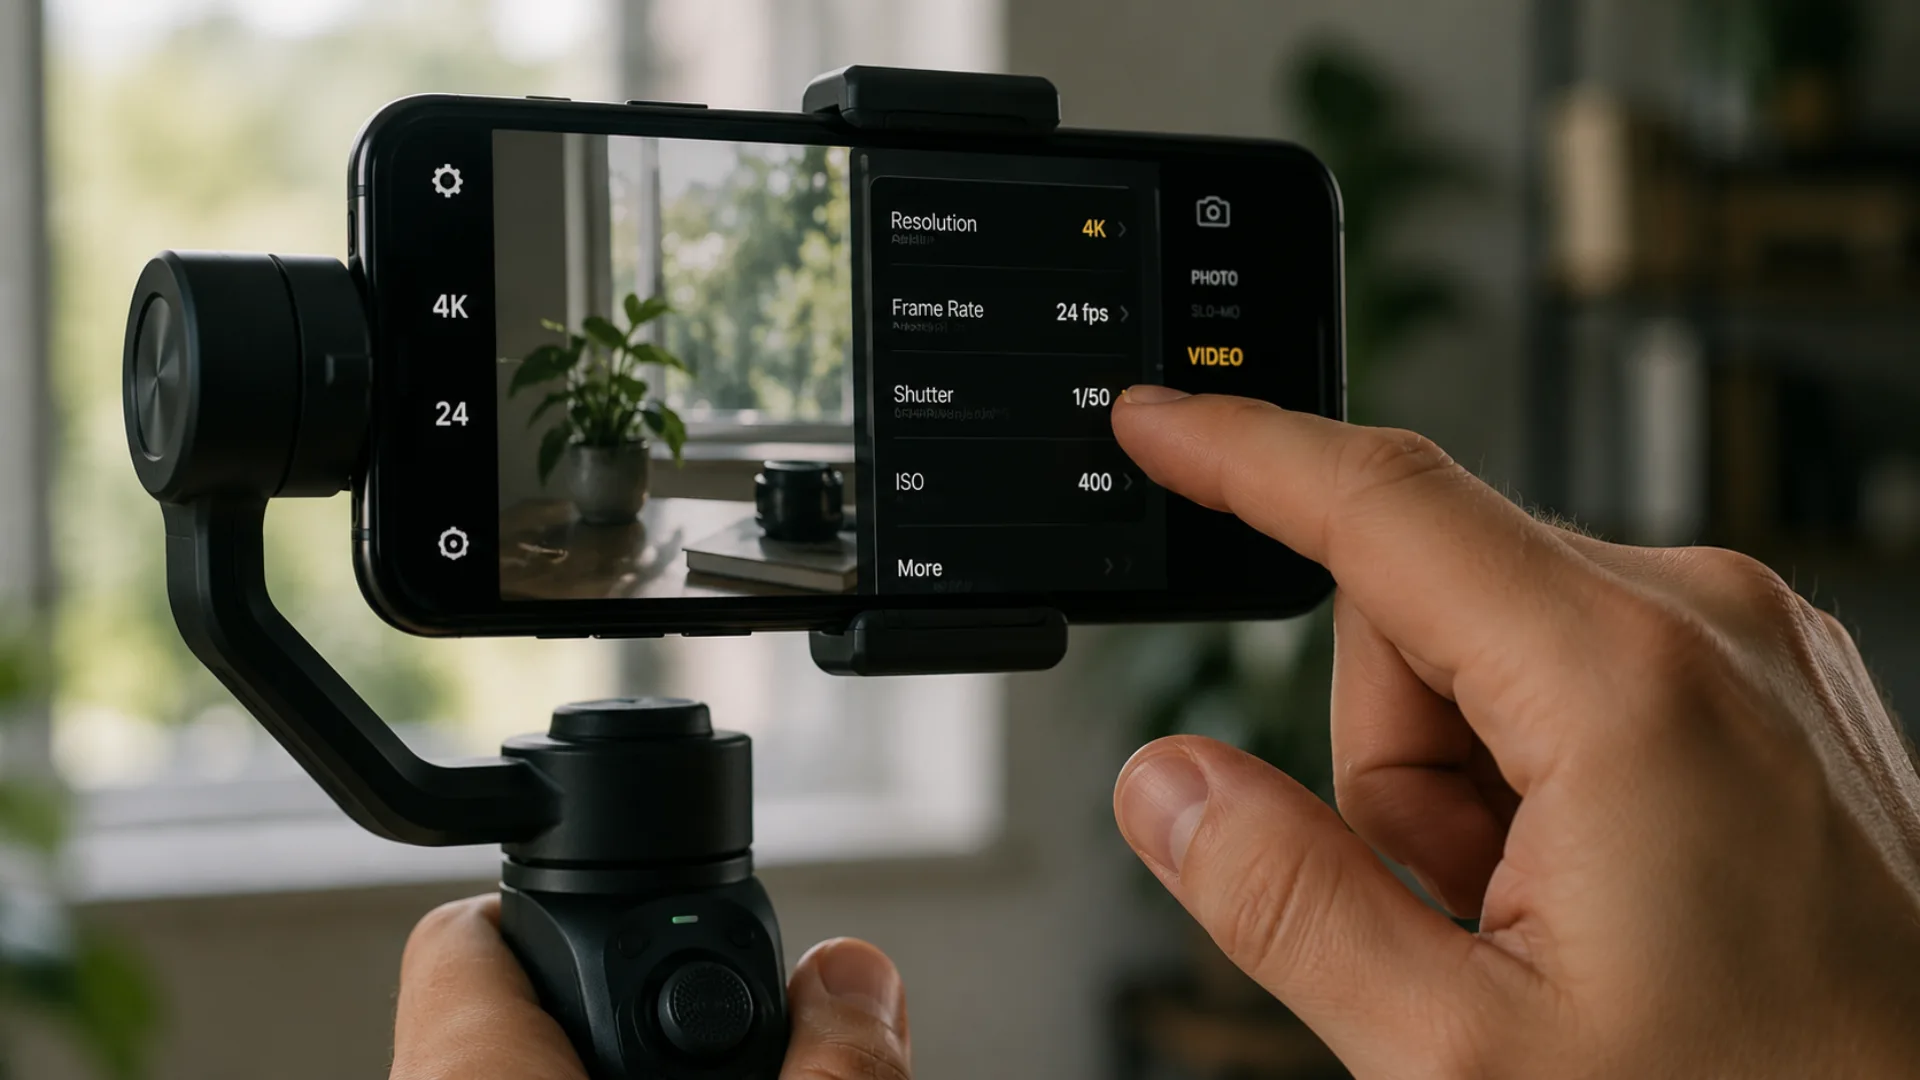
Lock focus and exposure before every single move. Tap and hold on your subject to lock AE/AF. If you skip this, your phone will hunt for focus and re-expose mid-shot, and the take is ruined no matter how perfect your walk was.
Dial in cinematic capture settings. Here’s the quick cheat sheet:
Understand Your Gimbal Modes (And When to Use Each)
- Follow speed: set it low. The gimbal reacts lazily to your hand movements, which reads as dreamy and deliberate on screen.
- Dead band: widen it. The gimbal ignores your small accidental movements and only follows intentional ones.
Low follow speed plus a wide dead band is the closest thing to a “cinematic switch” your gimbal has.
Master the Ninja Walk (Movement Fundamentals)
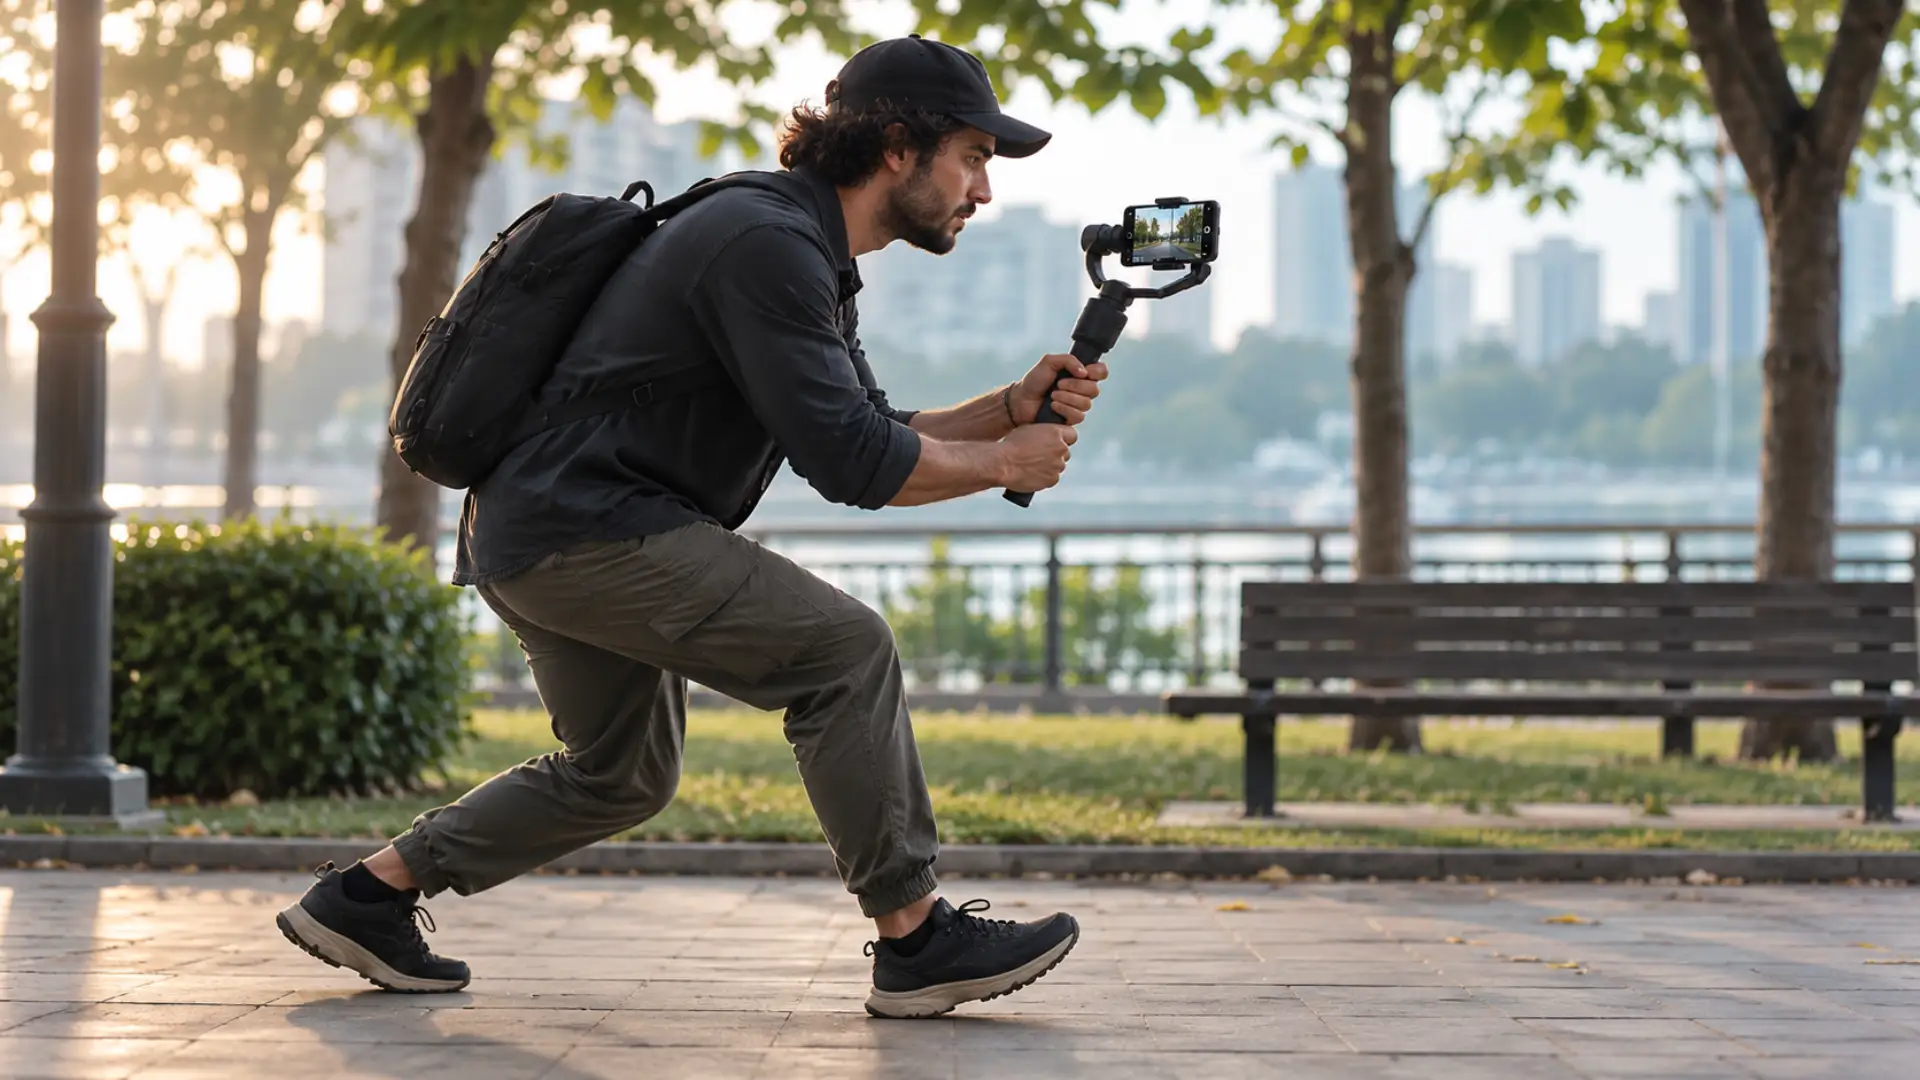
- Bend your knees and lower your center of gravity slightly. Your legs become the suspension system your gimbal doesn’t have.
- Roll heel to toe with each step instead of landing flat. This spreads the impact over the whole footstep.
- Take small, even steps. Long strides create long bounces.
- Hold the gimbal with two hands, elbows tucked into your body. Your arms absorb whatever your legs miss.
- Move from your torso for stationary slides and pans, keeping your feet planted when you can.
Three habits complete the technique. Start recording a beat early and keep rolling a beat after, so every clip has clean handles for the edit. Let the gimbal finish the move: at the end of a pan, stop your hands and let the gimbal ease itself to a stop, which creates that professional soft landing. And embrace retakes: pros commonly reshoot a single move 10 to 15 times to get one perfect take. (Your camera roll will be messy. Your final cut will be gorgeous.)
10 Cinematic Phone Gimbal Moves (Step by Step)
1. The Push-In
Ninja-walk slowly toward your subject, keeping it centered. End with a subtle tilt-up or hold for a beat.
Pro tip: lock the gimbal heading (trigger hold on most models) so the path stays perfectly straight.
2. The Pull-Out (Reverse Dolly)
Start close to your subject and walk backward slowly, revealing the environment around it.
Pro tip: have a friend spot you, or scout your path first. Walking backward into a fountain is not cinematic.
3. The Parallax Slide
Move sideways while keeping your subject centered, with something in the foreground passing between you and it.
Pro tip: the closer the foreground object, the stronger the depth effect.
4. The Orbit
Circle your subject in a smooth arc, keeping it locked in the center of frame.
Pro tip: turn on AI subject tracking and let the gimbal handle framing while you focus on your feet.
5. The Crane Up / Crane Down
Raise or lower the gimbal vertically with your arms, mimicking a jib. Combine with a slight tilt for extra polish.
Pro tip: crane down to end a scene and crane up to start the next one, then cut them together.
6. The Low-Angle Glide
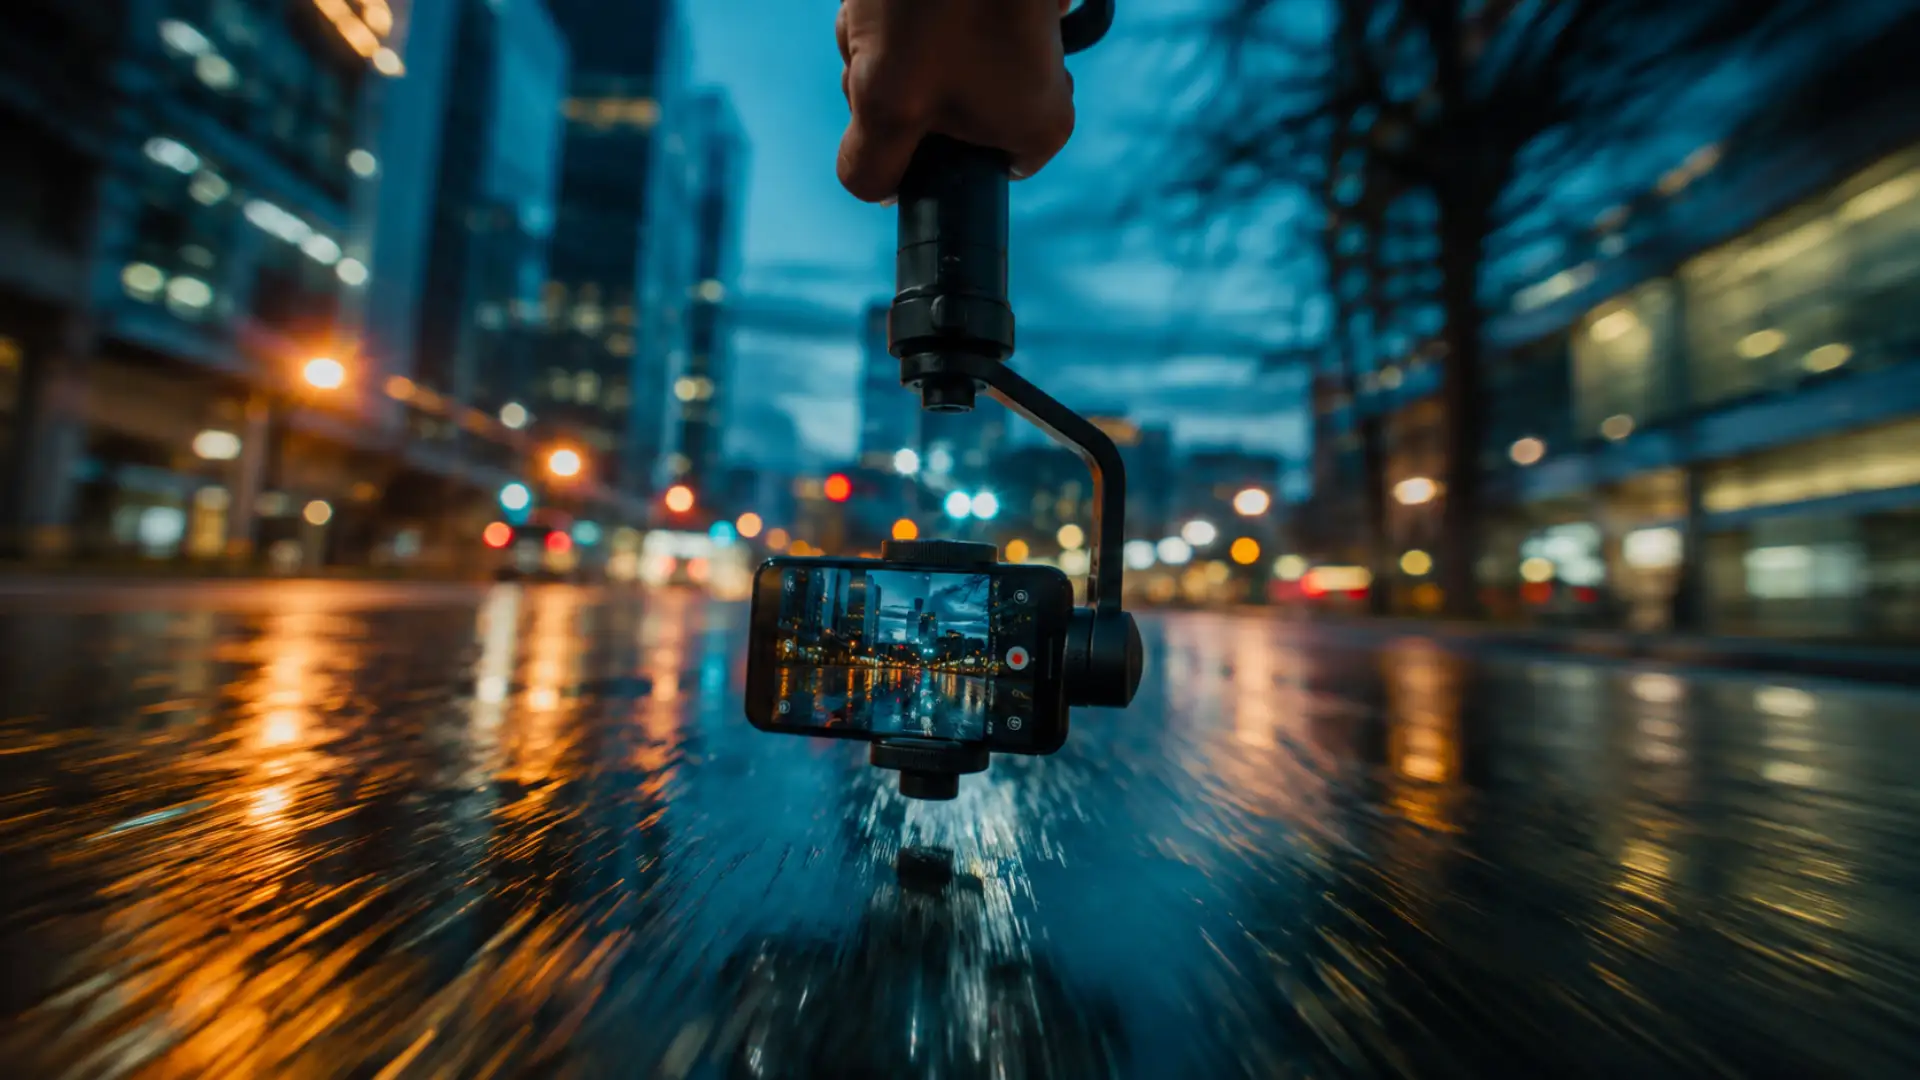
Flip the gimbal into underslung mode and glide a few centimeters above the ground, letting textures rush past.
Pro tip: shoot this at 60 fps and slow it to 50% for an instant epic shot.
7. The Fake Drone Shot
Mount the gimbal on an extension pole, start low, and rise while walking forward, ideally over an edge, railing, or rooftop line.
Pro tip: a wide lens plus a confident rise reads convincingly as a drone in most edits.
8. The Foreground Push-Through
Glide the camera through a gap: railings, archways, leaves, a door frame. The foreground briefly fills the frame, then reveals the scene.
Pro tip: the moment the frame is fully blocked is a built-in cut point for seamless transitions.
9. The Tilt Reveal
Start on the ground or sky, then tilt to reveal your subject or location while walking.
Pro tip: shoot a tilt-down in one location and a tilt-up in the next, and you have a perfect scene transition pair.
10. The Vortex (Inception Spin)
Switch to FPV or SpinShot mode and rotate the handle while moving forward for a disorienting, dramatic spin.
Pro tip: once per video. Seriously. It loses its magic fast.
Here’s the whole toolkit at a glance:
Add Depth: Foreground, Parallax, and Focal Length
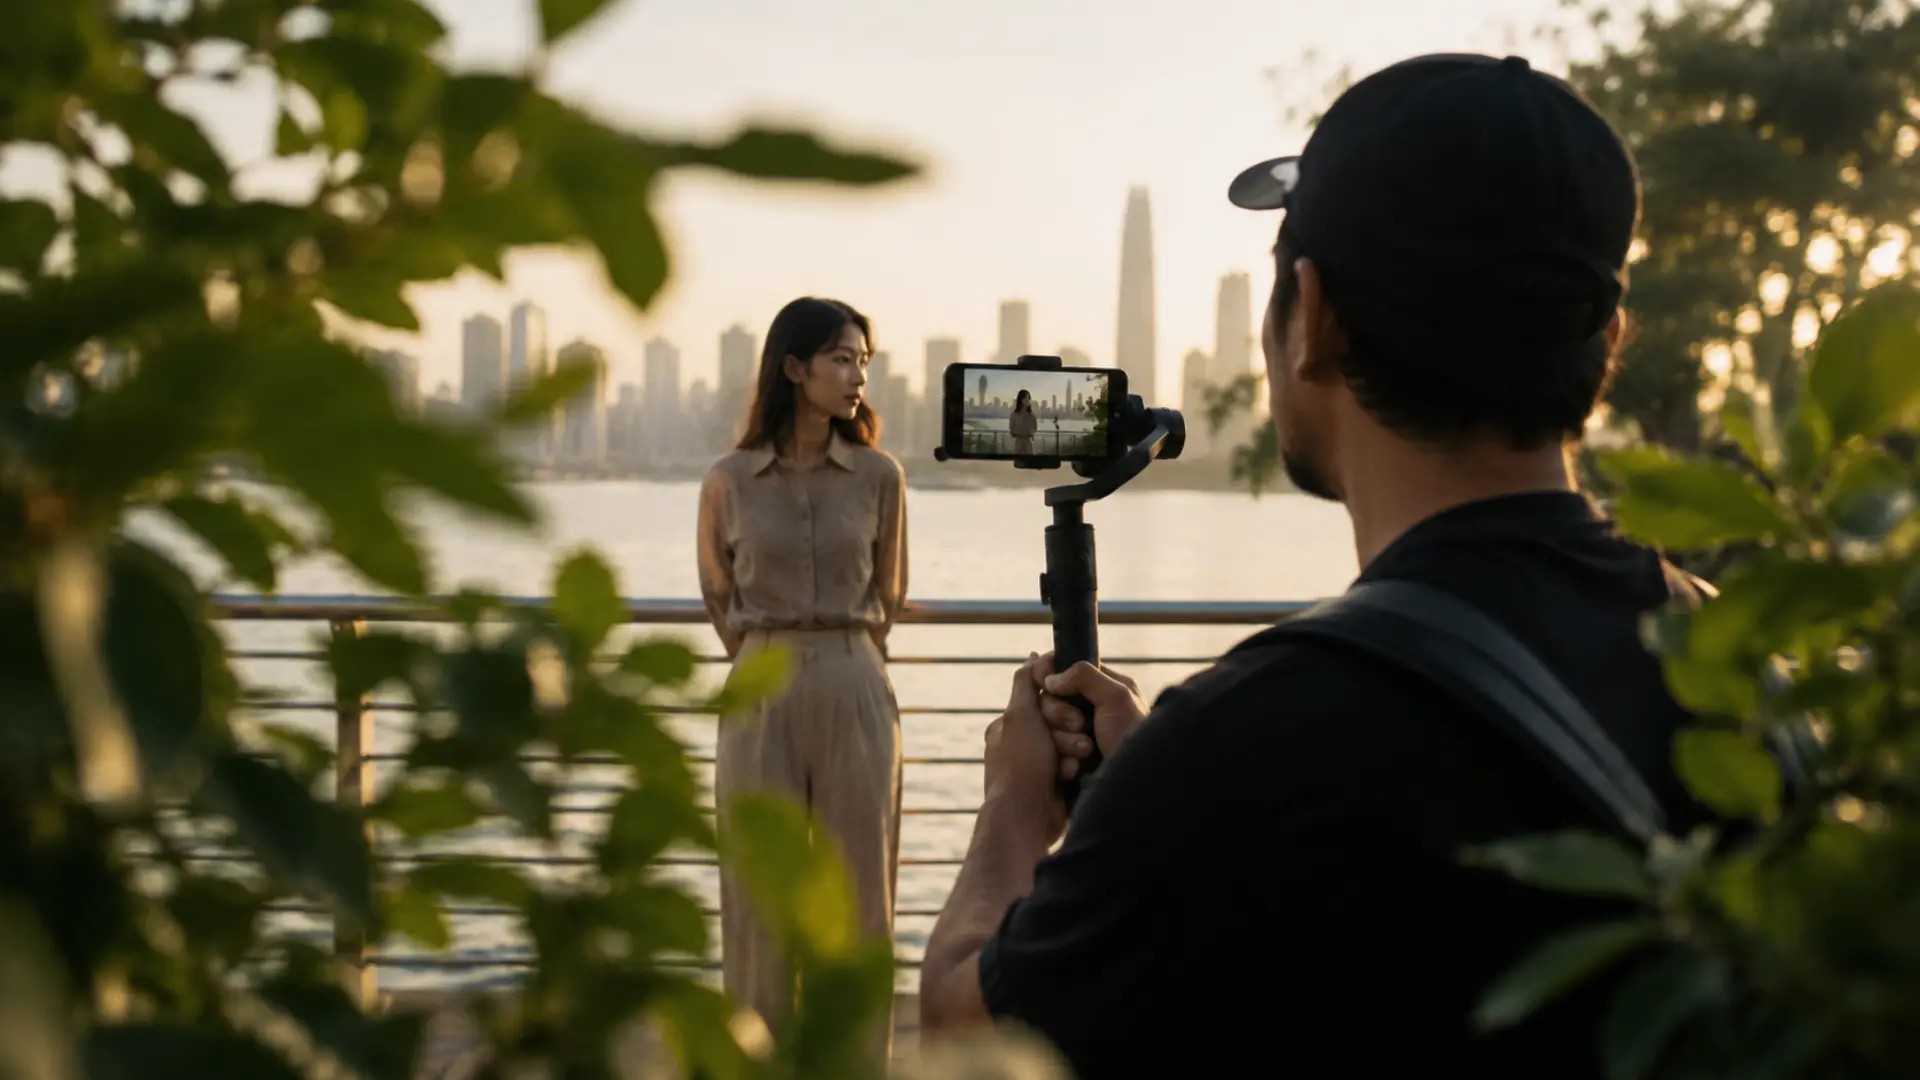
- Foreground: something close to the lens (leaves, a railing, a shoulder) that moves fast through frame
- Midground: your subject
- Background: environment that drifts slowly
When all three layers move at different speeds, even a simple slide feels three-dimensional. Before every shot, ask yourself: what’s in my foreground? If the answer is “nothing,” take two steps and find one.
Focal length changes the feeling of movement too. Your ultra-wide lens exaggerates motion, which makes every gimbal move feel faster and more dramatic (great for glides and push-throughs). Standard and telephoto lenses compress space and flatter people, but they also magnify shake, so save them for slower, gentler moves.
Finally, vary your height. Eye-level everything is the fastest way to make footage feel like a home video. Shoot low, shoot high, crane between them, and your sequence instantly gains production value.
Shoot Like an Editor: Habits That Make Sequences Cinematic
Shoot short, intentional clips. A deliberate 3 to 8 second move beats a wandering two-minute take every time. Know where the shot starts, where it ends, and why it exists.
Shoot for the sequence. Cover each subject three ways: a wide establishing move, a medium, and a close-up detail. Three varied shots of one subject cut together better than ten shots of ten subjects.
Collect transition pairs. Push through a doorway here, exit through foliage there. Tilt down to concrete in one location, tilt up from concrete in the next. Your edit will assemble itself.
Wait for motion. A tram crossing frame, a flock of birds, a passing cyclist: a few seconds of patience adds life no gimbal move can fake. And remember that sound sells the shot just as much, so steal the tricks from our guide on recording professional audio with your phone. If you’re cutting for Reels or TikTok, frame with safe margins using our vertical video filmmaking playbook.
On hardware: any modern 3-axis gimbal can produce every move in this guide. The DJI Osmo Mobile line is the community default, the Insta360 Flow 2 Pro leads on AI tracking, and Hohem iSteady models punch above their price. Pair whichever you choose with ND filters and an extension pole from our roundup of mobile filmmaking accessories, and you’re set. DJI’s own filming tips echo the same conclusion: technique first, features second.
Fix the Last 10% in Post
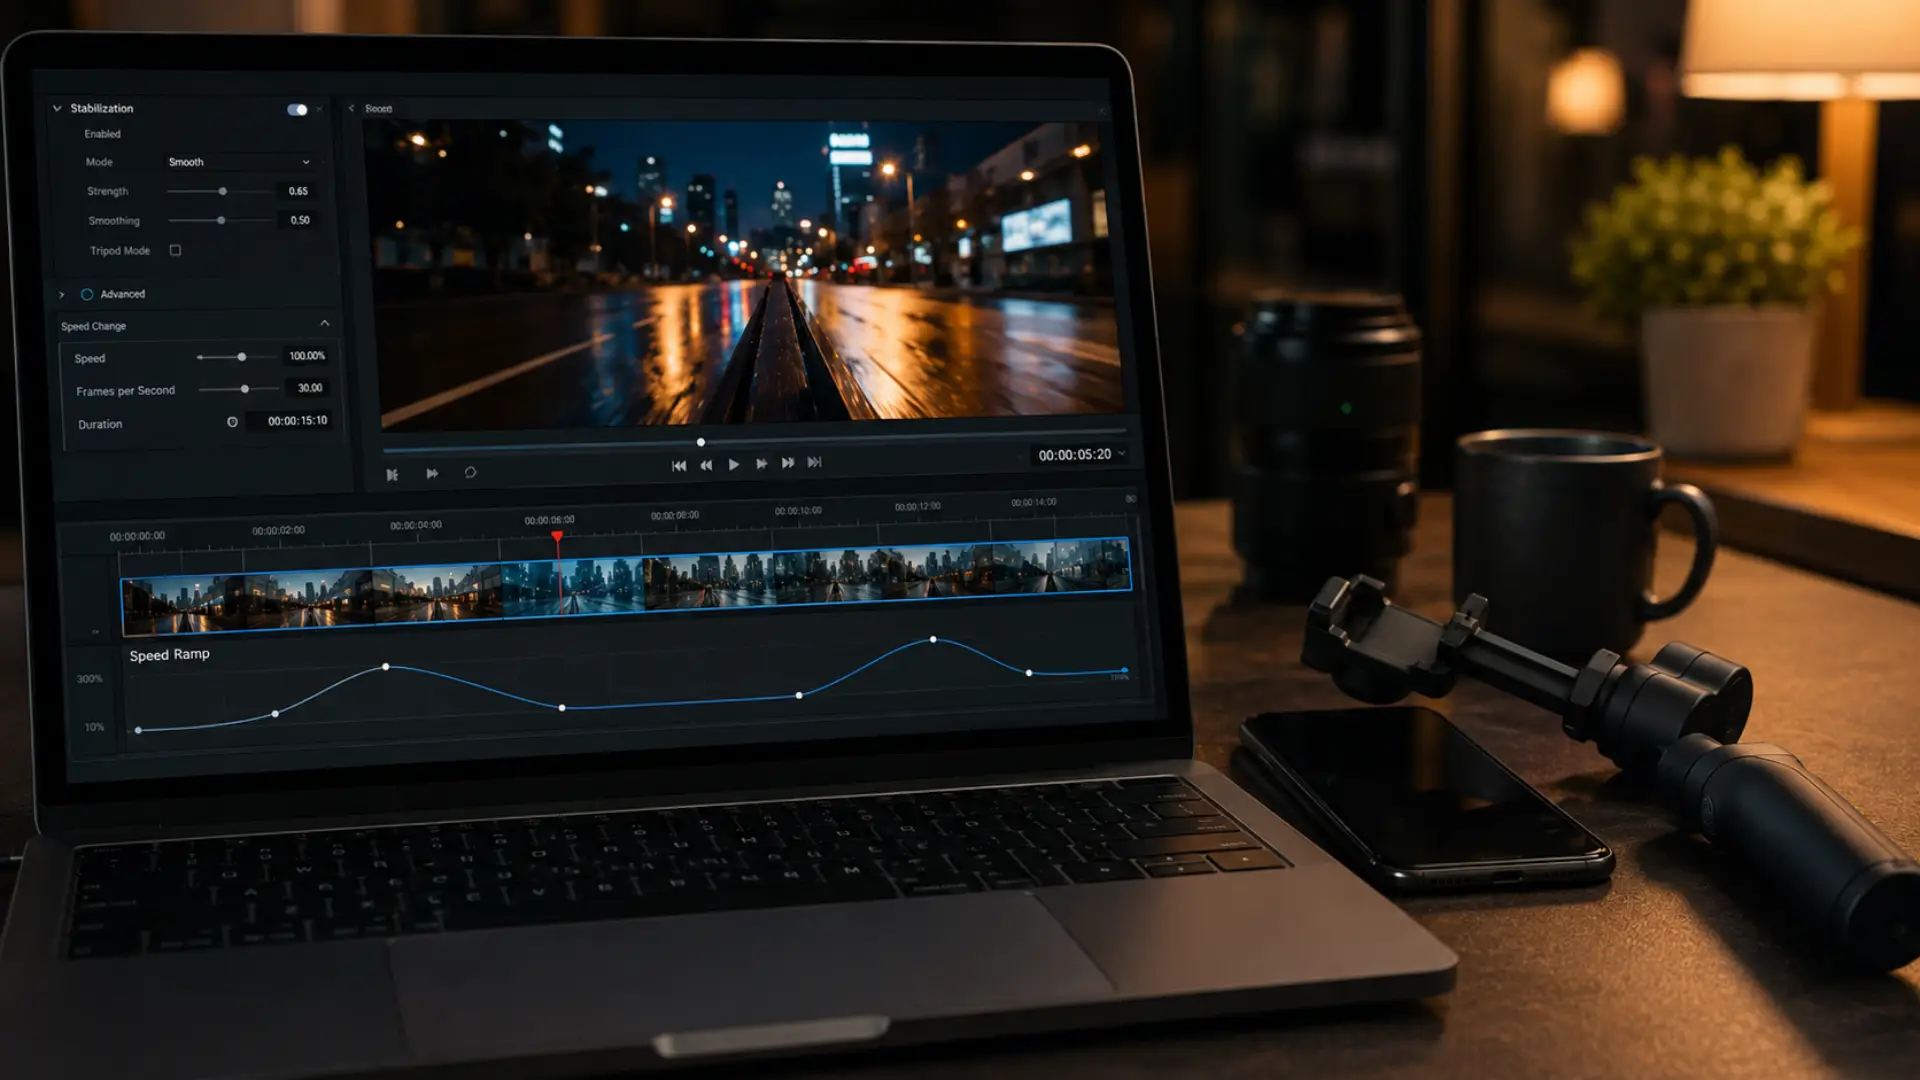
Slow motion is a smoothness multiplier. Footage shot at 60 fps and played at 50% speed hides tiny imperfections your ninja walk let through. This is the most common “secret” behind buttery social media b-roll.
Stabilize with a light touch. Most mobile video editing apps include stabilization, and desktop tools go further (DaVinci Resolve’s translation-only mode with low smoothing is a community favorite). Keep the strength minimal: over-stabilized footage warps and wobbles, which looks worse than the shake you started with.
Add speed ramps for energy. Ramping from slow motion into real time during a push-in or orbit adds a professional rhythm that flat-speed clips never have.
Grade for the mood. If you shot in Log like we suggested, this is where it pays off. Our mobile color grading guide walks through the whole workflow on your phone.
Conclusion: Smooth Is a Skill, Not a Purchase
Pick three moves from this guide, go shoot them 10 times each, and cut the best takes together. You’ll see the difference in one afternoon. When you’re ready to zoom out and level up the whole craft, our complete guide to mobile filmmaking in 2026 covers everything from pre-production to publishing.
And for that final festival-worthy touch, wrap your smooth new footage in Letterbox Film Frames JPG V.2: 24 film-style frame overlays in three aspect ratios, in Full HD and 4K. (Your footage earned those cinematic bars.)
Disclaimer : If you buy something through our links, we may earn an affiliate commission or have a sponsored relationship with the brand, at no cost to you. We recommend only products we genuinely like. Thank you so much.
Blog Label:



Write for us
Publish a Guest Post on Pixflow
Pixflow welcomes guest posts from brands, agencies, and fellow creators who want to contribute genuinely useful content.
Fill the Form ✏