How to Use Fusion in DaVinci Resolve: Visual Effects for Beginners
- How to Use Fusion in DaVinci Resolve: A Beginner's Guide to Visual Effects
- What is Fusion in DaVinci Resolve?
- Fusion vs After Effects: Node-Based vs Layer-Based Workflows
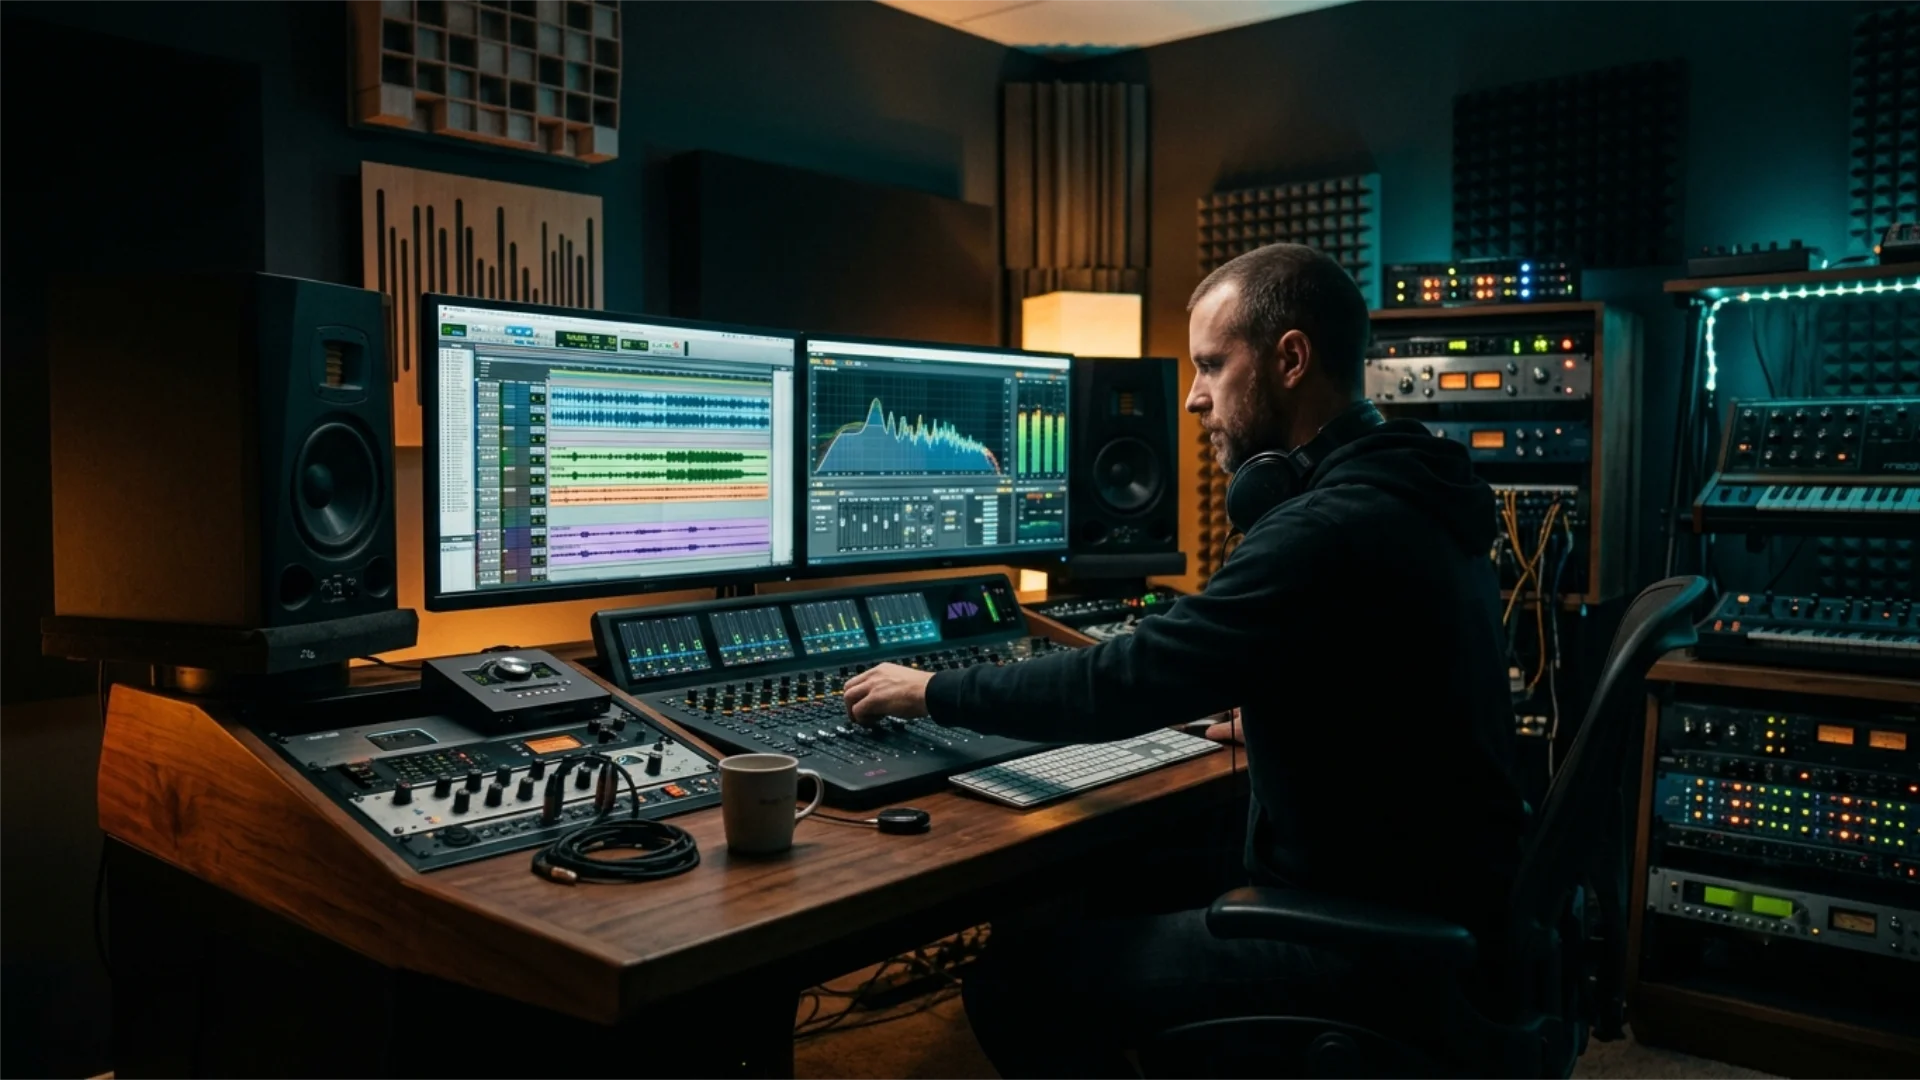
- The Fusion Page Interface Explained
- The 4 Types of Nodes You Actually Need to Know
- How to Enter Fusion: Two Core Workflows
- Your First Fusion Project: Build an Animated Lower Third
- 3 Beginner VFX You Can Create in Fusion Today
- 7 Essential Fusion Tips and Shortcuts for Beginners
- Common Fusion Mistakes Beginners Make (and How to Fix Them)
- Taking Your Fusion Skills Further: Next Steps
- Conclusion
How to Use Fusion in DaVinci Resolve: A Beginner’s Guide to Visual Effects
This guide is written for editors who are comfortable on the Edit and Color pages but have never built a node tree. By the end, you will understand what Fusion actually is, how node-based compositing differs from layer-based tools like After Effects, what the four node types you really need to know are, and how to build an animated lower third from scratch. If you want to save time on finished-looking titles while you are learning, the Dramatic Movie Title Templates for DaVinci Resolve pack drops straight onto your timeline and gives you cinematic openers you can customize in minutes.
What is Fusion in DaVinci Resolve?
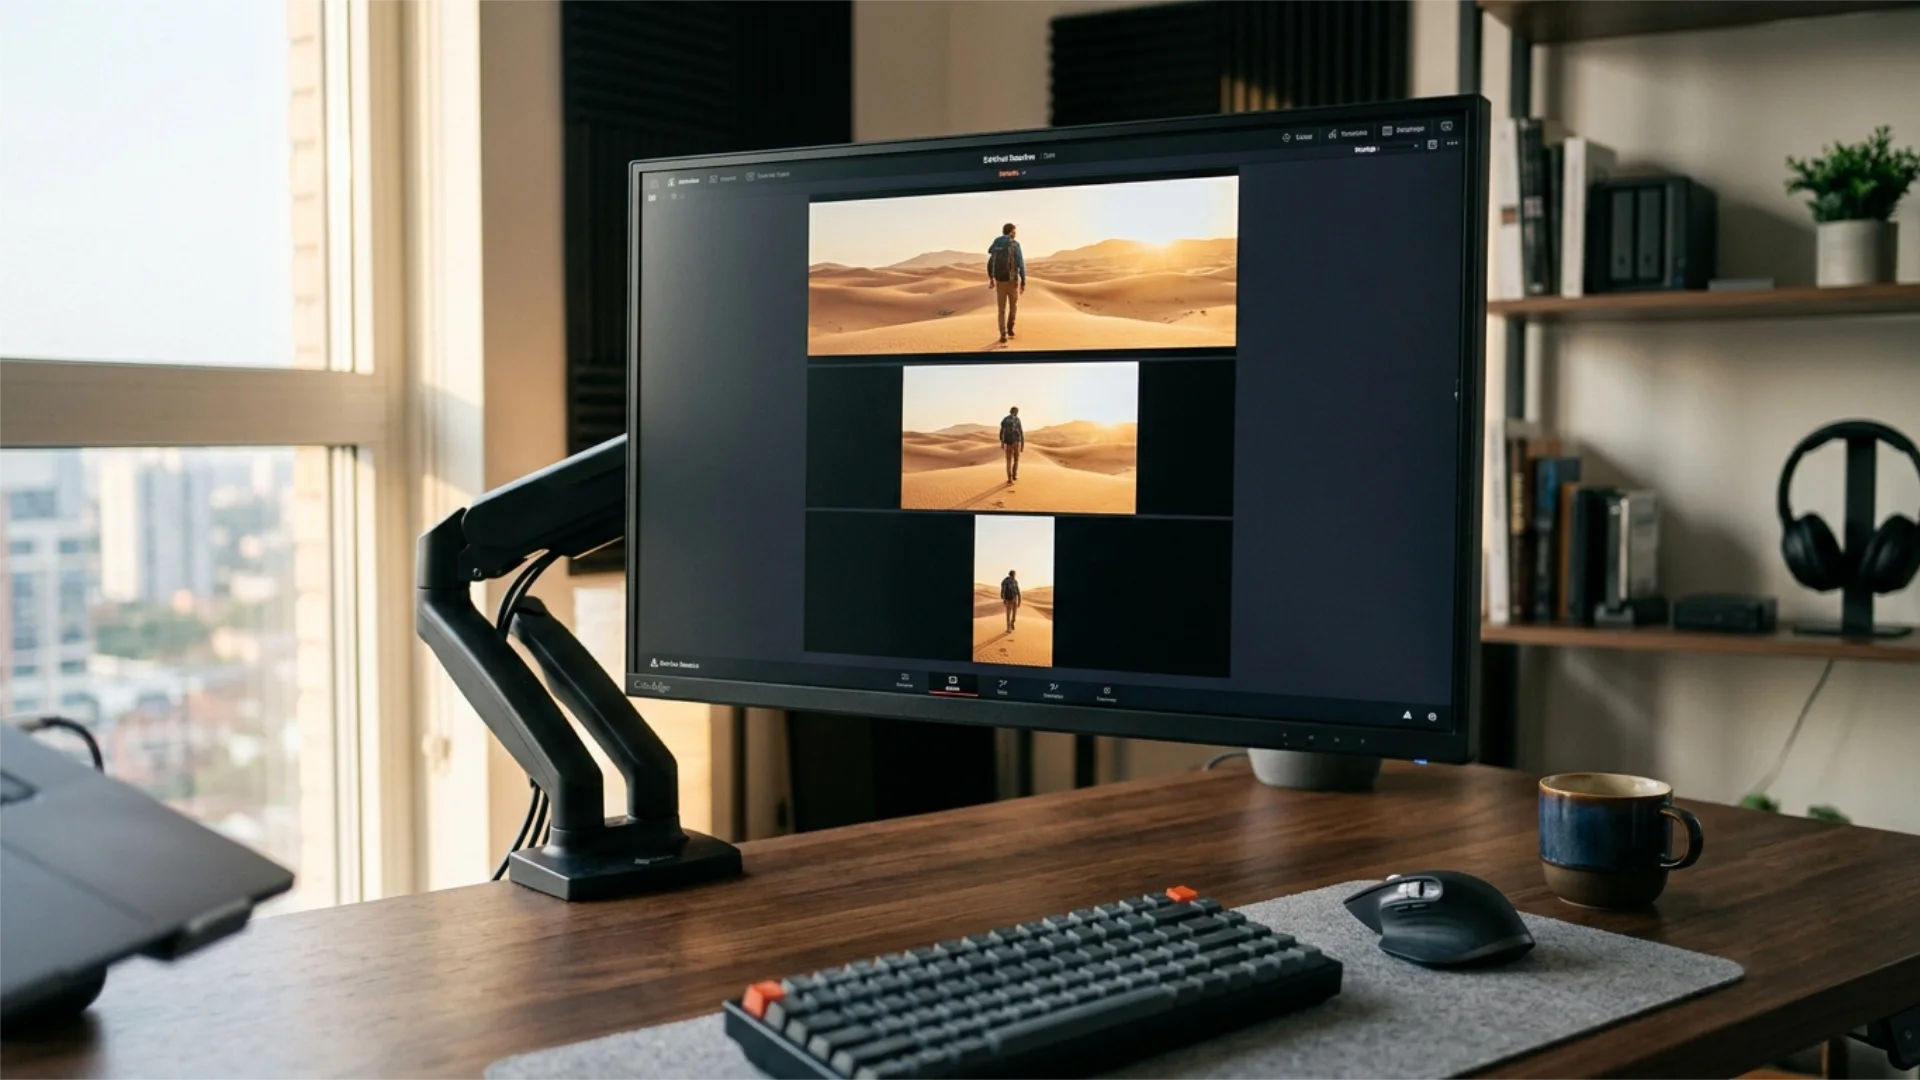
Compositing is the craft of combining multiple images, shots, and graphic elements into a single final frame. A weather forecast with a presenter standing in front of an animated map is being composited. A sci-fi scene where an actor filmed on a green screen stands on an alien planet is compositing. Any lower third, animated logo, or on-screen UI graphic in a YouTube video is a composite. The Fusion page is where you do all of that inside Resolve.
Fusion is available in both the free and paid versions of DaVinci Resolve. The Studio version unlocks some advanced features like optical flow retiming, the neural engine effects, and certain noise and tracking tools, but the vast majority of the beginner and intermediate Fusion workflow is fully available in the free edition.
Fusion vs After Effects: Node-Based vs Layer-Based Workflows
A useful way to picture the difference: a layer-based workflow is like a stack of transparent sheets on a light table, each one painted with part of the final image. A node-based workflow is like a flowchart in a kitchen, where raw ingredients flow into processing stations and combine into a finished dish at the end.
Layers are fast when you have three or four simple elements and want to drag them on top of each other. Nodes are fast when you have fifteen elements, need to branch the same source into two different effects, or want to see the entire structure of a complex composite at a glance. Most professional VFX pipelines, from Nuke to Flame, are node-based, which is why Fusion feels familiar to VFX artists and foreign to editors.
You do not have to choose one forever. Many pros cut in Premiere, grade and composite in Resolve’s Color and Fusion pages, and polish in After Effects for motion graphics. Learning Fusion adds a tool to your kit; it does not replace anything you already use.
The Fusion Page Interface Explained
Viewers
The top of the Fusion page is split into two viewer windows, Viewer 1 on the left and Viewer 2 on the right. You can send any node’s output to either viewer by clicking the node and pressing 1 for the left viewer or 2 for the right. A common setup is to view your final MediaOut on the right and whichever node you are currently editing on the left, so you can see both at once.
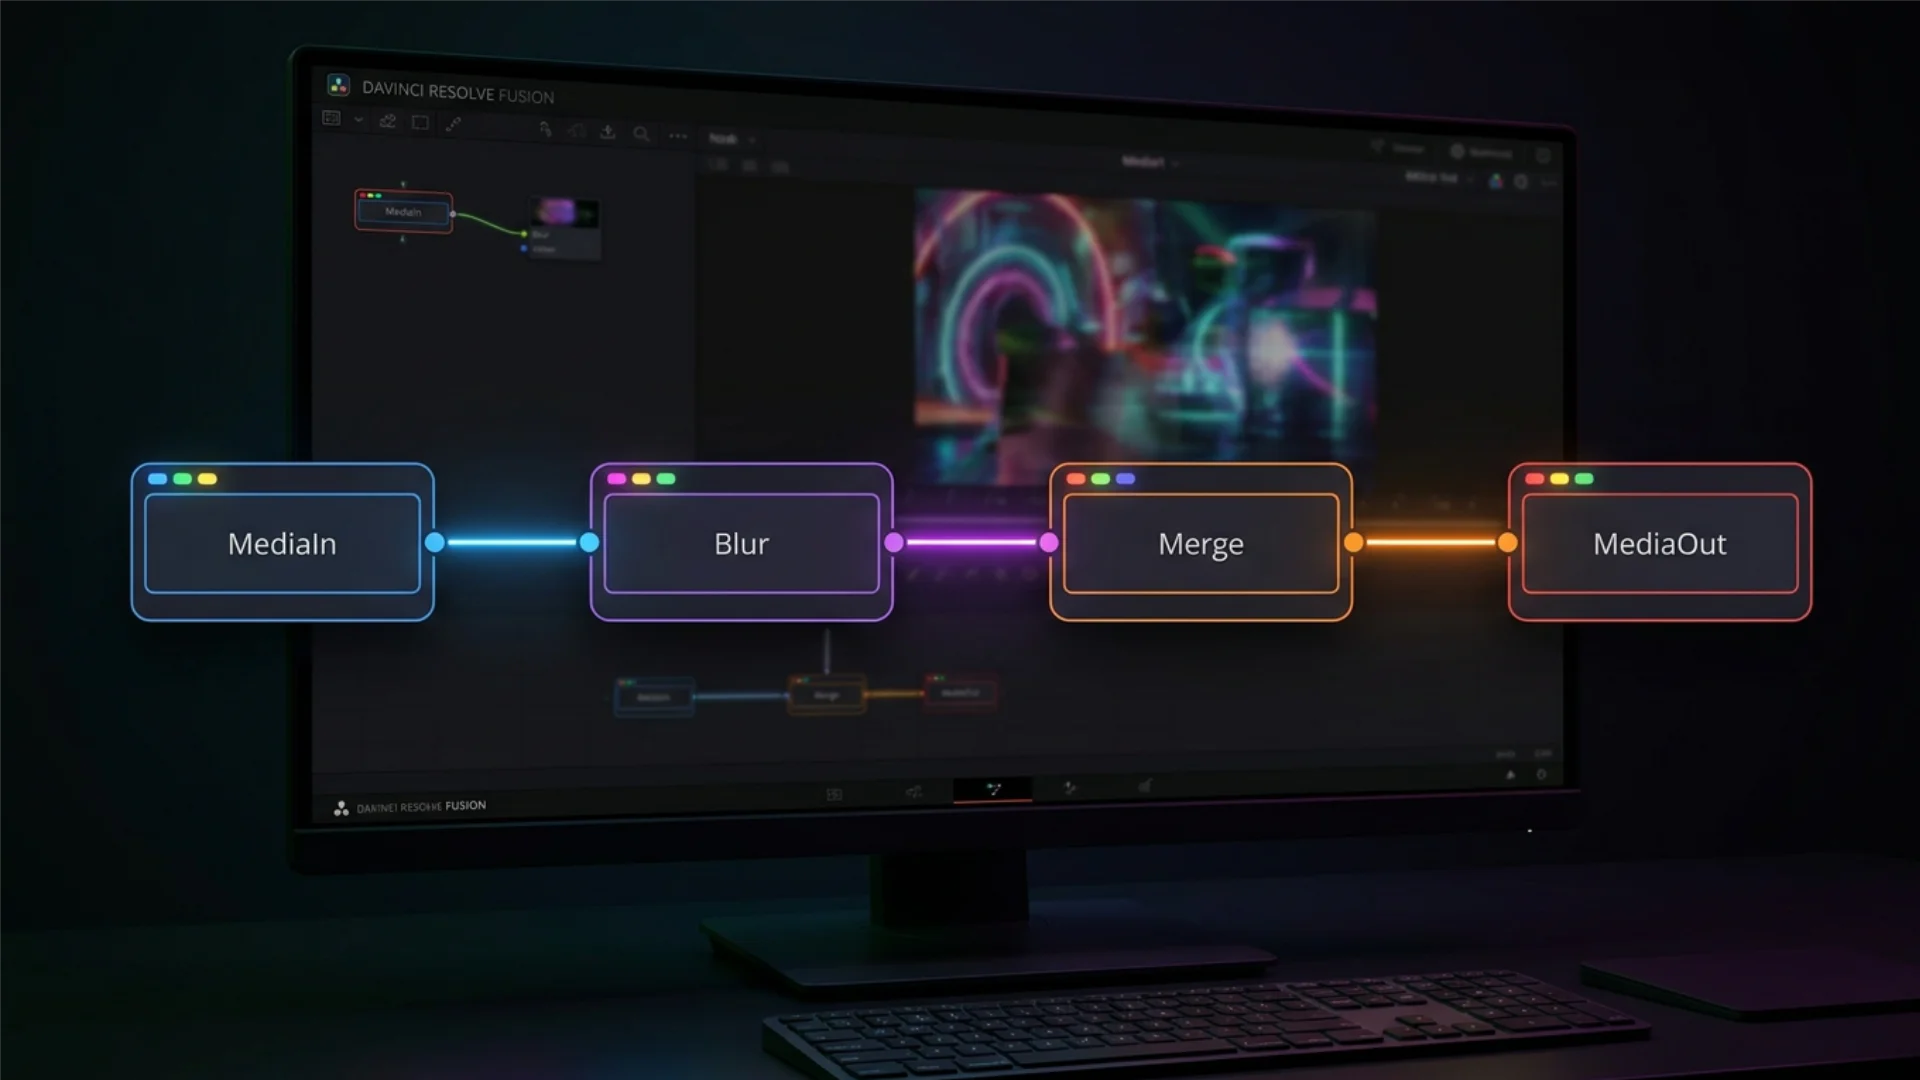
Node Graph (Flow)
The large area in the middle of the screen is the node graph, sometimes called the flow. This is your canvas. Every composition starts with a MediaIn1 node on the left and a MediaOut1 node on the right, connected by a single line. Any effect you add sits between those two nodes. You can drag nodes around, bend connection lines, and group related sections together to keep the graph tidy.
Inspector
On the right side of the screen is the Inspector. When you click a node, its parameters appear here. For a Text+ node you will see font, size, color, and tracking. For a Blur node you will see blur size and method. The Inspector is where you dial in the look of each node.
Timeline, Spline, and Keyframes Editors
Along the bottom of the Fusion page are three editors stacked in tabs. The timeline shows every node on a horizontal track so you can trim when each one is active. The Spline editor shows animation curves for any parameter you have keyframed and lets you fine-tune easing and timing. The keyframes editor shows keyframes on a simpler track view. You will not use all three every time, but knowing they are there matters when animations feel robotic and you want to soften them.
Toolbar
Just above the node graph sits a horizontal toolbar of common nodes: Blur, Merge, Background, Text+, Paint, and so on. Clicking any icon drops that node into your graph. You can also press Shift plus Spacebar to open the Select Tool search, which lets you type the name of any node instead of hunting through menus.
The 4 Types of Nodes You Actually Need to Know
1. Image and Generator Nodes
These nodes create pixels from nothing or bring existing pixels into the graph. MediaIn brings in footage from your timeline. Background generates a solid color or gradient. Text+ generates type. FastNoise generates procedural patterns. Generator nodes usually have no input and one output: they are sources.
2. Effect Nodes
Effect nodes take an image in, change it, and pass it out. Blur softens. ColorCorrector tints. Glow adds a radiant halo. Transform moves, scales, or rotates. These are single-input, single-output nodes, and they chain together like beads on a string. A typical chain might be MediaIn, then ColorCorrector, then Glow, then out to a Merge.
3. Merge Nodes
Merge is the single most important node in Fusion. It takes two images, a background and a foreground, and composites them into one. Every time you layer a title over footage, overlay a logo, or drop one shot over another, a Merge node is doing the work. Merges have two image inputs labeled Background (yellow) and Foreground (green), plus an optional Effect Mask input (blue). Master the Merge and you have mastered the core of compositing.
4. Mask Nodes
Masks isolate parts of an image so that effects apply only where you want them. Rectangle, Ellipse, Polygon, and BSpline are the main shape masks. You connect a mask to the Effect Mask input of almost any node to restrict that node’s influence to the masked area. Want to blur only a face? Feed an Ellipse mask into the Blur node’s mask input. Want to color-correct only the sky? Use a Polygon mask.
Almost every finished Fusion composition is a mix of those four node types. The hundreds of other nodes exist for specialized jobs, but you can go a long way with just these.
How to Enter Fusion: Two Core Workflows
Workflow 1: Apply Fusion to an Edit Page Clip
Select a clip on your Edit page timeline, then click the Fusion page button at the bottom of the screen or press Shift plus 5. Fusion opens with a MediaIn1 and MediaOut1 already wired together, and MediaIn1 contains the clip you had selected. Any nodes you add between them apply to that clip only, and only on the section of the timeline where the clip lives. When you return to the Edit page, the effect is baked into the clip.
Use this workflow when you want to add VFX to a specific shot: blur a license plate, add a sky replacement to a single establishing shot, or composite a logo onto a product in one take.
Workflow 2: Create a Standalone Fusion Composition
From the Edit page, you can also create a Fusion Composition as a standalone element. Right-click in the media pool and choose New Fusion Composition, give it a name and duration, and drag it to your timeline like any other clip. Open it by double-clicking or switching to the Fusion page while it is selected. A standalone Fusion Composition has no MediaIn automatically, because it is not tied to a source clip.
Use this workflow when you want to build something reusable: a branded lower third, an animated logo sting, a title card, or a template you can drop into future projects.
Your First Fusion Project: Build an Animated Lower Third
Step 1: Create a Standalone Fusion Composition
On the Edit page, right-click the media pool and choose New Fusion Composition. Set the duration to 5 seconds. Name it “Lower Third v1” and drag it onto a video track above your interview clip. Double-click it to open the Fusion page.
Step 2: Add and Style Your Name Text
In the toolbar, click the Text+ icon. A Text1 node appears in the graph. Connect its output to the foreground input of a new Merge1 node (you can add a Merge by pressing Shift plus Spacebar, typing Merge, and hitting Enter). With Text1 selected, look at the Inspector. Type the person’s name in the Styled Text field. Choose a bold sans-serif font. Set the size to around 0.08 and position the text in the bottom-left using the Layout tab’s Center X and Y fields.
Add a second Text+ node for the person’s job title. Make it smaller, around 0.04, and position it just below the name. Merge this second Text+ over the first by running their outputs through another Merge.
Step 3: Create the Background Bar with a Rectangle Mask
Your text needs a background strip to be readable. Add a Background node (white, or whatever brand color you like) and a Rectangle mask. In the Rectangle Inspector, set the width to 0.6 and the height to 0.03. Position it in the same spot as your text. Connect the Rectangle’s output to the Background node’s Effect Mask input. Now the Background only renders inside the rectangle shape, giving you a clean bar.
Merge the bar under your text by feeding the Background into the next Merge as the background input, and the combined text as the foreground.
Step 4: Animate the Reveal with Keyframes
This is where Fusion starts to feel magical. Select the Rectangle mask. In the Inspector, find the Size parameter. At frame 0, right-click Size and choose Animate. Set the width to 0 and the height to 0. Move the playhead to frame 20. Set the width back to 0.6. Move to frame 25. Set the height back to 0.03. You now have a two-stage reveal: the bar grows horizontally, then expands vertically.
For the text, select each Text+ node, animate the Layout’s Center X from off-screen left to its final position over 10 frames, starting at frame 25. Use the Spline editor to add ease-out curves so the motion feels organic rather than robotic.
Step 5: Drop It Back into Your Edit
Go back to the Edit page. Your Fusion Composition is already on the timeline above the interview clip, and any changes you made are live. Scrub the playhead across the composition and you will see your animated lower third play back. If you want to reuse it for another speaker, duplicate the composition in the media pool, open the copy, and change the text fields in the Text+ nodes.
If you want professionally designed lower thirds and cinematic openers without building them from scratch, browse the Dramatic Movie Title Templates for DaVinci Resolve collection. They are native Fusion compositions you can customize in the same Inspector you just learned. For deeper control of text styling specifically, the principles in our DaVinci Resolve titles and lower thirds guide translate directly into the Fusion page.
3 Beginner VFX You Can Create in Fusion Today
Blur or Hide a Face with a Tracked Mask
Privacy blurs are a daily-use effect for documentary, social, and legal content. In Fusion, add a Blur node after your MediaIn. Add an Ellipse mask and connect it to the Blur’s Effect Mask input. Size and position the ellipse over the face. Now use Fusion’s built-in Tracker node: add Tracker, connect MediaIn to its input, place the tracking point on the face, and press the track forward button in the Inspector. Copy the tracker’s position data to the Ellipse’s Center using right-click and Connect To. The blur now follows the face across the shot.
Cinematic Text Reveal with Glow
Build a Text+ node with your line of copy. Chain a Glow node after it for a soft radiant edge. Chain a Blur node and animate its size from high to zero over 20 frames for a focus-pull reveal. Animate the Text+ Size from 0.9 to 1.0 in the same time range for a subtle scale-up. This combo looks expensive and takes five minutes.
Color grading inside and outside of Fusion matters here. If you want your titles to sit inside a specific filmic mood rather than clash with graded footage, a curated LUT pack like Film Emulation Pro gives you one-click Kodak, Fuji, and Agfa stock emulations you can apply on the Color page so your Fusion graphics live in the same world as your footage.
Composite a Logo Over Footage
Drag your client’s logo PNG into the media pool. From Fusion, add it as a second MediaIn by dragging it in from the media pool. Connect the logo MediaIn into the foreground of a Merge, with your footage MediaIn as the background. Use a Transform node to scale and position the logo. Animate opacity from 0 to 1 for a clean fade-in, and you are done.
7 Essential Fusion Tips and Shortcuts for Beginners
- Press 1 or 2 to send the selected node to Viewer 1 or Viewer 2.
- Shift plus Spacebar opens the Select Tool search. Type any node name and press Enter to add it.
- Hold Alt and drag a node onto an existing connection line to insert it into the chain.
- Press Ctrl plus G (Cmd plus G on Mac) to collapse a group of nodes into a single group node. This keeps complex compositions readable.
- Right-click any parameter and choose Animate to start keyframing it. The parameter turns green when animated.
- The Spline editor is where good animation happens. Flat keyframe easing feels robotic; S-curves feel human.
- Save Fusion templates by right-clicking a node or group and choosing Settings, Save As. Load them any time from the Effects Library.
These seven cover 80% of Fusion. For every node-graph hotkey plus shortcuts across every other page, grab the full DaVinci Resolve keyboard shortcuts cheat sheet (including Fusion).
Common Fusion Mistakes Beginners Make (and How to Fix Them)
Building everything in one giant flat graph. Use groups, underlays, and clear left-to-right ordering. A tidy graph is an editable graph.
Confusing Merge background and foreground. The yellow input is the background (behind), and the green input is the foreground (in front). Swap them and your composite will look upside down.
Animating directly in the Keyframes editor without using splines. Keyframes without eased splines produce robotic motion. Always check the Spline editor and add ease-in or ease-out curves.
Ignoring the Timeline editor when compositions have many nodes. Trimming node activity in time can drop render times significantly.
Using the wrong merge apply mode. The default Over mode works for most cases, but Screen, Add, and Multiply each have specific uses for glows, light leaks, and shadows.
If your node graphs feel messy in the same way many new users find the Color page intimidating, our walkthrough on DaVinci Resolve node structure covers the broader Resolve philosophy around nodes and will make Fusion feel more natural once the core idea clicks.
Taking Your Fusion Skills Further: Next Steps
Build a library of reusable templates. Every lower third, callout, or transition you create can be saved as a Macro and reused in future projects.
Learn the Tracker and Planar Tracker. Motion tracking is the backbone of modern VFX, from sky replacements to sign swaps.
Study real breakdowns. The Blackmagic Design YouTube channel and free Visual Effects Guide PDFs walk through film-quality Fusion work step by step.
Get comfortable with the rest of Resolve. Fusion does not exist in isolation. Pair it with strong editing on the Edit page, tasteful color on the Color page, and clean audio on the Fairlight page. Our DaVinci Resolve color grading for beginners and DaVinci Resolve transitions guides are natural next steps, and the broader DaVinci Resolve beginners guide ties the full workflow together.
Compare approaches across tools. Fusion’s masking logic maps cleanly onto After Effects concepts like track mattes; our deep dive on alpha and luma track mattes in After Effects is worth reading if you work across both programs. If you are still deciding where Fusion fits in the broader landscape of visual work, our explainer on VFX vs CGI vs SFX will clarify what category of work Fusion actually does.
Conclusion
To give your finished pieces an extra layer of polish without building everything from scratch, packs like Luminous Light Leak Transitions drop directly into your timeline and composite beautifully with any Fusion work you create. They are the kind of asset professional editors reach for when deadlines are tight and the shot still needs to feel cinematic.
Disclaimer : If you buy something through our links, we may earn an affiliate commission or have a sponsored relationship with the brand, at no cost to you. We recommend only products we genuinely like. Thank you so much.
Blog Label:


Write for us
Publish a Guest Post on Pixflow
Pixflow welcomes guest posts from brands, agencies, and fellow creators who want to contribute genuinely useful content.
Fill the Form ✏