DaVinci Resolve LUTs: How to Import, Apply, and Create Custom LUTs

- What Is a LUT in DaVinci Resolve?
- Where DaVinci Resolve Stores LUTs
- How to Install LUTs in DaVinci Resolve
- How to Import and Apply LUTs
- The One LUT Mistake That Ruins Your Footage
- How to Adjust LUT Intensity
- How to Create Custom LUTs in DaVinci Resolve
- Creating LUTs With Third-Party and AI Tools
- Troubleshooting: LUTs Not Showing Up
- Best Practices for Grading With LUTs
- Conclusion
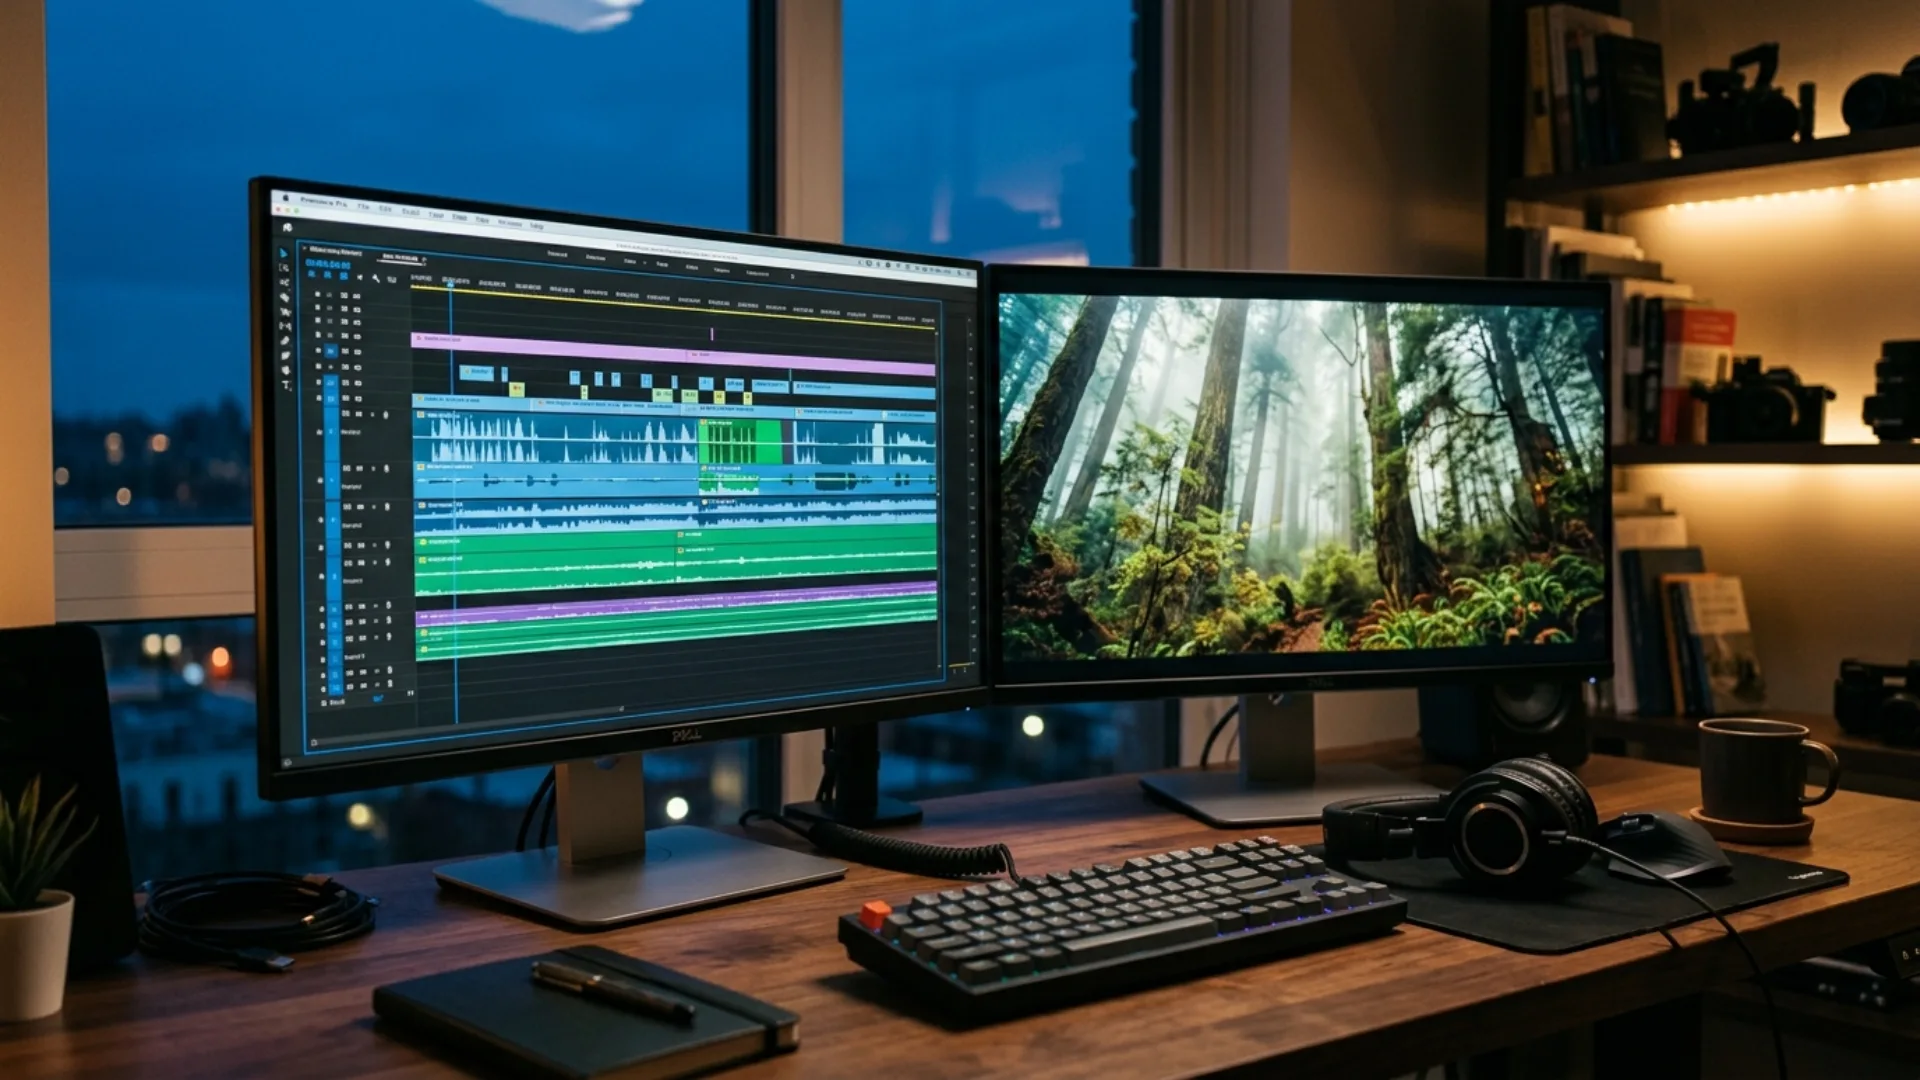
Here is the thing: LUTs are one of the fastest ways to transform footage in DaVinci Resolve, but most beginners install them in the wrong place, apply them in the wrong order, and then wonder why their highlights look blown out. In this guide we are walking through everything, how to install LUTs, how to import and apply them, how to fix the dreaded LUTs not showing up problem, how to control intensity, and how to create your own custom LUTs (including with third-party and AI tools).
If you want a head start, our own Film Emulation Pro pack ships real film-scan LUTs that drop straight into the workflow below, so you can follow along with looks that are already cinematic.
Let’s dive in.
What Is a LUT in DaVinci Resolve?
Not all LUTs do the same job, though. Understanding the two main types is the difference between using them correctly and fighting them the whole edit.
Where DaVinci Resolve Stores LUTs

How to Install LUTs in DaVinci Resolve
Method 1: Use the Open LUT Folder button (recommended)
This is the cleanest way for most editors, and it matches the official Blackmagic workflow.
- Open Project Settings (the gear icon in the bottom-right corner, or press Shift + 9).
- Click the Color Management tab on the left.
- Scroll down to the Lookup Tables section and click Open LUT Folder.
- In the folder that opens, create a clearly named subfolder (for example, Pixflow Film Emulation) and drop your .cube files inside. Subfolders keep your browser tidy.
- Back in Resolve, click Update Lists (in the same Lookup Tables section).
That is it. Your LUTs now appear in the LUT browser on the Color page and in the right-click menu on any node.
Method 2: Link an external LUT folder
Prefer to keep your LUTs in a shared drive or a single master library instead of copying them into Resolve? You can point Resolve at any folder.
- Open DaVinci Resolve > Preferences and go to the System tab.
- Open the General panel.
- Under LUT directories, add the folder where your LUTs live.
- Save, then return to the LUT browser and hit Refresh.
This approach is great for teams and for anyone who reinstalls Resolve often, your library stays put and you just relink it.
The Storyblocks import and export tutorial and the Boris FX 4-step guide both walk through the Project Settings method if you want a second visual reference.
How to Import and Apply LUTs
On the Color page (the most control)
- Select the clip you want to grade.
- Open the Color page and make sure your node tree is visible.
- Open the LUT Browser from the top-left toolbar, hover a LUT to preview it, then double-click to apply it to the selected node.
You can also right-click a node, go to LUT, and pick your LUT from the list. Power users often add the LUT on its own dedicated node so it stays separate from manual corrections.
From the Media Pool or Edit page (the fastest)
- Select one clip or several clips at once.
- Right-click and choose LUT, then your LUT from the menu.
This applies the look instantly across every selected clip, which is perfect for setting a base look on an entire scene before you refine individual shots. If you are building a full grade from scratch, our walkthrough on color grading for beginners in Resolve pairs perfectly with this step.
The three ways to apply a LUT on a node, at a glance:
The One LUT Mistake That Ruins Your Footage
The fix is simple but it changes everything: make your basic corrections on a node before the LUT, not after.
- Node 1 (before the LUT): balance exposure, tame highlights, lift shadows, set white balance. This preserves all your detail.
- Node 2 (the LUT): apply your creative or technical LUT here.
- Node 3 (after the LUT, optional): small finishing tweaks, contrast, saturation, a vignette.
A LUT does not know how you exposed your shot, so giving it a clean, corrected image first means it has the full range to work with. If node structure is new to you, our guide to Resolve node structure (serial, parallel, and layer nodes) explains exactly how to chain these together. This single habit will save more shots than any other tip in this article.

How to Adjust LUT Intensity
- Key Output Gain method: with the LUT on its own node, open the Key palette for that node and lower the Output Gain (Key Output) to reduce how much the LUT affects the image. Raise it for a harsher, more dramatic look.
- Dedicated LUT node blending: because the LUT sits on its own node, you can lower that node’s key to blend the look with your underlying correction.
Keeping the LUT isolated on its own node is what makes this possible, which is another reason the node-before-the-LUT structure above is worth the habit.
How to Create Custom LUTs in DaVinci Resolve
How to generate a LUT from your grade
- Finish grading your clip on the Color page.
- Right-click the graded clip in the timeline (or in the thumbnail strip).
- Choose Generate LUT, then pick a cube size (more on that below).
- Name your file and choose where to save it, ideally inside your LUT folder so it shows up immediately.
- Back in the LUT browser, right-click and choose Refresh. Your new LUT is ready to use.
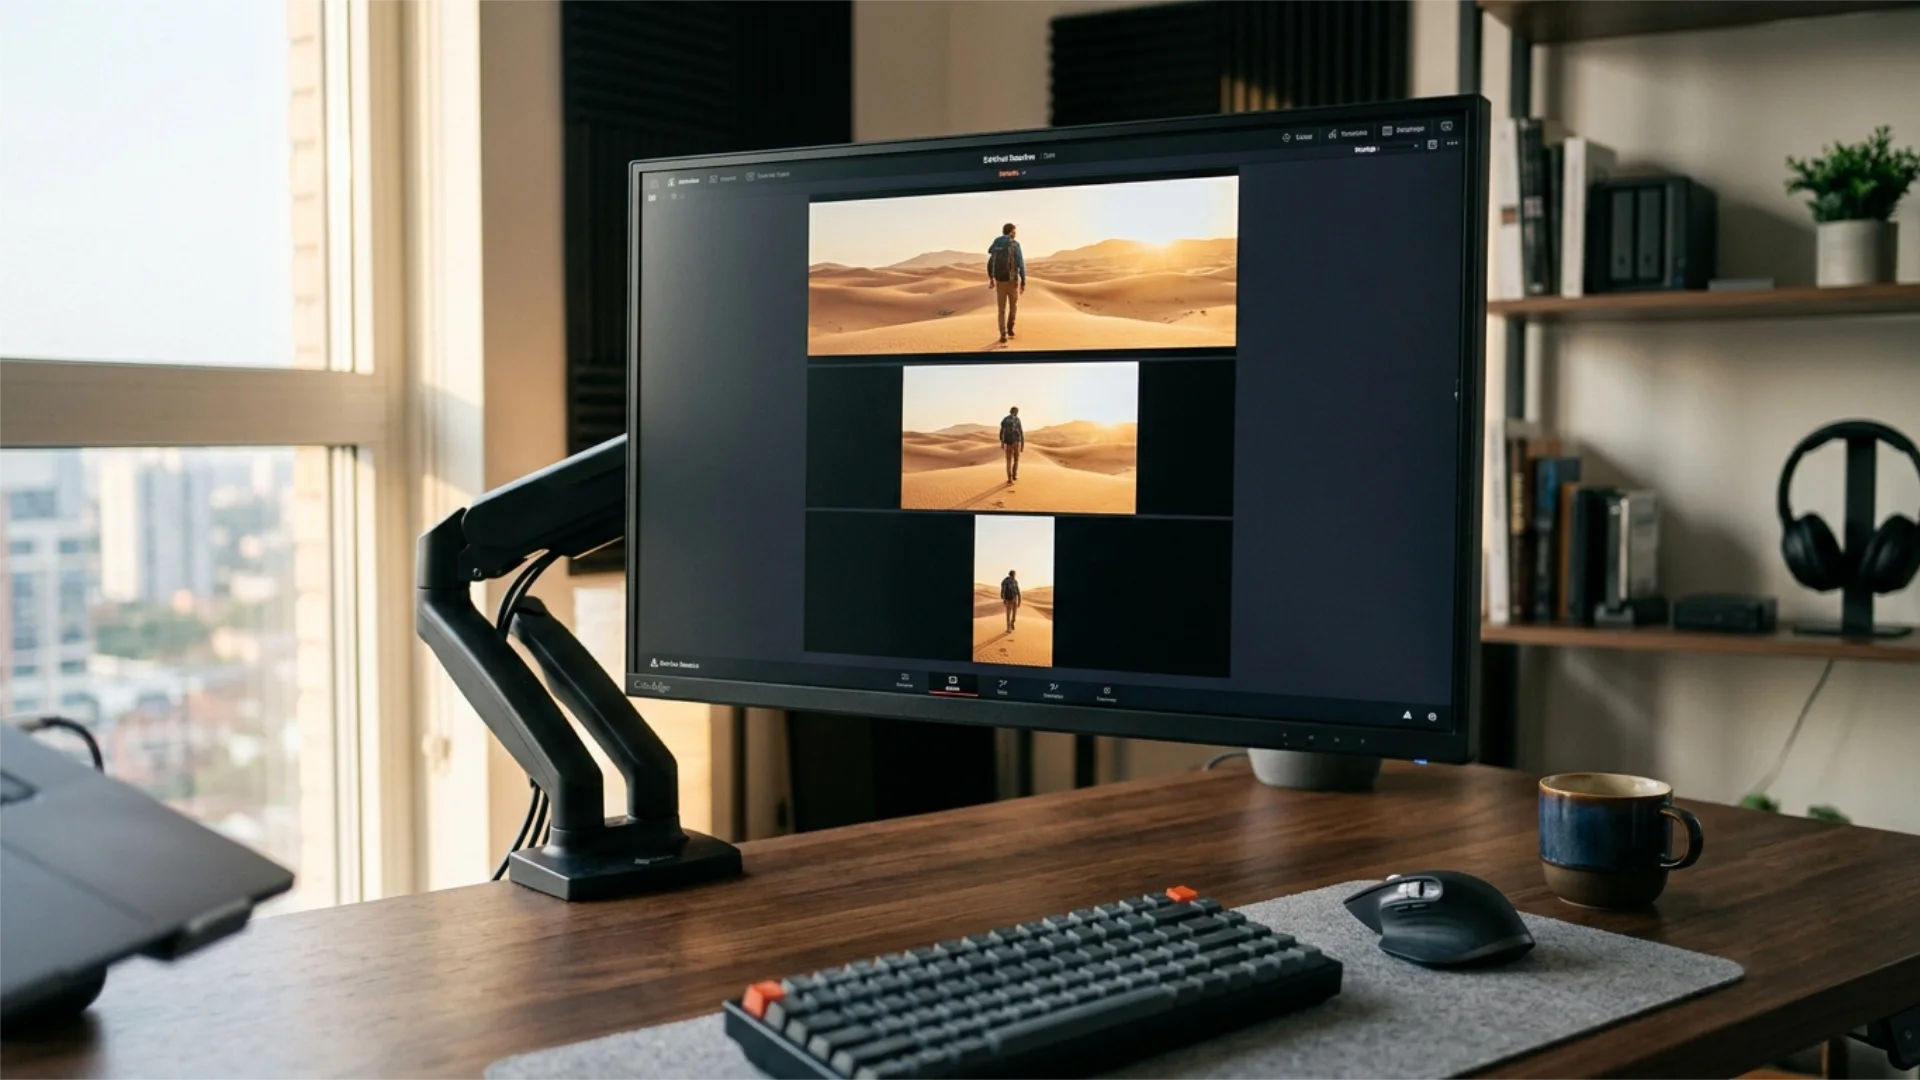
Choosing 17, 33, or 65 point cube
When you generate a LUT, Resolve asks for a cube size. This is just how finely the color data is sampled. Bigger is more accurate but heavier.
What a LUT can and cannot store
This trips people up constantly: a LUT only stores color transformations, not every effect on your node tree. Effects like grain, vignettes, sharpening, blur, and chromatic aberration do not bake into a LUT, so you will need to re-add those separately after applying it.
- LUT-friendly (gets saved): primaries, curves, color wheels, hue and saturation shifts, color space transforms.
- Not LUT-friendly (does not save): grain, vignette, blur, sharpen, sizing, motion effects, anything spatial or temporal.
If your end goal is a clean log-to-final pipeline, our breakdown of a simple color grading workflow from log to final shows where a custom LUT fits in the chain.

Creating LUTs With Third-Party and AI Tools
Dedicated LUT creation software
- fylm.ai: a browser-based, AI-assisted grading tool that lets you build, refine, and export .cube LUTs, with AI look-matching that can analyze a reference frame and generate a matching grade.
- Lattice and similar utilities: industry-standard tools for converting, previewing, resizing, and managing .cube files across formats.
- Photoshop and design tools: you can design a look on a still and export it as a LUT, then refine it in Resolve. We cover the photo side in our guide to cinematic color grading with LUTs in Photoshop.
AI-assisted LUT generation
AI grading has matured fast. Tools can now analyze a reference image or a still from a film and generate a LUT that emulates that palette, then let you export a .cube to use anywhere. If you are curious how far this has come, our roundup of AI color grading tools covers where automated grading genuinely helps and where it still falls short.
A realistic workflow that works well: grade a hero shot by hand in Resolve (or match a reference with an AI tool), generate a 33-point LUT, then apply that LUT as your base across the rest of the project and fine-tune per shot. For multi-camera or mixed-source projects, pair this with our guide on color matching footage from different cameras so your base LUT lands on consistent footage.
A quick reality check: a LUT is a starting point, not a magic one-click fix. It will not correct exposure or replace proper shot matching. Use it to set a look fast, then grade with intention.
Troubleshooting: LUTs Not Showing Up
Best Practices for Grading With LUTs
- Correct first, LUT second. Always balance exposure and white balance on a node before the LUT.
- Match the color space. A LUT built for Rec.709 will look wrong on Log footage and vice versa. Check what the LUT expects.
- Keep the LUT on its own node so you can adjust intensity and toggle it on and off to compare.
- Use subfolders to organize your library by camera, project, or look so the browser stays usable.
- Re-add texture after the LUT. Grain, vignettes, and halation are not stored in the LUT, layer them back on top.
- Do not over-rely on a single LUT. Tweak per shot, lighting changes between setups even within the same scene.
If you want to speed the whole grade up, our DaVinci Resolve keyboard shortcuts cheat sheet will shave real time off node and playback navigation.
Conclusion
If you are still finding your way around the software, our complete DaVinci Resolve for beginners guide ties all of this together, and when your grade is locked, our DaVinci Resolve export settings guide makes sure it looks just as good on YouTube, Instagram, and TikTok.
Ready to skip the flat-footage stage entirely? Explore the cinematic, film-scan looks in Film Emulation Pro and drop a professional grade onto your next project in one click. (Your timeline will thank you.)
Disclaimer : If you buy something through our links, we may earn an affiliate commission or have a sponsored relationship with the brand, at no cost to you. We recommend only products we genuinely like. Thank you so much.
Blog Label:


Write for us
Publish a Guest Post on Pixflow
Pixflow welcomes guest posts from brands, agencies, and fellow creators who want to contribute genuinely useful content.
Fill the Form ✏