Illustrator to After Effects Workflow: Prepping Vector Art for Animation
- What's the best way to get Illustrator art into After Effects?
- How do I prepare an Illustrator file for animation in After Effects?
- How do I import an Illustrator file into After Effects?
- Why is my Illustrator file blurry or pixelated in After Effects?
- How do I convert Illustrator layers to shape layers in After Effects?
- Can I import SVG files directly into After Effects now?
- What should I animate first once the art is in After Effects?
- How do I export Illustrator art as a Lottie animation?
- Why does my Illustrator import look wrong? Troubleshooting table
- Are there plugins that make Illustrator to After Effects faster?
- What's on the Illustrator to After Effects pre-flight checklist?
- How we wrote and checked this guide
- Conclusion
That’s the short version. The long version explains why your last import arrived as one flat layer with a white box behind it, then went soft the second you scaled it. (We’ve all been there, usually at 11pm.) Here’s the thing: this workflow is won or lost before you press Import.
This guide answers the questions motion designers actually ask on r/AfterEffects and the Adobe Community forums, in the order you’ll hit them. We build motion templates for a living, so these are the habits we use on production files. And if a deadline doesn’t leave room to build everything from scratch, the Freelance Motion Designers Bundle gives you five ready-to-customize packs for After Effects, Premiere Pro and Photoshop in one download.
What’s the best way to get Illustrator art into After Effects?
If you’re still deciding which design app should produce the artwork in the first place, our comparison of Illustrator, Photoshop and Figma breaks down what each one hands off best.
How do I prepare an Illustrator file for animation in After Effects?
Why does After Effects only see my top-level layers?
Because After Effects maps each top-level Illustrator layer to one After Effects layer, and nothing deeper. Sublayers, groups and individual objects inside a layer all merge into that one layer on import. That is the number one reason people ask why their Illustrator file “imports as one layer”.
The fix is Release to Layers:
- In the Layers panel, select the parent layer that holds your objects.
- Open the Layers panel menu and choose Release to Layers (Sequence). Each object becomes its own sublayer. Release to Layers (Build) does the same but stacks cumulatively, which is useful for build-on animations, as Adobe’s guide to releasing objects to separate layers explains.
- Select all the new sublayers and drag them above or below the parent so they sit at the top level.
- Delete the empty parent layer.
If Release to Layers is greyed out, target the layer itself in the Layers panel rather than objects on the artboard. If it still won’t enable, adding a new empty layer often wakes it up.
How should I split and name layers for animation?
The rule is simple: if it moves on its own, it lives on its own layer. An arm, a wheel, each letter of a logo, a highlight that sweeps across: separate layers.
- Split at the joint, then overlap. Extend each piece of an arm slightly under the other so rotation never reveals a gap.
- Name every layer uniquely. Names carry into After Effects, so “arm_L_upper” beats “Layer 12”, and duplicate names make parenting confusing fast.
- Order matters. The top layer in Illustrator becomes the top layer in the timeline.
Our beginner’s guide to character design in Illustrator shows how to construct figures with animation-friendly parts, and once they’re in, grouping layers in After Effects keeps the timeline tidy.
Should I flatten or merge layers in Illustrator before importing?
Merge what never moves apart and leave everything else separate, because you can’t un-merge in After Effects. To merge layers in Adobe Illustrator, select them in the Layers panel and choose Merge Selected from the panel menu, ideal for a static background or a lockup that only moves as one piece. To flatten a layer in Adobe Illustrator, use Flatten Artwork, which collapses every visible layer into one, so only use it on a duplicate file meant as a static plate.
Does the document need to be RGB, and what artboard size should I use?
Yes. Go to File > Document Color Mode > RGB Color. Video is an RGB medium, and CMYK documents cause shifted colours and, according to users on r/AfterEffects, layers collapsing on import.
For the artboard:
- Size it to your comp in pixels, for example 1920 x 1080 or 1080 x 1920. After Effects builds the comp from the artboard.
- Place the art at its hero size, the largest it will appear on screen, so you rarely scale above 100%, which is where blur starts.
- Keep one artboard per scene file. Users importing 50-artboard documents report freezes and crashes.
- Set the artboard background to transparent. Recent Illustrator versions added an artboard background colour, and if it’s set, every imported layer can arrive with a white rectangle behind it. The fix, confirmed in an Adobe Community thread on white blocks behind imported art, is to select the artboard, open the Properties panel and set the fill to transparent.
What should I do with text, effects, strokes and gradients before export?
- Text. If you’ll convert to shape layers, outline it with Type > Create Outlines (Ctrl/Cmd + Shift + O), the Adobe Illustrator text to vector graphic step. Keep a live copy on a hidden layer for typo fixes.
- Effects. Run Object > Expand Appearance on live effects. Drop shadows, glows and blurs become pixels, so it’s usually better to delete them and rebuild them in After Effects, where they stay sharp and animatable.
- Strokes. Keep strokes live if you want to animate them with Trim Paths, because Trim Paths needs a stroke to draw. Outline strokes only when a line should behave like a filled shape, such as brush strokes or variable width profiles.
- Gradients, blends and masks. Linear and radial gradients survive conversion; freeform gradients and gradient mesh don’t. Keep complex blends as Illustrator layers, since converting them can create thousands of paths, and release clipping masks you don’t need.
How should I save the file?
Use File > Save As > Adobe Illustrator (.ai) and leave Create PDF Compatible File switched on. After Effects reads the PDF-compatible data inside the .ai, so a file saved without it can import blank or fail entirely.
Avoid EPS for motion work. As the School of Motion Illustrator to After Effects field manual shows, After Effects handles EPS files poorly, so re-save them as .ai before import. For more on choosing the right Illustrator vector file format for each destination, see our guide to exporting files from Adobe Illustrator.
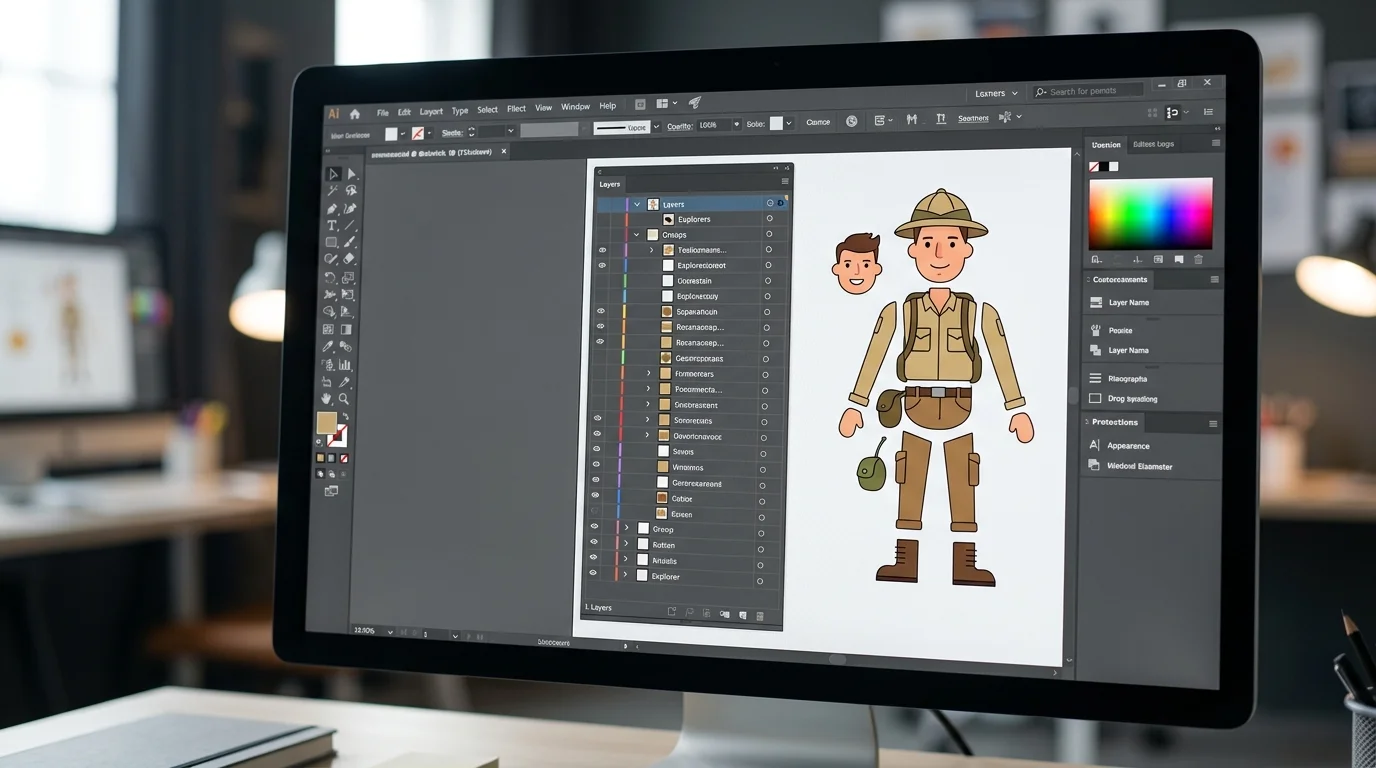
How do I import an Illustrator file into After Effects?
- In After Effects, choose File > Import > File (Ctrl/Cmd + I) and select your .ai file.
- Set Import As, or Import Kind depending on your version, to Composition – Retain Layer Sizes.
- Click Import. After Effects creates a composition plus a folder holding each layer as footage.
- Double-click the new composition to open it. The comp size matches your artboard, and you can adjust it any time with Ctrl/Cmd + K.
What’s the difference between Footage, Composition and Composition – Retain Layer Sizes?
How do I update the artwork or add a layer I forgot?
Select the layer or footage item and choose Edit > Edit Original (Ctrl/Cmd + E). The file opens in Illustrator, and when you save, After Effects reloads it automatically. You can also use File > Reload Footage.
Editing existing layers updates fine, but a new layer added in Illustrator won’t appear. Re-import the file and copy that layer into your working comp. Converted shape layers never update, which is why the .ai stays your master and conversion happens as late as possible.
Why is my Illustrator file blurry or pixelated in After Effects?
- Continuously Rasterize is off. Click the sunburst switch for the layer in the timeline. It’s the same switch as Collapse Transformations, and it re-renders the vector at every size. Adobe’s documentation on Continuously Rasterize also notes that you can’t open a continuously rasterised layer in the Layer panel or paint on it directly.
- The effect was already rasterised in Illustrator. Drop shadows, glows and blurs from Illustrator are pixels, so Continuously Rasterize can’t sharpen them. As Rick Gerard puts it in an Adobe Community answer about blurry Illustrator files, raster effects turn vectors into pixels, simple as that. Remove them in Illustrator and rebuild them in After Effects.
- The artboard is too small. If a logo was built at 200 px wide and you’re scaling it 600%, rebuild it at hero size on a comp-sized artboard.
- Preview resolution is set to Half or Quarter. Check the Resolution menu at the bottom of the Composition panel. It’s the quickest false alarm to rule out.
- A precomp is being scaled up. Turn on Collapse Transformations on the precomp layer so the vectors inside re-render at the new size.
How do I convert Illustrator layers to shape layers in After Effects?
To convert:
- Select the Illustrator layer in the timeline.
- Choose Layer > Create > Create Shapes from Vector Layer, or right-click the layer and choose Create.
- After Effects adds a new shape layer named with “Outlines” above the original and switches the original’s video off.
- Twirl open Contents to find each Illustrator group and path, with its own Path, Fill, Stroke and Transform properties.
Adobe’s documentation on creating shapes from vector layers adds that converted layers can be bevelled and extruded in 3D, which Illustrator layers can’t.
Can I convert all my Illustrator layers at once?
Adobe documents this as a one-layer-at-a-time command, and notes that files with thousands of paths can convert slowly without any progress feedback. If you imported as a composition, convert layer by layer.
The documented workaround for big files: import the .ai as Footage, convert that single layer, then split its groups into separate layers with a script such as Explode Shape Layers.
Why did my gradients turn gray, or what else doesn’t convert?
Older versions of After Effects turned gradients into flat 50% gray on conversion. Current versions keep gradient fills, gradient strokes and transparency. According to Adobe’s announcement of the new vector workflow features, freeform gradients and blend modes still don’t carry over, so re-apply blend modes in After Effects.
Other things that commonly break:
- Live text triggers the “empty or unsupported content” error. Outline it first. In the current After Effects beta, a new Create Shapes and Text from Vector Layer command converts Illustrator text into editable text layers instead, with font, size, fill and variable font settings intact, as described in Adobe’s SVG and Illustrator import documentation. Stroke-only text still converts as paths.
- Artwork that looks cut off usually has a leftover clipping or artboard path in Contents. Find the rectangle path group and delete it.
- Auto-traced art and complex blends can produce thousands of paths that make After Effects crawl. Simplify in Illustrator first with Object > Path > Simplify, or redraw the shape. Our guide on how to vectorize an image in Illustrator explains when tracing creates more cleanup than it saves.
Should I convert every layer to a shape layer?
No. Shape layers with hundreds of paths are heavier to preview than a continuously rasterised Illustrator layer, and they lose the live link to your .ai file. If your comp is already dragging, our guide to After Effects optimization covers the preview and caching settings that help most.
Can I import SVG files directly into After Effects now?
To use it:
- In Illustrator, export the artwork with File > Export > Export As and choose SVG, or use Export for Screens for a batch of icons. This is where Adobe Illustrator for SVG work becomes part of your motion pipeline, not just your web workflow.
- Convert any text to outlines first, because SVG text isn’t supported.
- In After Effects, import with Ctrl/Cmd + I and drag the SVG into your timeline.
You can also skip the file entirely. With Include SVG Code enabled in Illustrator’s clipboard preferences, copied artwork pastes into After Effects as shapes.
A few limits from Adobe’s beta notes are worth knowing. Animated and raster SVGs aren’t supported, and SVG comps initially import with a one-frame duration, so extend the comp before you animate. Because SVGs import directly as shapes, early builds also kept no reference in the Project panel, which means Collect Files won’t gather the source.
So when should you use SVG over .ai? Use SVG for icons, UI elements and flat graphics you’ll animate at the path level anyway. Stick with .ai for layered scenes and anything you’ll keep revising, because only the .ai route keeps Edit Original working.
What should I animate first once the art is in After Effects?
Where should the anchor points go?
Retain Layer Sizes centres each anchor point on its artwork, which is right for wheels and wrong for arms. Use the Pan Behind tool (Y) to drag the anchor to the pivot, such as a shoulder, hinge or base. To snap it back to the centre, use Layer > Transform > Center Anchor Point in Layer Content (Ctrl + Alt + Home, or Cmd + Option + Home on Mac).
How do I rig parts so they move together?
Parent layers with the pick whip, hand to forearm, forearm to upper arm. When you need one controller for a whole lockup, parent everything to a null. Our guide to using null objects in After Effects walks through this rig.
How do I make line art draw itself on?
Convert the layer to a shape layer, then choose Add > Trim Paths from the Contents menu. Keyframe End from 0% to 100%, ease the keyframes, and use Offset if you want a travelling segment rather than a full draw-on. This only works on live strokes, which is why you kept them as strokes in Illustrator.
For filled lettering, draw a centreline path through each letter in Illustrator on its own layer, animate it with Trim Paths, and use it as a track matte for the letters. Our guide on how to animate stroke in After Effects covers the full technique, and if your centreline paths fight you, the beginner’s guide to mastering the Pen Tool gets them clean.
What about morphs, logos and shape effects?
Once your art is in shape layers, Offset Paths, Wiggle Paths, Merge Paths and path keyframes open up morphing and organic motion. That’s covered in depth in our tutorial on how to animate shapes in After Effects. For a brand mark specifically, see how to animate a logo in After Effects, and if the mark itself still needs building, start with creating a logo in Adobe Illustrator.
When a client wants a branded opener by Friday and the illustration is still in review, it’s fine to start from a template rather than a blank comp. The motion graphics templates bundle for freelance motion designers includes openers and brand identity templates you can drop your Illustrator artwork into.
How do I export Illustrator art as a Lottie animation?
The short workflow:
- Convert every Illustrator layer you want to keep as vector into a shape layer. Unconverted Illustrator layers don’t export as editable vectors.
- Keep the animation to shape-friendly features: transforms, path keyframes, Trim Paths, solid and gradient fills, and simple masks. Most effects and layer styles won’t export.
- Export with the free Bodymovin extension or the LottieFiles plugin for After Effects, which adds instant previews and on-device testing.
- Preview the JSON before handing it to developers. After the After Effects 2026 (v26.0) update, users reported gradients exporting in grayscale through Bodymovin in an Adobe Community bug report, so always test gradients.
Why does my Illustrator import look wrong? Troubleshooting table
Are there plugins that make Illustrator to After Effects faster?
- Overlord by Battle Axe sends selected Illustrator, Photoshop or Figma layers straight into After Effects as shape layers, and the developer says gradients, live text and shape names come across with zero file prep. It also works in reverse, which is handy for pulling motion paths back into Illustrator.
- Explode Shape Layers splits one shape layer with many groups into separate layers, which is ideal after the import-as-footage conversion trick.
- Rubberhose, also from Battle Axe, turns paths into bendy, rigged limbs for character animation, and it pairs naturally with Overlord.
On the Illustrator side, scripts that batch-rename layers or release objects in one click take the boredom out of prep, and our roundup of the best Illustrator plugins and scripts covers the ones worth installing. Pair that with muscle memory from our Illustrator keyboard shortcuts cheat sheet, and layer prep goes from twenty minutes to five.
What’s on the Illustrator to After Effects pre-flight checklist?
In Illustrator:
- [ ] Document colour mode is RGB
- [ ] Artboard matches the comp size, art placed at hero size
- [ ] One artboard per scene file
- [ ] Artboard background set to transparent
- [ ] Every moving part on its own top-level layer
- [ ] Layers named clearly and uniquely
- [ ] Static parts merged
- [ ] Text outlined, live copy kept on a hidden layer
- [ ] Appearances expanded, raster effects removed
- [ ] Strokes kept live wherever you’ll use Trim Paths
- [ ] Freeform gradients, gradient mesh and heavy blends simplified or kept as Illustrator layers
- [ ] Saved as .ai with Create PDF Compatible File on
In After Effects:
- [ ] Imported as Composition – Retain Layer Sizes
- [ ] Continuously Rasterize on for every layer scaled above 100%
- [ ] Only path-animated layers converted to shape layers
- [ ] Leftover clipping or artboard paths deleted
- [ ] The .ai file kept as your master, with changes made through Edit Original
How we wrote and checked this guide
- Who wrote it: the Pixflow design team. We build motion templates and vector packs, so we prep Illustrator files for After Effects constantly and see client files break in the same handful of ways.
- How the structure was chosen: every heading is a question from r/AfterEffects, Adobe Community threads, the School of Motion field manual or Adobe’s own tutorial on preparing vector art. Answers come from our workflow, not paraphrased snippets.
- What we verified: SVG import, editable text conversion, gradient support, Release to Layers and Continuously Rasterize limits come from Adobe’s documentation, linked inline. Beta features and user-reported bugs are labelled as such.
- What could change: Adobe ships updates continuously, so if a menu path doesn’t match your build, it has most likely moved rather than disappeared.
Last reviewed: October 2026.
Conclusion
Pick one illustration you’ve already finished, run it through the checklist above, and animate a single element tonight. A wheel spin or a line draw-on is enough. Once the pipeline clicks, it stays clicked. (Your future self, staring at a 40-layer character file, will thank you.)
And when the next client brief lands with a tight turnaround, the Freelance Motion Designers Bundle gives you production-ready openers, brand identity templates and film overlays, so your Illustrator artwork can go straight into a finished deliverable.
Disclaimer : If you buy something through our links, we may earn an affiliate commission or have a sponsored relationship with the brand, at no cost to you. We recommend only products we genuinely like. Thank you so much.
Blog Label:


Write for us
Publish a Guest Post on Pixflow
Pixflow welcomes guest posts from brands, agencies, and fellow creators who want to contribute genuinely useful content.
Fill the Form ✏